|
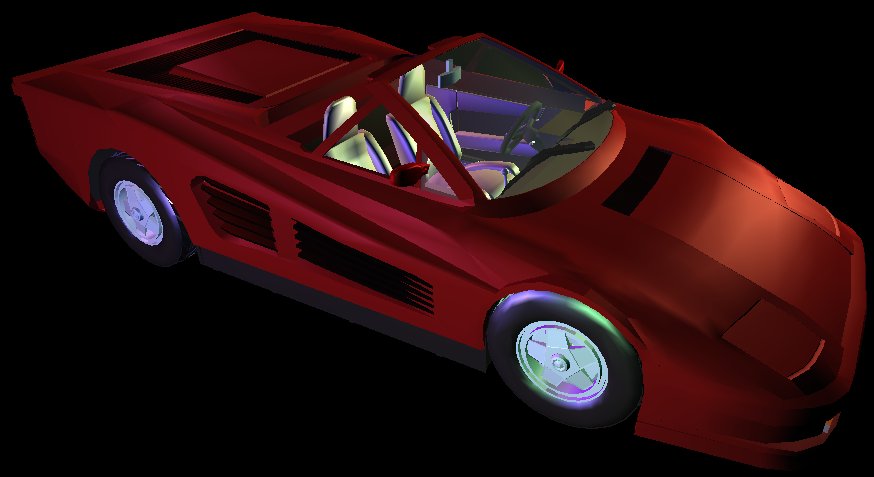
-Ferrari Testarossa-
-3D Model-
Oct 7, 03 (sd) -- December 15, 03 (ed)
SUMMARY
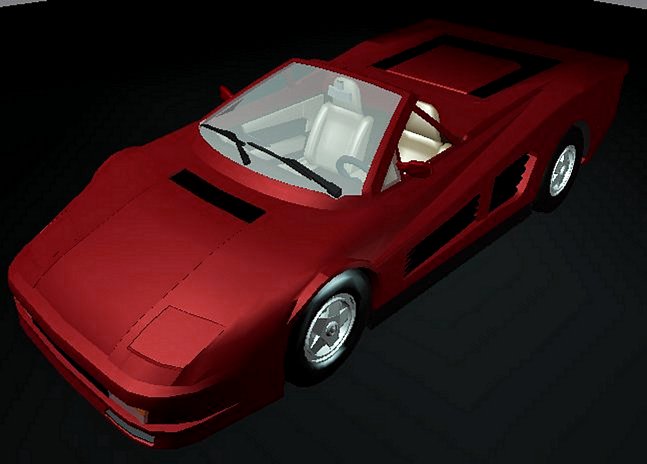
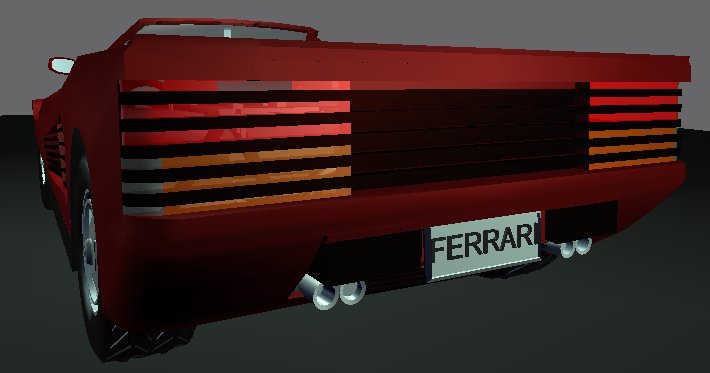
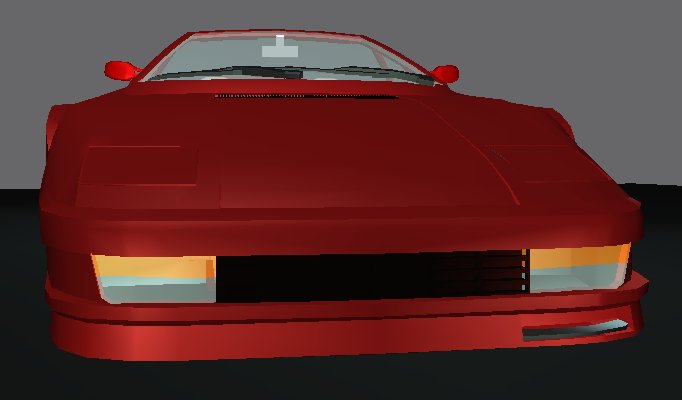
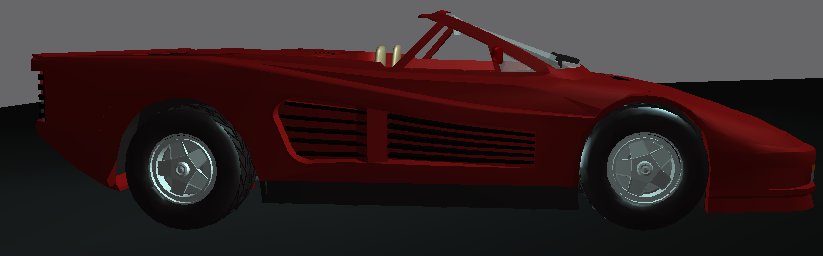
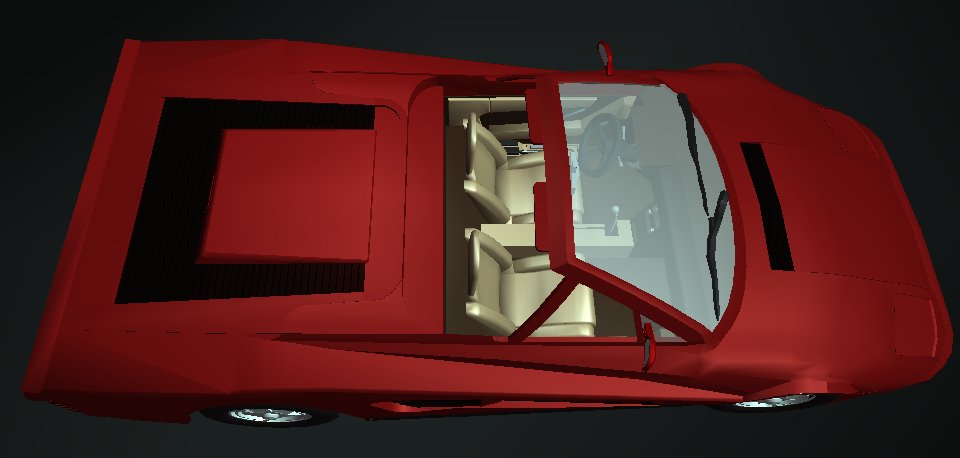
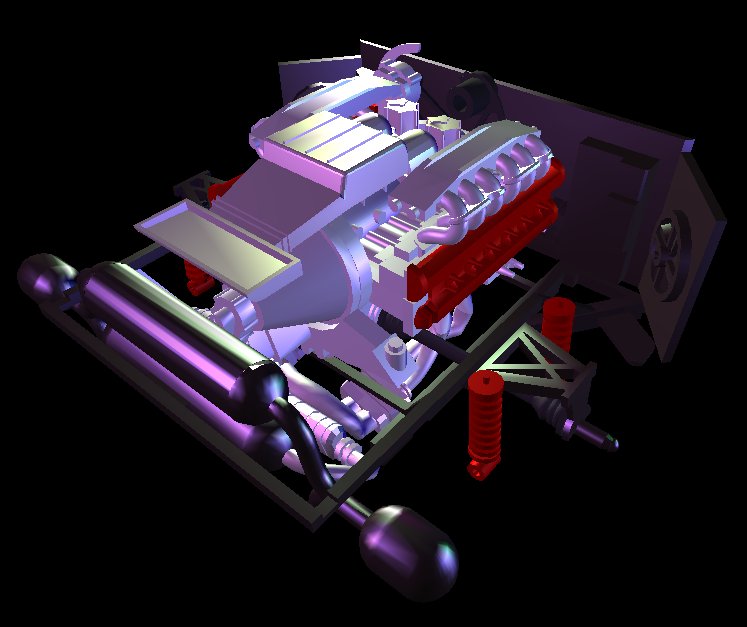
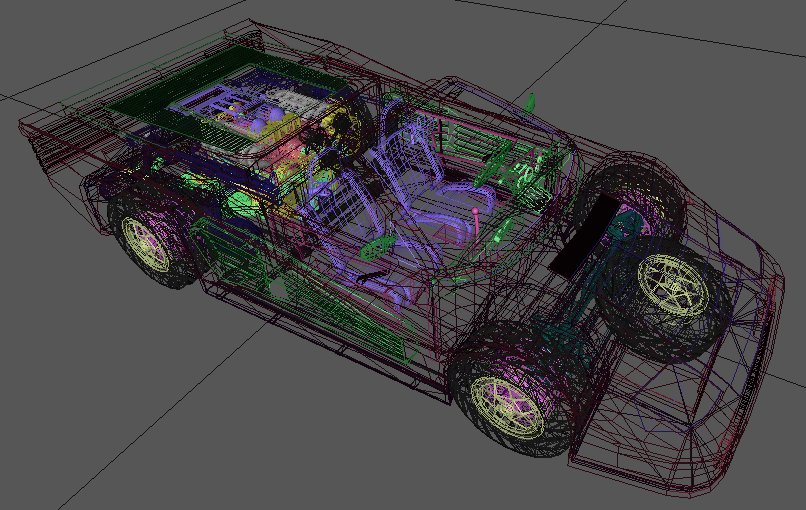
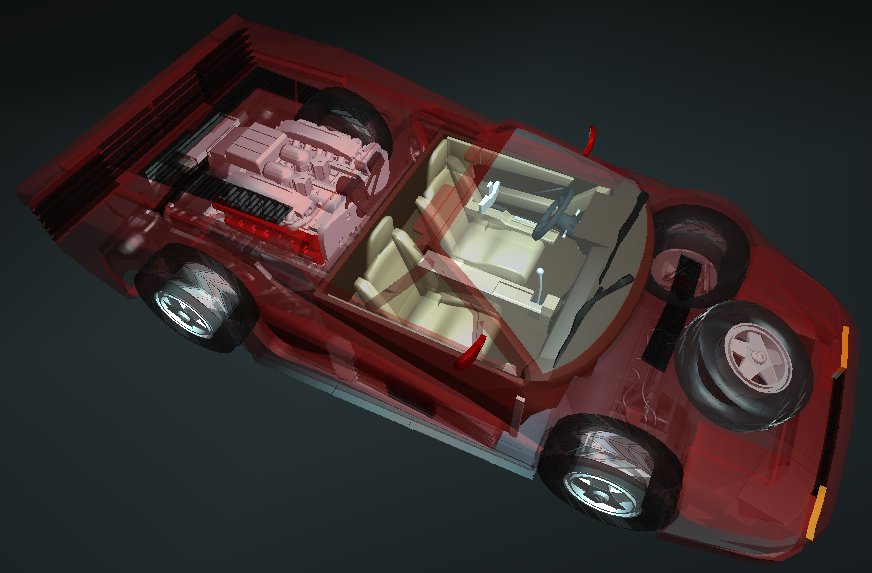
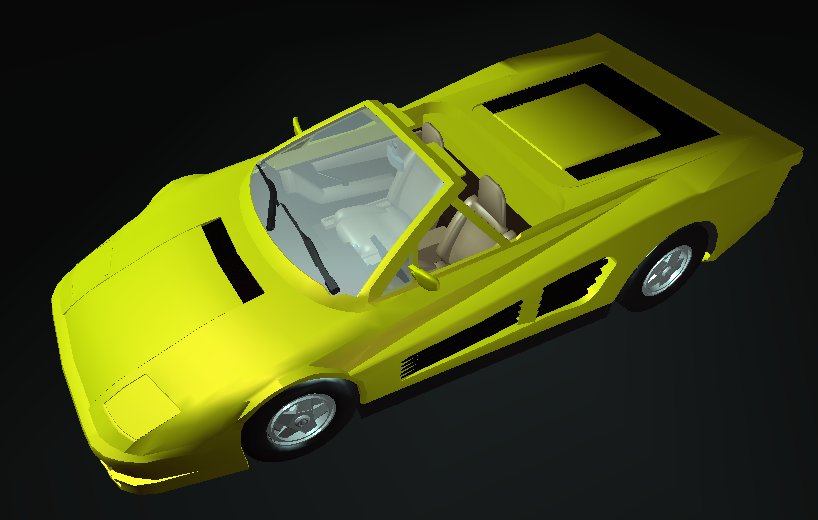
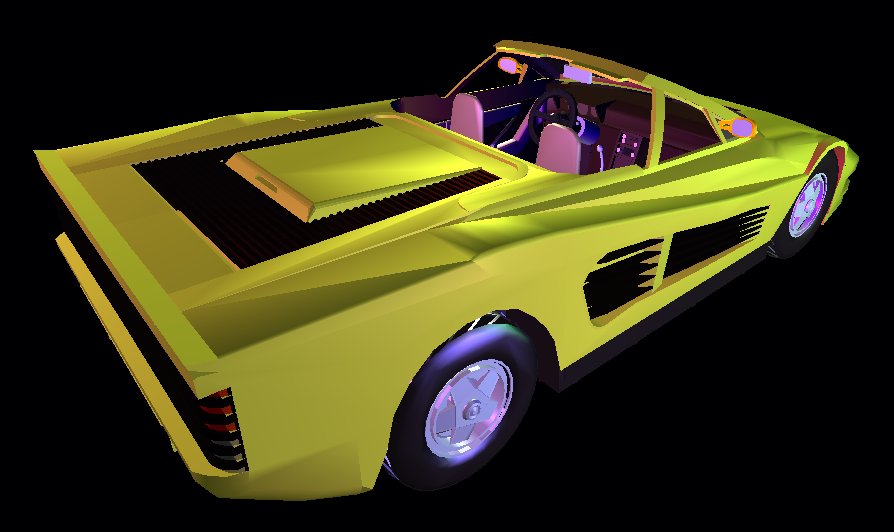
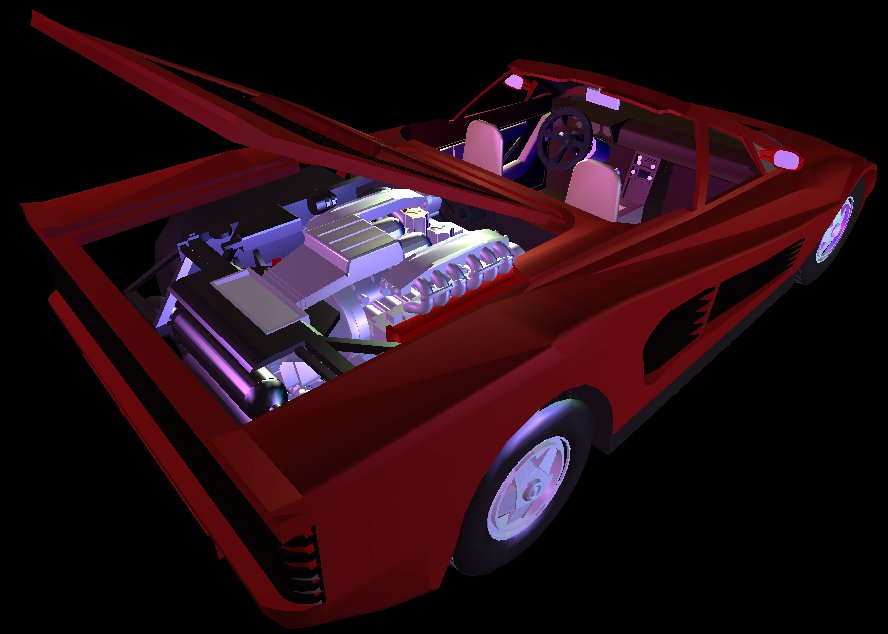
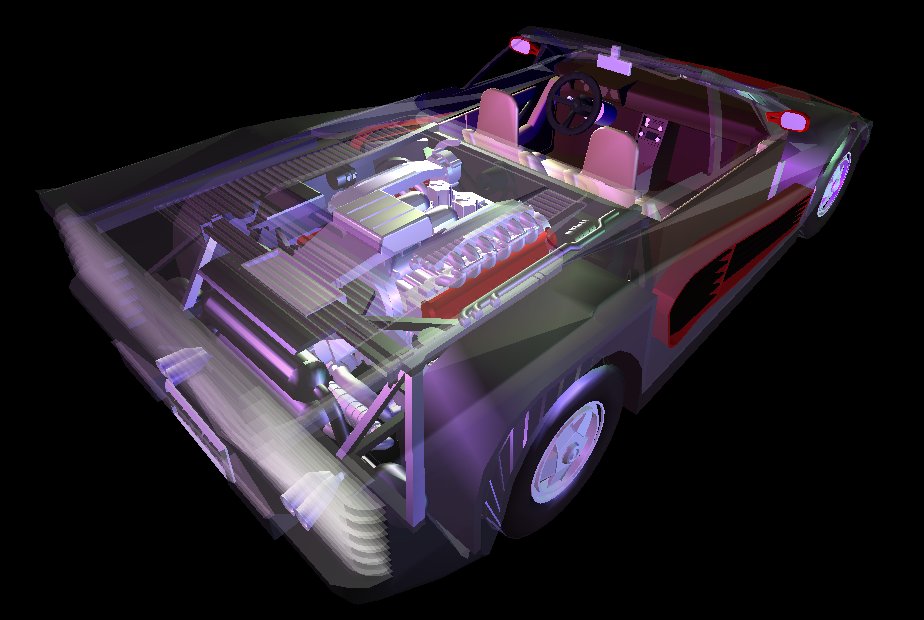
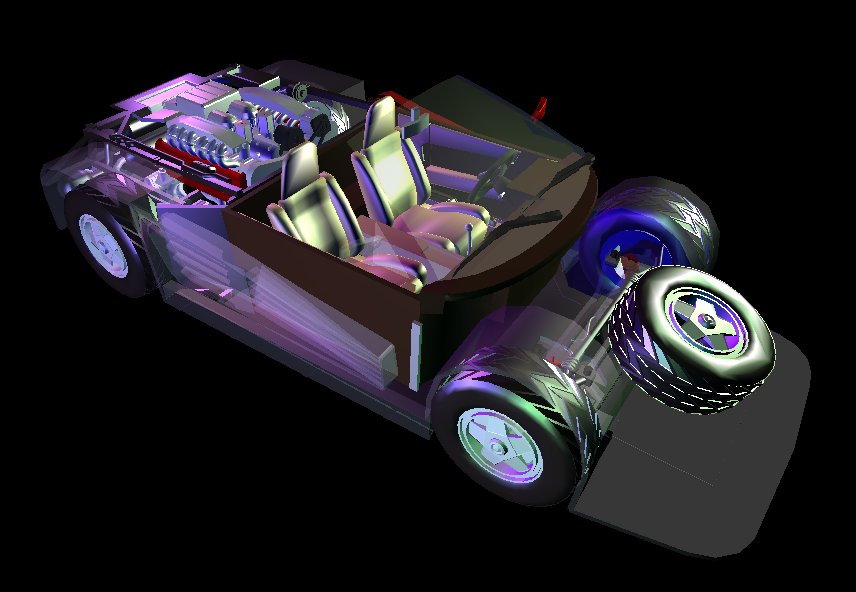
Using a combination of AutoCAD and Gmax, and with the aid of a Vernier Calliper , I modelled a Ferrari Testarossa from a Monogram modeling kit. Yay! This project gave me 3D modelling experience, a better understanding of car design, and a way to fend off boredom and insanity during a co-op work-term. Totally fun and worthwhile!


ANALYSIS
This was a very enjoyable project. I love Ferrari's :D. I got to learn a lot from modelling this Ferrari. Not only did I learn different techniques to create 3D computer models, but I also learned a bit about car design. Seeing how everything fits together (and trying to make them fit together) gives insight on what the original designers had to go through, but naturally this wasn't nearly as intense. My new modelling skills will come in handy for both techincal uses (designing desks -_^) and artistic uses (presentations!). So, definately not a wasted couple of months. Least to say I wasn't bored.
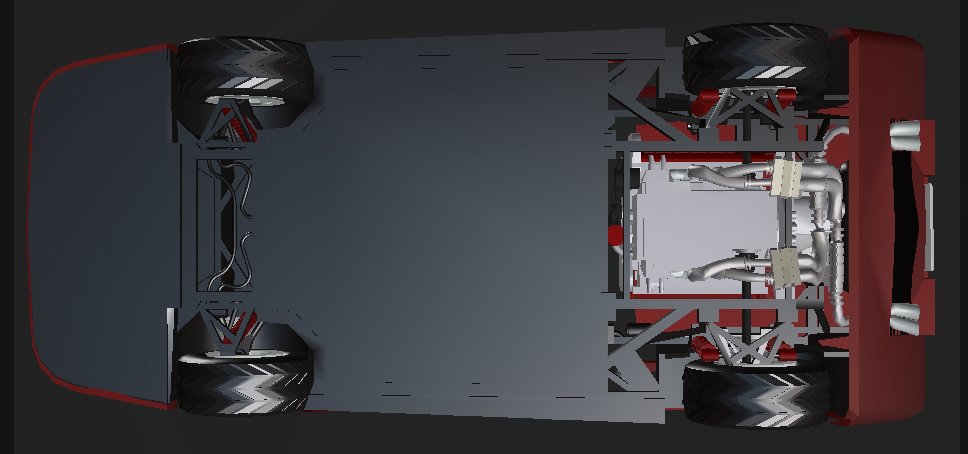
I made quite a few mistakes that experience would have helped with. I should have planned ahead to see which parts will need to fit together properly. The prime example is the catalytic converter. The first part I modelled, and it depended on the most other parts to fit together properly. The engine had to fit into the lower frame, which had to fit onto the chassi. Then the muffler had to fit onto the upper frame which had to fit properly on the lower frame. Needless to say, only measuring with a Vernier Caliper did not yield sufficient accuracy. hehehe... I had to "modify" the catalytic converter quite a bit before it "fit."
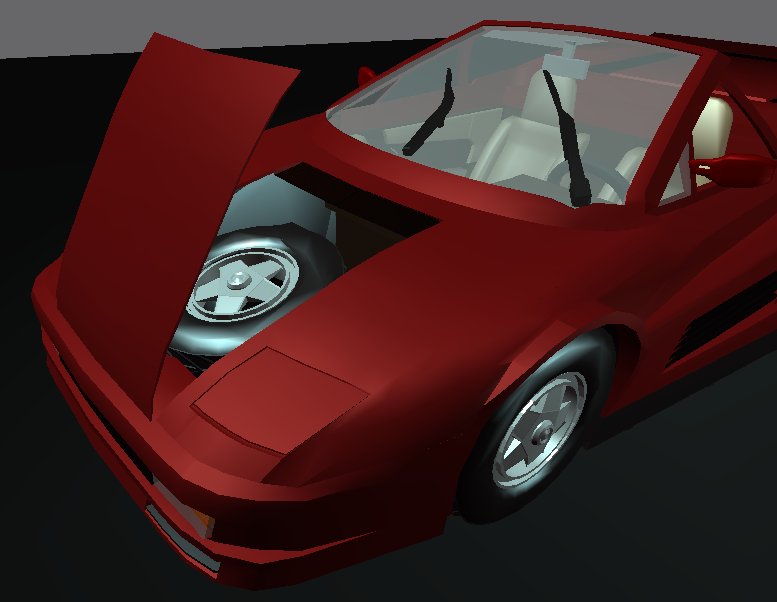
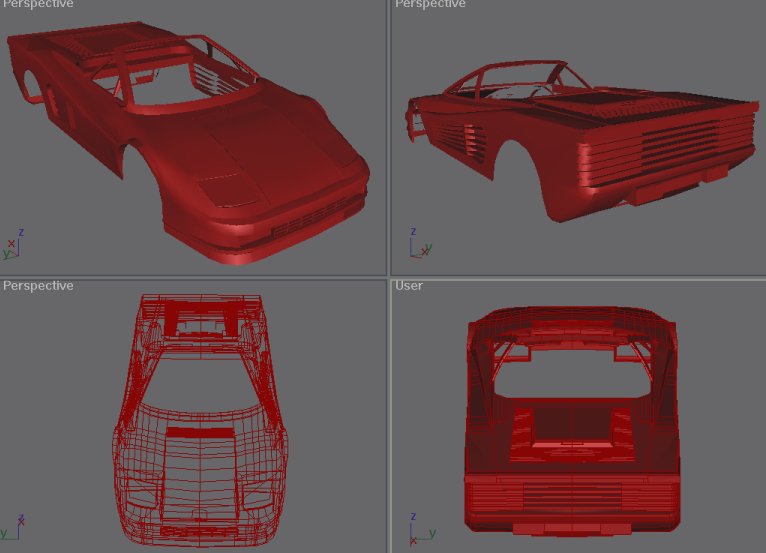
Also, the BODY... YEECH! That was tough. I went about it the 'artsy' way. Normally I would break parts into basic shapes then go from there. I tried to build the body correctly from the start using basic vertices and faces. That was much too random... not a good idea. If I model another car, I will definately take a more ordered approach. But, I hadn't tried that method, and you have to experiment -_^ Good excuse eh?
Here all the parts, listed by number (from the kit) and in chronoligical order from top (newest) to bottom:
26 - Side Mirror [2] Put in a bit more effort with the last part... *sniff*
68 - Exhaust Tips [2] Homestretch, like I said... one more part!
69 - Rear View Mirror Reeks of effort... don't it?
14-15 - Wipers (bevare the viper, who comes at night to vipe... da vindows...)
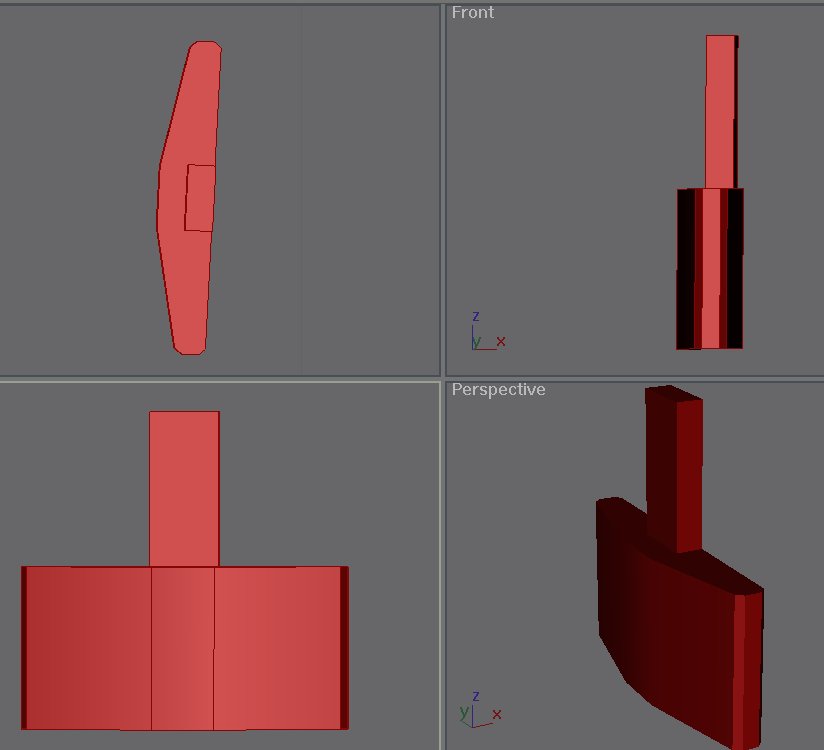
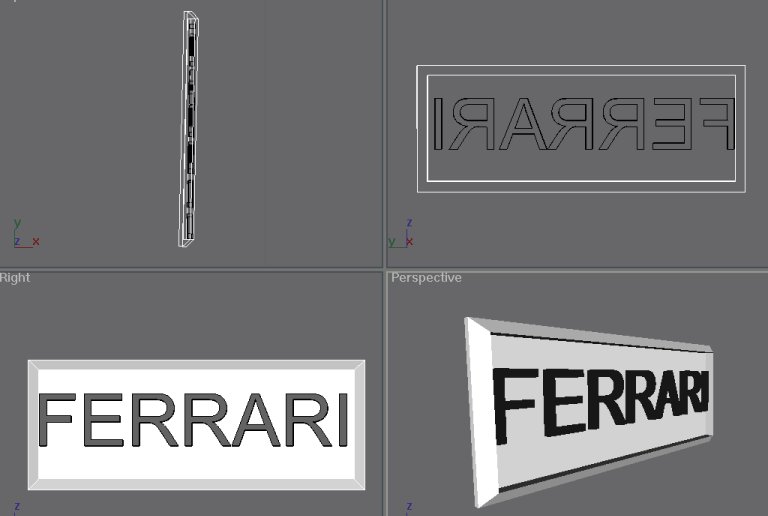
47 - Liscence Plate OOoh... very difficult to model -_^ SQAURE
61 - Outer Wheel [4]
60 - Inner Wheel [4] I sorta kinda improvised a bit with this part... wanted to model brakes...
Tires [5] - There's supposed to be 4, but I modelled the front hood and added a spare :)
1-3 - The Body! Lots of touble with this... turned out okay, from HERE it's the HOMESTRETCH!
19 - Side Panel [2]
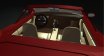
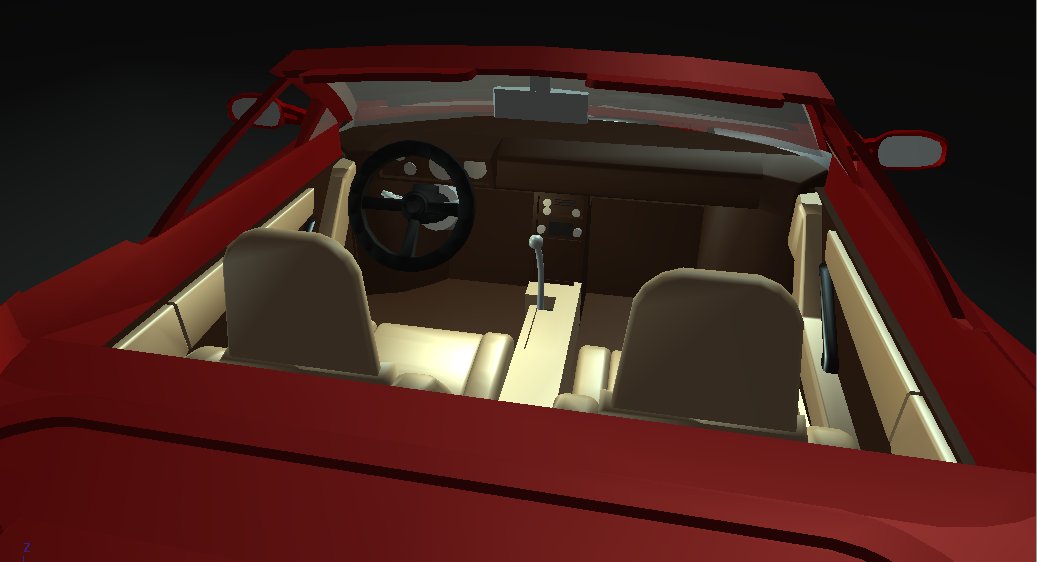
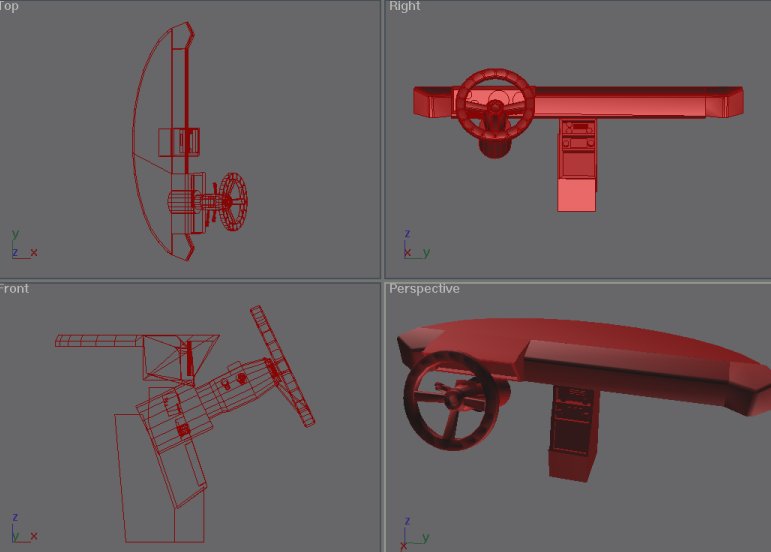
10-13 - Dashboard
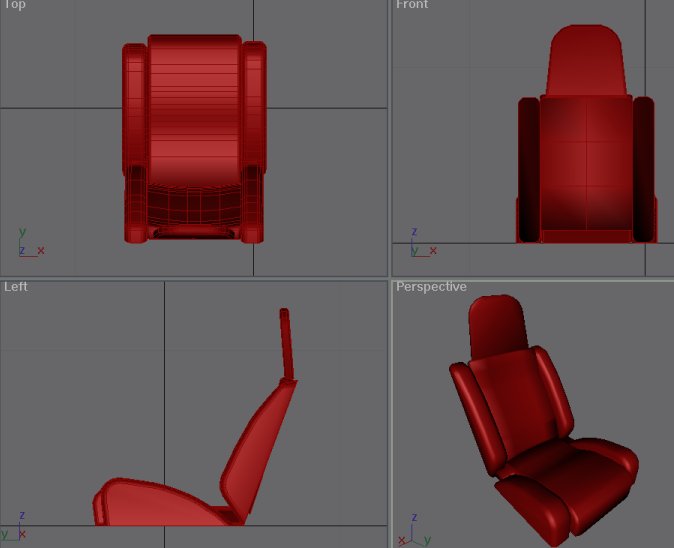
9 - Seats
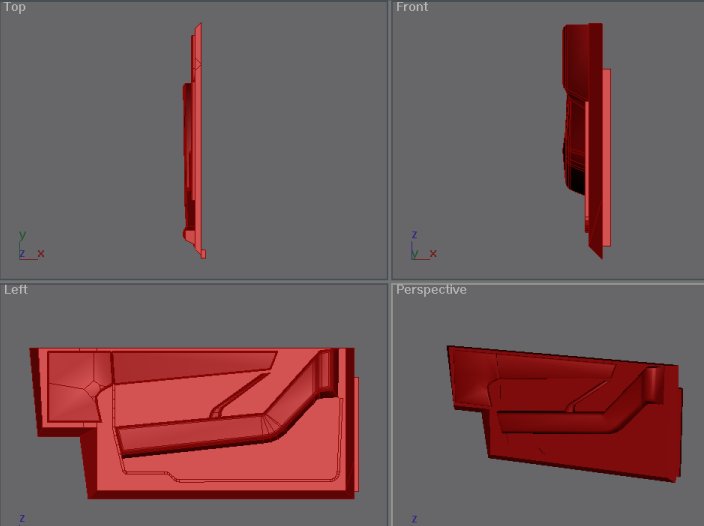
7 - Door Panel
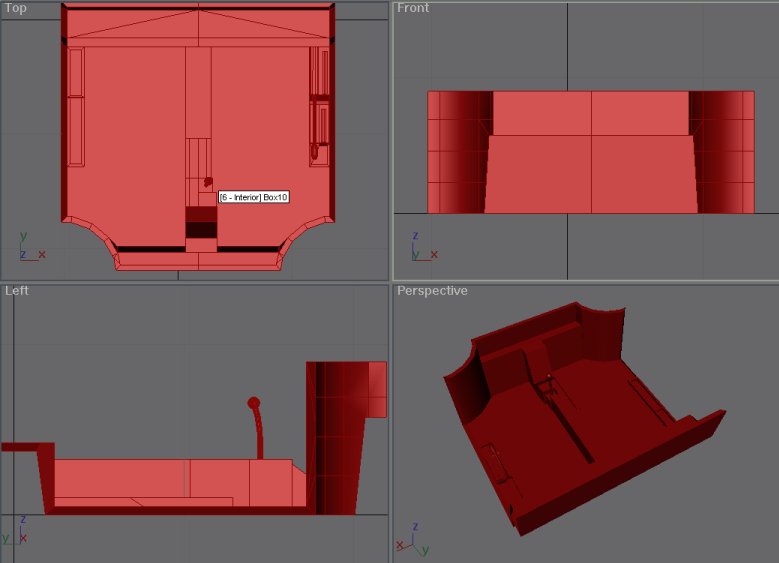
6 - Interior
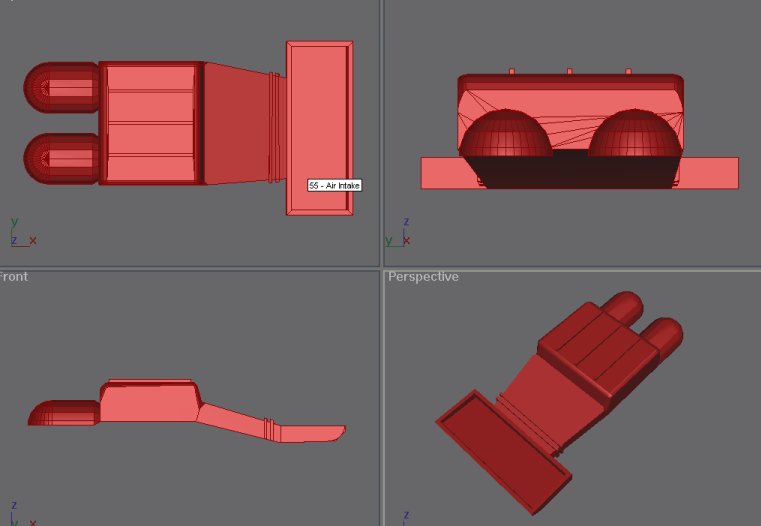
55 - Air Intake
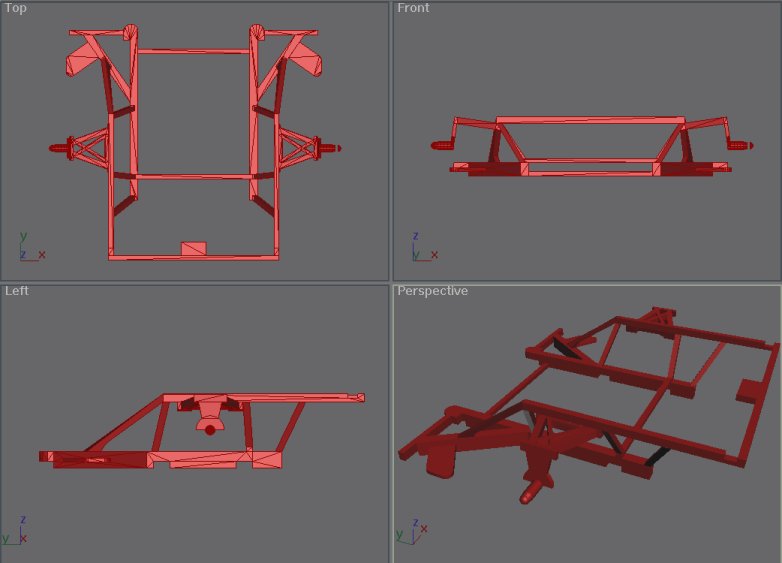
32 - Upper Frame
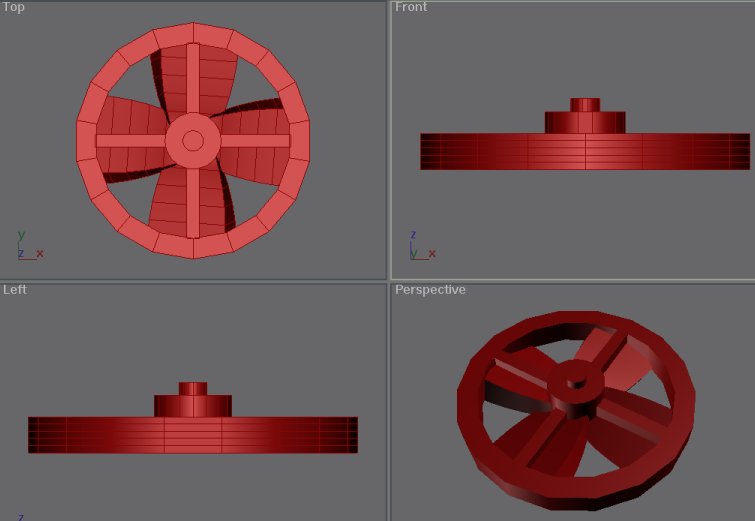
21 - Cooling Fan [ this was a blast to model ]
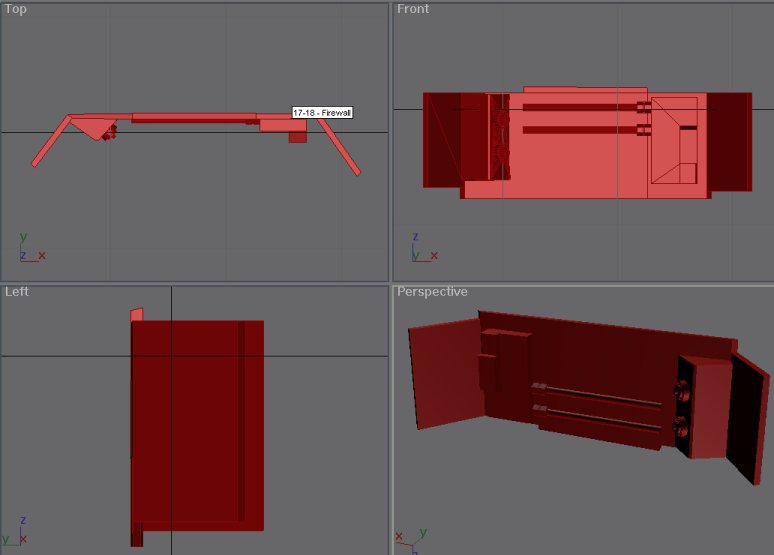
17-18 - Firewall and Fan
62-65 - Exhaust Pipes [4] UGH! YEEACH, this sucked... THe first part I modelled ended up biting me in the bum... I should've seen this comming.. the Catalytic converter didn't fit... so I had mangle it... See for yourself
50-53 - The Muffler Assembly [ there was no way I was modelling these guys separately ]
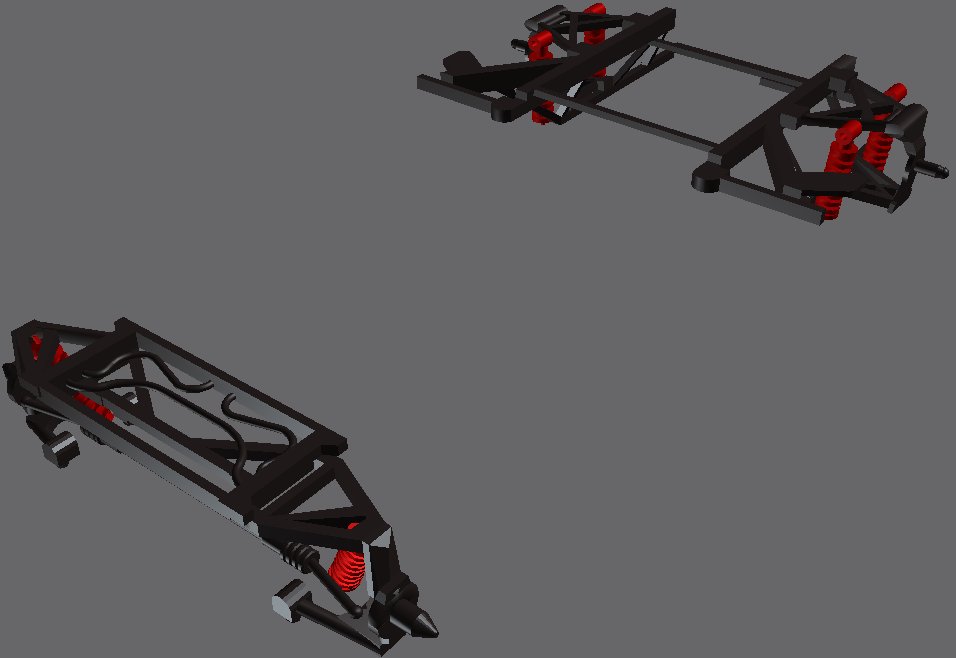
THe SuspenSion Assemblies
25 - Rear Shocks [4]
24 - Front Shocks [2] I had to really mess with this to make it fit...
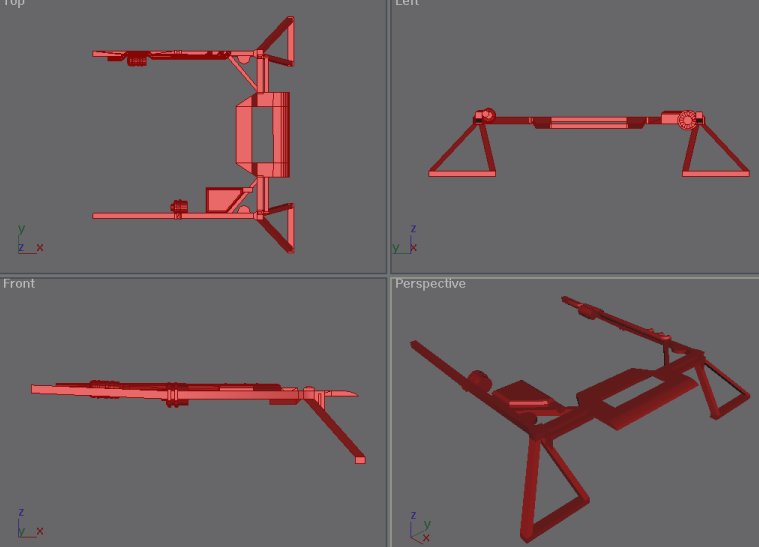
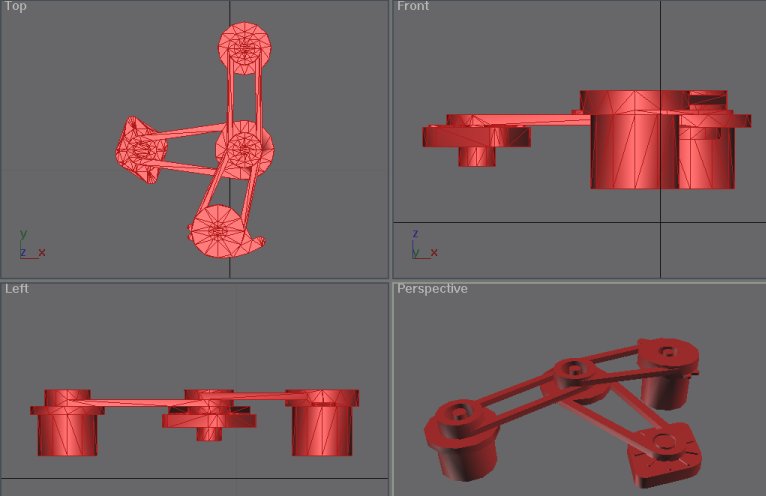
28 - A-Arm Assembly METHINKS THIS LOOKS COOL!
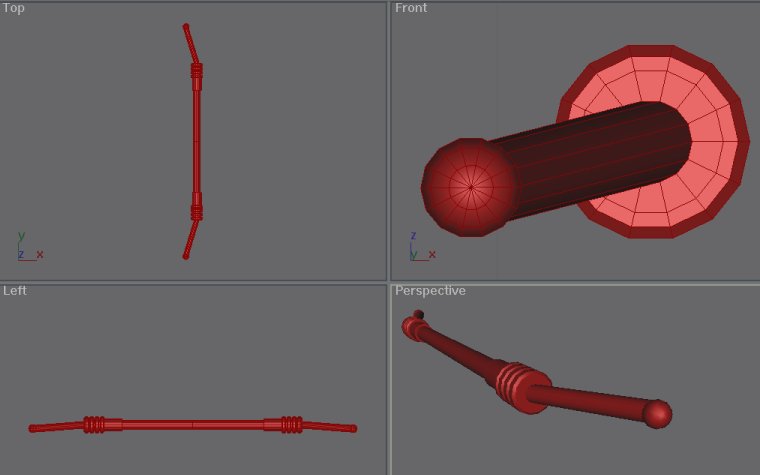
29 - Tie Rod I skimped on this one...heh...
30 [2] - A-Arm Yes, same names....
23 [2] - A-Arm
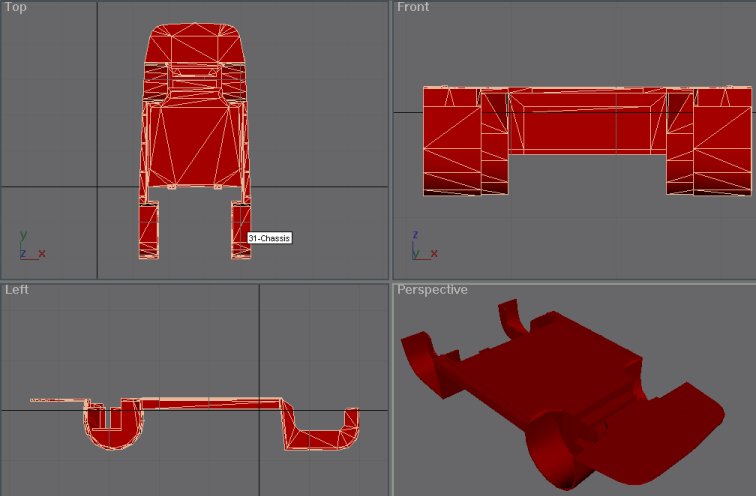
31 - Chassis 10/11/03 - mark this as the day I almost quit modelling this thang... man this was hard... the wheel wells too forever, and they turned out crappy... but my stubborness drives me onwards, plus I gotta show that Steve guy that I'm not just a big fat windbag... :D
33 - Lower Frame
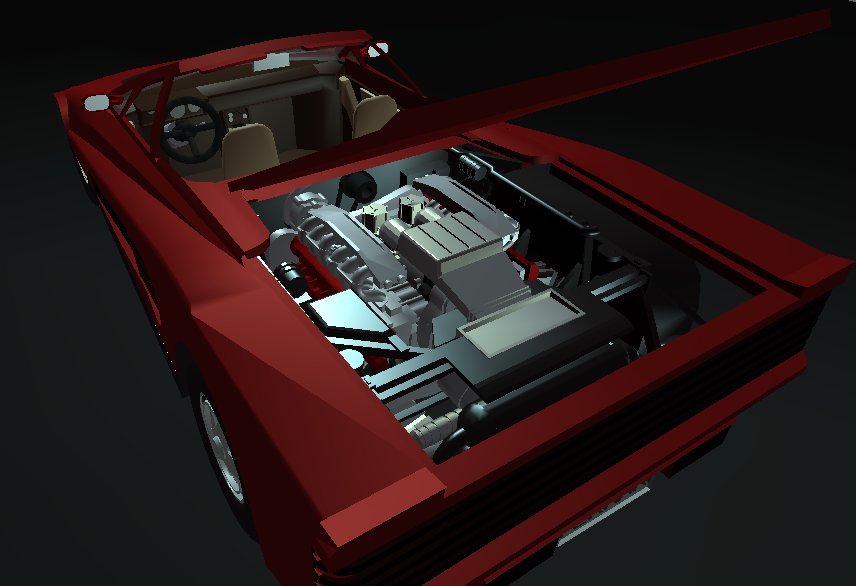
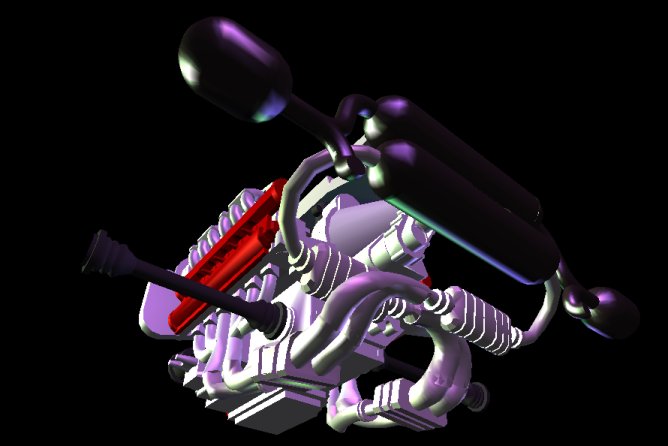
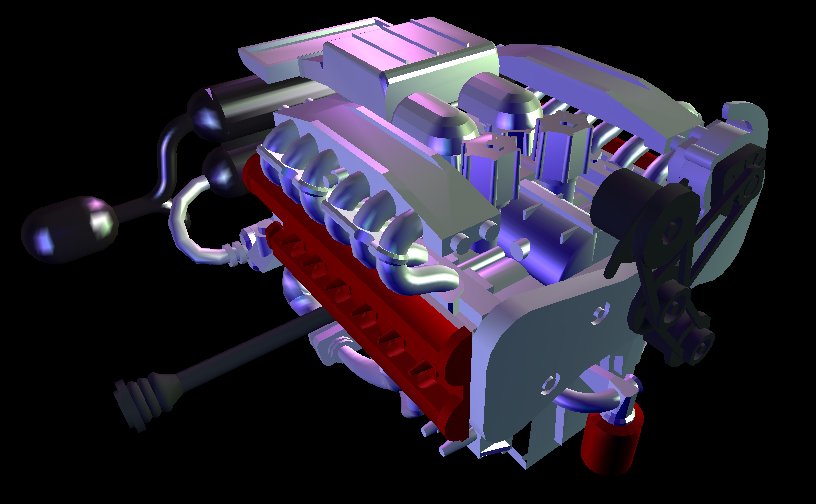
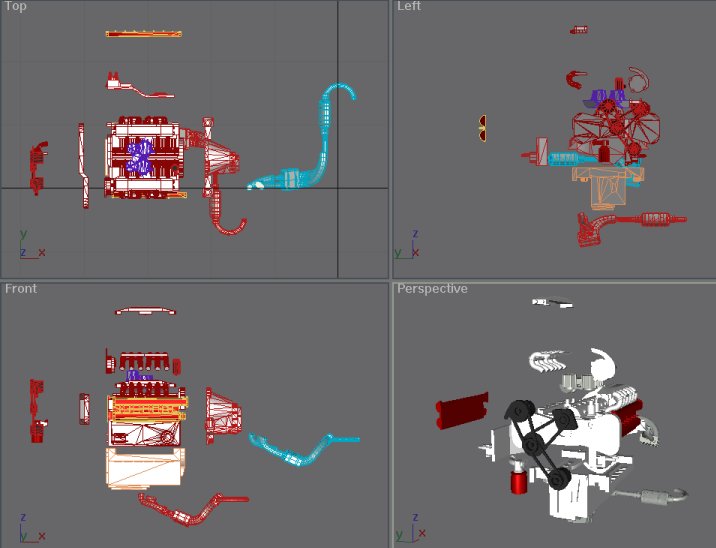
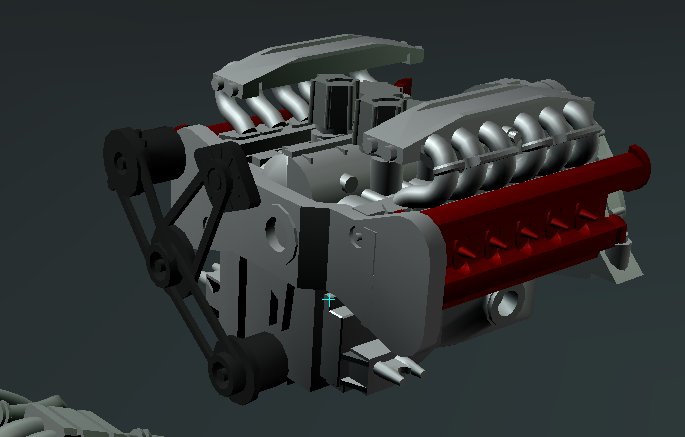
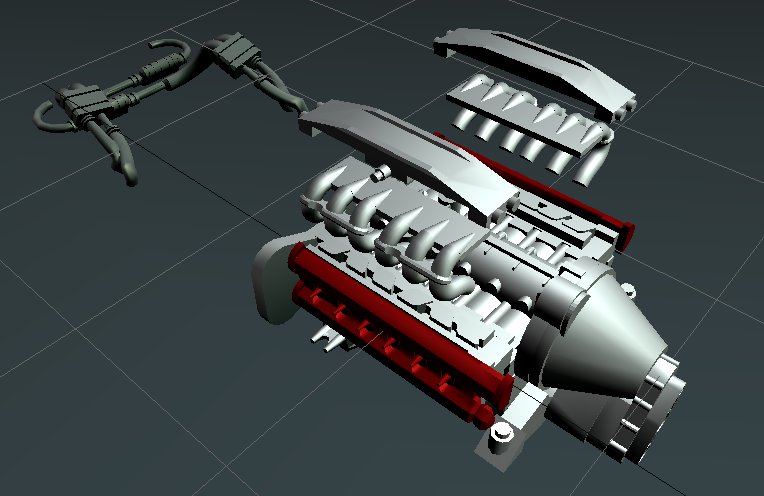
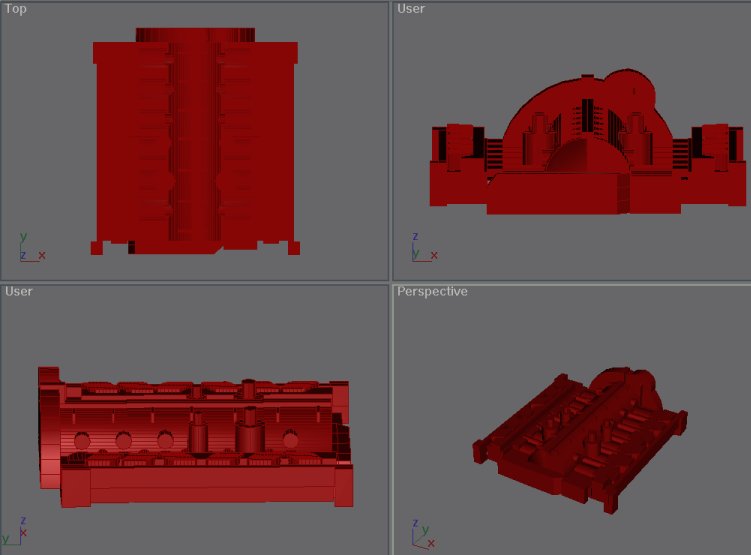
THe ENtire ENgine ASsembly - sorta broke it d0wn for j00s
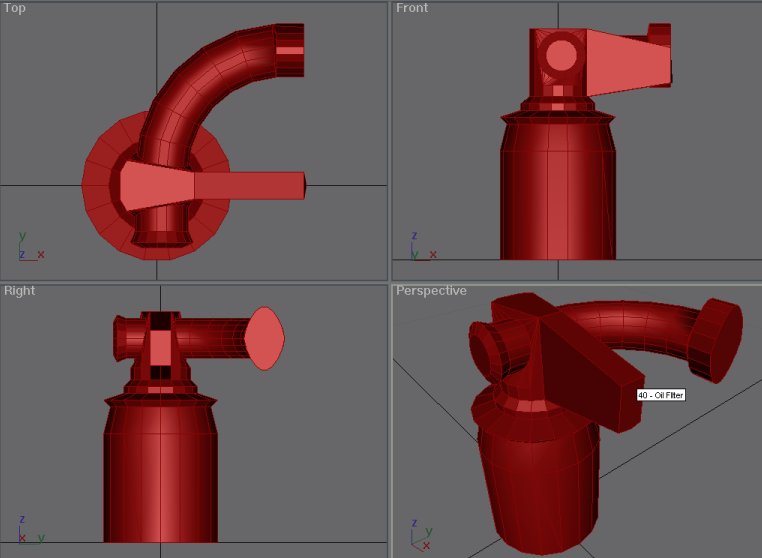
40 - Oil Filter I really kinda like this one... especially with the materials attached.
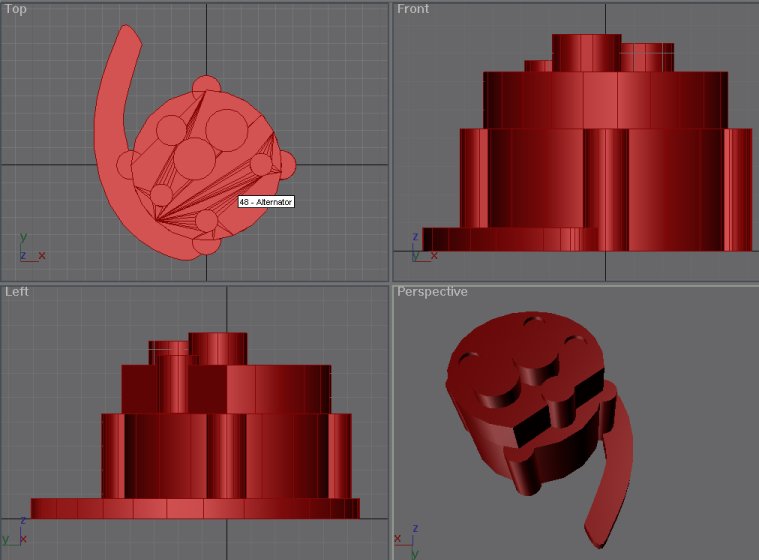
48 - Alternator
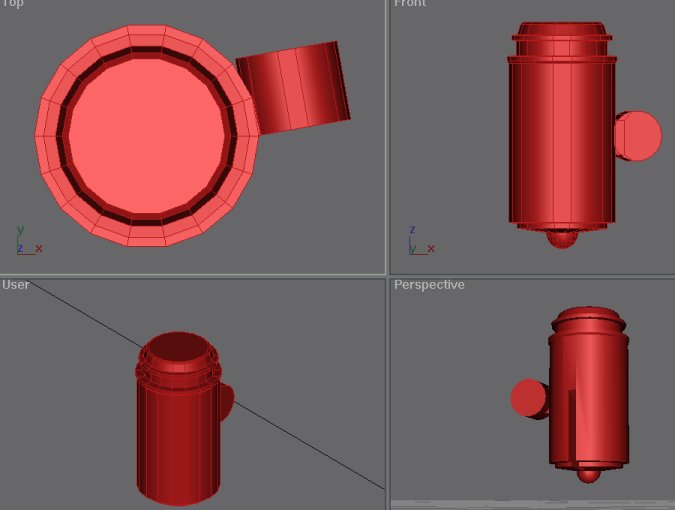
41 - Starter
42 - Pully Assembly and 'cause it's cool: Complete
37 - Fuel Injector - I got a bit lazy on this... it shows...
46 - Lower Manifold[2] and, 'cause it looks cool, complete assembly with the Manifolds being assembled: Complete
44-45 - Manifold [2]
36 - Clutch
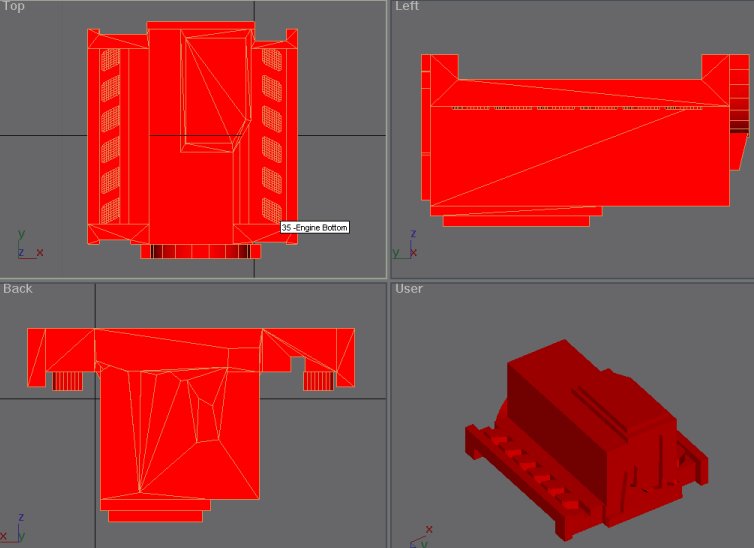
35 - Engine Bottom
34 - Engine Top - Man, that took a while... made mostly out of primitives... a whole lot of 'em (dd/mm/yy 16/10/03)
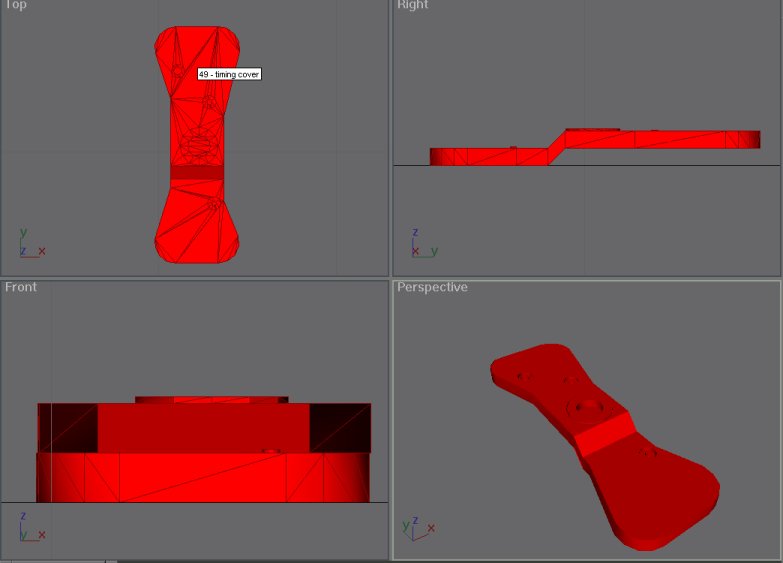
49 - Timing Cover
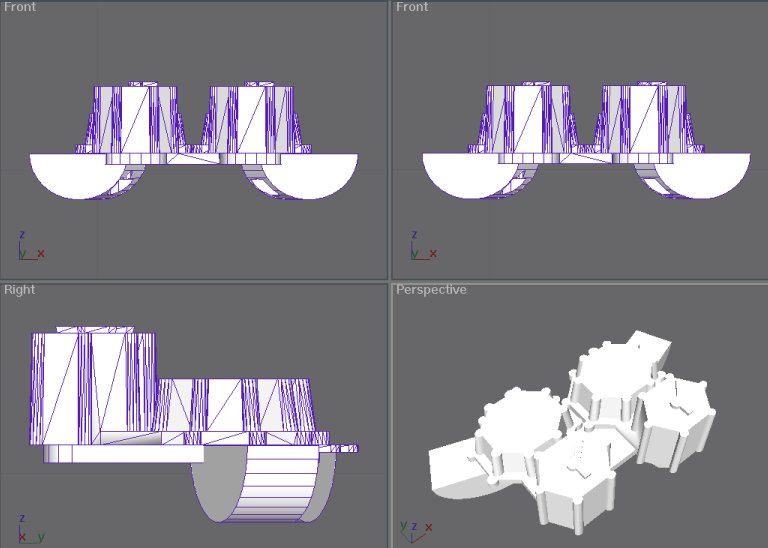
39 - Rocker Cover [2]
57 - Engine Side [2]
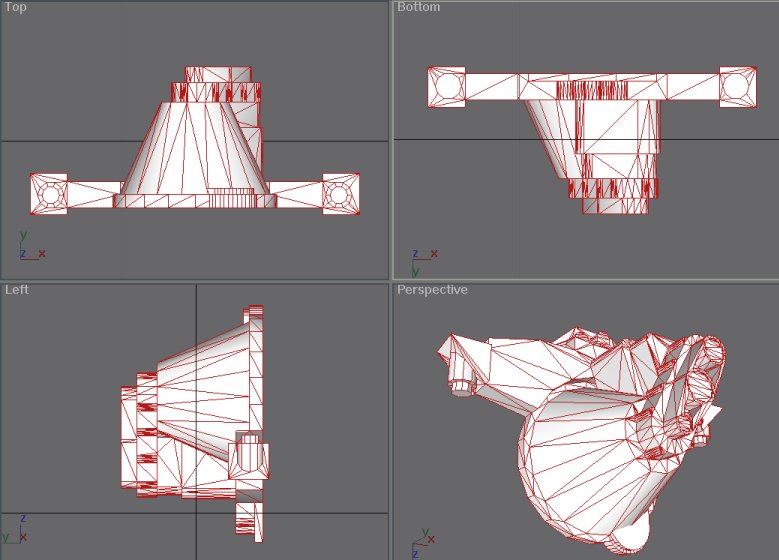
58 - Catalytic Converter [2] and Webcam Fun [58]
|

![26 - Side Mirror [2]](proj/26.jpg)
![68 - Exhaust Tips [2]](proj/68.jpg)
![61 - Outer Wheel [4]](proj/61.jpg)
![60 - Inner Wheel [4]](proj/60.jpg)
![Tires [5]](proj/tire.jpg)
![19 - Side Panel [2]](proj/19.jpg)
![62-65 - Exhaust Pipes [4]](proj/62-65.jpg)
![25 - Rear Shocks [4]](proj/25.jpg)
![24 - Front Shocks [2]](proj/24.jpg)
![30 [2] - A-Arm](proj/30.jpg)
![23 [2] - A-Arm](proj/23.jpg)
![46 - Lower Manifold[2]](proj/46.jpg)
![44-45 - Manifold [2]](proj/44-45.jpg)
![39 - Rocker Cover [2]](proj/39.jpg)
![57 - Engine Side [2]](proj/57.jpg)
![58 - Catalytic Converter [2]](proj/58.jpg)
![Webcam Fun [58]](proj/58_f.jpg)