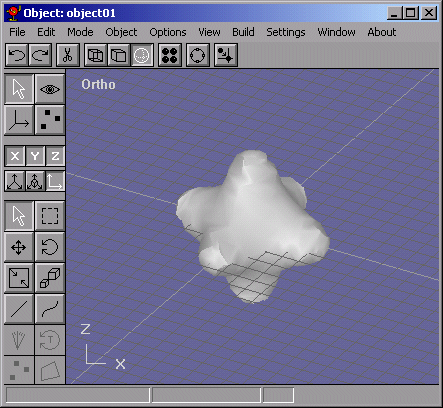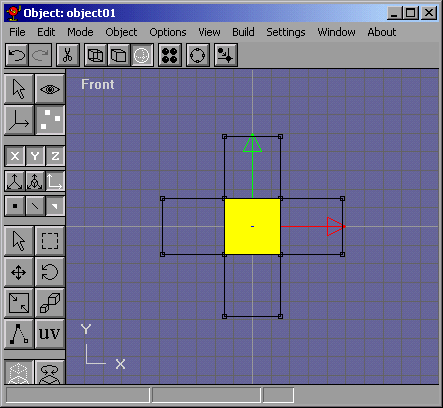
Hello! Welcome to my latest tutorial! Here we will go through some ways to do polygon reduction in anim8or, while it DOESNT support it. Anyway lets get started by making a box in object edit mode, going to Point edit mode and selecting all the faces and extruding them out, like in Figure 1.
Figure 1
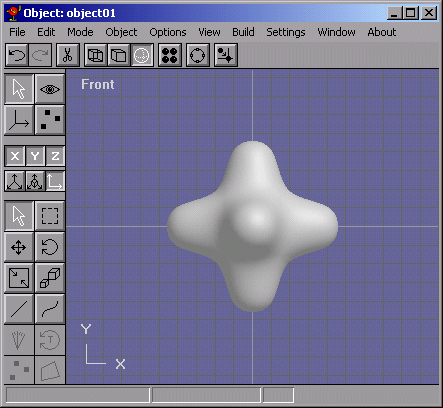
Now go back to Object edit mode and select the mesh. Now do Build->Subdivide Faces with a tension of 1. Do it 3 times and you should get something like Figure 2.
Figure 2
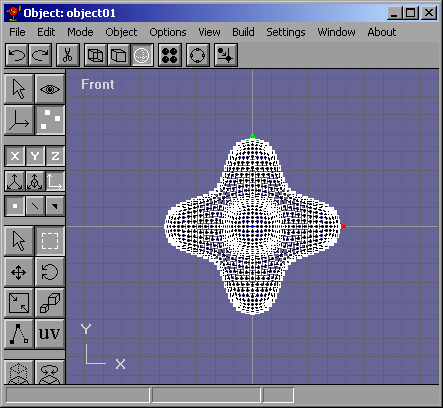
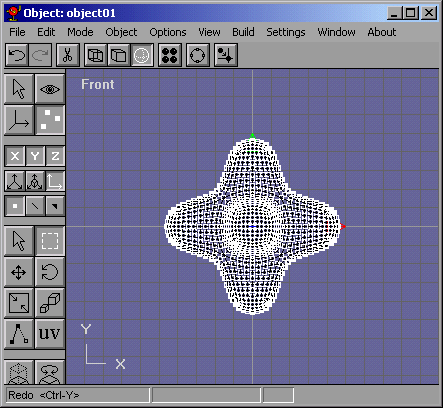
Now go back to Point Edit mode and select all the points like in Figure 3.
Figure 3
Now do Edit->Merge Points with a Distance value of .5. Did you notice anything? To make sure anything happened, hit undo and do Options->Info and look at the Point Count. Mine didnt do anything. So I changed the Merge Point value to 1. Still Nothing. Now increase it to 2 and your mesh should be reduced a little bit like Figure 4. If you cant notice the difference, the difference is that the previous instance of the model had 1922 points and the one merged has 1896.
Figure 4
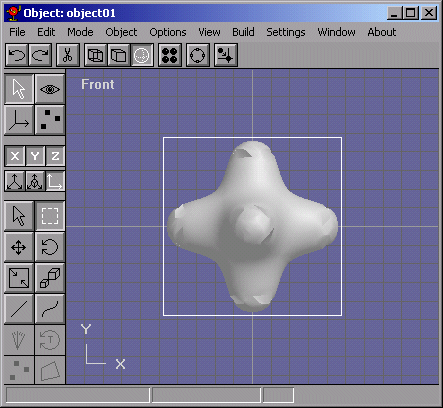
I did it again, and again, but the second time yielded no changes, so now its time to change the Merge Points value. Change it to 2.5 . Mine looks like Figure 6.
Figure 6
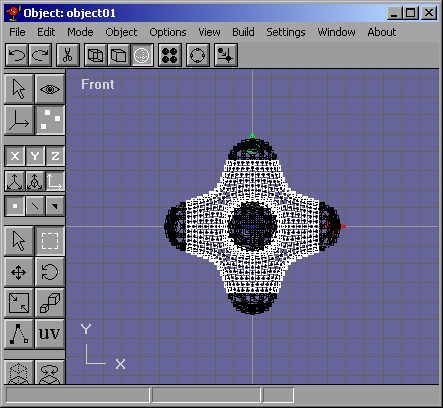
Notice the detail being decreased on the tips? Well, those are the most dense areas and thats why they were the first parts to be merged. I dont want to edit that part so that the detail doesnt get totally lost. So what I do, is I select those parts and do Edit->Select->Invert Selection. It looks like Figure 7.
Figure 7
I merged them twice at a value of 3. Now reselect and invert and merge with a vallue of 4. Keep going like that until you get the mesh to the desired level of detail you want. Figure 8.
This can be used for lowering polycount on models you download or for models that are high resolution and you want them to be low polycount for use in a game or something. Im not saying only use it for optimization, but use it to get your model down in polycount so that you can do the rest manually later. My final figure looks like Figure 9. It went from 1922 points and 1920 faces to 1136 Points and 1392 Faces.
Figure 9