SEPTEMBER 21, 2009


| BUILDING A SMALL BRIDGE SEPTEMBER 21, 2009 |
|||||||||||||||||||||
| [home] | |||||||||||||||||||||
| Because of the washout (2 pages back) we knew we needed better drainage. Plus the plastic culvert pipe is the ideal material for a boiler for our next project, an 0-4-0 Camelback locomotive. Here's how we built a new bridge. | |||||||||||||||||||||
|
|
||||||||||||||||||||
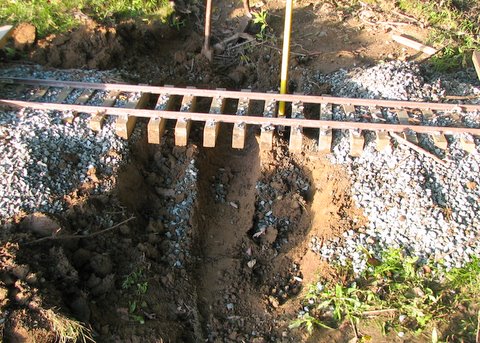
| BALLAST AND SOIL REMOVED - The soil was damp so it was easy to remove the ballast and soil. The top of the culvert was only an inch under the ties. | |||||||||||||||||||||
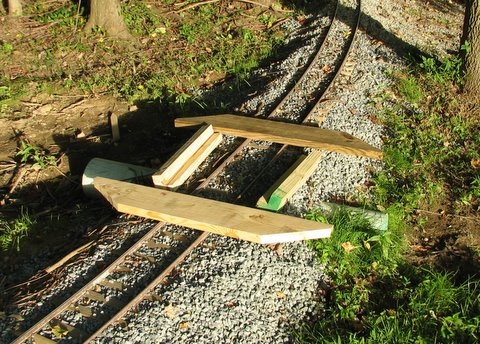
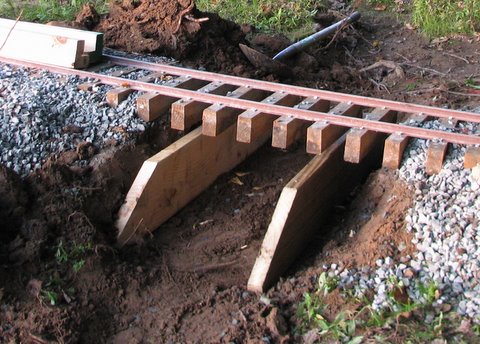
| PARTS - A couple of 25-inch 4x4's notched to support the ends of the ties, and pair of 4-foot 2x8's with ends cut in a diagonal. | |||||||||||||||||||||
|
|
||||||||||||||||||||
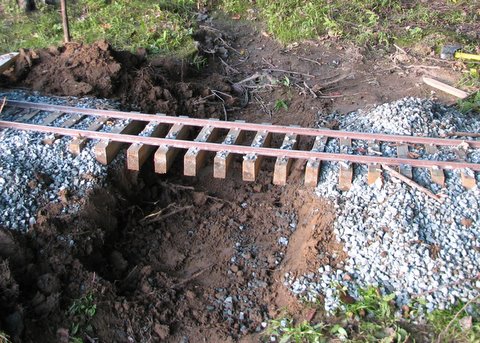
| OUT WITH THE CULVERT - Just a few taps with the back side of an axe. | DIGGING IT OUT - The only problem was a few tree roots, easily chopped off. | ||||||||||||||||||||
|
|
||||||||||||||||||||
| SOUTH ABUTMENT - I had to dig out a large rock and cut a tree root. | |||||||||||||||||||||
| NORTH ABUTMENT - Tight up against the newly dug sides. | |||||||||||||||||||||
|
|
||||||||||||||||||||
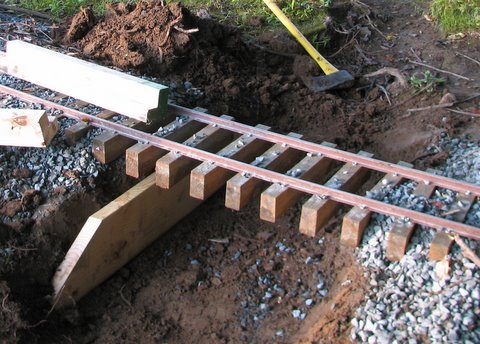
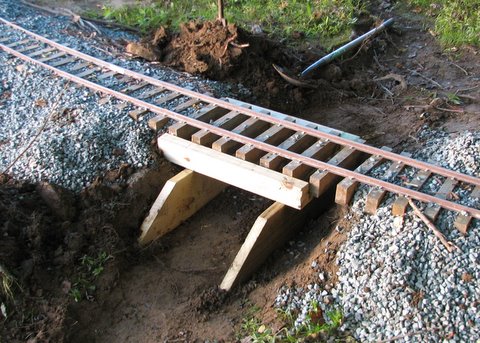
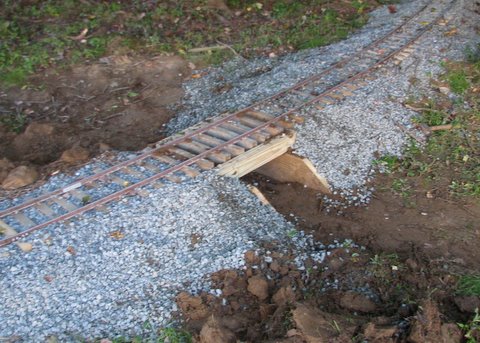
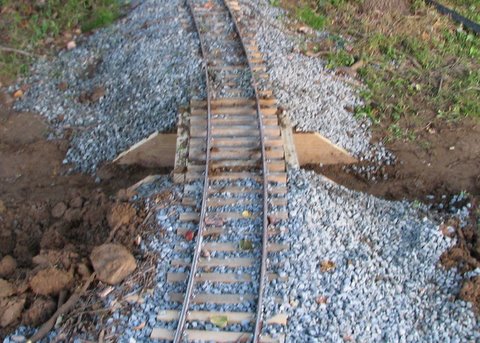
| SIDE PANELS INSTALLED - Temporarily offset because of a mismatched tie. | BASIC BRIDGE COMPLETED - Soil replaced and tamped, ballast reapplied. | ||||||||||||||||||||
|
|||||||||||||||||||||
|
|||||||||||||||||||||
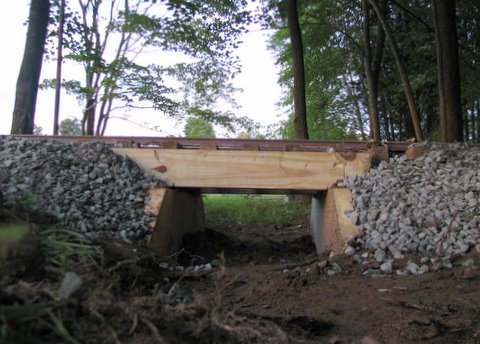
| VIEW FROM BELOW - The opening is 14 inches wide and 8 inches deep. | VIEW FROM THE TRAIN - It certainly looks like it fits! | ||||||||||||||||||||
|
|||||||||||||||||||||
|
|||||||||||||||||||||
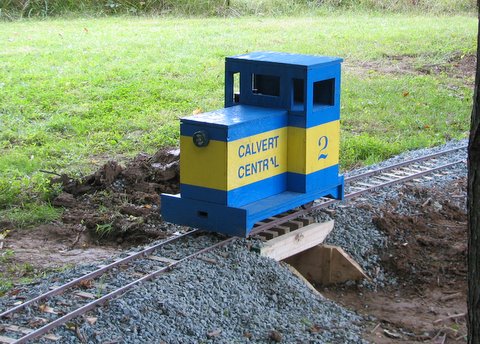
| STRENGTHENING - The next day I built and installed this frame, which will close the gap between the abutments and the ties, and keep the abutments vertical. | TEST DRIVING - The Critter is posing on the new bridge. In a few minutes, Charlotte and I will be riding across the new bridge. It works great. | ||||||||||||||||||||