Create A Table with Microsoft Word
![]()
| Open
Microsoft Word
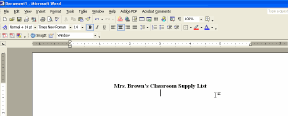
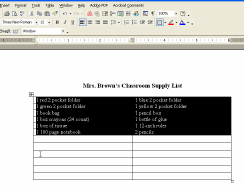
Type in a Title for your chart. For example, School Supply List. Press Enter key to go to the next line. |
 |
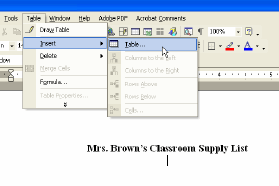
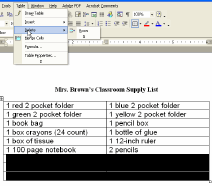
| Next go to the Table Menu. Then select Insert table |
 |
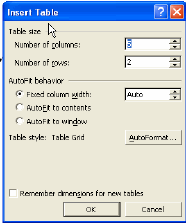
| You will see an Table Menu appear. Enter the number of columns and rows you will need. NOTE: You can always add more columns and rows later, if needed. |
 |
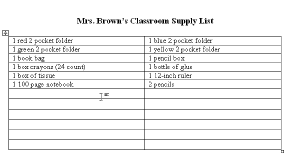
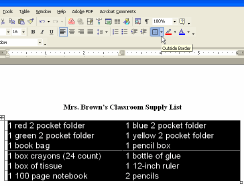
The table you created will now appear.You can click in a cell and begin entering in your text. You can align your text just like you can in a regular document. You can modify your text in your table by going to your Formatting toolbar. |
 |
First highlight your text, then go to Font, select new Font. You can also click on Font Size to change the size of your font. Another formatting feature you can do is to change the width or height of your columns. Move your cursor between the columns or rows, until you see the crosshatch cursor appear. Then hold your mouse down and drag until you get the desired size. |
 |
To delete rows or columns, highlight the those that you want to delete. Go to Table menu, delete columns or rows. NOTE: Highlighting the columns or rows and pressing the delete key, will not work! |
 |
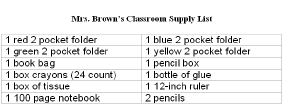
You can also hide borders in your table. Highlight the cells, click on the borders icon. Select the type of border you want. For example, border on the top row, bottom row, all around or no border. |
 |
|
Congratulations on completing your table! |
 |