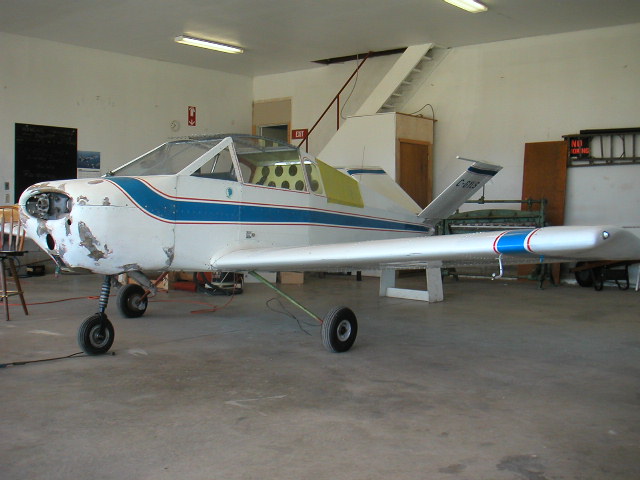
I started the re-assembly project in July 2002 instead of going to Oshkosh. Basically the fuselage had a few dings and dints to fix. The wing tip has damage forward of the spar with no damage to the spar so a simple re-skin will suffice. The turtle deck was wrinkled so a re-skin here was the lightest and fastest way to make the airframe look new. I found the steel cabin cage deformed a bit so I went to the trouble of straitening it until it me the original design dimensions.
Starboard wing is done, paint chipped off of the turtle deck already! Door is a perfect fit.
___________________________________________________________
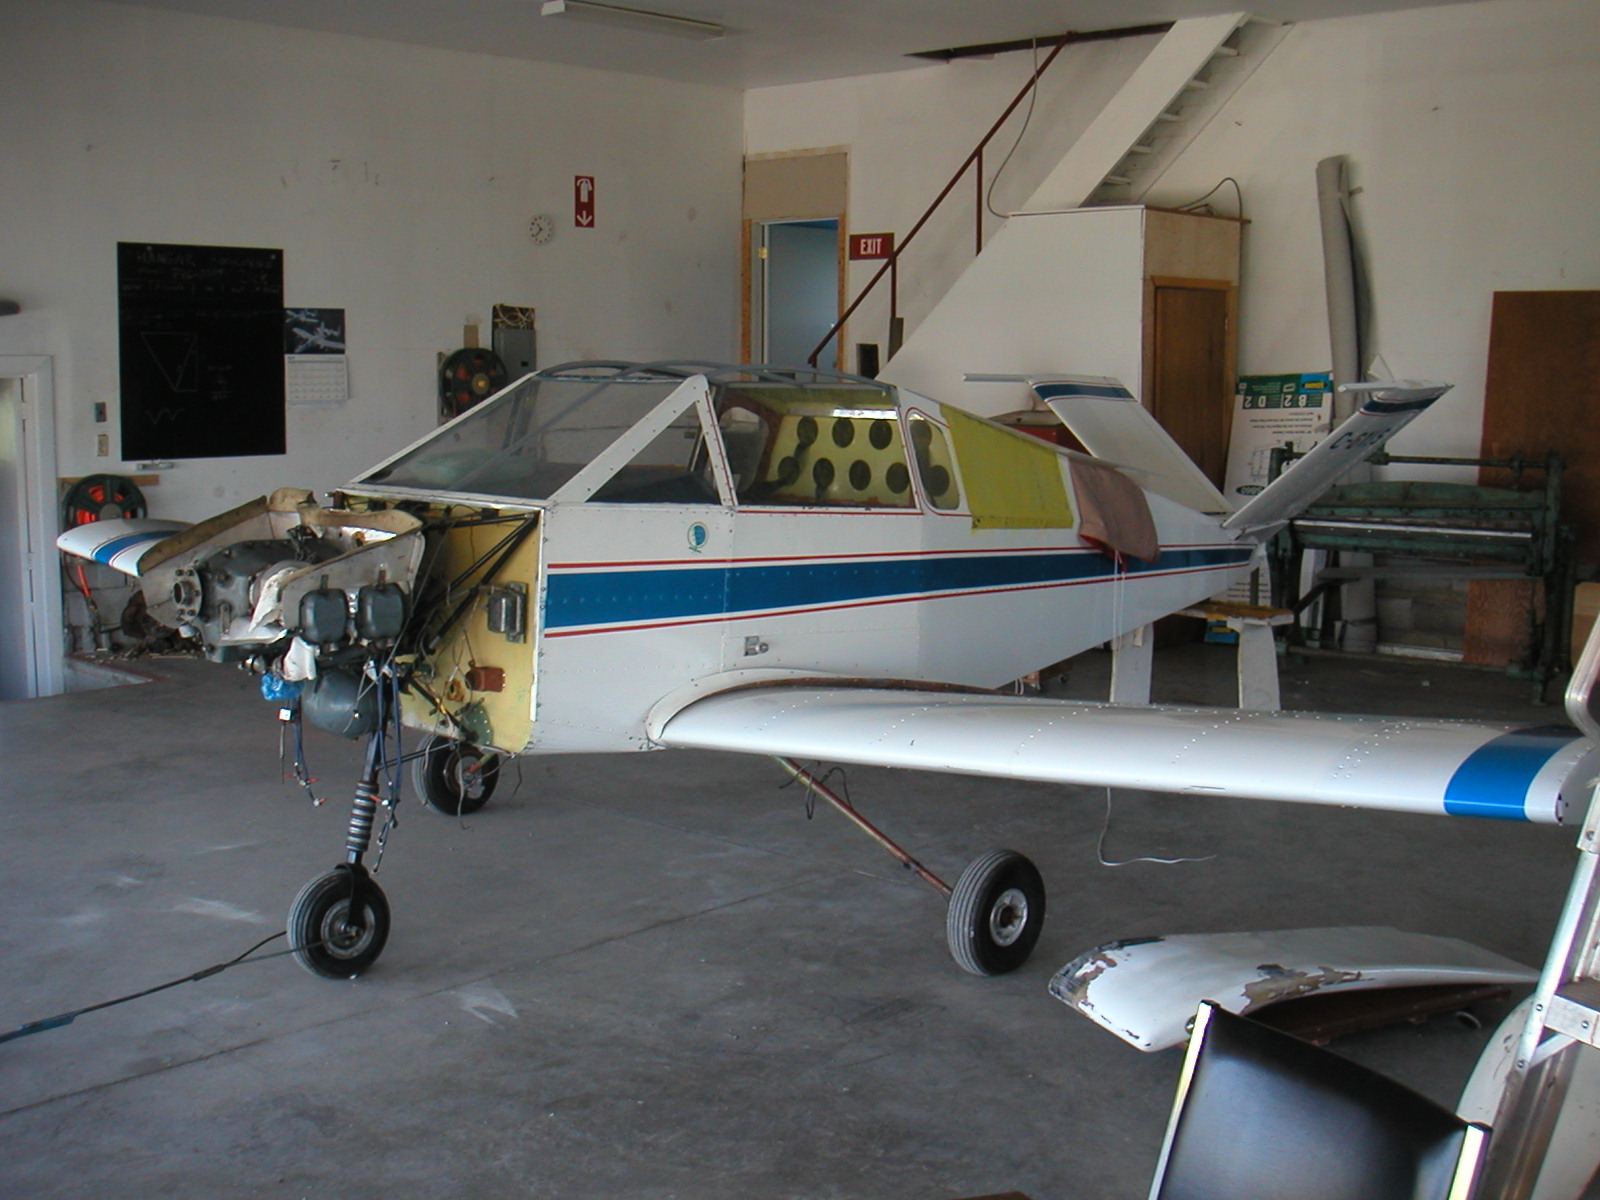
Here is a shot with the engine mounted temporarily. It turned out that the lower two engine bolts were too short. The two lower bolts needed to be 1/4 inch longer due to the engine mount re-work.
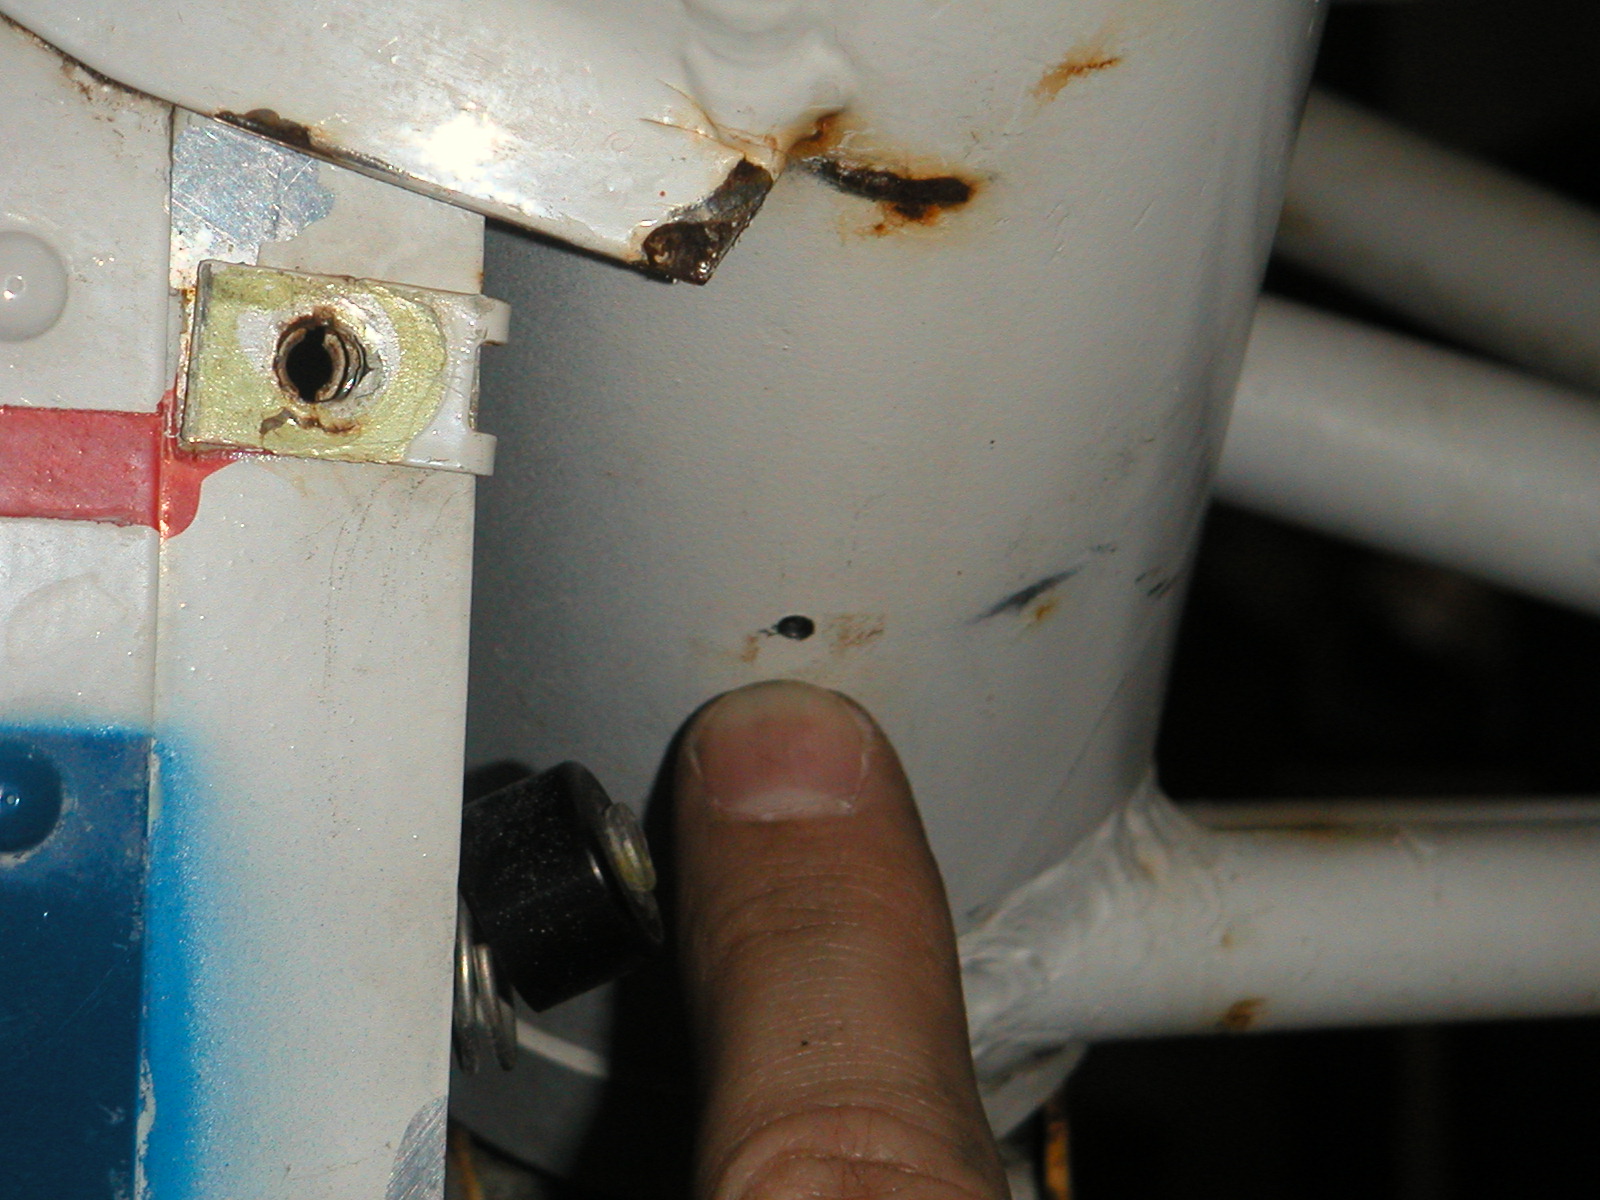
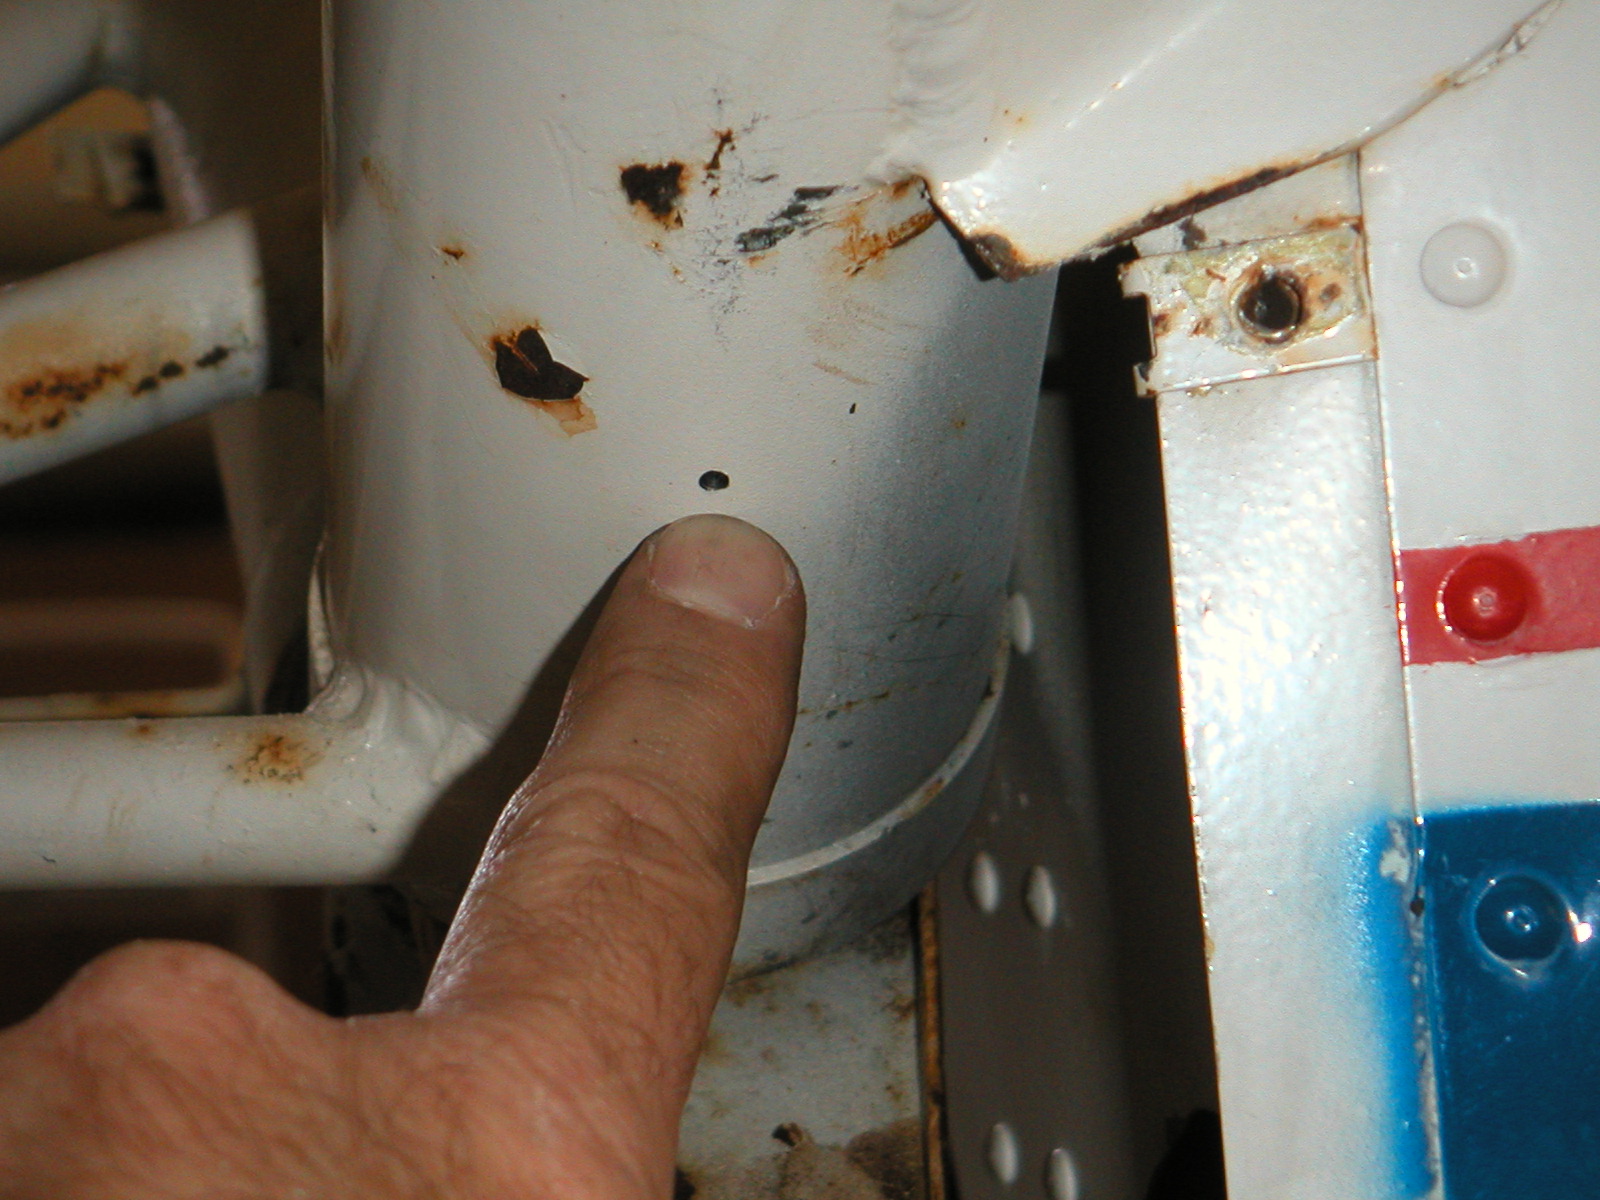
I had a "ruddavator" get stiff over the winter plus some corrosion (starboard side lower bearing). I drilled two small diameter holes in the external tube about two inches up from the lower bearing so I could spray in some WD-40 and then Castrol chain lube. I also plan to coat the top surface of the top bearing with silicon grease. This will not wash away, if reapplied each year, and will form a water shed for any rain or snow which sits on the top surface. I can always re-use WD-40 as a re-lubricator/wash if necessary - the lube holes will be plugged with a small amount of bees wax - this has been added to my pre-flight walk around inspection list.
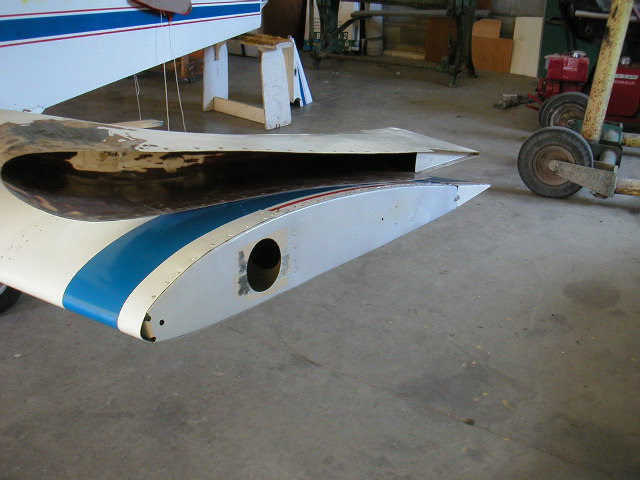
I had to remake a wing tip rib as the wing end and tip was damaged when it was stored. Luckily no damage to the spar. The Fiberglas wing tip was badly damaged so major repairs to this are being done.

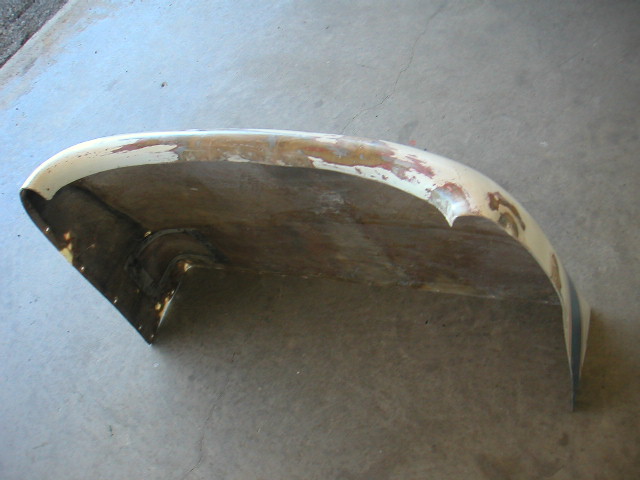
The cowling also requires major repairs and is yet to be completed. The lower half was broken in two pieces.
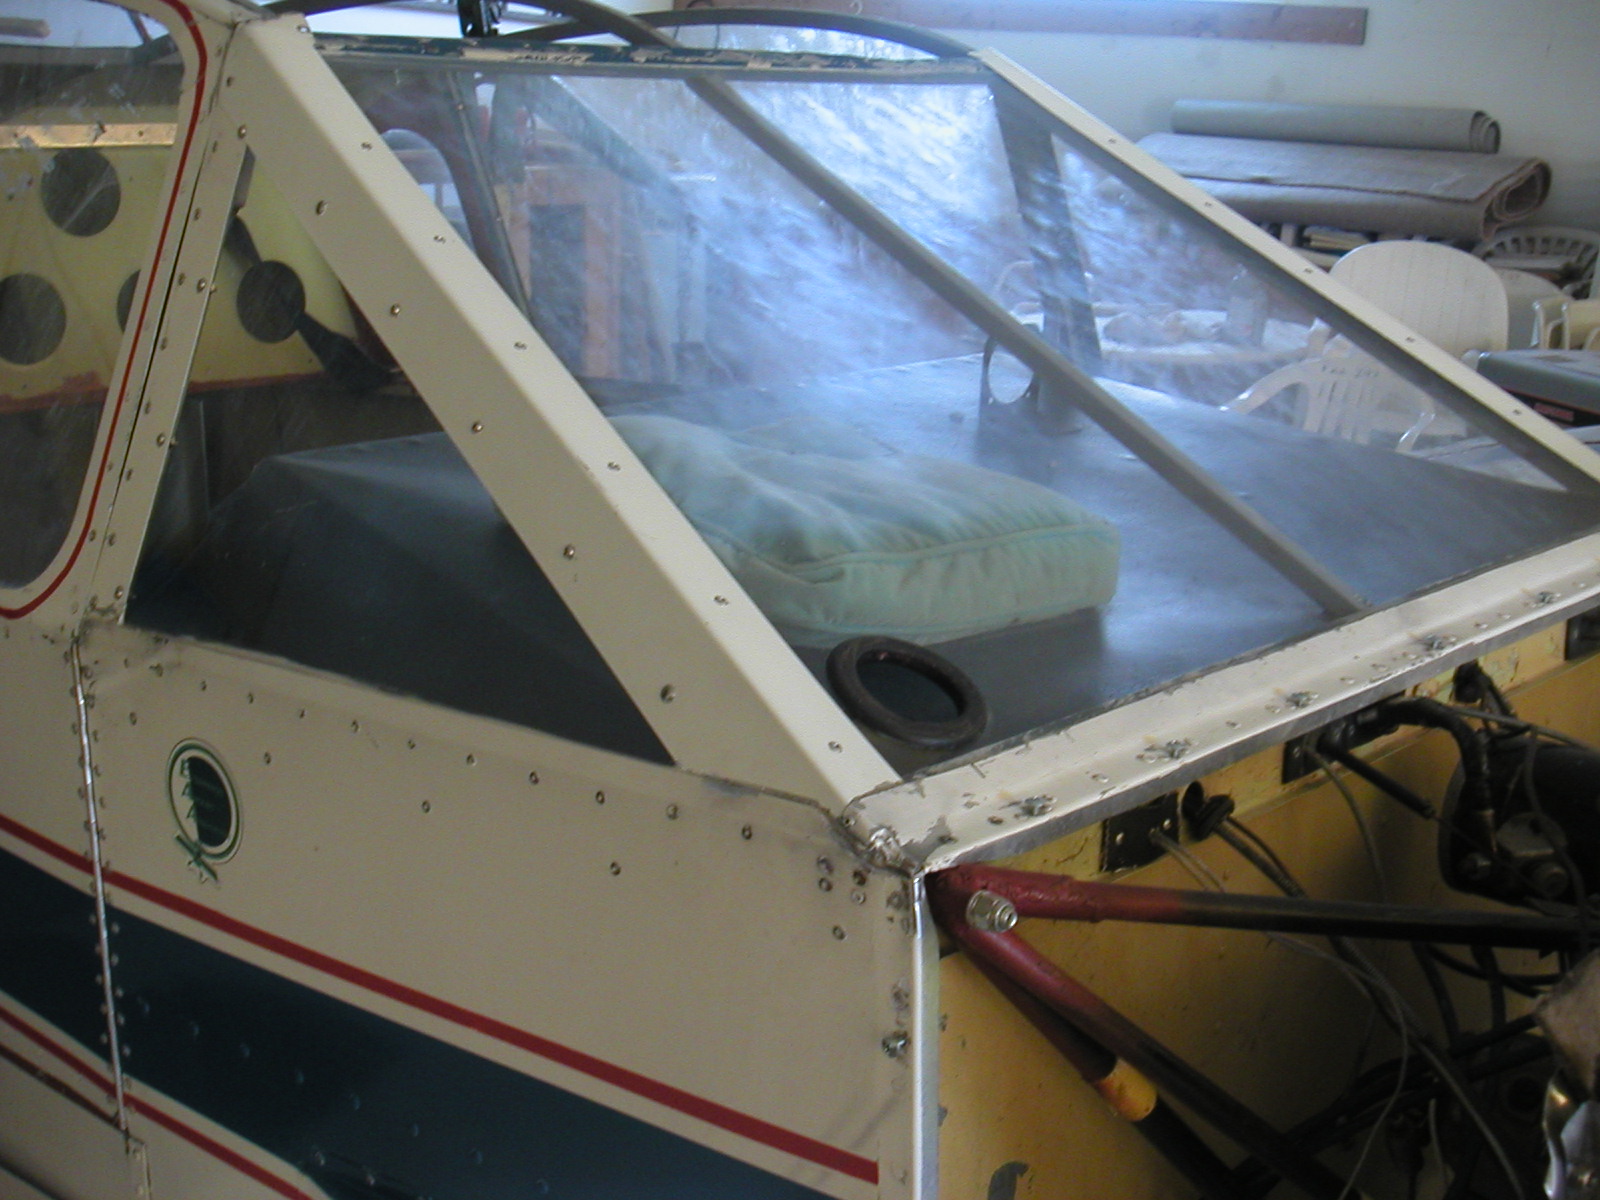
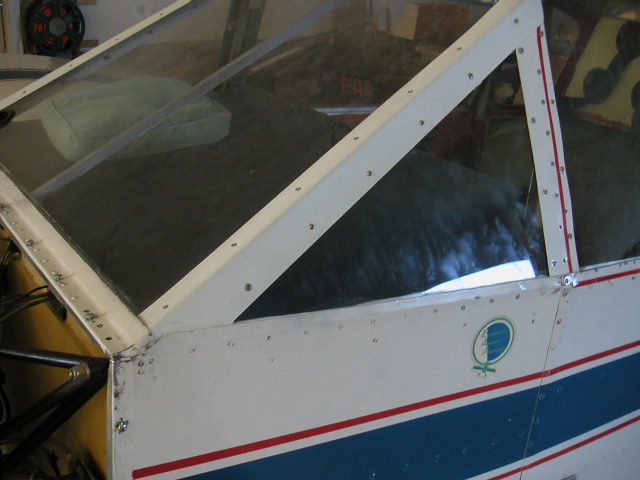
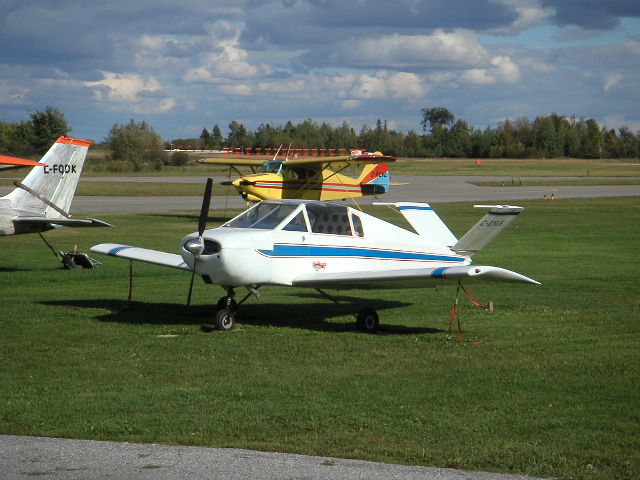
All of the glass was replaced and the single piece wrap around windscreen was replaced by a traditional Davis three piece configuration. This turned out very nicely and makes replacement of the front piece easier if gasoline is spilled.
I have the plugs in, exhaust installed and cowling in for re-work. I am now ready to begin re-installation of the fuel tank, control cables and rudder pedals. I plan on installing a glass roof made from 1/8 inch cast acrylic. I plan to use 10-32 screws and rubber grommets to off load the compressive forces on the acrylic. I plan to tap directly into the top steel rails and use serviceable loctite. Being able to remove the roof for service will be a big help annually.

I have roughly completed the port wing tip, and reinstalled it for fit, and installed the Pitot tube and it's protective flap.
Although it cannot be seen, the mixture control, the throttle and the cylinder head temp is now reconnected. I have made some progress on the roof, but have chosen to leave it off due to the ease of access to the cockpit work with it off. I am considering re-wiring the cockpit since the wiring is original and the insulation is quite hard... of course this will further delay the completion.
I do not have the cable which connects the tachometer so I may consider using an automotive tachometer. The adverse impact is the less resolution since it registers 270 degrees of needle rotation with 7000 RPM. The C85 puts out at 2575, I may pick up a cable at Oshkosh this summer and switch back over to a mechanical tachometer.
A new wooden support has been tried on the landing gear. Basically, a "V" shaped wooden backing support is strapped to the aft side of the gear legs, this helps to lessen the tire wobble on rough surfaces. My friend Jim is going to try the support on his Davis and we will see. For now I am planning to leave the fairings off of my main gear legs. I may want to try these supports as well.
The front cowling parts have been reassembled into two parts, (upper and lower), and test fit to the aircraft. The acrylic roof is installed, although not noticeable from the photo. The wing tip has been completed with a bit more work to the faring, final trim paint and final Pitot tube connections. I am still missing the marker light lens.
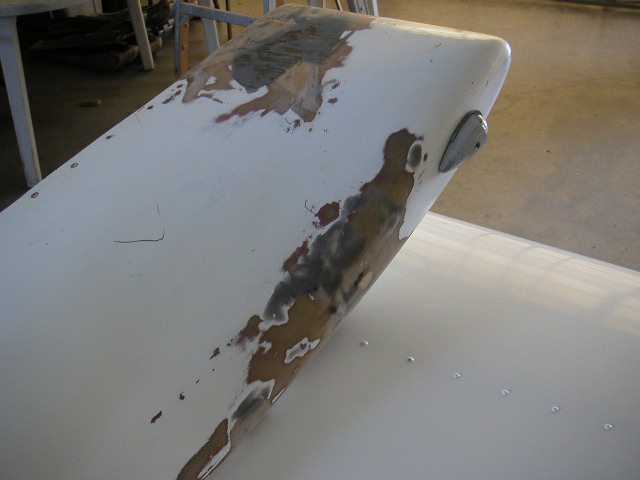
Here is the repaired top cowl from most angles:

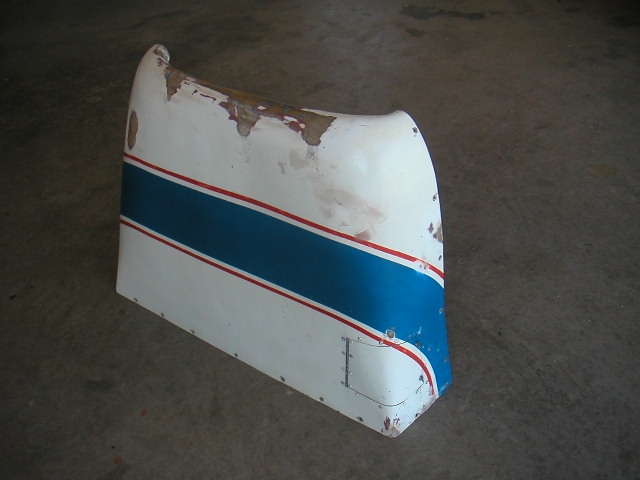

A little bit of paint helps to make the repair look good from a distance but really makes the minor filler imperfections show up. I have fitted the small waterproof roof top cover under the larger overall cover. Also completed now is the installation of the ELT antenna, and battery box. The main gear is now permanently pinned - the bolts are almost impossible to insert and the nut is impossible to install and tighten - I had to buy a new open ended wrench and then proceed to grind it bit by bit until I could get it by the remaining gear mounting point nuts and bolts. I have roughed in the rudders, the fuel tank is in and sealed at the window.
I now have to take some time to re-group and take note of all of the little things, like the last carb to manifold nut I cannot get to. I may need to remove the mixture to get at the nut with a wrench. Hopefully an AME may be able to suggest a procedure, (or may have a "special" wrench). I also have three rivets that need to be re-done, and a lot of under belly bolts to reinstall with the side strakes under the belly.
A short list of parts I still do not have includes a tach cable, seat belt outer portion, battery, prop blades, vacuum horn; (I may try to form one). I also need to reinstall the brake lines from the wheels to the master cylinder. I need a new gasket for the gascolator.
The last few tasks that are to be done include connection of the primer lines, and main fuel line to the carb. Tightening the last carb bolt as previously discussed.
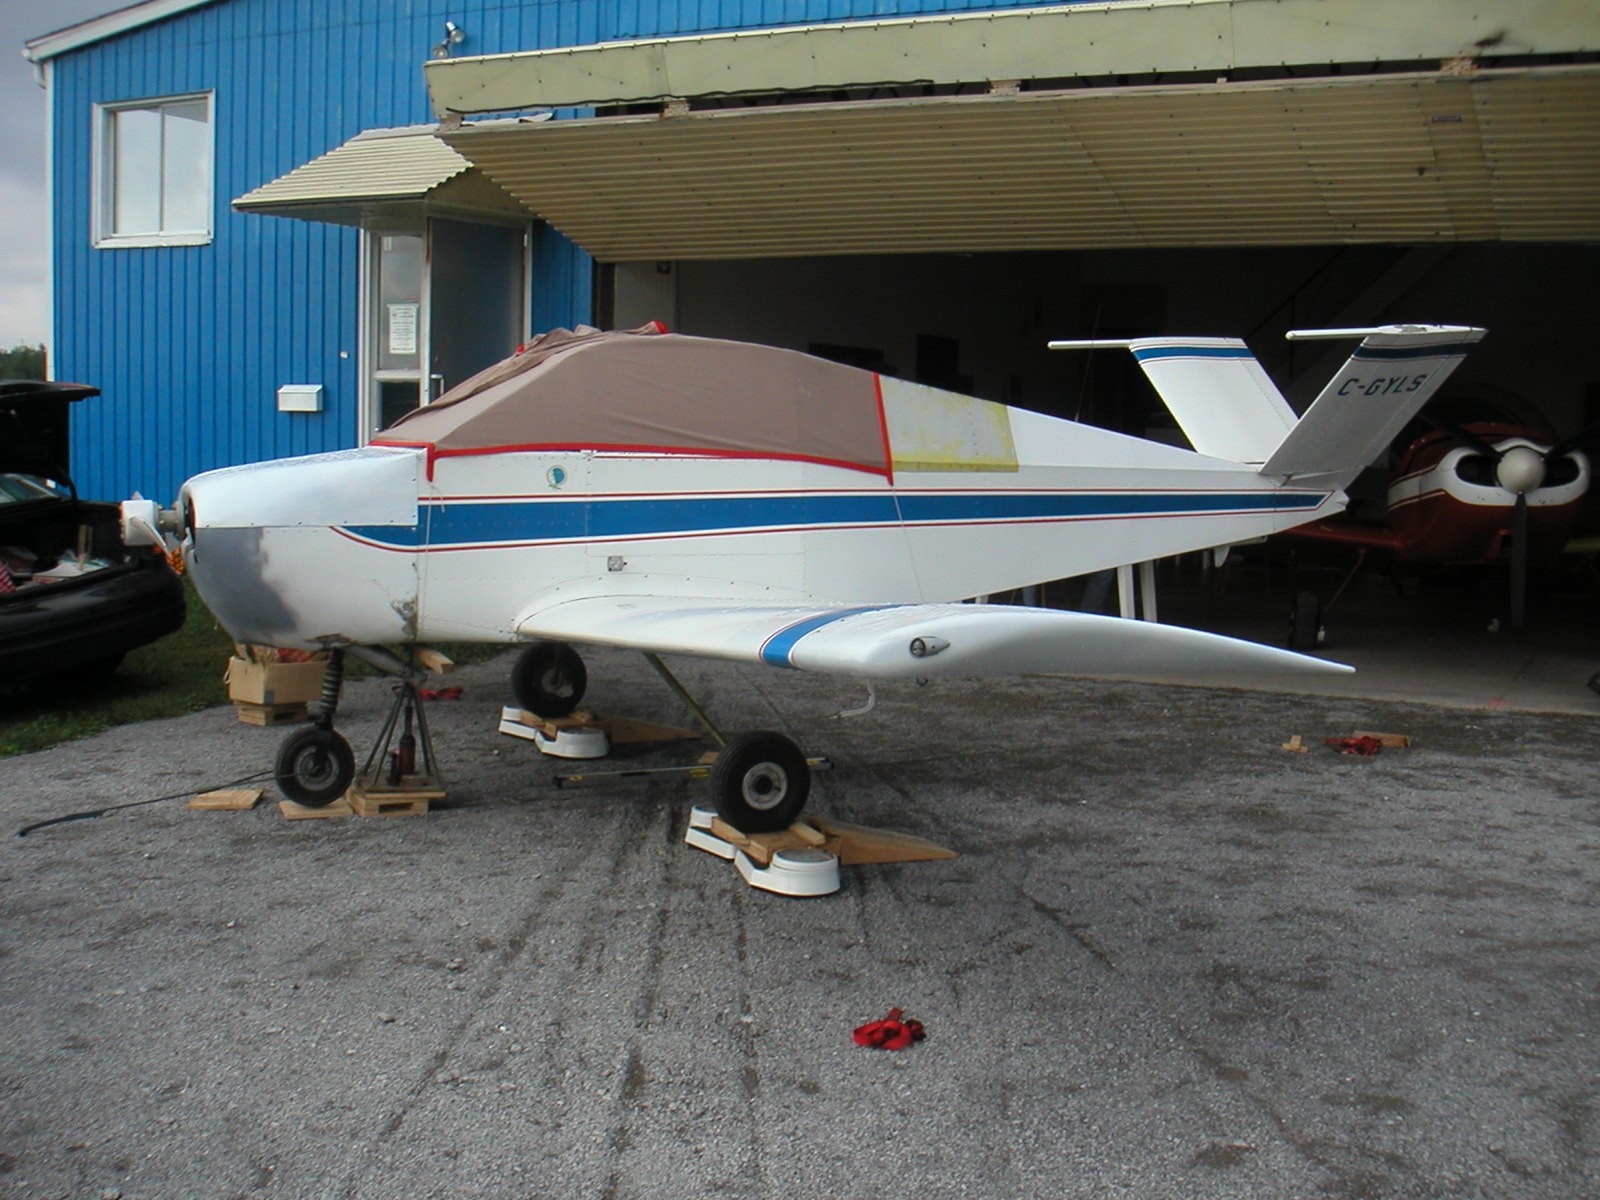
I have now moved out to my tie down space. The cowling repair went well, final fitting showed a slight miss fit on the starboard side on the lower component. I have decided to make a fore/aft cut just starboard of the air intake. This will hopefully align the original holes in the rear attachment. I now have many of the small parts I need to move forward to engine start.
I have completed the oil temp, oil pressure, primer rebuild and have all of the components I need to install the entire fuel feed system, including the fireproof fuel line. I ended up removing the mixture control to get at the last carberator to manifold nut. It turns out the screws were not correctly safety wired any way - this is a final task to review every safety wire and lock nut on the engine!
Next to install the new seat belt, final check out of the "ruddavators" movement and total travel/angle of control surfaces. I will install the taxi prop, finish sand the top cowl and paint white (stripes will go on later).
The taxi prop is now on and starting to look like a real aircraft!
The preliminary weight and balance has been done with excellent results. This was done with the wooden prop, I will do a more accurate job when the cowling and Warp Drive carbon fibre prop is installed. Nose gear was done separately due to the limited number of scales available.
I got back from Oshkosh with the prop, some small hardware bits like lock nuts and safety wire. The prop gave me grief due to the grip length of the AN hardware. I resorted to using a bolt a bit too long and three washers (the maximum allowable number of washers) to get the prop on properly. I am starting with a blade angle of 12 degrees.
I have started the engine now and after four primes and two or three turns of the crank, it started. I have a video and will get it on the web sight as soon as I can get it in a small enough file size. The initial magneto check shows a 50 to 75 RPM drop per magneto so the plugs and magnetos will suffice.
I taxied today and found the weight and balance to be a bit nose light from the Cessna's I am used to. The short wheel base makes the nose wheel steering a feel a bit "squirrelly" and touchy. I have no output from the generator, no EGT reading and no oil temperature reading - this is next on the list, for now I put the battery on the charger to keep it up.
My trouble with the oil temp is simply that the oil has never gotten hot enough during the relative short taxi runs I have made. I boiled the probe in water and made the necessary adjustments for altitude at the site - the gage is remarkably accurate. The field was not getting any voltage due to a corroded fuse holder - this was replaced and now works intermittently, I suspect more bad connections, many of them are original crimps made thirty years ago.
I have progressed to higher sped taxi runs at around 30 miles per hour and noted a shimmy in the starboard main gear. I videoed the gear and found a rotationally induced "chatter". I found a sticking piston in the starboard brake assembly so I will repair this is I can and put new brake callipers on the wish list for next year.
I am basically ready for flight now, so I am performing a "mock" final inspection and "annual" to get down in writing what I will do each year. I have found a few things like some minor corrosion I missed during the pre-assembly prep, or that has developed over the last year of assembly.
The lower cowling has been adjusted for a better fit around all of the air intakes and outlets, a blank has been fitted into the landing light aperture to prepare for first flight.
Many small details have now been completed including a complete reseal of the bottom of the fuel tank. Essentially, the seals were just too dry and too old to hold back the pressure of a half tank of gasoline. When I took the lower plate off of my tank I noticed one screw did not want to come out - it just got loose. The worst nightmare had occurred, a hole had been stripped and the repair was a nut on the top of the "nut plate". Using some learned techniques for a self locking nut problem like this I got it off and proceeded to drill the hole out and utilize a threaded insert (Helicoil) - this would have been a better fix when the hole was stripped originally.
I have changed the pitch of my Warp drive blades several times now but have decided on 15 degrees at the tip. This set up yields approximately 2400 RPM static - this should provide reasonable climb performance and excellent cruise speed.
Some painting has been completed with some additional work done to the acrylic windows. During the winter months I covered the new windows with a poly tarp. This tarp bash the acrylic so much in the wind that the surface became "scuffed". I used a special acrylic refinisher typically used on motorcycles and boats - it did a great job of polishing out the scuffs - it also polished out the grime I have accumulated during the rebuild.
I have swung the compass and found it to be very accurate with no correction chart required. The radio (ICOM A22) antenna (whip) is just no good in the cockpit so an external antenna is in the works as is a shielded and correctly terminated coax lead. I will be using "triax" cable in the end so the radio's reference will not be terminated to the aircraft until the base of the antenna hopefully eliminating much of the engine induced RF interference. I plan to start with coax to study the difference I get with triax.
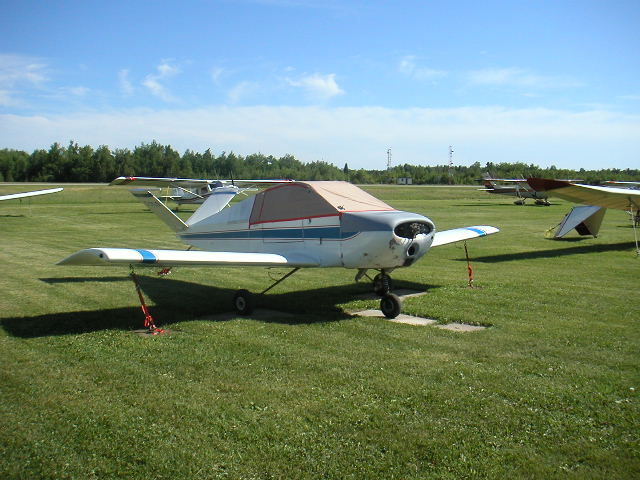
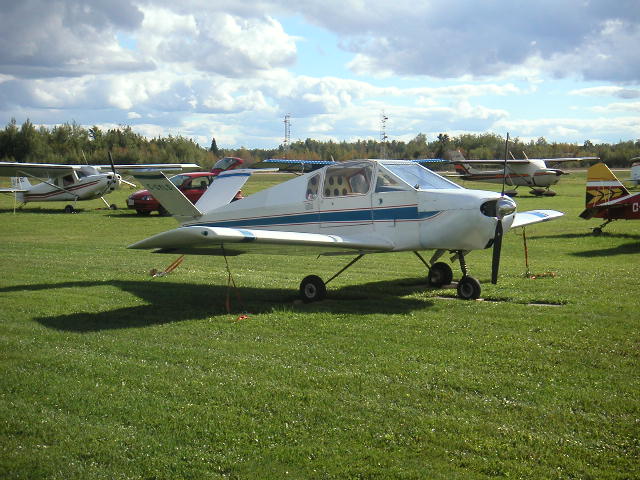
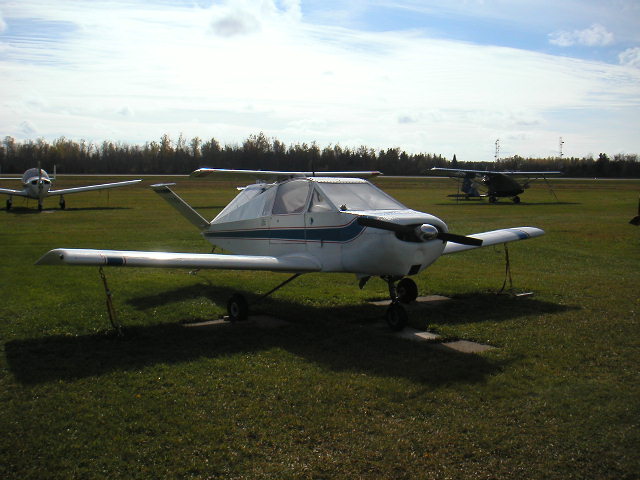
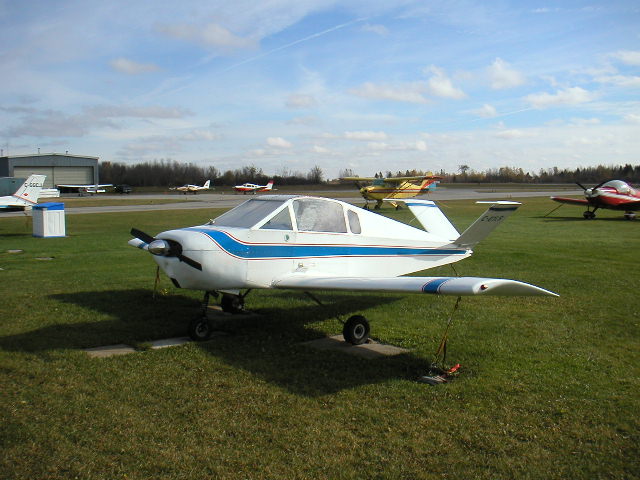
Three things remain before we fly: 1) a seal on the port side window; 2) oil change; 3) install the radio and intercom and seats. Below are the latest pictures.
I have completed the finishing touches. I still get a smell of fuel in the cockpit - I have come to hate header tanks. I will likely remove the tank next summer and pressure test it until I find out where the smell is coming from. The tank is vented outside but I believe the smell may be coming from the level control access hole. I also want to fabricate a fuel shut off control rather than reaching down to the tank bottom for fuel checks.
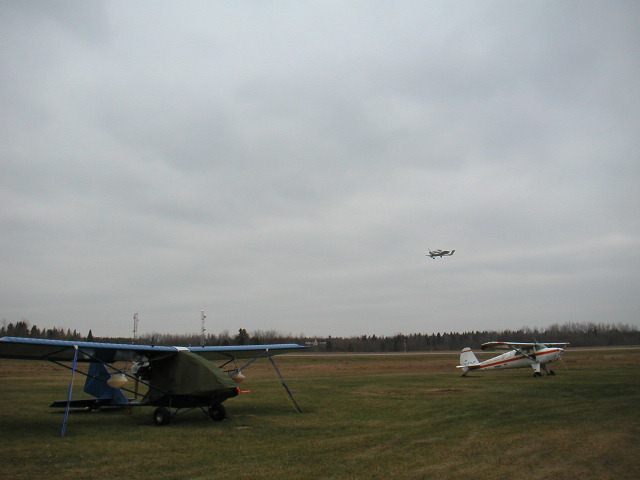
C-GYLS flew for the first time on November 18, 2003. The flight consisted of two circuits. The second flight consisted of stalls and some flight characterizing. All of the flights were made by Terry Peters. Many thanks goes out to him.
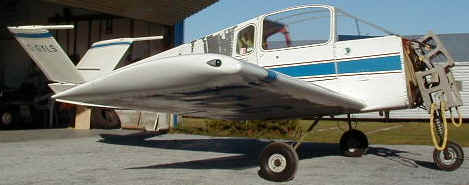
I have flown the aircraft myself for one hour as of November 22nd, 2003. I found the aircraft very responsive but fun to fly. Take of is very basic and the aircraft fly's off of the ground at 80MPH indicated - note the airspeed has not yet been calibrated. I climb at 80 and can cruise at 125MPH indicated at 2300RPM. The stall is a very gentle nose mush with good control at 60, marginal control at 50 and stall at 38MPH. (A little hard to see the aircraft!).
 I found the landings to be quite manageable, with the circuit being flown at
90 in the circuit and approach at 80. Touch down consists of centering the aircraft and pulling
the power. The aircraft looses speed very quickly and settles down on the
runway. I had a small cross wind on the first flight but found the aircraft very
easy to line up and touch down was completely uneventful.
I found the landings to be quite manageable, with the circuit being flown at
90 in the circuit and approach at 80. Touch down consists of centering the aircraft and pulling
the power. The aircraft looses speed very quickly and settles down on the
runway. I had a small cross wind on the first flight but found the aircraft very
easy to line up and touch down was completely uneventful.
I look forward to building time in this wonderful little aircraft and thank the original builder Martin Steinhilber for his excellent workmanship, Jim Bradley for his excellent re-building and flight controls check out assistance, and of course Terry Peters for doing the test flight and subsequent in type training.