This is just a guide
or technique. What you make with it, is solely owned by you.
If this in any way
resembles someone else's work, please notifiy
me
(Grace) and I will take it down.
No infringement
intended! Thanks!
How to Make a Bow Using the
Triangle Preset
*Supplies - Paint Shop Pro
here
*Use of
Vector, Pen and Nodes
*Have
your Paint Shop Pro open
1.
File/New/New Image - 500 X 500 Pixel, Resolution - I used 72.000
2.
Preset Tool set to Triangle, Create as Vector Checked,
Anti-Alias Checked
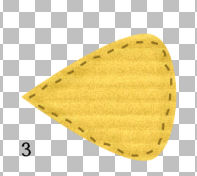
3.
Materials Palette - Foreground null, Background set to fill or
color
4.
Draw out a triangle any size you like for the size of your
canvas
5.
Objects/Align/Center of Canvas
6.
Image/Free Rotate/Rotate 90 degrees to the left/right, just the
triangle layer
7.
Click on the Pen Tool and those cute little nodes show up :-)
8.
With your cursor, right click one of the nodes on the widest
side
Node Type/Symmetric
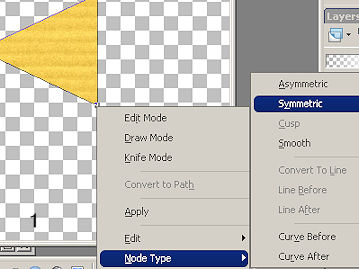
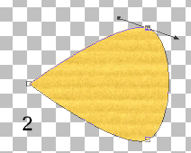
9.
Do this to the other node on the top, and this is what you have.
You can do this to the third one, but it will be covered up
anyway
10.
Layers/Convert to Raster Layer
11.
I like to put stitches on mine. This is what I used
Pen Tool set to Point to Point, Line Style Small Dash, Line
Width 3.00,
material set to Foreground dark color
then click on the piece until you have the stitching all around
it.
I like the Point to Point because it gives a realistic uneven
stitch
12.
Highlight the top layer, Layers/Merge/Merge Down
13.
Mover Tool and move to up to give you room for the ribbons
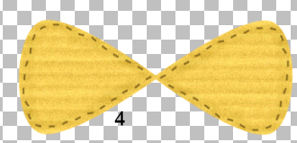
14.
Layers/Duplicate, Image Mirror and move together a bit
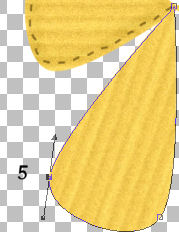
15.
Preset Tool set on Triangle,
Materials set to Foreground null, Background to fill or color
16.
Draw out another triangle like before
I turned mine to the right a little bit
17.
Click on the Pen Tool and the nodes appear again
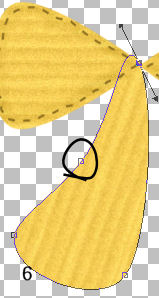
18.
Right Click on a node at the bottom, Node Type, Symmetric
I added another one on the left side and pushed it in just a bit
to give it some
character and shaped it just a bit.
19.
When your happy with the placement, Layers/Convert to Raster
Layer
Add the
stitching again if you were doing that before.
20.
Layers/Merge/Merge Down
21.
Layers/Duplicate, Image/Mirror and place to your liking
22.
Layers/Merge/Merge Visible
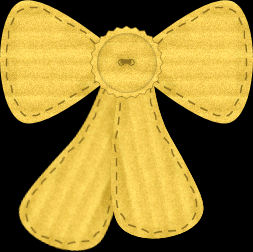
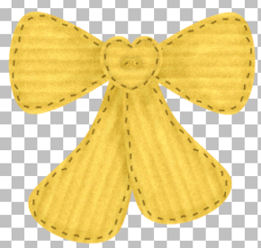
This is
what I have so far

I'm
going to add a preset button to mine. You may use the Ellipse
and make the center. or a button, or a pearl, or a flower...
endless possibilities!
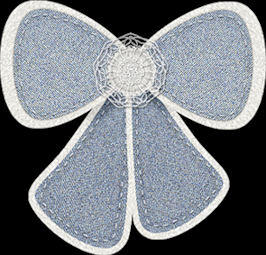
Once
you've have you're center made, you're done!
Thanks
for stopping by and trying my tutorial!