| Mazzarin's Demise 2 Strategy | ||||||||||||||||||||||||||||||||||||||||||||||||||
| Links: | ||||||||||||||||||||||||||||||||||||||||||||||||||
| Written by: DC80's Edited by: Grahf Picture Presentation by: Grahf Most important thing at the start is to give people units they are competent with. This will definitely cause you to lose if you give the wrong units to the wrong person 
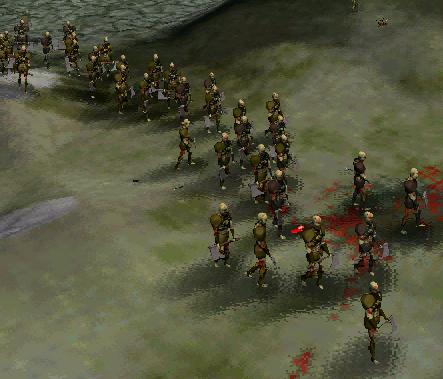
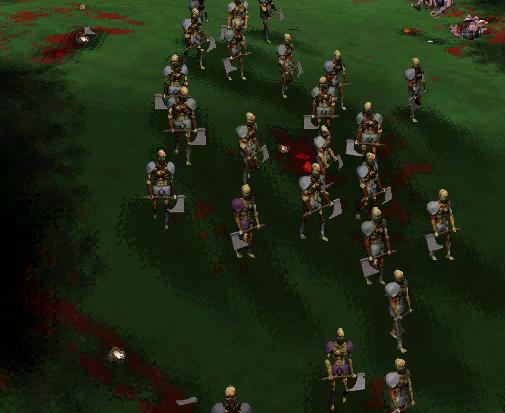
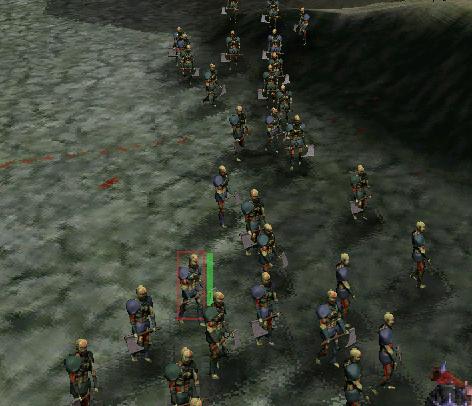
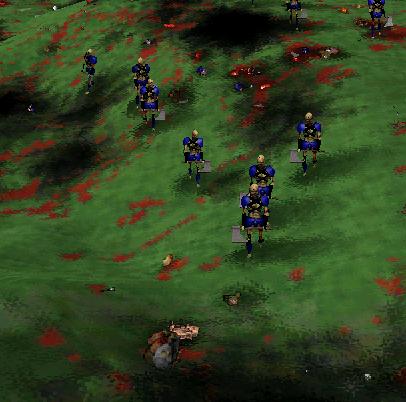
At the start, enemy Wights and Dwarves come from all sides so you need to stand ground until the Ghols come from the south. Next you need to proceed to either the Northeast or Southeast looking out for Wights along the way. When you get there, you need to keep the archers away from where the Wights appear on the map. One good spot is to put half of them facing middle over the ridge when you are in the Southeast spot and one facing East. A good spot in the Northeast is to put them on the ridge or near it and one facing west near the little mountain top along the path coming up. A trick that is very useful is when an Archer has only one special left on his bow. Kill him and have another Archer get his bow. Then you will have a bow full of specials again. Be warned, tthe bow has a tendency to fly off. The bow is most easiely grabbed when an archer is slain by Thrall. 
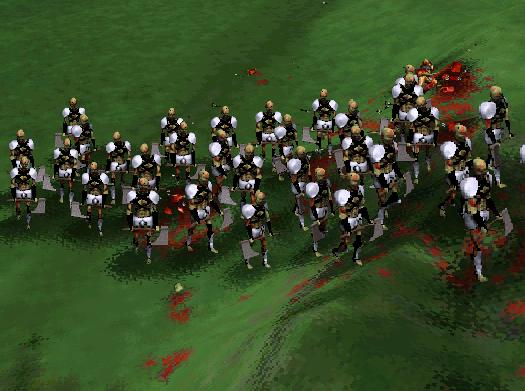
One thing a lot of people do is get too close to the Mauls with the Dwarves. It's best to keep your distance and let the Mortar and Archers kill them. Also, during slow times, have the Demolition Dwarf make satchel piles near where the thrall appear in the Southeast or Northeast depending on which area you are at. It's vital you don't put satchels where the wights appear. It's best to give the Mortar to someone with experience playing WW2. His special is kind of tricky and it helps if someone is accustomed to handling RPG's from the WW2 tag set from Myth 2. It's not necessary, although it helps. If the Mortar is about to get killed then get away from him. His special causes and explosion, killing enemy and friendly units if he has any left on him. Mazzarin should have the Heron Guard Hero with him and maybe one other Heron. I also like to bring the Strider Dwarf because he is quite fast and can hurt the enemy a bit before you go in with the melee. It's very important you lead using Mazzarin and the Herons to herd the Mauls away from the Archers and the rest of the friendly units to give them time to get situated and coop with the Maul threat. 
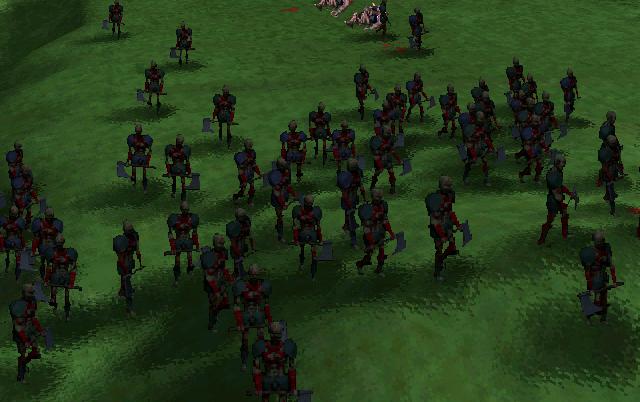
The Thrall, in order of appearance in Legendary difficulty are: |
||||||||||||||||||||||||||||||||||||||||||||||||||
| Brown | Grey | |||||||||||||||||||||||||||||||||||||||||||||||||
| -> | ||||||||||||||||||||||||||||||||||||||||||||||||||
| Green | ||||||||||||||||||||||||||||||||||||||||||||||||||
| White | ||||||||||||||||||||||||||||||||||||||||||||||||||
| -> | ||||||||||||||||||||||||||||||||||||||||||||||||||
| Blue | ||||||||||||||||||||||||||||||||||||||||||||||||||
| Black | ||||||||||||||||||||||||||||||||||||||||||||||||||
| -> | ||||||||||||||||||||||||||||||||||||||||||||||||||
| Thrall are good waypoint indicators as to how far you have progressed into your current Mazzarin's game. When the black Thrall come, everybody needs to go to the middle to attract the Thrall together to use a Dream special or two that Mazzarin has. Black Thrall can be difficult to see due to their lack of color so be extra watchful not to run into any of them. They come from all corners of the map. Make sure everybody is far away from the Thrall before you Dream them so you don't Dream your own units. | ||||||||||||||||||||||||||||||||||||||||||||||||||
| The Watcher is last and appears as soon as you kill a Black Thrall. Before you kill a Black Thrall, have all your Herons somewhere on the east side of the map. The Watcher approaches from the mid East. By having your Herons to the east the Watcher will attack your Herons and not your Archers and Dwarves. Herd the Watcher with a Heron so the Watcher blindly follows. The Watcher will attempt to fire Hellfire arrows (he has 12) at the Heron but will miss horribly as long as the Heron keeps moving. Don't attack the Watcher until he has used up all his Hellfire arrows! What I like to do is to get on a hill so when he shoots his Hellfire arrows they bounce off the hill and back into him and on any following Black Thrall. The Watcher is too slow to catch up and will buy you time to form a counterattack against the pursuing Black Thrall elsewhere. Mazzarin should use all his remaining Dreams against the Black Thrall before fighting the Watcher and ensure there are no Black Thrall adjacent to the Watcher before fighting him. When ready to fight the Watcher, have Mazzarin and a Heron, preferably the Heron Hero, due most of the fighting. When Mazzarin is low on health, any Heron can heal him without fear of having his heal cancelled. Despite popular belief, the game doesn't end when you kill the Watcher. It ends when the Watcher and all the Black Thrall are eliminated. Grahf: For an in depth look at how a Mazzarin ver.2 match on Legendary is beaten; see this replay given to us, courtesy of Aragorn, for the Myth PS Replays section: Mazz2BeatenonLegend.zip |
||||||||||||||||||||||||||||||||||||||||||||||||||