| DETAILS OF THE 1995 NISSAN PATHFINDER'S RUST-THROUGH REPAIR |
| One evening in September 2003, as I was cleaning the inside of the Pathfinder, I lifted up the rear seat cushions to vacuum underneath them. I saw a rust spot about the size of a dime under the left rear seat. "Hmm," I thought, "I wonder where that came from?" I put my thumbnail on it, to try to gauge how extensive the rust was, and my hand went through the floor. I grounded the Pathfinder instantly, and immediately set about repairing the damage, if for no other reason than because we were unable to afford another car just yet. Before I started anything, though, I decided to probe other areas of the body and find all the rust that I could, so that I could fix it in one go. Maybe I shouldn't have done that. RUST. SEEK AND YE SHALL FIND. The following pictures will show, to some degree, how I went about temporarily repairing the damage: |
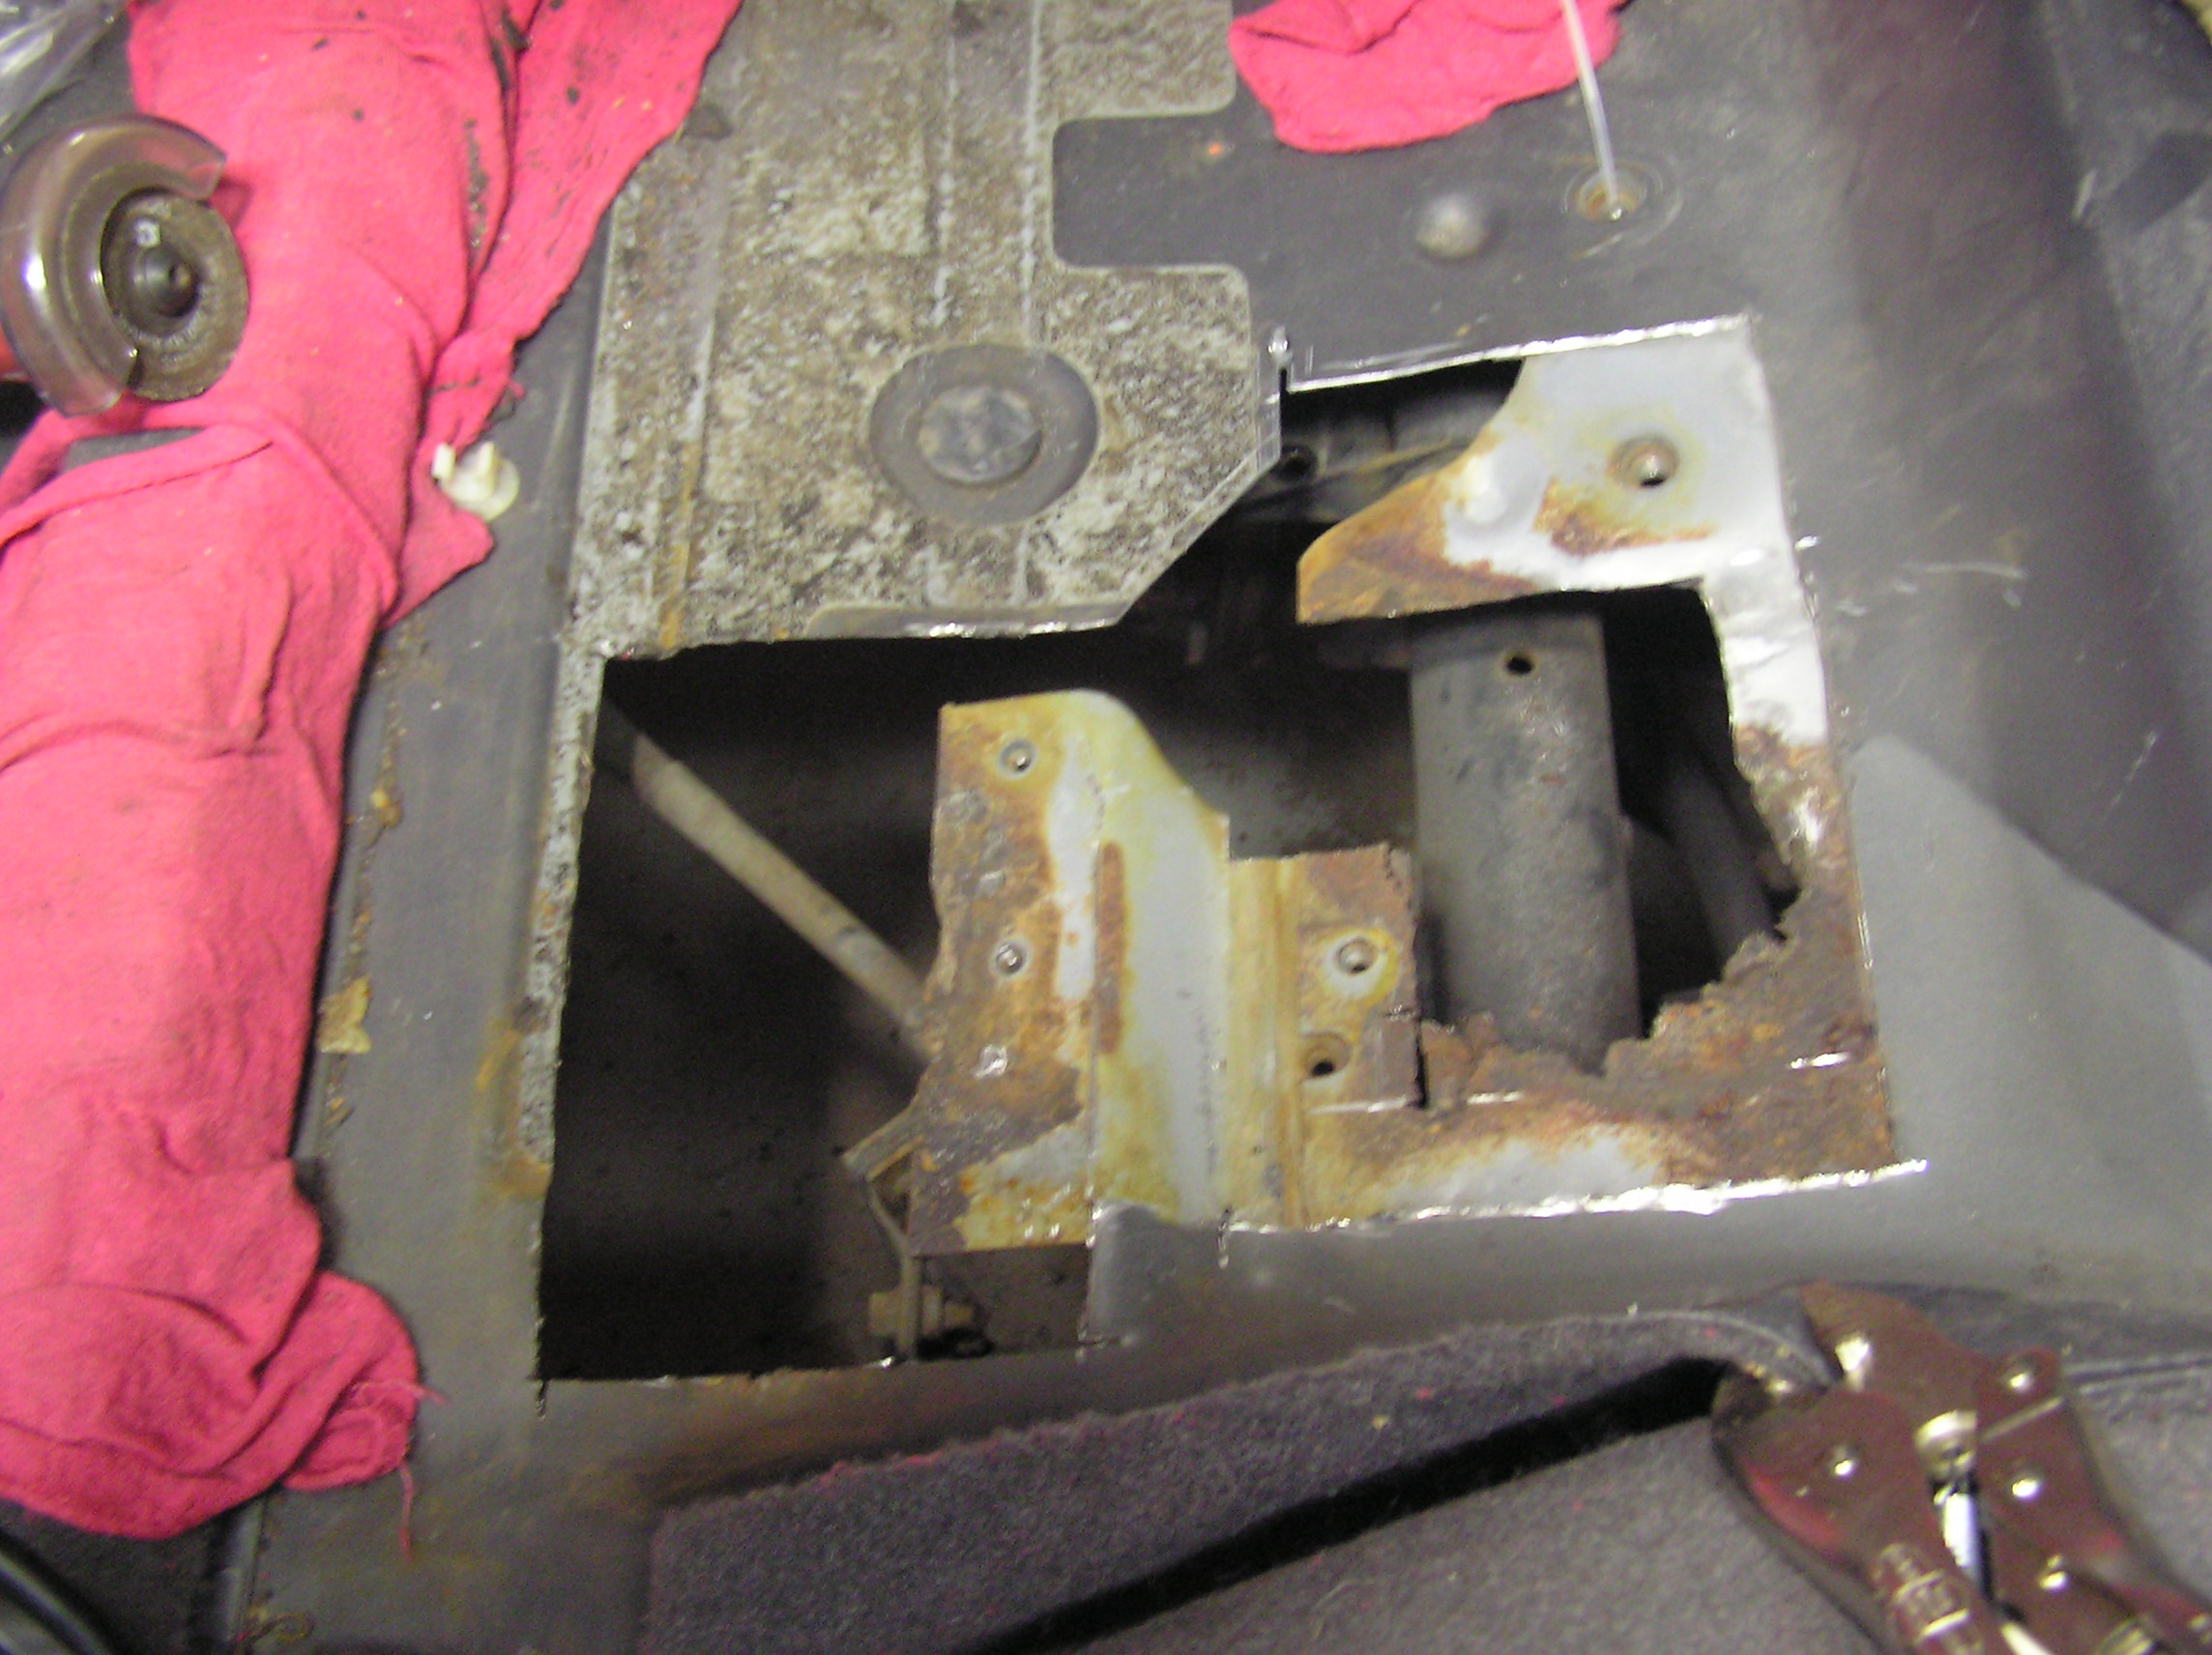 |
| This picture shows what the left side of the vehicle looked like under the rear seat cushion, after I was done cutting out about 50% of the rust (the entire top layer). All the rust still visible in the picture would eventually go, and I welded 18-gauge mild steel sheet in place of the original 27-gauge high-strength steel. I cut individual little pieces (about 20 in all) and welded them together like pieces of a jigsaw puzzle, matching the contours of the original stamping almost exactly. |
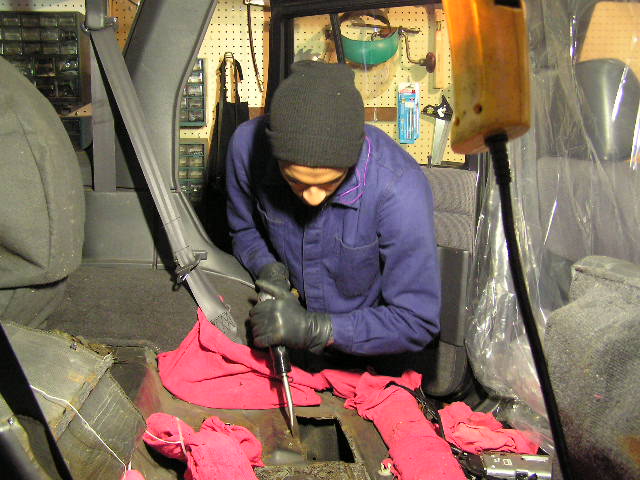 |
| I am using my air hammer to break the spot weld holding the upper layer of sheet metal to the lower one. The rust started when salty water got trapped between the two layers, and the heat rising from the exhaust system directly below this spot just helped the rust along. |
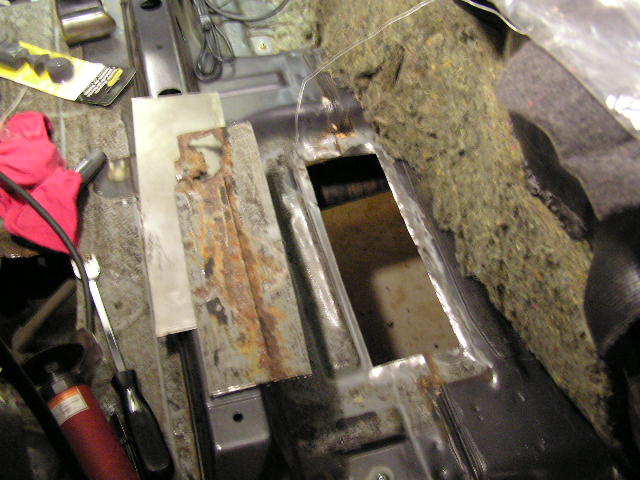 |
| The floorboard in front of the right rear seat was also rusted through. You can see the rectangular section that I have cut out, and the replacement panel right underneath it. Note that the rusting also started at the seam, right along the line of spot welds. |
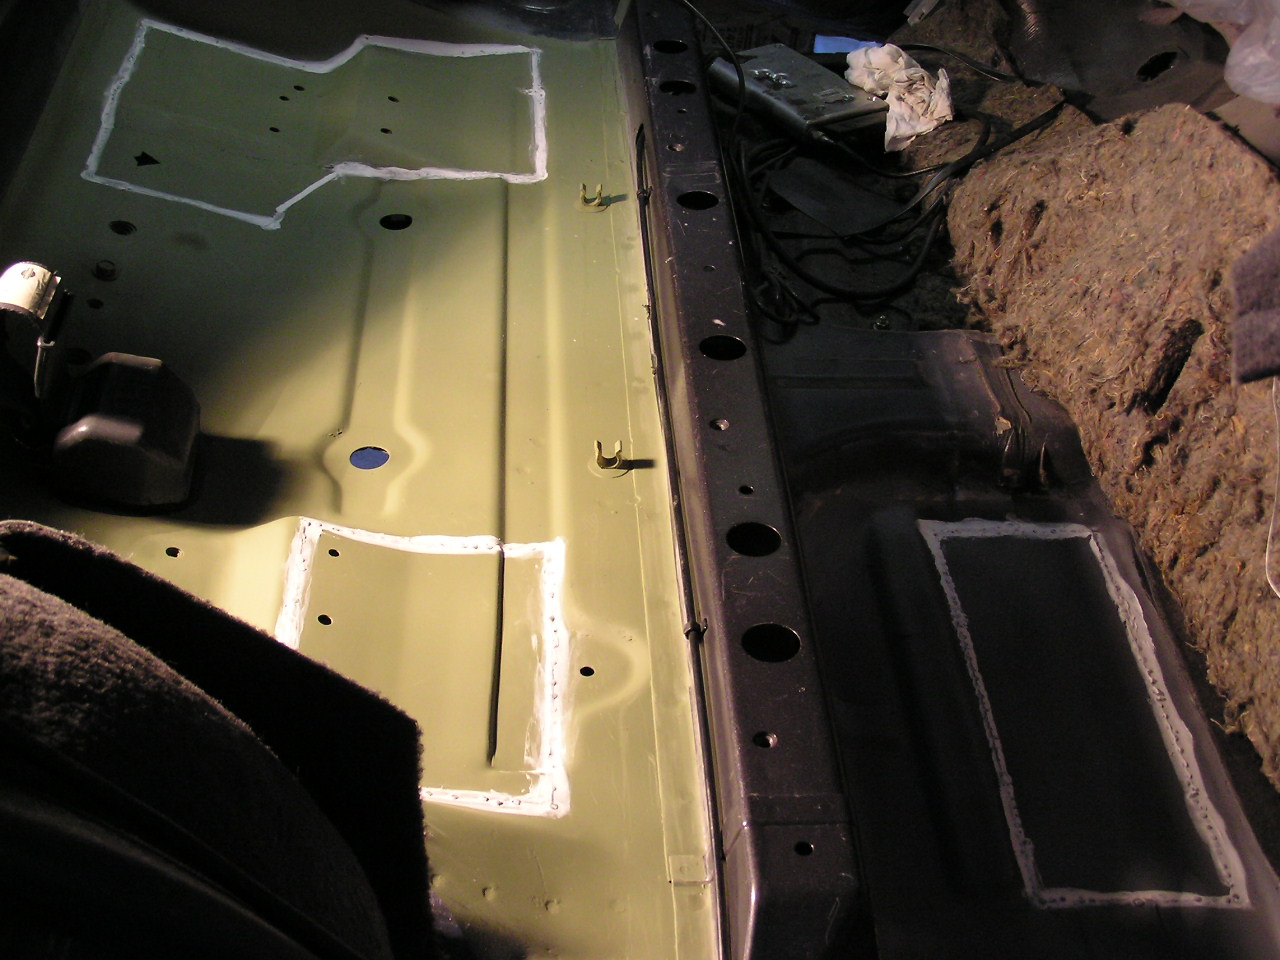 |
| This is what the entire rust-through repair looks like after priming and sealing but before painting with the color coat. I painted all pieces with Bloxide weld-through primer before welding them in place (as an extra measure of rust protection) and once they were in, I sprayed the underside of the panel with Wurth brand car undercoating (harder than most). On the upper surface, the welds were ground down flush with a flap disk, and the surface was sealed (3M seam sealer), primed and painted. |

|
| Page last updated March 31, 2007 |