POWERPOINT
HELP PAGE
Note: This
help page is intended to SUPPLEMENT the program's Help menu.
This page will show you how
to do each of the following, step by step, using Microsoft PowerPoint.
[Creating
a new presentation]
[Inserting
a new slide]
[Adding
a text box]
[Adding
WordArt]
[Adding
clip art]
[Adding
a picture you have saved]
[Formatting
the background]
[Viewing
a slide show]
[Changing
the order of the slides]
[Deleting
a slide]
[Saving
a presentation]
Note: There
are a lot of graphics on this page, so it may take a little while to load.
Thanks for your patience.
CREATING
A NEW PRESENTATION:
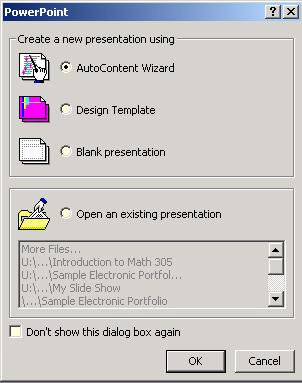
When you begin
Microsoft PowerPoint, you will see a window like the one shown here.
You have 3 choices
at this point.
| 1. |
AutoContent Wizard--Follow
the instructions in the wizard and PowerPoint will open a sample presentation
that you can add your own words and pictures to. |
|
|
| 2. |
Design Template--Choose
from several design templates. |
|
|
| 3. |
Blank Presentation--Create
a presentation from scratch. |
|
 |
If you choose Design
Template or Blank Presentation, then you will see this next
window.
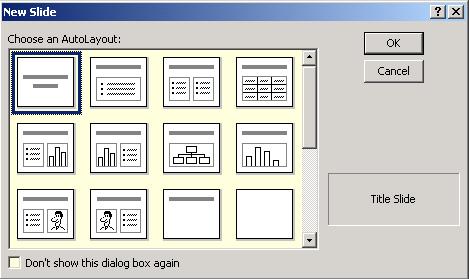
Once you choose the layout
for your slide, you can begin working on your presentation.
[Top of
Page]
INSERTING
A NEW SLIDE:
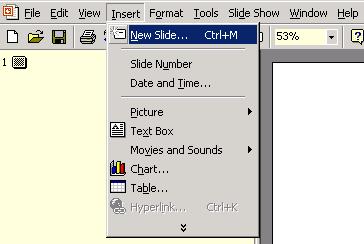
Step 1. Select New
Slide from the Insert menu (or click on  ).
).
Step 2. Now choose the
layout for the slide.
[Top of Page]
ADDING
A TEXT BOX:
Step 1. Select Text
Box from the Insert menu (or click on  )
)
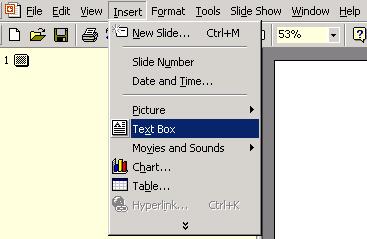
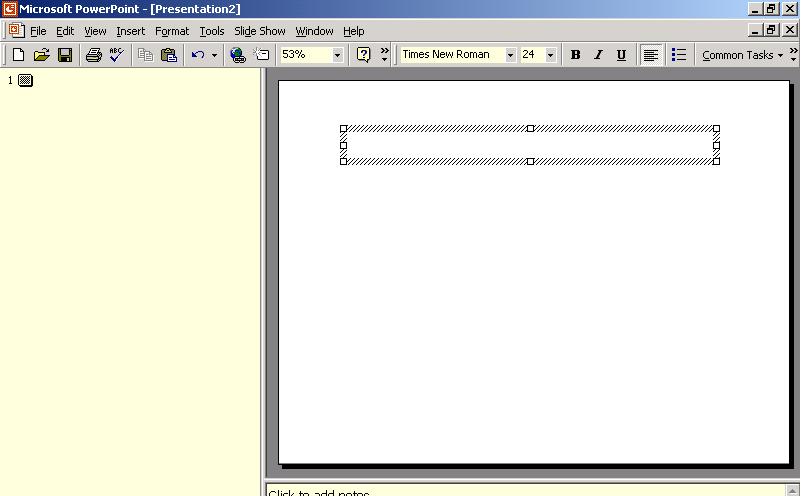
Step 2. Form a box on
the slide by clicking, dragging, and releasing with your mouse.
Step 3. Type in your
text. Your text can be formatted just like in most word processors
(look under the Format menu).
[Top of Page]
ADDING
WORDART:
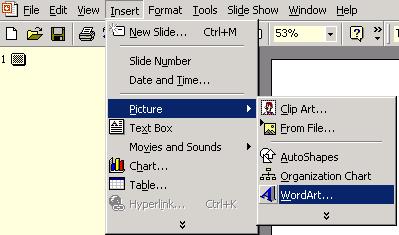
Step 1. Select WordArt
from the Picture option under Insert (or click on  ).
).
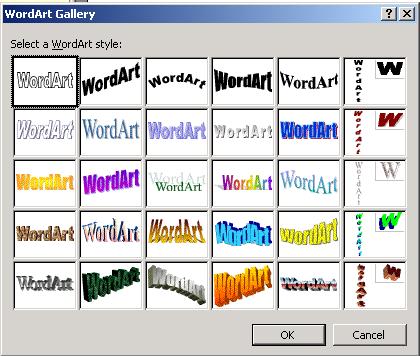
Step 2. Choose a style
for your wordart.
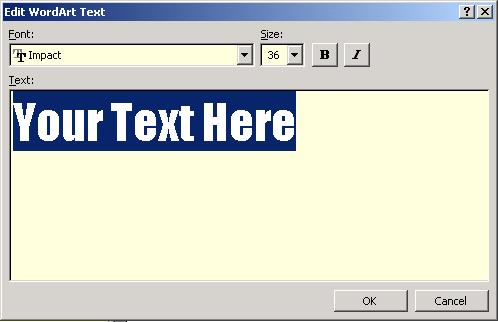
Step 3. Type in your
text. You can also change the font and font size.
[Top of Page]
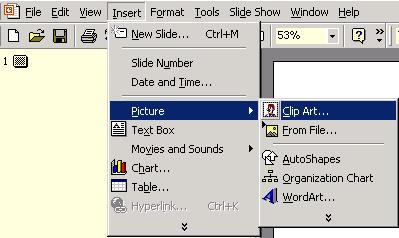
ADDING
CLIP ART:
Step 1. Select Clip
Art from the Picture option under Insert.
Step 2. Select a clip
art.
[Top of Page]
ADDING
A PICTURE YOU HAVE SAVED:
Note: You must
have a picture already saved. Be sure you know exactly where the
file is located (drive and folder).
Step 1. Select From
File from the Picture option under Insert.
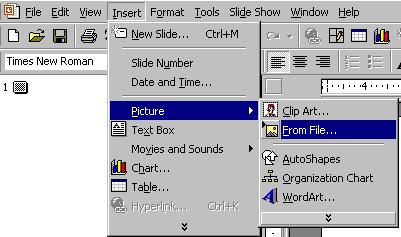
Step 2. Select your
saved picture from the appropriate drive and folder.
[Top of Page]
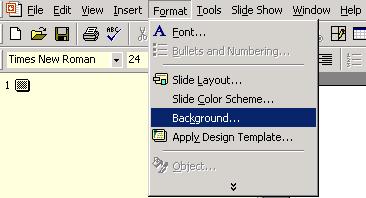
FORMATTING
THE BACKGROUND:
Step 1. Select Background
from the Format menu.
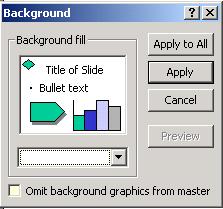
Step 2. A window like
the one shown here will appear. You will need to click on the down
arrow and choose the color and/or effect you would like for your background.
Once selected, you can apply this background to just this slide (click
on Apply) or all of your slides (click on Apply to All).
[Top of Page]
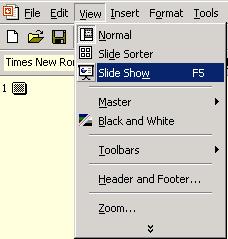
VIEWING
A SLIDE SHOW:
Step 1. Select Slide
Show from the View menu (or hit F5 key on your keyboard).
Step 2. Hit Enter
or Page Up on your keyboard to move to the next slide.
[Top of Page]
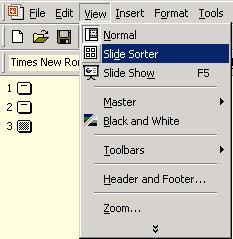
CHANGING
THE ORDER OF THE SLIDES:
Step 1. Select Slide
Sorter from the View menu.
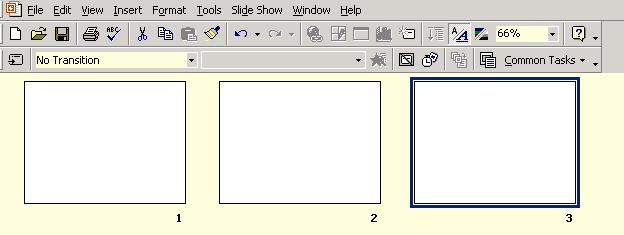
Step 2. All of your slides
can now be seen. Using your mouse, click and drag the slide to its
new location.
[Top of Page]
DELETING
A SLIDE:
Step 1. Select Slide
Sorter from the View menu.
Step 2. All of your slides
can now be seen. Select the slide you want to delete (click on it
once). Now hit Delete on your keyboard.
[Top of Page]
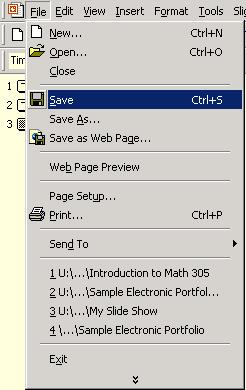
SAVING
A PRESENTATION:
Select Save from the
File
menu. Be sure you take note of where (drive and folder) you saved
your file. You will need this information later when you File Upload.
[Top of Page]