 |
|
|
|
|
|
|
|
|
|
|
|
|
|
|
|
|
|
|
|
|
|
|
|
|
|
|
|
|
|
|
|
|
|
|
|
|
|
|
|
|
|
|
|
|
|
|
|
|
|
|
|
|
|
|
|
|
|
|
|
|
|
|
|
Some Terr/Vivarium How-To's |
|
|
|
Where to Start? |
|
|
|
You don't need anything exotic or expensive to get started on your own terrarium, vivarium, bottle garden, etc. I, personally, am a firm believer in thriftiness [ie. I'm cheap, tight w/ a buck, ....]
For interesting bottles and cheap tanks, I recommend garage sales, and stores like GoodWill & BigLots.
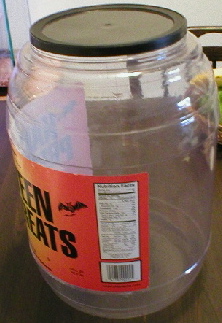
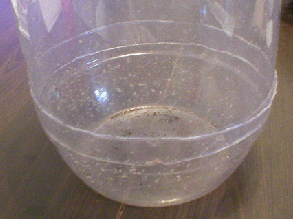
For a really cheap container, you can use one of those plastic 'barrels'/jars that pretzels or bulk candy come in. If you need to put holes for air in the container, a Dremel does an excellant job. |
|
|
|
This big jug used to contain Halloween candy. Presently I use it for water storage. But it could very easily be turned into a terr. and has the advantage of a wide mouth to make working in it easier. |
|
|
|
|
 |
|
|
|
|
|
|
|
|
 |
|
|
|
|
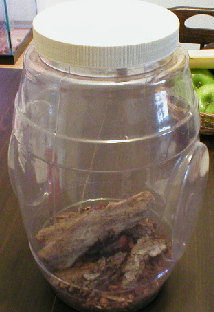
This is a pretzel container that now serves as a vivarium for my Madagascar Hissing Cockroaches. |
|
|
|
|
|
|
|
 |
|
|
|
|
|
|
 |
|
|
|
|
 |
|
|
|
|
|
|
|
|
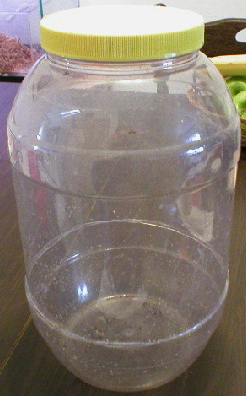
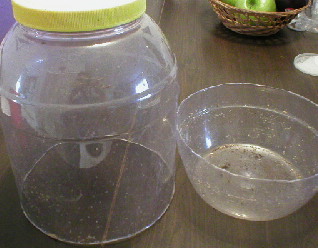
Something I found handy when I grew a Sarracenia in a plastic jar was to cut around the jar near the bottom where the jar suddenly gets a bit thicker. It was easier for me to get the Sarracenia all situated w/o having to struggle w/ the small jar opening. I then tucked the pitchers in as I lowered the upper part of the jar. This upper part slides INTO the base. [If you look at the 3rd pict, the lowermost line is the bottom edge of the upper part of the jar.] Any condensation that trickled down the sides of the container thus remained in the system instead of leaking out. Another advantage was that during the summer, I could remove the upper section and allow the plant to receive fresh air, sunlight, and catch prey. When winter rolled around, the top went back on and a humid setting could easily be maintained for the plant to overwinter indoors. |
|
|
|
Rock On |
|
|
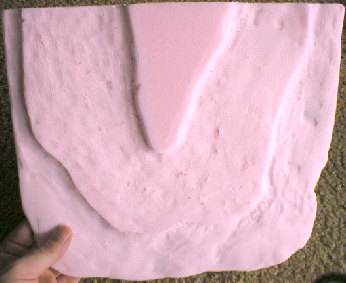
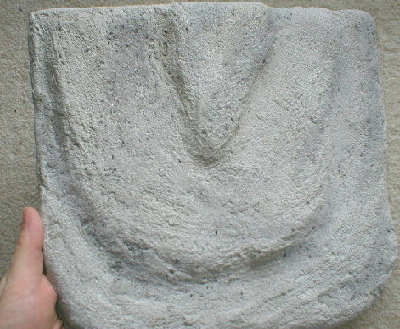
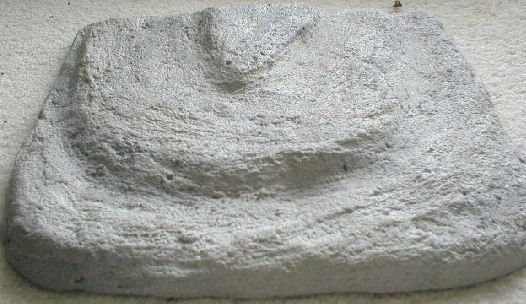
| Two common problems if you want to use rocks for your terr: 1) finding "just the right one" can be difficult; 2) if you go to a petstore -- they're expensive! So where does that leave you? Well an alternative is to make your own ... and it really isn't that difficult. One method I've tried is shown at the left. |
|
|
|
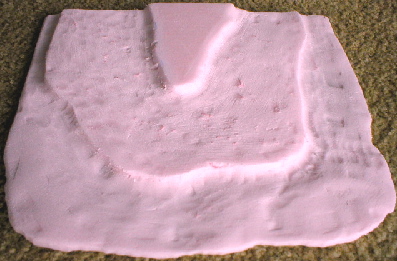
First take a piece of styrofoam, and shape it to fit your desire. I used a Dremel and sandpaper. The foam was from some packing material.
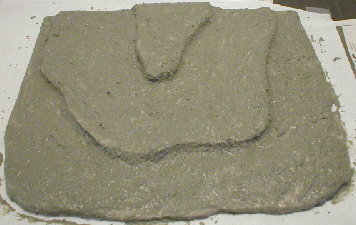
Next I took some 'craft cement' [found in craft stores for use in making your own stepping stones] and spread it over the styrofoam. The 'cement' was about the consistency of brownie batter. I used 3 coats in all. Immediately after applying the third coat, I brushed in some charcoal dust on some areas of my rock to give it a little more character. I chose to use coal instead of paint because: no worry of toxicity, it fit with the character of the rock, and finally because I wanted to see if it would work. [It did.]
Finally, after the last coat had dried, I took some sandpaper and sanded down a few of the rougher areas of my stone. |
|
|
 |
|
|
|
 |
|
|
|
|
|
|
 |
|
|
|
|
|
 |
|
|
|
|
 |
|
|
|
 |
|
|
|
|
|
|
|
|
|
|
|
|
|
|
|
Other "creations" |
|
|
|
 |
|
|
 |
|
|
|
 |
|
|
|
|
|
|
 |
|
|
|
|
|
|
|
|
|
|
|
|
|
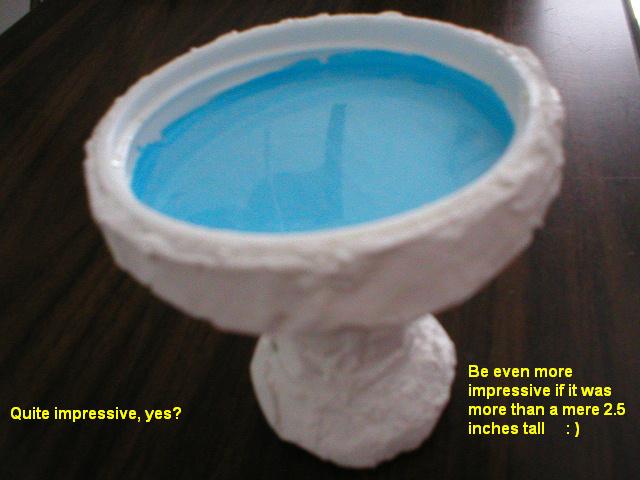
A bird bath I made using grout. |
|
|
|
A cave I made for Peanut. It's grout over a cardboard shoe insert. She's been using this 'cave' for years. Not totally surprising as herps often prefer 'snug' hidey holes. |
|
|
|
|
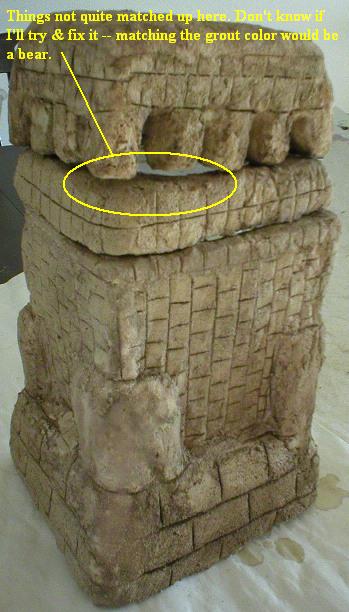
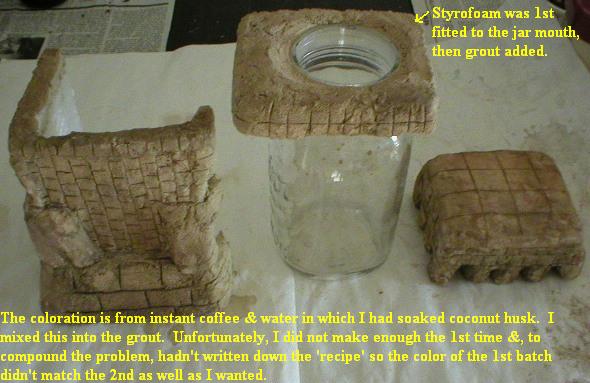
A 'temple' to hide the water jar in which my terr's mister sat. It's grout over a base constructed of styrofoam which I glued together and shaped. |
|
|
|
|
|
|
|
|
Alternatives
Another method, albeit one I have never tried, is to use an expanding foam like Great Stuff that comes in a can [found at places like Lowes and Home Depot] I've heard that it is quite easy to work with and results in a very light weight end product, but I have no first hand experience as to its ultimate durability or strength. |
|
|
|
next page > |
|
|
<previous page |
|
|
|
|
<home> |
|
|
|
|
|
|
|