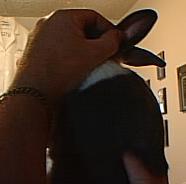
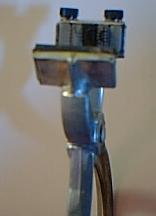
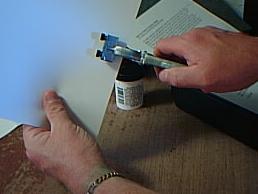
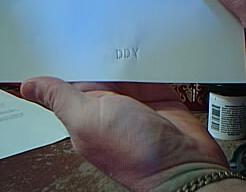
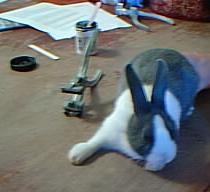
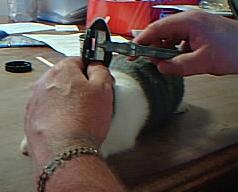
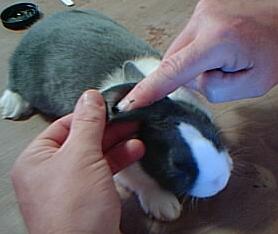
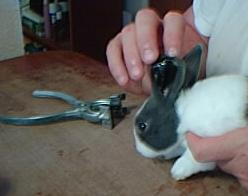
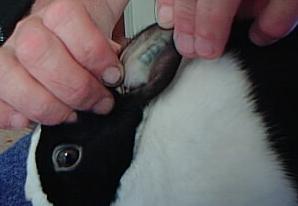
| Eight Easy Steps to Tattooing a Rabbit Co- written by my dad Mike and myself (Sarah) All rabbits must have a permant tattoo in their left ear before they can be shown. Tattoos are the way you can tell your rabbit apart from all others on the show table. If there�s 10 Black Dutch Sr bucks that all look the same, how are you to know which one is your own? If you don�t have a tattoo kit yet, there should be a register at the show who will be tattooing for $1 or $2. If you just bought your clamp tattoo kit and need to learn how to use it, here�s 8 simple steps to follow of how my dad and I do it. It�s a messy way, but it�s what works best for us. We use a Weston, but any clamp style tattoo kit will work the same. My dad is usually the one who tattoos and I hold the rabbit firmly while he does it. I do know how to tattoo and have done it before though. I just perfer not to do it unless I have to. 1. Decide what numerals/letters I recommend using at least 2 digits, we usually use three or four digits on my rabbits. It�s best not to use a word that the judge will remember each time they judge your rabbit. I know somebody who once tattoo two rabbits �YACKO� and �WACKO�. The first time the judge had the rabbits they thought it was funny, but the second time the judge had them, they remembered who the rabbit was and who it was owned by. It�s best not to have the judge remember your rabbit or whose it�s owner is. 2. Testing the tattoo Before you tattoo your rabbit you always want to test it out first by punching the clamp on paper to make sure that the numbers/letters you entered are correct. This is to make sure you didn�t accidently put them in backwards, the wrong way, ect, so there will be no mistakes in the final tattoo. 3. Checking the ear You always tattoo the left ear, the right ear is for if you get the rabbit registered with the ARBA. Before tattooing you want to put the ear to a light so you can see the major veins. You want to try to miss these veins, so the rabbit won�t bleed. 4. Where to tattoo When we tattoo rabbits, we like to do it on a clear, slick surface like the dining room table. This way the rabbit cannot get into traction during the tattoo process and hurt itself. It is also best to have someone hold the rabbit firmly while you tattoo the rabbit. 5. The tattoo Put the tattoo pliers to the left ear of the rabbit keeping in mind the location of the blood vessels. (Remember: The tattoo needles are to pierce the inside of the ear going through to the outside.) Do not be slow with this process. Pop the pliers instantly and quickly. This way the piercing is over before the rabbit realizes what happened. You can not do this slowly. Imagine your ear slowly being pierced. That would hurt. 6. Taking the clamp off Pull the rabbit�s ear of the tattoo needles. Be quick, do not procrastinate and let the pierced holes close up. 7. The ink You want to apply the ink immediatly to the pierced holes. We perfer to put the ink on our thumb quite liberally and rub it into the holes inside the ear forcing the ink through to the outside of the ear. Some people use the brush, but we like using our thumb better, as we find we get a better tattoo this way. As soon as the ink appears on the outside of the ear, the process is over. Make sure your ink is not old, as it will fade out if it is and not last. Make sure to use black ink only, as the other colors fade more so. 8. Cleaning the ear I usually leave the ink in for a week before cleaning the ear. I use baby wipes to clean it out. Always make sure to clean the ear out before putting the rabbit on the show table, so the judge can read the tattoo. *NOTE* If you do hit one of the ear veins during the process, don�t worry. Continue the ink process as stated in step #7. Have some paper towels handy, apply to the inside and outside of the ear and apply direct pressure for a couple of minutes. This will quickly stop any bleeding. |
 |
 |
 |
 |
 |
 |
 |
 |
 |

|
 |
| Copyright � 2003 Double Dutch Rabbitry. All rights reserved. |