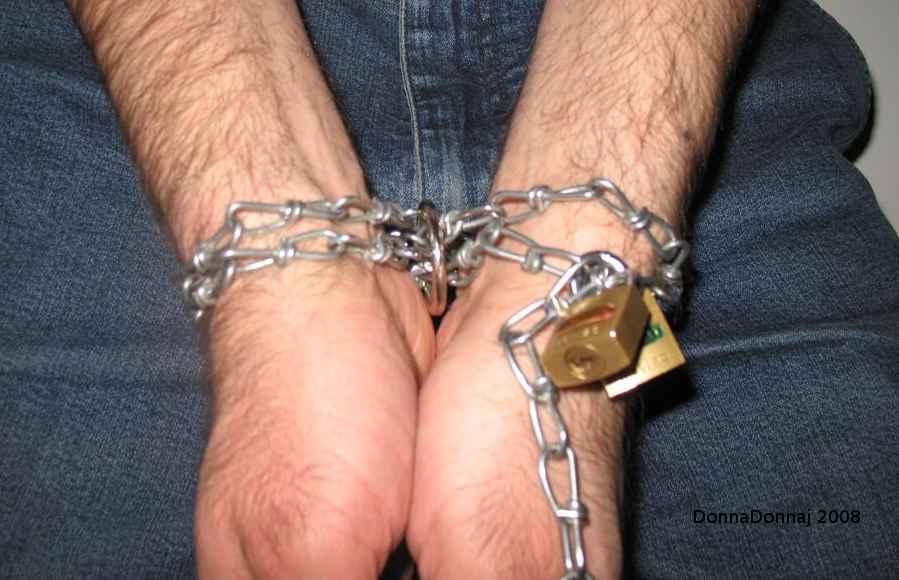
I prefer this method over method 2 for two reasons: Because the main chain goes twice around the wrists, the pressure on the skin is better distributed. It is also easier to stick the keys into the locks because the force on the locks is smaller. In addition, it is possible to use a somewhat thicker chain with the new method, which results in a better feeling when tied.
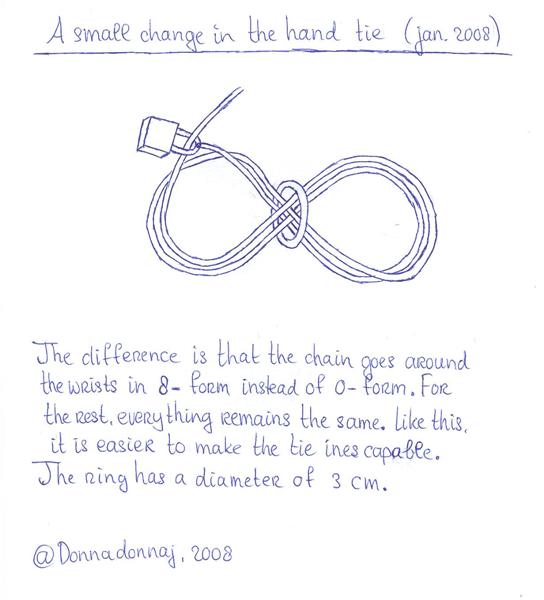
Getting the chain around your wrists in eight form is a bit harder than the zero form. If you are able see (it is not dark, you did not cover your eyes), then the best way is as follows:
If you are unable to see, this method does not work, at least not for me. In that case, you have to configure the chain around your wrists at the moment of tying. Start on the left upper side. Pull the chain one time through the ring from upper left to lower right. Then one time around the right wrist. Then from upper right, through the ring to lower left, around the left wrist, through the ring again, etc.
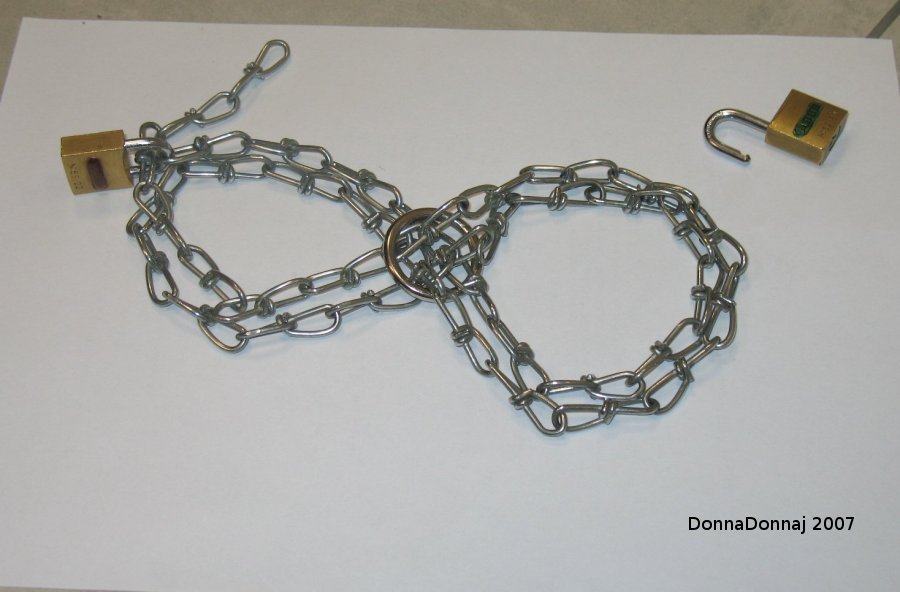
Freeing yourself from this tie is very easy. Simply open one of the locks, and you are free immediately. Because the chain goes around the wrists twice, the force on the chain is halved. This reduces pressure on the skin, and it makes it easy to pick up a lock, when you want to put in the key.