More HERE.


| Frame # | Pic | Guesses | "Real World" Pic | Confirmed |
| 1 | |
The Mobius Station logo designed by VM | None | Not explicitly |
| 2 | |
??? | None | Not explicitly |
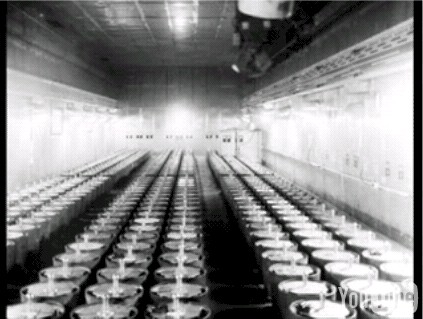
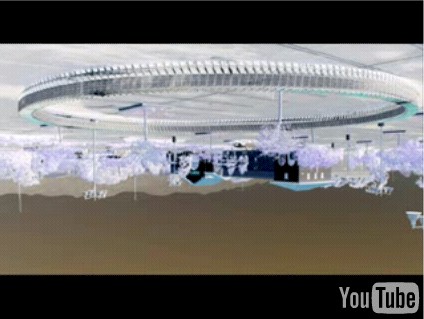
| 3 | |
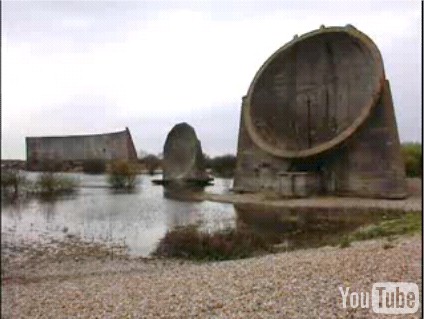
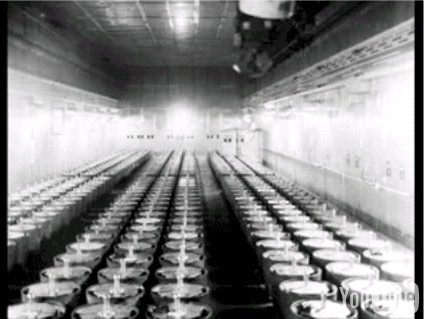
A negative of an upside down pic of shopping carts arranged in a circle. | HERE | Not explicitly |
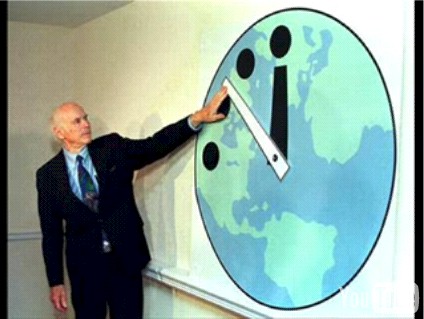
| 4 | |
Unknown man and the Doomsday Clock. | None | Not explicitly |
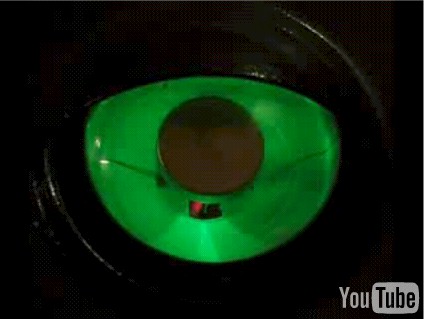
| 5 | |
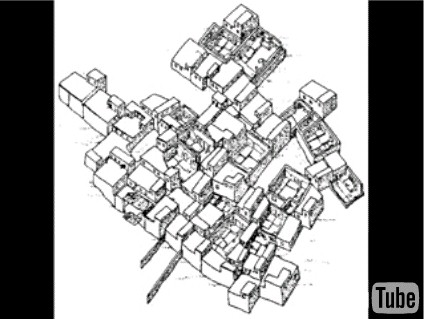
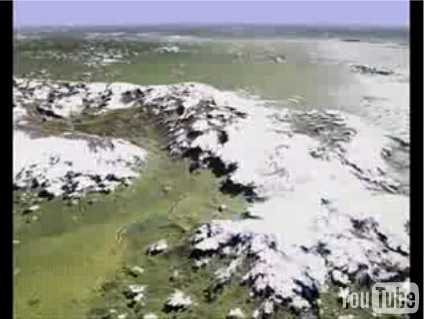
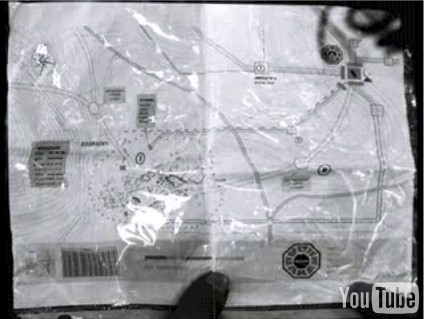
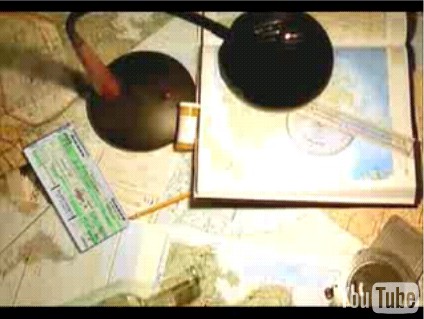
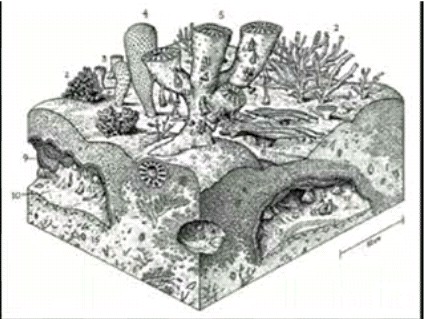
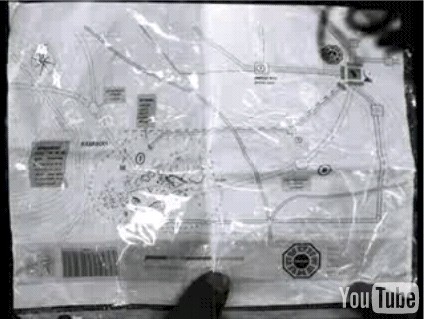
The settlement plan of Catalhoyuk in Turkey. More HERE. |
HERE | Not explicitly |
| 6 | |
??? | None | Not explicitly |
| 7 | disregard this frame | dupe error when printscreening | n/a | n/a |
| 8 | disregard this frame | dupe error when printscreening | n/a | n/a |
| 9 | disregard this frame | dupe error when printscreening | n/a | n/a |
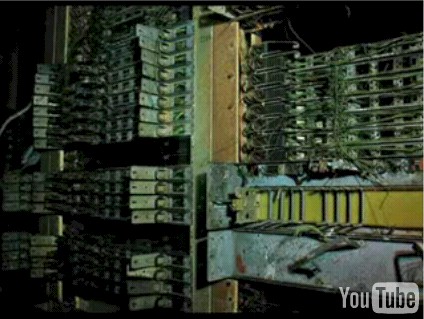
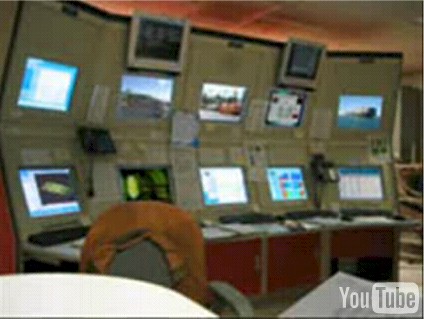
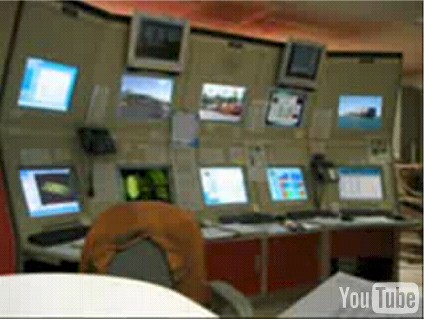
| 10 | |
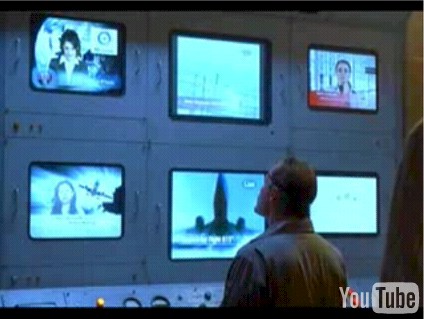
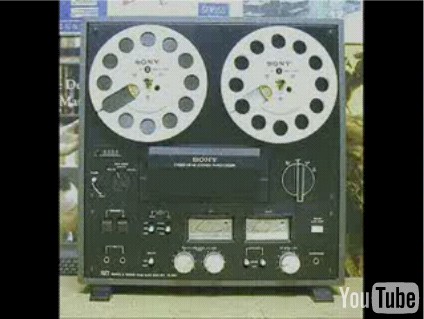
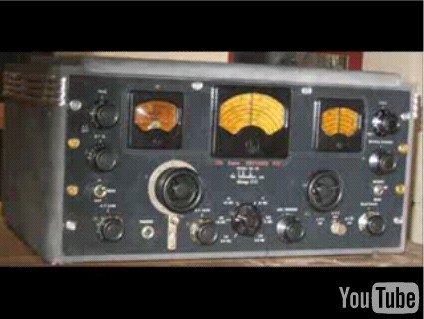
Mikhail watching monitors in the Flame station. | None | Not explicitly |
| 11 | |
??? | None | Not explicitly |
| 12 | |
??? | None | Not explicitly |
| 13 | |
??? | None | Not explicitly |
| 14 | |
??? | None | Not explicitly |
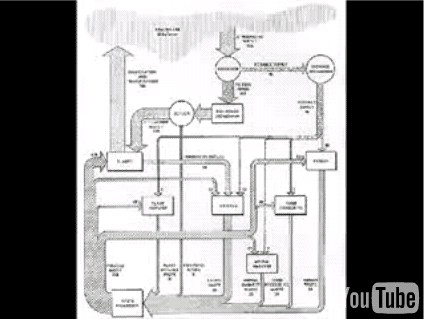
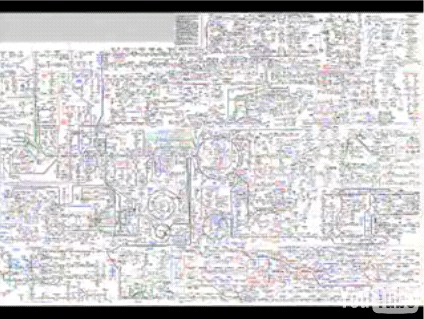
| 15 | |
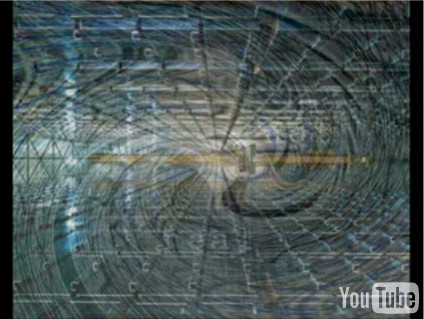
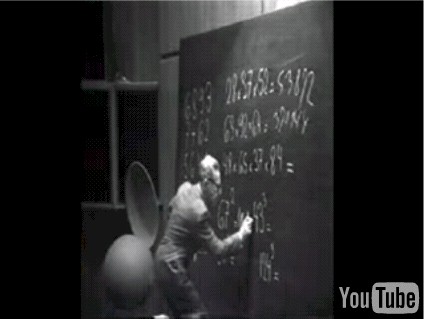
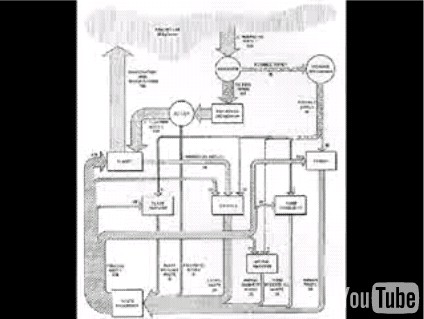
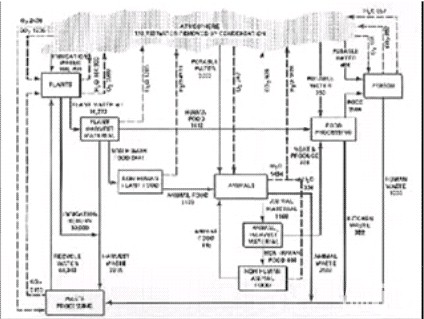
From a mazer who's also a doctor, "shows the metabolic pathways in the human cell" | None | Not explicitly |
| 16 | |
??? | None | Not explicitly |
| 17 | |
Distorted pic of Walt. | None | Not explicitly |
| 18 | |
??? | None | Not explicitly |
| 19 | |
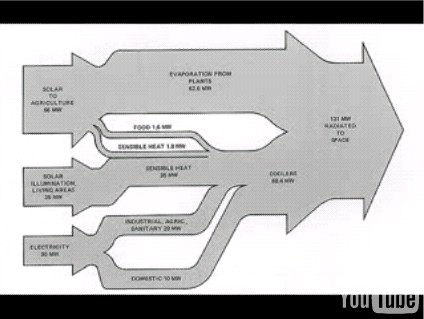
Figure 5-18 from HERE | HERE | Not explicitly |
| 20 | |
Jim Al-Kahili. Key real-world person integrated into the previous "Flight 108" webmaze. | *somewhere* | Not explicitly |
| 21 | |
??? | None | Not explicitly |
| 22 | |
??? | None | Not explicitly |
| 23 | |
Distorted pic of Richard Alpert. | None | Not explicitly |
| 24 | |
??? | None | Not explicitly |
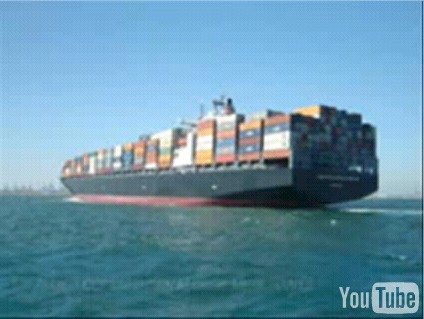
| 25 | |
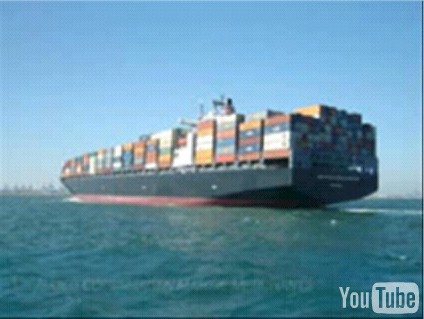
ACMM ship. Appear to be words at bottom reading, "Allied Copenhagen Marine Merchants." This pic was used elsewhere to guide us to http://alliedcopenhagenmarinemerchants.com/ | n/a | Not explicitly |
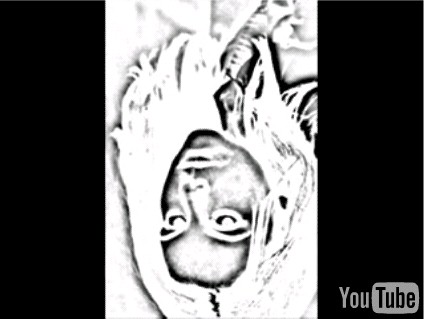
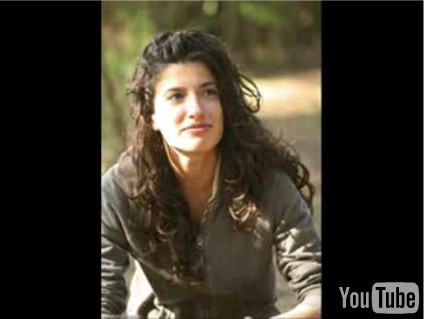
| 26 | |
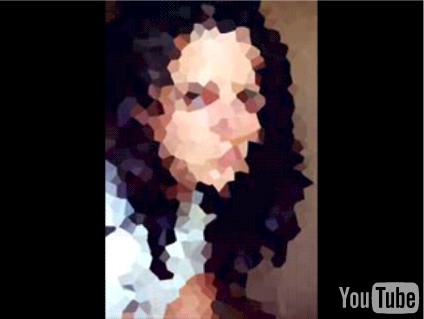
An upside-down negative of actress Jamie Silberhartz who portrayed Rachel Blake in 2006's online official webmaze, The Lost Experience. | HERE | Not explicitly |
| 27 | |
??? | None | Not explicitly |
| 28 | |
??? | None | Not explicitly |
| 29 | |
??? | None | Not explicitly |
| 30 | |
??? | None | Not explicitly |
| 31 | |
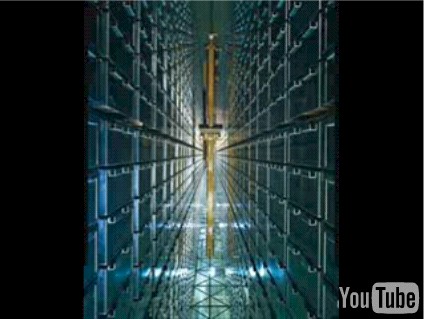
A Volstok Station outpost in Antarctica with the Mobius station logo on it. The outpost was a location visited during the ending phase of a previous webmaze named "Flight 213". | None | Not explicitly |
| 32 | |
??? | None | Not explicitly |
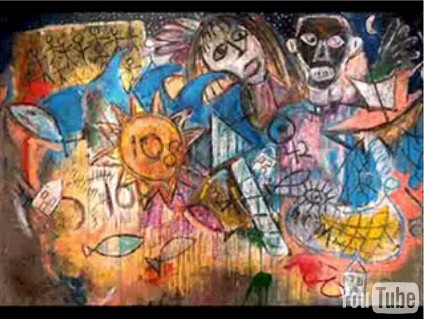
| 33 | |
The mysterious mural from the Swan hatch. | None | Not explicitly |
| 34 | |
A photoshopped version of this pic showed up in the tour of the Mobius Station. | None | Not explicitly |
| 35 | |
Alex | None | Not explicitly |
| 36 | |
Figure 5-15 from HERE | HERE | Not explicitly |
| 37 | |
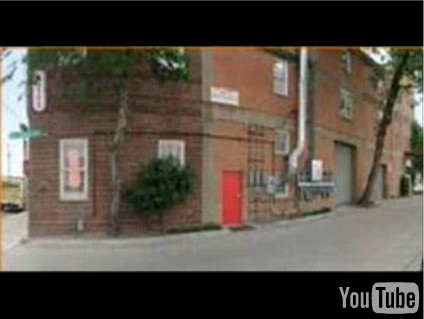
John Lantham's home in Dallas, TX. | None | Not explicitly |
| 38 | |
??? | None | Not explicitly |
| 39 | |
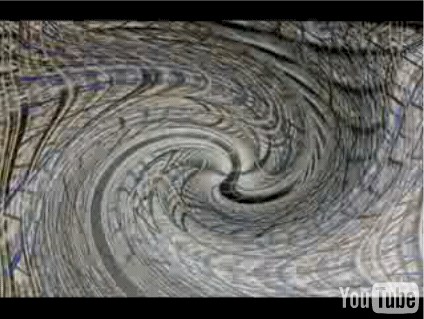
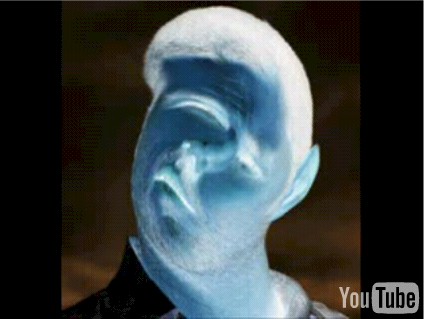
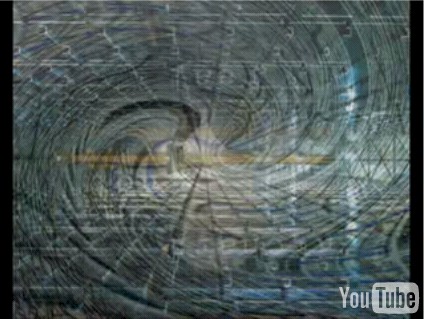
A "swirled" negative picture of Jack Shephard. | *less swirled* pic HERE | Not explicitly |
| 40 | |
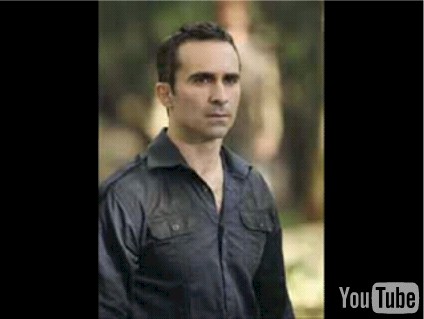
Unidentified older man from a previous video located HERE. The linked video is an early (and as of yet unsolved) clue to Flight 755. | None | Not explicitly |
| 41 | |
??? | None | Not explicitly |
| 42 | |
The bus that ran over Juliette's ex-husband. It was also a clue in a previous maze called, Beyond The Horizon. | None | Not explicitly |
| 43 | |
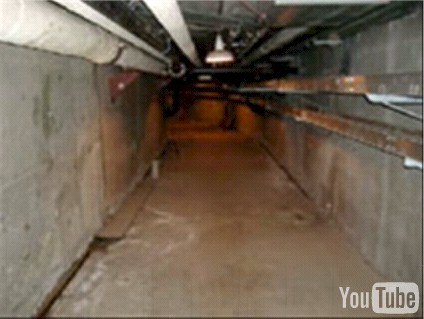
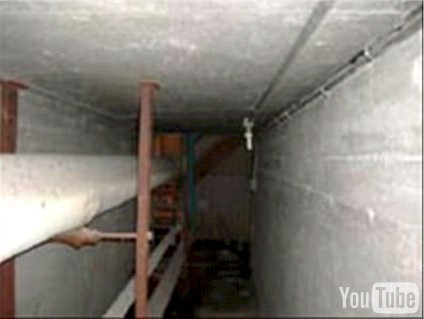
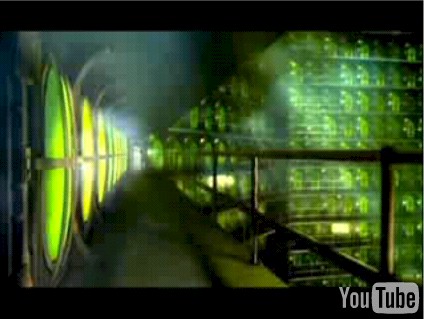
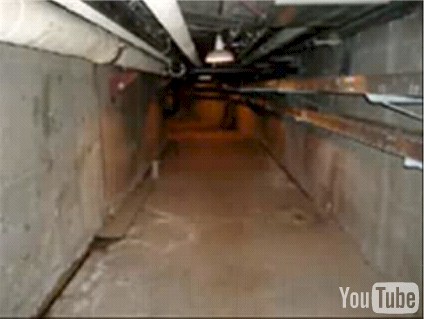
The elevator located within the Mobius Station. | None | Not explicitly |
| 44 | |
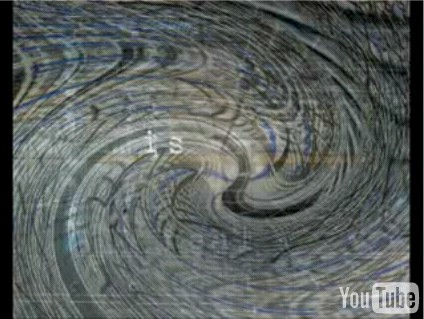
Notice the word, "IS". | None | Not explicitly |
| 45 | |
??? | None | Not explicitly |
| 46 | |
Figure 5-16 from HERE | HERE | Not explicitly |
| 47 | |
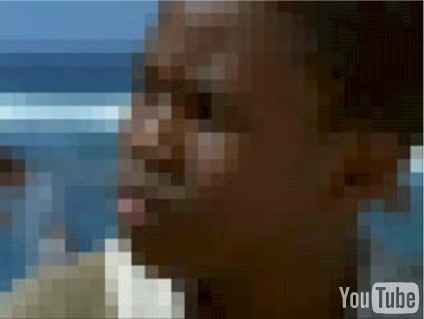
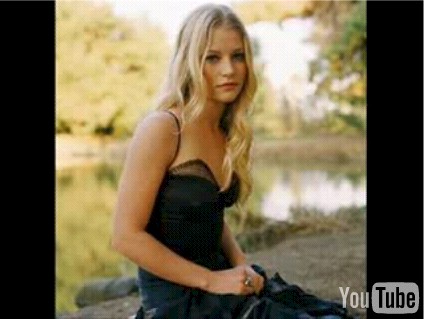
Claire | None | Not explicitly |
| 48 | |
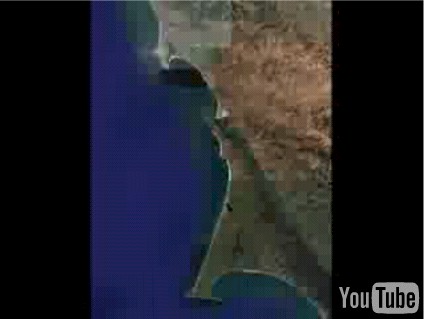
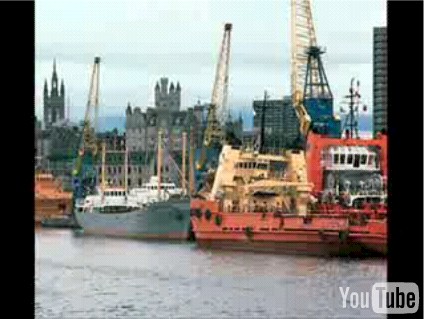
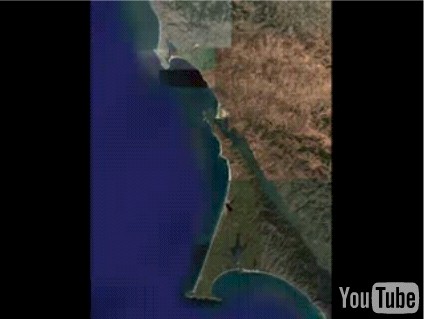
Picture of a port in Aberdeen, Scotland. | None | Not explicitly |
| 49 | |
Figure 5-17 from HERE | HERE | Not explicitly |
| 50 | |
An edited pic of Jack's room from the finale. This pic was one of the very first clues at the start of Flight 755 and is being used to signify/plot major destinations. | None | Not explicitly |
| 51 | |
A different altered pic of Rachel Blake. Reference frame # 26. | Reference frame # 26 | Not explicitly |
| 52 | |
??? | None | Not explicitly |
| 53 | |
Reference frame # 36 | Reference frame # 36 | Not explicitly |
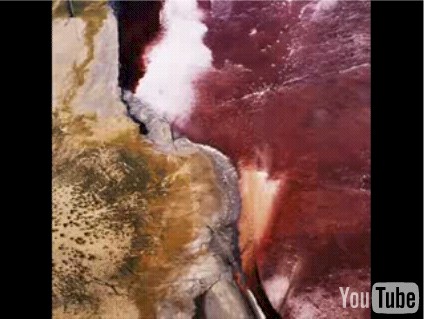
| 54 | |
Sea floor? | None | Not explicitly |
| 55 | |
??? | None | Not explicitly |
| 56 | |
??? | None | Not explicitly |
| 57 | |
Reference frame # 15 | Reference frame # 15 | Not explicitly |
| 58 | |
??? | None | Not explicitly |
| 59 | |
Dharma Swan Logo | None | Not explicitly |
| 60 | |
??? | None | Not explicitly |
| 61 | |
Pic of a book titled, An Experiment With Time by J.W. Dunne. | None | Not explicitly |
| 62 | |
??? | None | Not explicitly |
| 63 | |
??? | None | Not explicitly |
| 64 | |
Reference frame # 46 | Reference frame # 46 | Not explicitly |
| 65 | |
Reference frame # 5 | Reference frame # 5 | Not explicitly |
| 66 | |
??? | None | Not explicitly |
| 67 | |
??? | None | Not explicitly |
| 68 | |
Refer to Frame # 25. | n/a | Not explicitly |
| 69 | |
??? | None | Not explicitly |
| 70 | |
Richard Alpert | None | Not explicitly |
| 71 | |
??? | None | Not explicitly |
| 72 | |
Reference frame # 34 | None | Not explicitly |
| 73 | |
Reference frame # 1 | None | Not explicitly |