Here are some pictures of my Velocity XL RG kit.
(Click on the picture to see it full size)
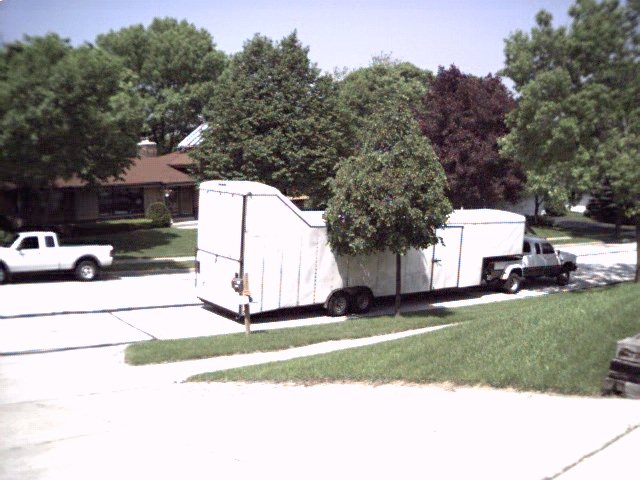
The kit arrived on May 15th 2001.
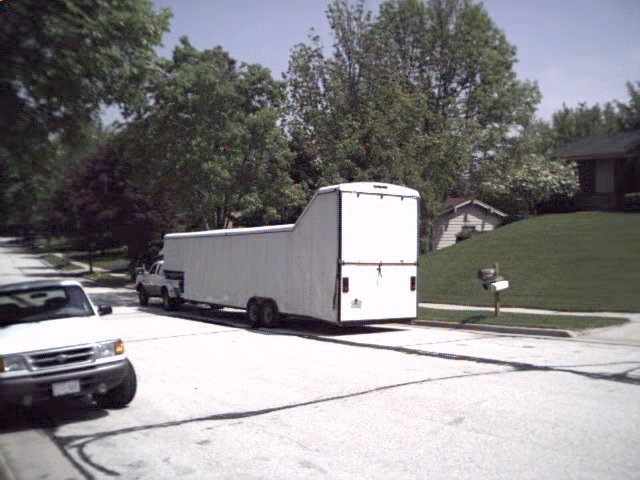
There were 3 kits in this trailer! My Fast build, 1 non-fast
build XL, 4 wings, 2 canards
and 1 Glas-Star Kit
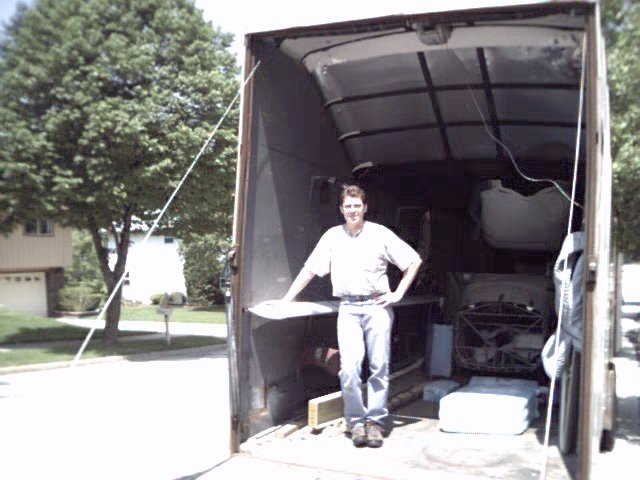
Me.
We got it up the driveway! Thanks for the help Larry.
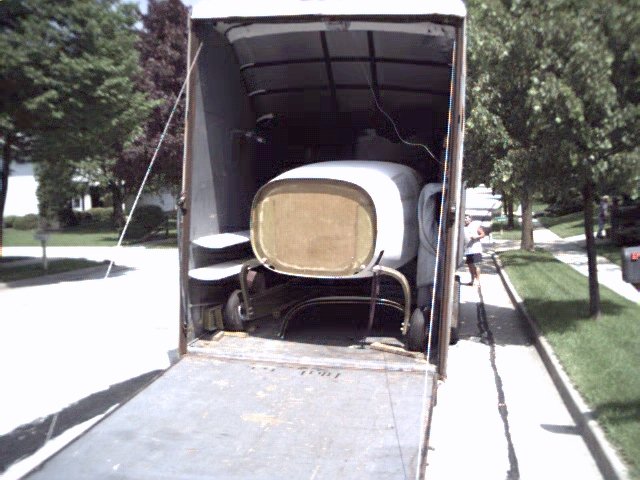
Parts.
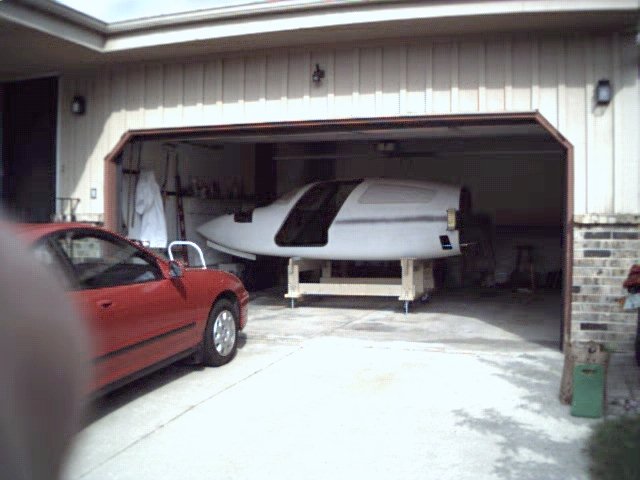
Looks like we'll be parking outside for a while.
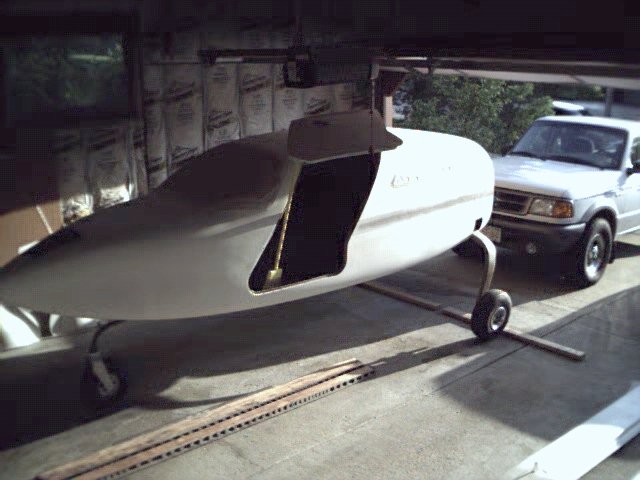
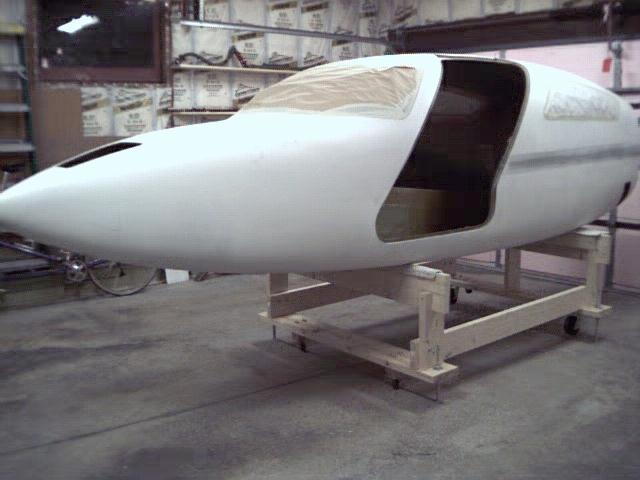
Temporarily sitting on it's landing gear.
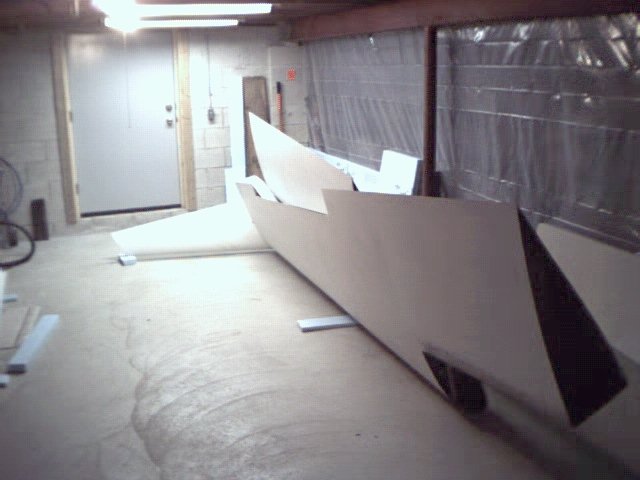
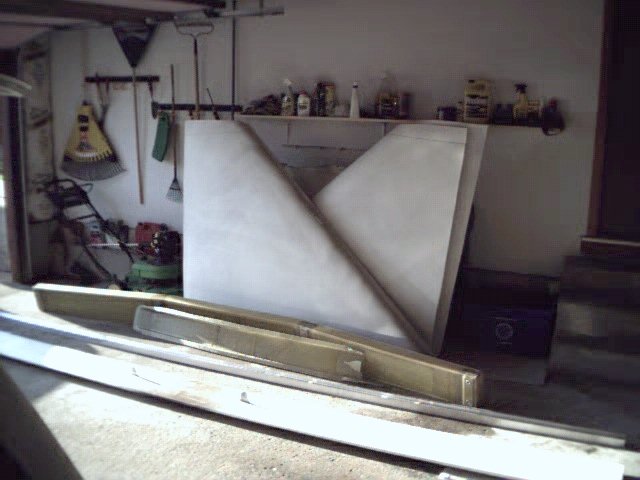
Wings are in the basement.
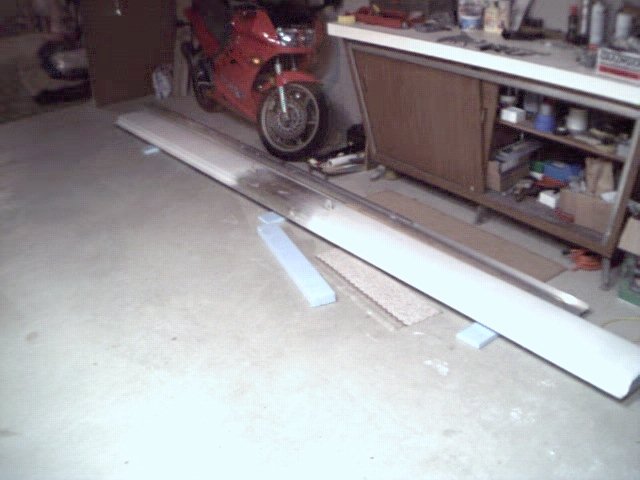
More parts in the basement.
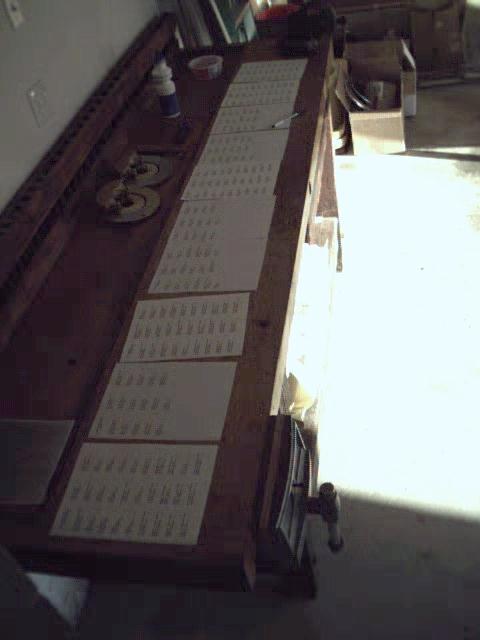
Inventory. Lots of fun!
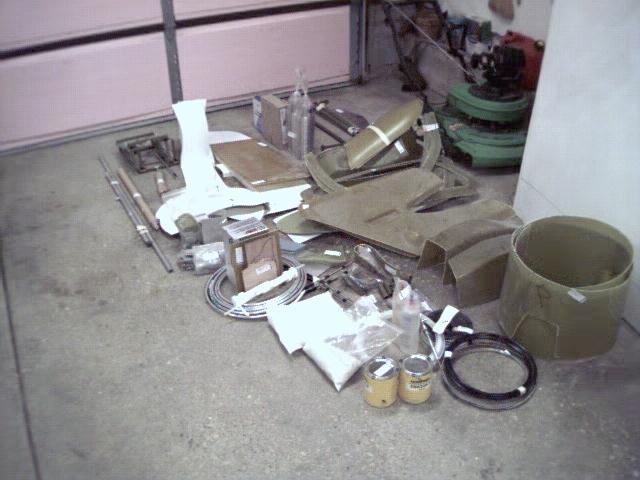
A small sampling of parts.
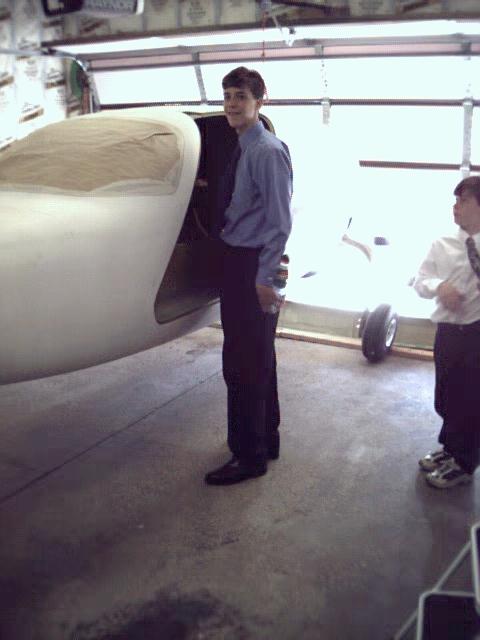
Some visitors stop by.
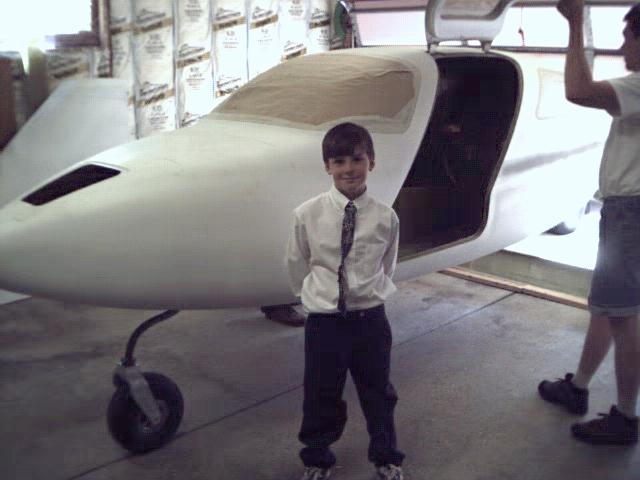
I hope I'll be finished before he's taller than his brother.
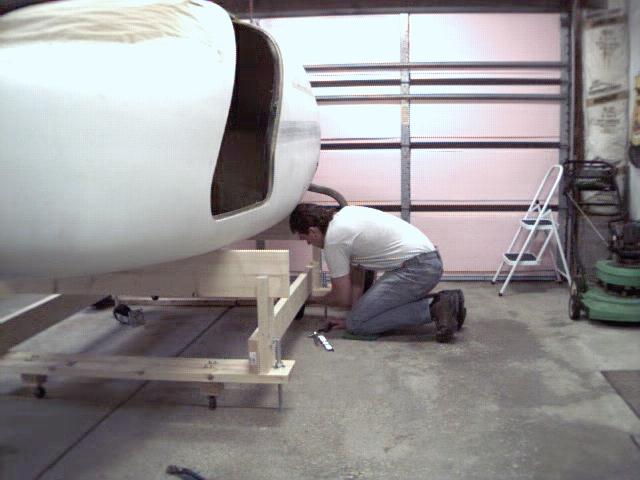
Building the cradle.
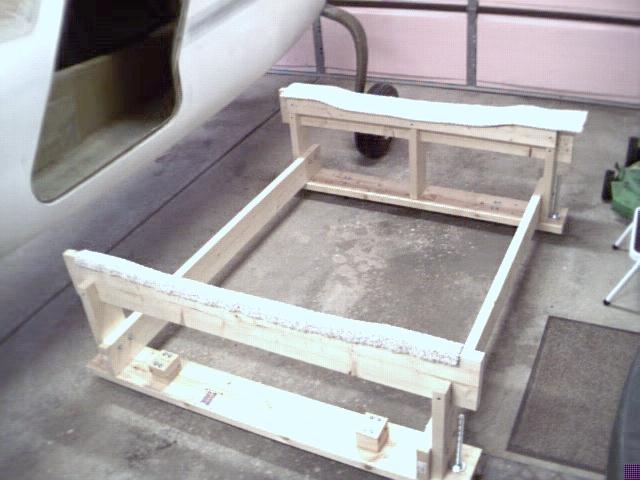
Finished cradle.
Landing gear removed, leveled and ready to start gluing.
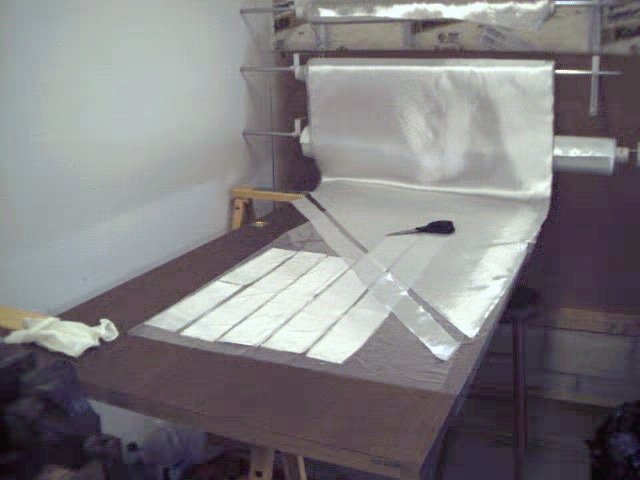
Here's my fiberglass cutting table (an old closet door).
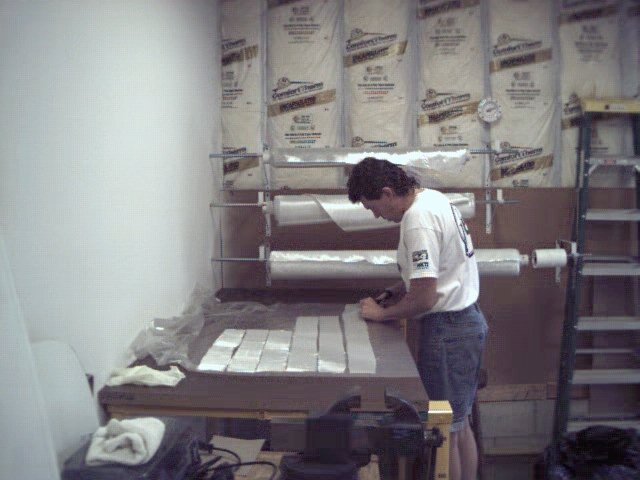
Me cutting fiberglass.
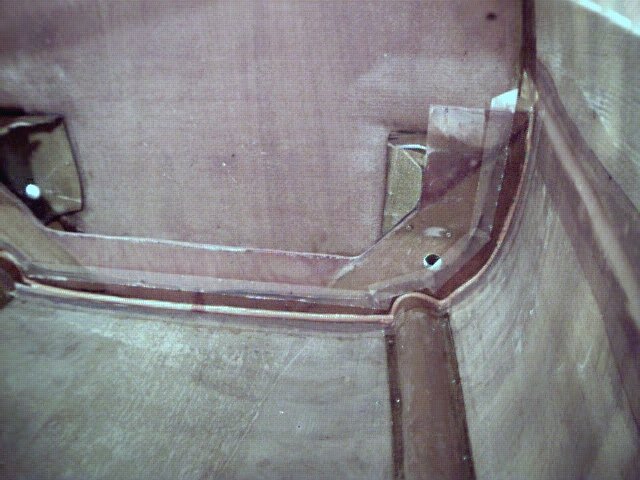
My first lay-up on the main gear bulkhead. It turned out really
good.
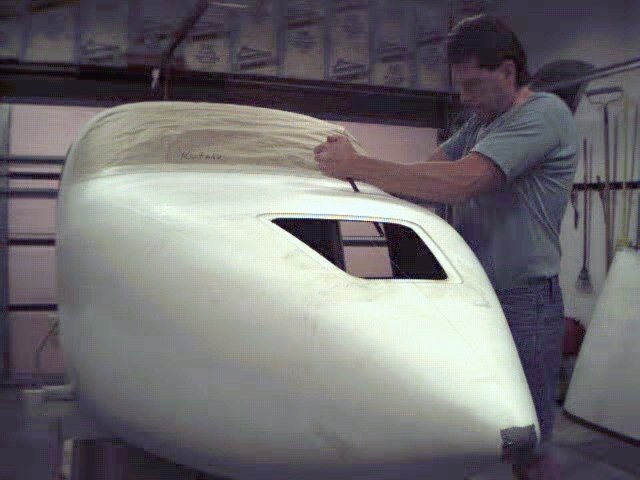
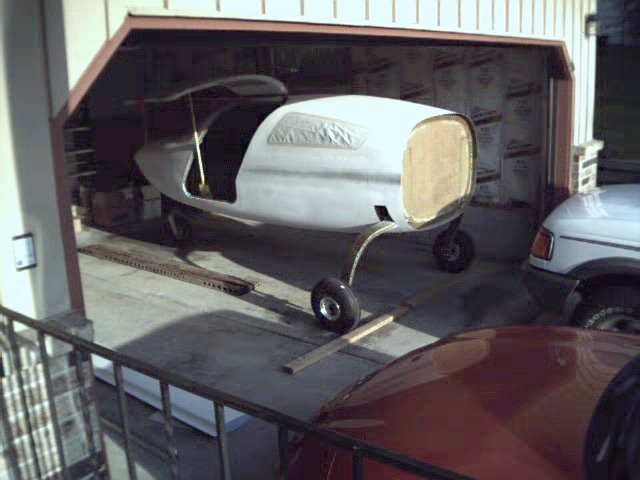
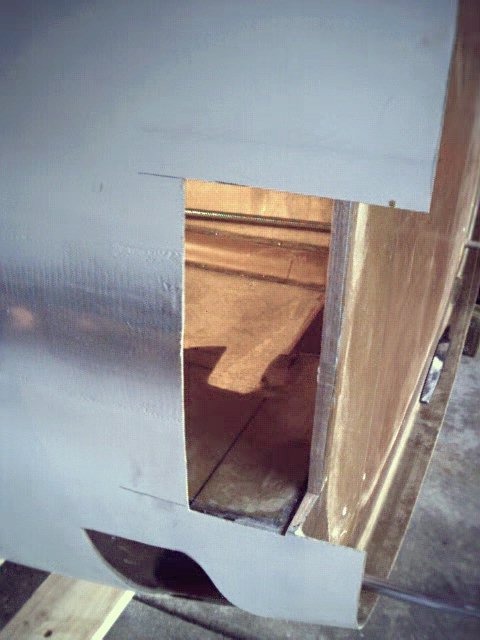
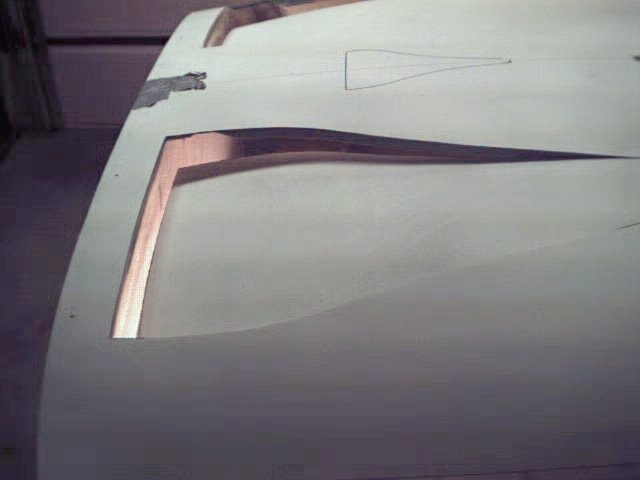
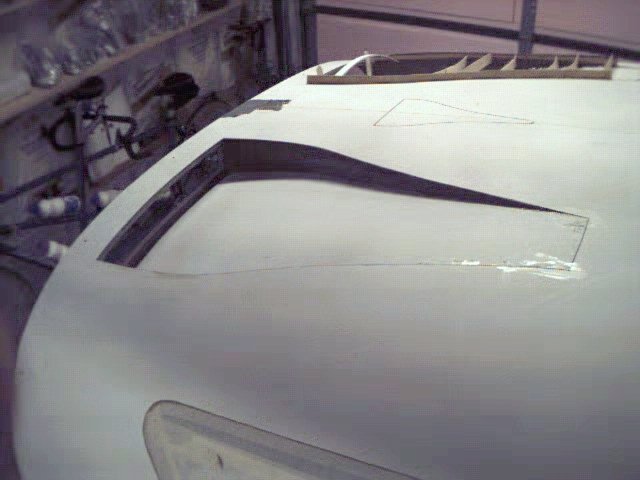
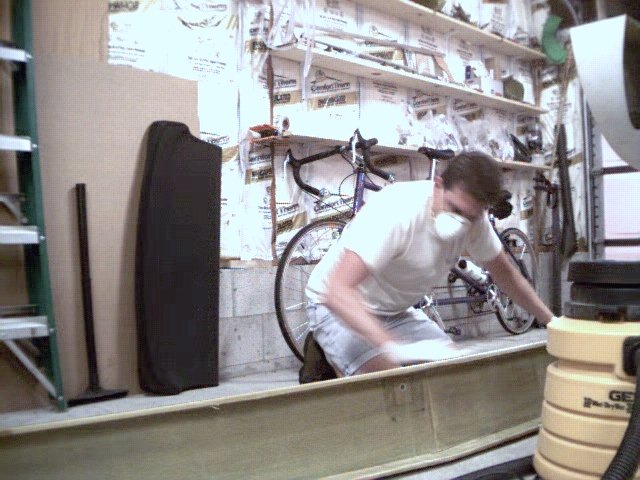
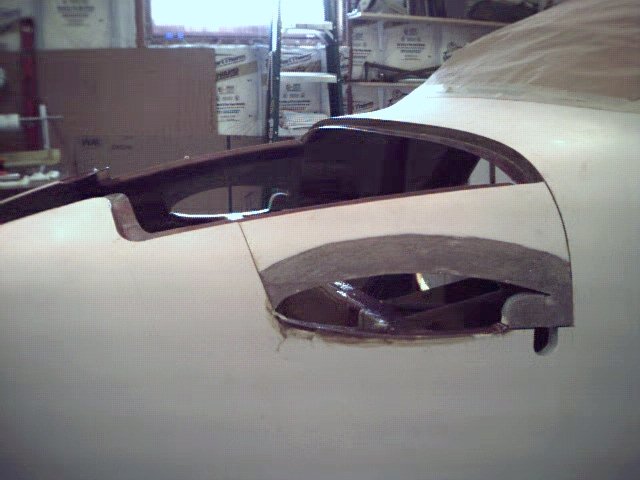
The first cut on the fuselage.
Cutout for the access hatch. This will make it much easier to
install stuff in the nose.
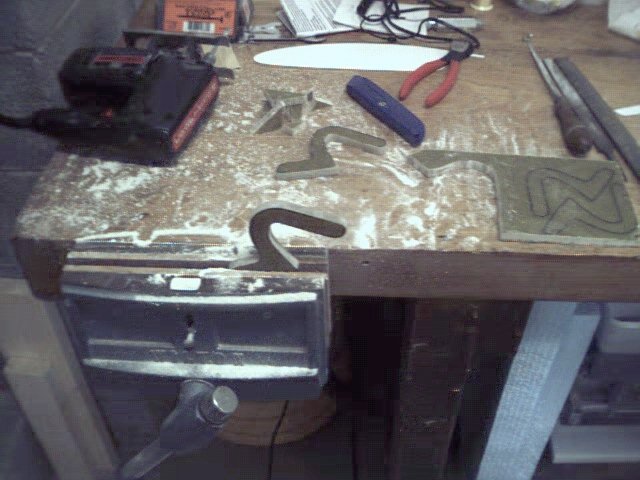
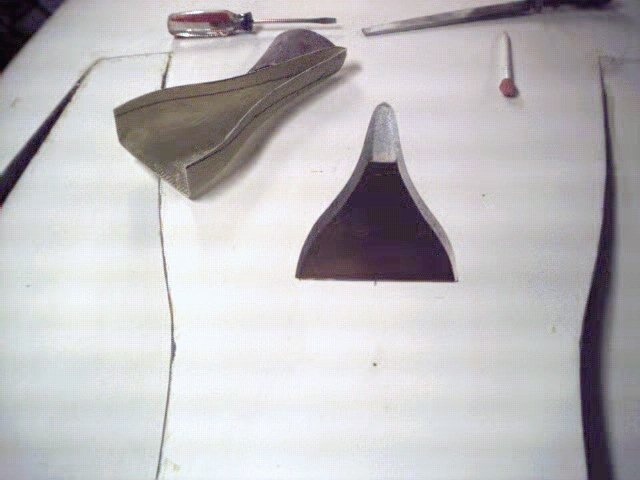
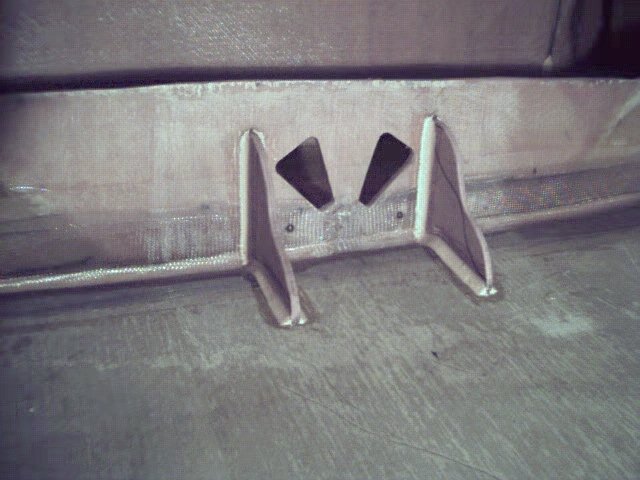
Cutting out the swing arms for the nose gear doors.
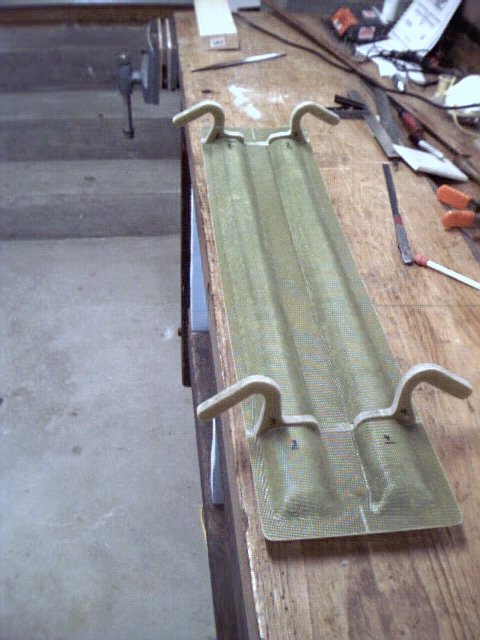
Attaching swing arms to the nose gear doors.
Nose dear doors installed.
Nose gear doors closed.
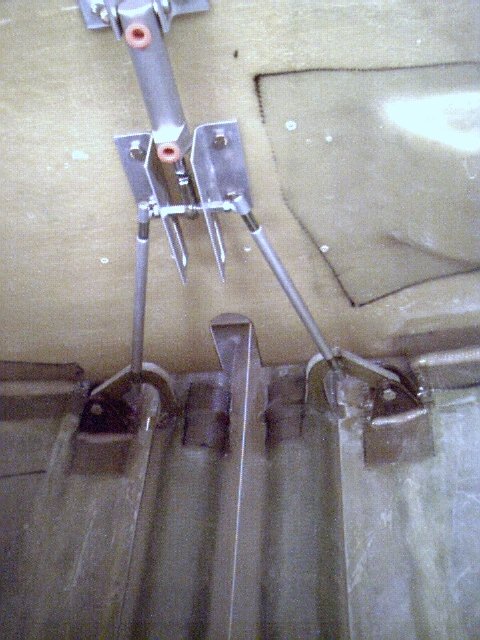
Actuating cylinder and linkage installed.
Gluing in the landing light mount.
Making the access covers for the center keel.
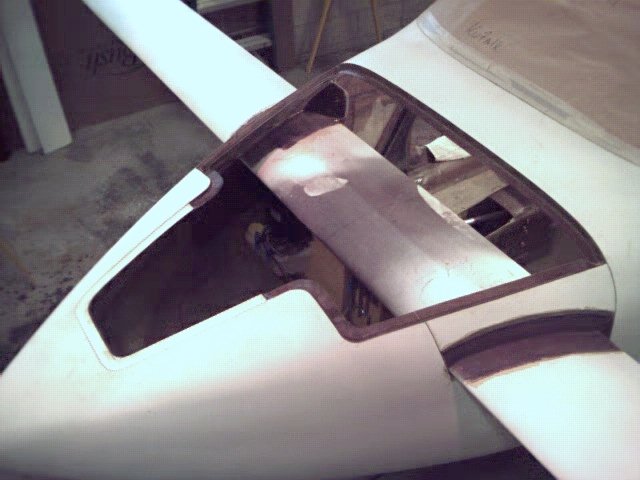
Cut out hole for the main spar.
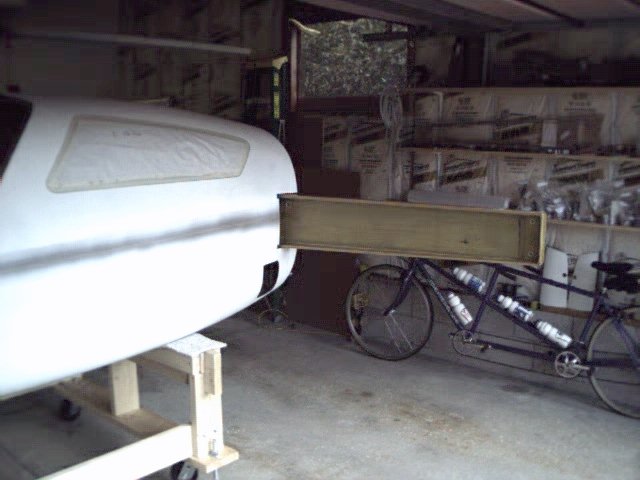
Main spar installed (temporarily).
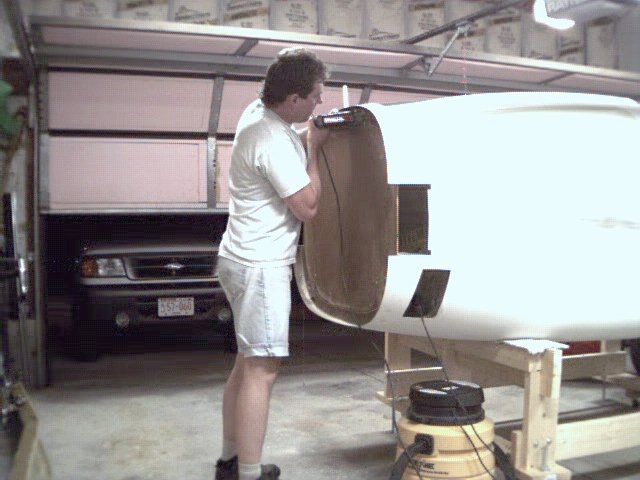
I had to turn the fuselage in the garage to get the spar in.
(yes that's my thumb)
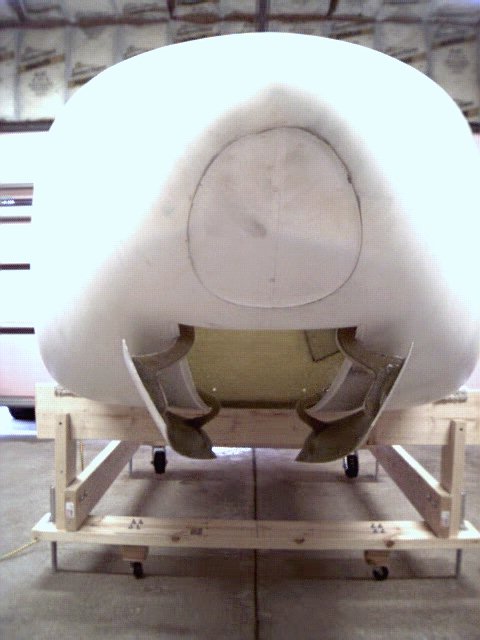
Cutting out the NACA scoops. These are to cool the engine.
Gluing in the sides of the scoops.
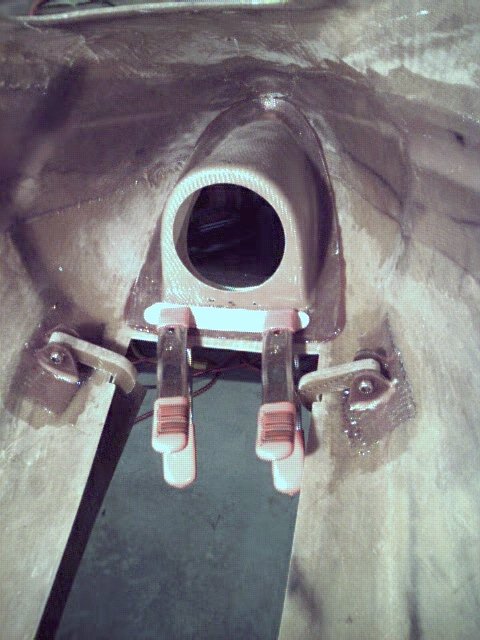
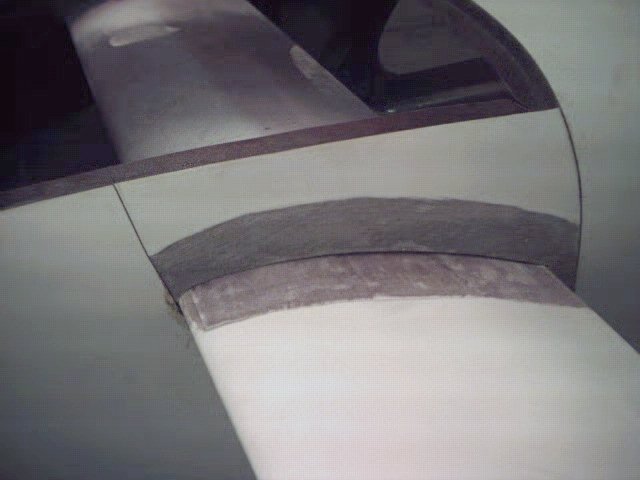
Installing the small NACA scoop. This will feed fresh air into
the cabin.
Cutting
holes in firewall for NACA scoops.
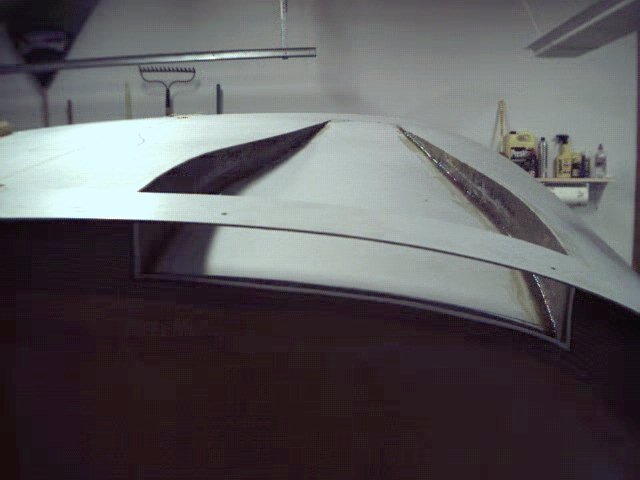
Rear view
of the NACA Scoop.

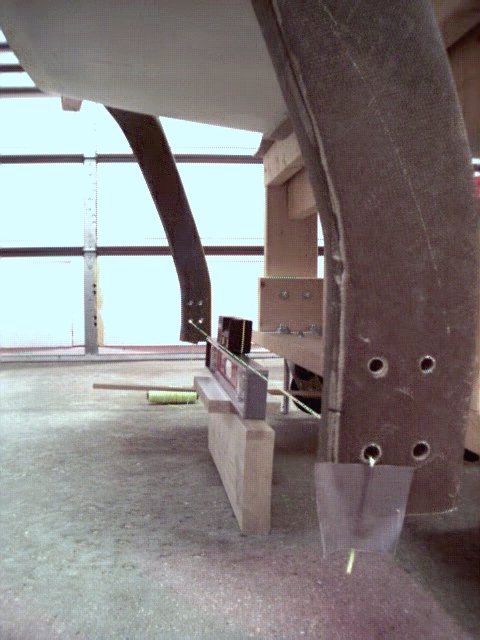
Larger cutout for spar and main gear.
Sanding main spar for good adhesion of glue.
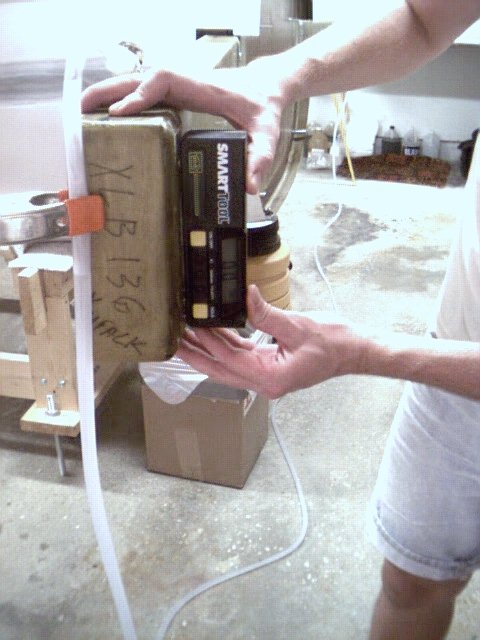
Checking main spar to make sure it's plumb.

Main spar clamped in and curing.

Cut and shaping foam for spar re-enforcement.
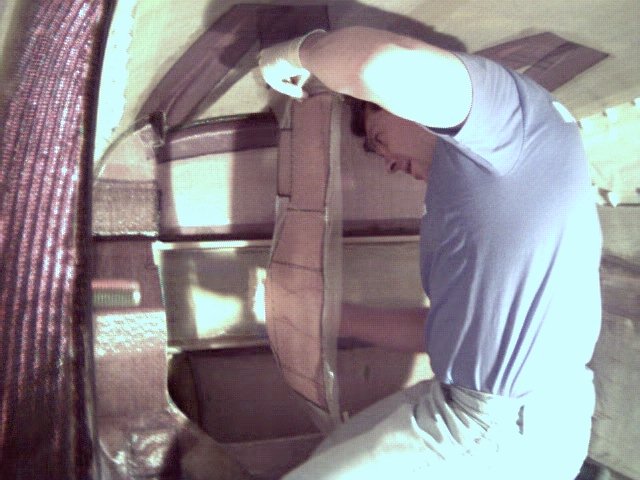
Laying up Triax over foam for spar re-enforcement.
Installing main gear bushings and test fitting main gear legs.
Checking level of main gear legs.
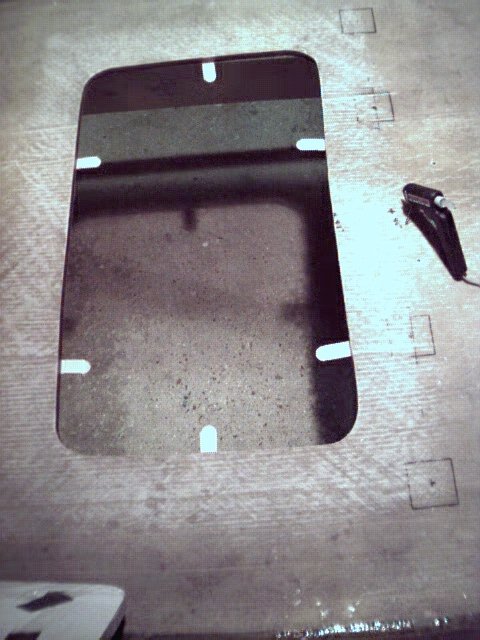
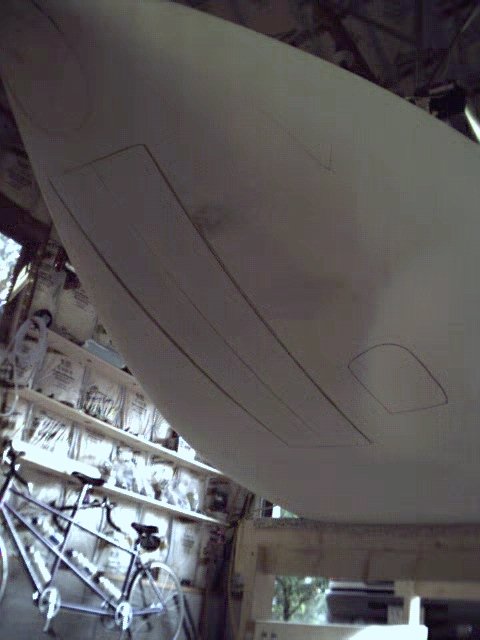
Cutting out speed brake.
This is a large panel that hinges down from the bottom of the fuselage.
It helps slow you down on approach for landing.
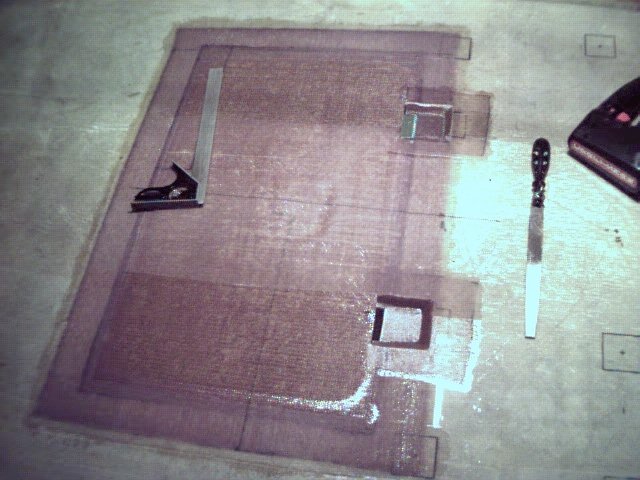
Speed brake covered with Triax and hinge pockets finished.
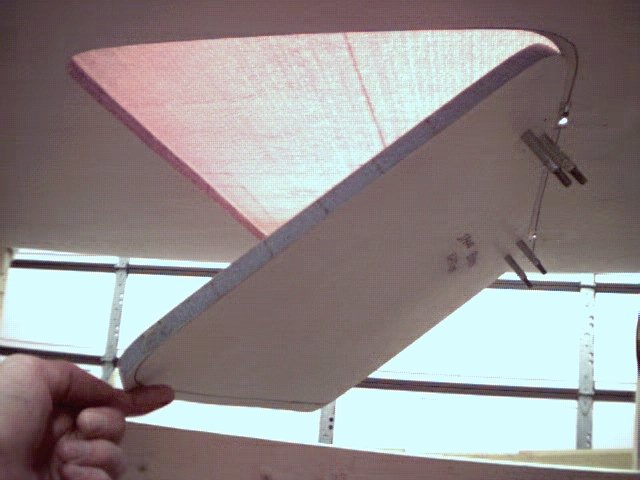
A view of the speed brake from underneath.
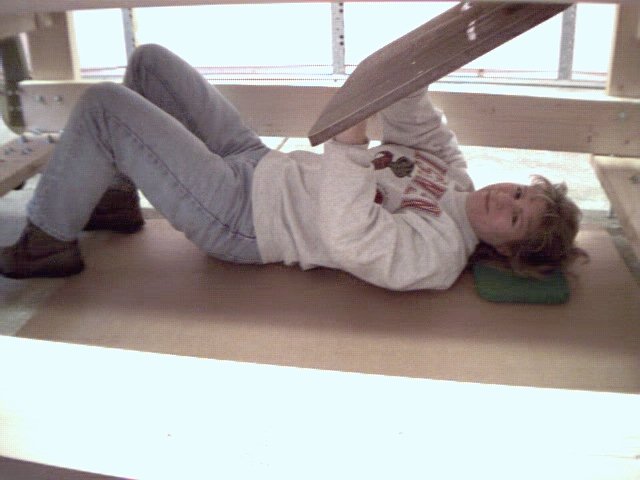
Here's Nora helping me line up the hinges.
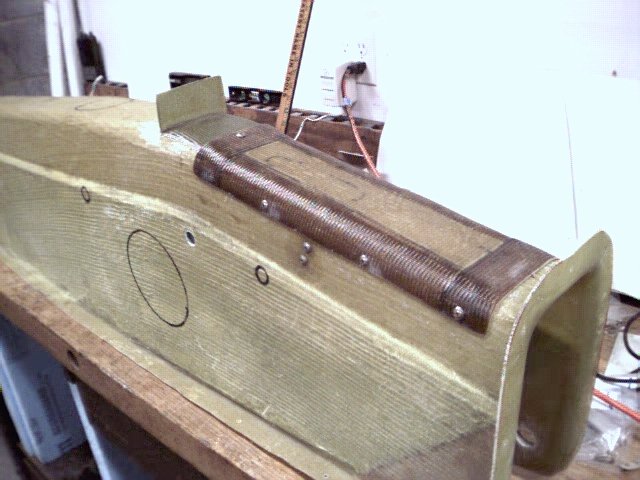
Cut holes and installed re-enforcement for main gear cable pulleys.
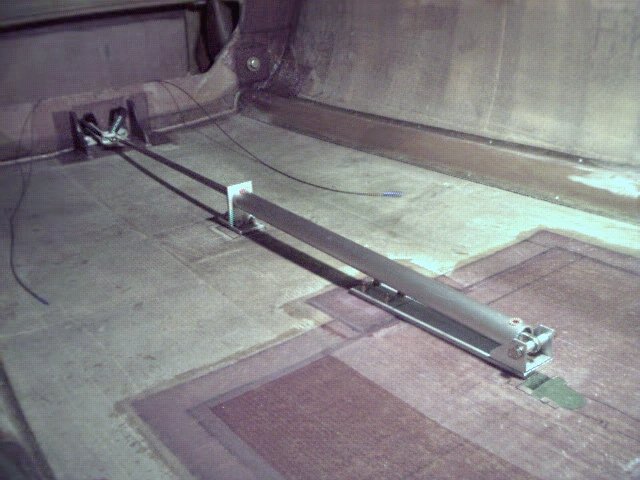
Main gear hydraulic cylinder installed.
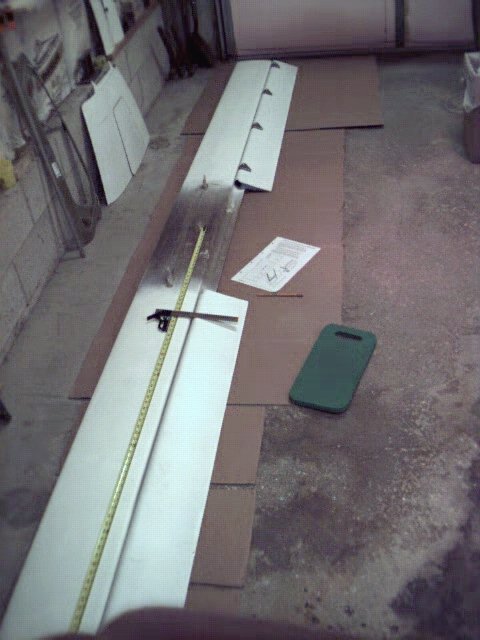
Laying out hinge location on canard elevators.
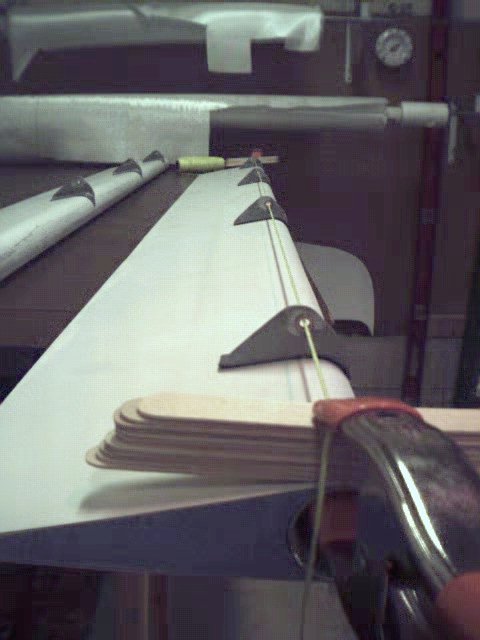
Aligning hinges on elevators.
Attaching hinges to canard.
Elevator counterbalance installed.

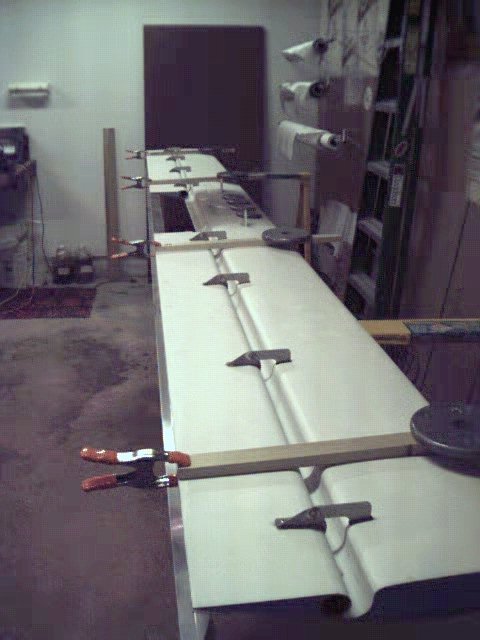
Leveling and aligning canard to fuselage.
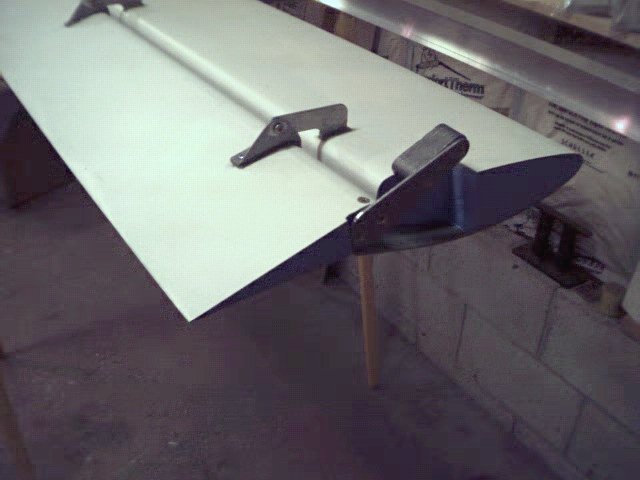
Shaping loose ends. These pieces are permanently attached to the canard.
The canard is removable and these pieces come with it.
Preparing to glue pieces to canard.

Loose end glassed in place.
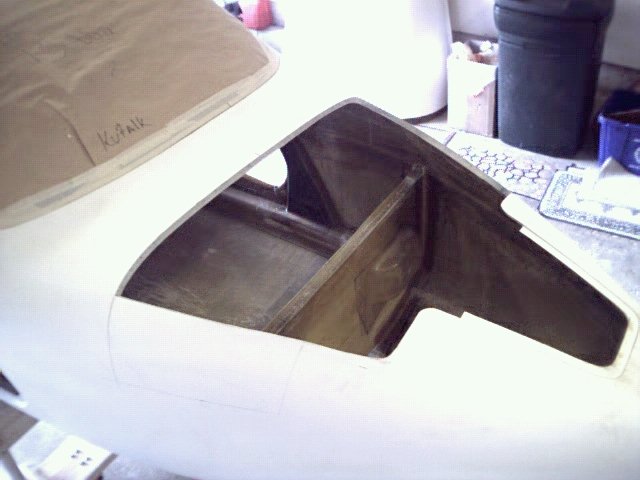
A view of the completed access hatch.
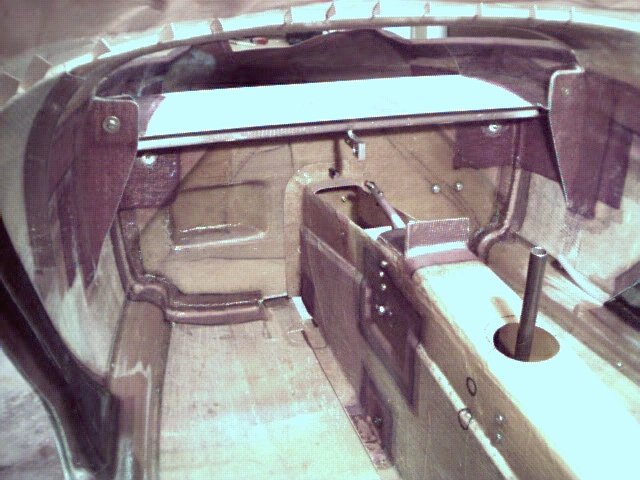
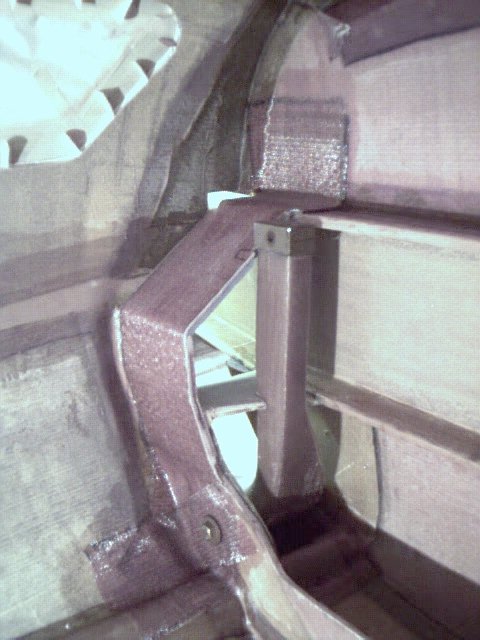
A view of the aft canard attach tabs. Temporarily installed center keel and control stick.
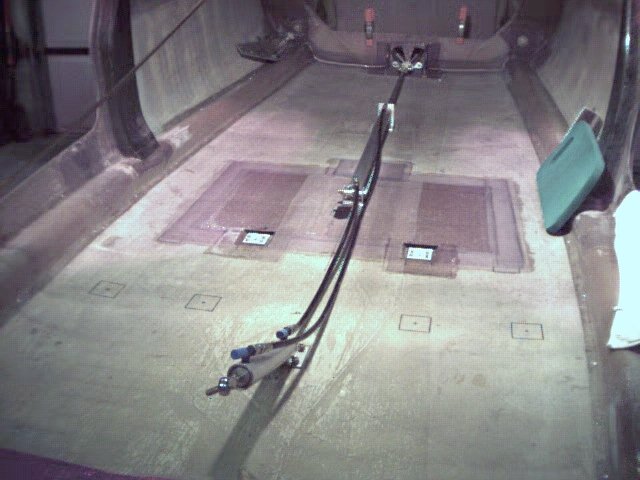
Keel removed again. Starting to plumb in hydraulic cylinders for retractable landing gear.
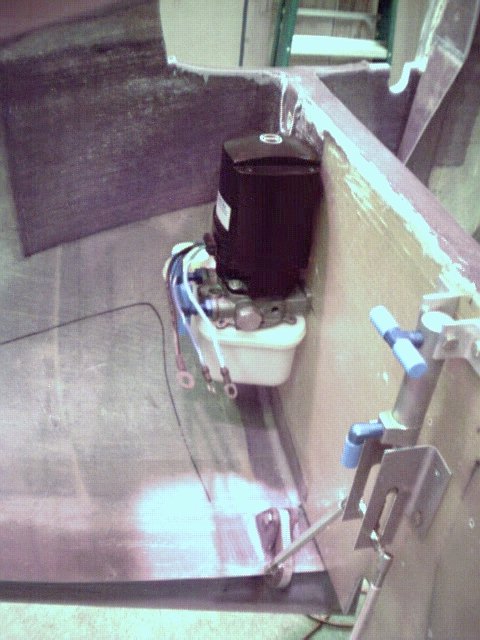
Mounted hydraulic pump for retractable landing gear.
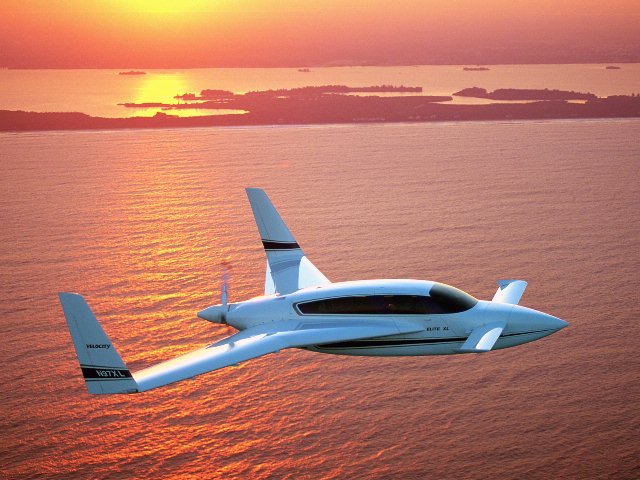
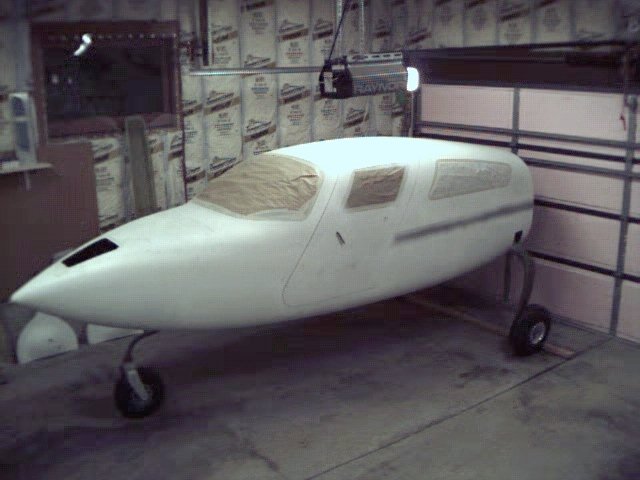
Hopefully, this is what it will look like someday.