updated October 10, 2004


| Horizontal Stabilizer updated October 10, 2004 |
|||||||||||||||||||||||||||||||||||||||||||||
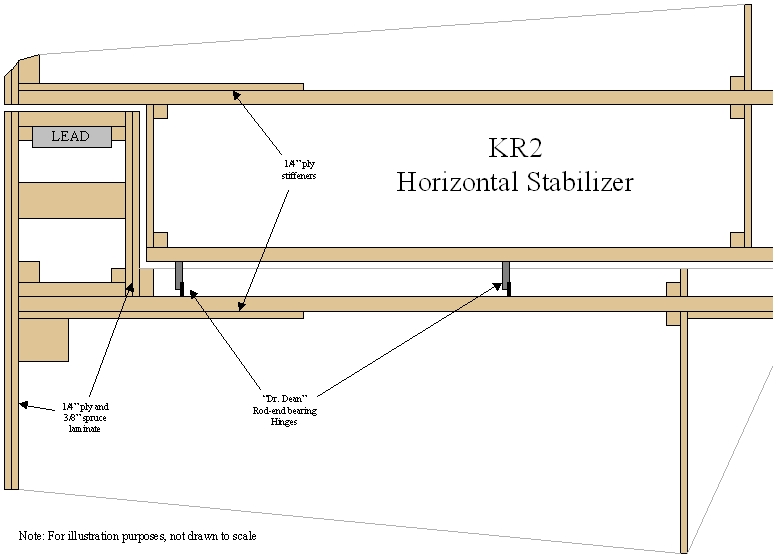
| Although I am using the AS5046 airfoil on the wings, I decided to stay with the stock RR dimensions for the Horizontal Stabilizer (although I will decrease the degree of incidence). Here is the design I used: | |||||||||||||||||||||||||||||||||||||||||||||
|
|||||||||||||||||||||||||||||||||||||||||||||
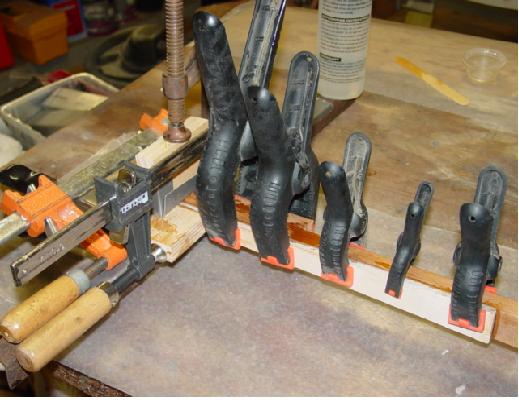
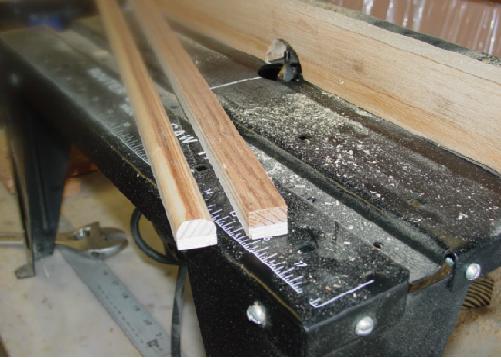
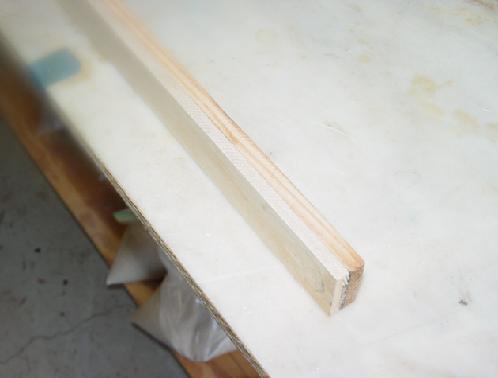
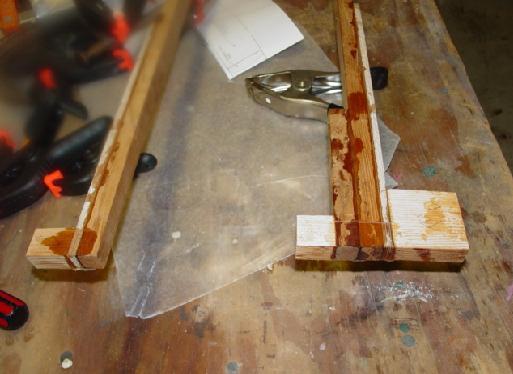
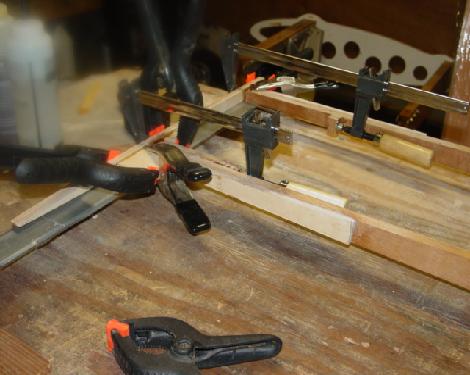
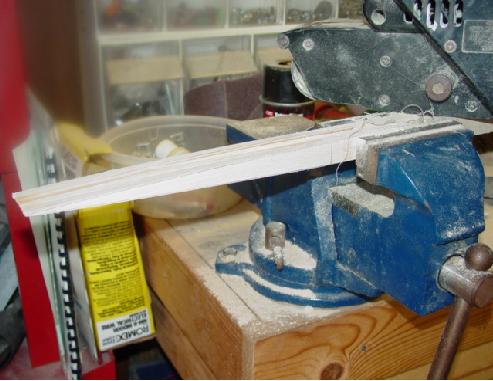
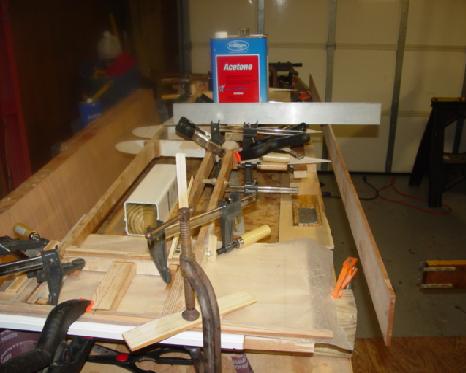
| I started by cuttng the three spars (2 for the HS & 1 for the elevator). Then, in the picture to left I layed out the pieces I will use to "beef up" the end of the elevator spar. The next picture shows gluing those in place. The right picture shows where I used a piece of steel angle to ensure that the ends remain square. | |||||||||||||||||||||||||||||||||||||||||||||
|
|||||||||||||||||||||||||||||||||||||||||||||
|
|
||||||||||||||||||||||||||||||||||||||||||||
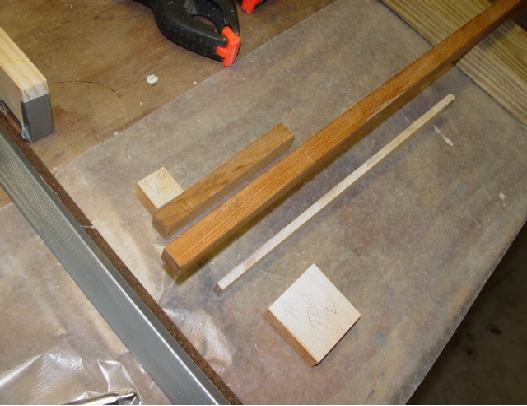
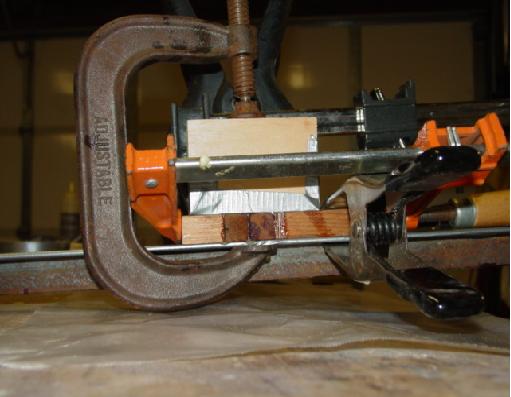
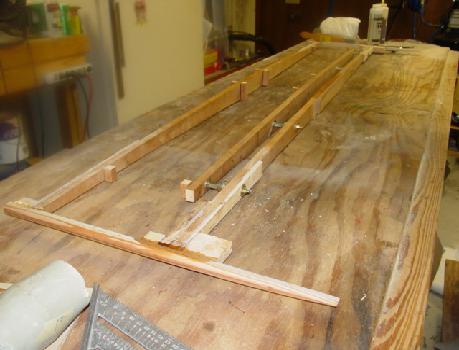
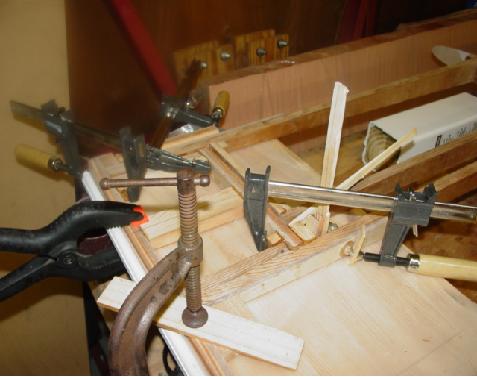
| Here you see the elvator spar ends glued up and the forward HS Spar also glued with ply support and corner block. Both of these will be trimmed slightly to square them to accept hte end rib. The middle picture shows where I laminated 1/4" ply to 3/8" spruce to increase strength since the tip is so thin. After I had both tips glued, I routered a radius for a clean stabilizer tip. | |||||||||||||||||||||||||||||||||||||||||||||
|
|||||||||||||||||||||||||||||||||||||||||||||
|
|||||||||||||||||||||||||||||||||||||||||||||
|
|||||||||||||||||||||||||||||||||||||||||||||
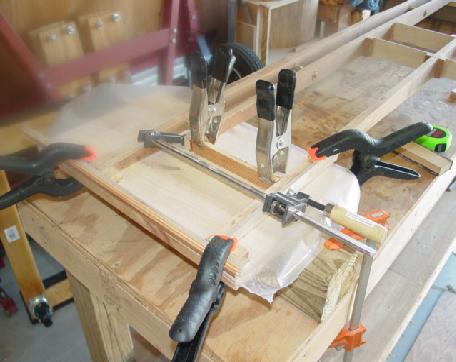
| After routering, I clamped them together in vise and belt sanded the airfoil shape. The middle pictre shows them ready to be epoxied to the spars. I then epoxied them to each end of the elevator spar and forward HS spar. I used a level to ensure for ends were level and exactly parrallel with each other. | |||||||||||||||||||||||||||||||||||||||||||||
|
|||||||||||||||||||||||||||||||||||||||||||||
|
|||||||||||||||||||||||||||||||||||||||||||||
|
|||||||||||||||||||||||||||||||||||||||||||||
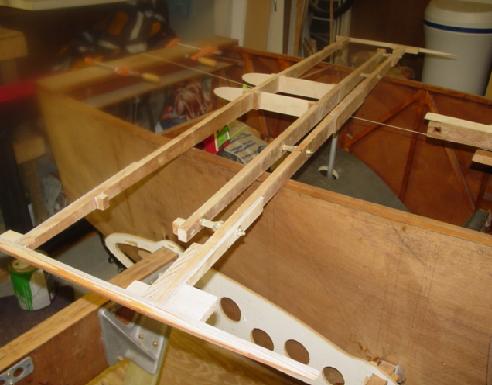
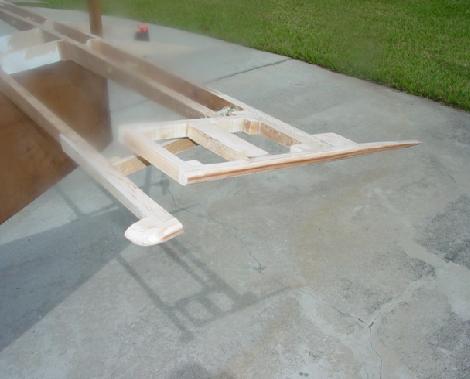
| As you can see on the right, it's starting to look like an HS. Next, I glued in the center HS ribs. | |||||||||||||||||||||||||||||||||||||||||||||
|
|||||||||||||||||||||||||||||||||||||||||||||
|
|||||||||||||||||||||||||||||||||||||||||||||
|
|||||||||||||||||||||||||||||||||||||||||||||
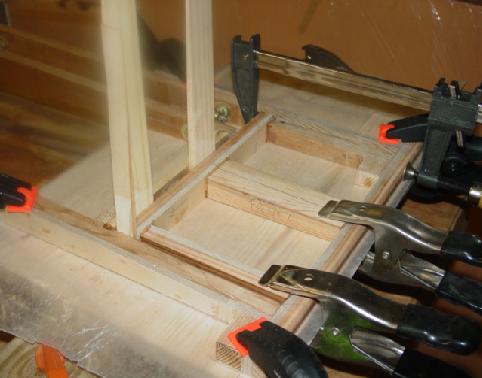
| I used some planed pine to make two "shelfs" for each end of the HS to keep each end square. I epoxied in the cross member on the HS. Next I fitted the aerodynamic balance frames and epoxied in the frames and gussets.. | |||||||||||||||||||||||||||||||||||||||||||||
|
|||||||||||||||||||||||||||||||||||||||||||||
|
|
||||||||||||||||||||||||||||||||||||||||||||
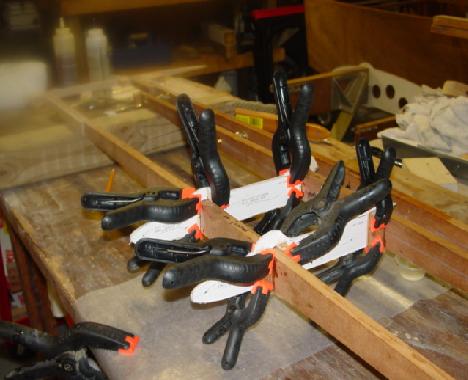
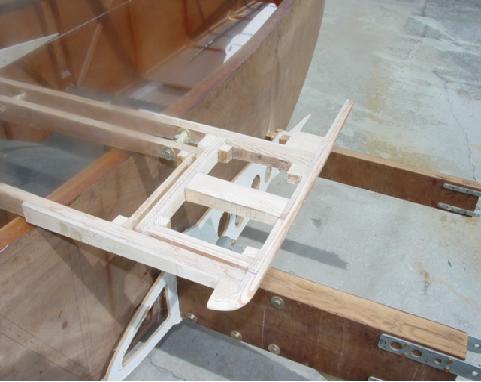
| Finally, with the ends done, I epoxied in the elevator ribs, The piece of 1/4" x 3" x 6' piece of spruce standing vertical was what I used to ensure that the rib tips matched up with the end rib tips. Finally, after cleaning everything up, it looks pretty good. The last thing remaining is to cut the elevator loose, which you can see on the right. Now on to foam and glass... | |||||||||||||||||||||||||||||||||||||||||||||
|
|||||||||||||||||||||||||||||||||||||||||||||
|
|||||||||||||||||||||||||||||||||||||||||||||
|
|||||||||||||||||||||||||||||||||||||||||||||
|
|||||||||||||||||||||||||||||||||||||||||||||
| Return to Dean Cooper's KR2 Home | |||||||||||||||||||||||||||||||||||||||||||||
|
|
|||||||||||||||||||||||||||||||||||||||||||||