download step-by-step guide. For gauge diagrams, Click here.
The gauges I got off of ebay($30 can't beat that!!!) had a toggle switch for the different colors. I figured out where I wanted to
locate it (just behind the airbag switch). I found the wire that I was going to draw power from--the instructions for my set said to
connect to the brake lights. I tapped in to the brown wire coming
off the switch because this feeds all of the lights. I loosely placed
the cluster with inserts back in the dash and made sure that I had
enough wire to reach both places. Luckily, there was just enough.
I pulled the cluster back out so I tighten the clear platic cover down to hold the inserts. I thought this would be pretty easy, as most
things go, it wasn't. Everytime I got things tightened up, plugged
in, the different indicators on the cluster wasn't lined. up. After
serveral frustrating tries, I plugged the cluster in, turned the key
forward, lined up the insert, and taped it inplace with scotch tape. Once I did this for each insert, I attached the lens cover. The
wires from the insert was able to hang down without being
damaged by the cover.
I mounted the the dimmer/coloer select swicth using hole that were already under the dash. I also used one of the dash screws to attach the ground to.
Next, I located the brown wire again on the headlight switch. I
used a quick splice to tap in to it, then I taped it up.
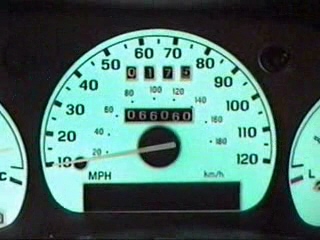
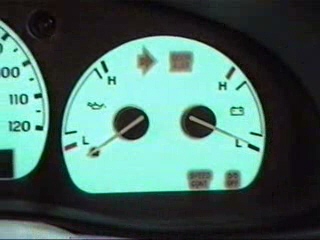
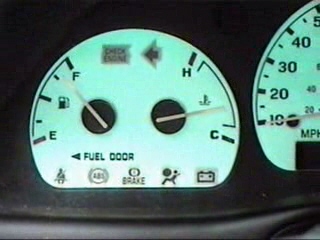
I connect all the wires and switches without putting the dash back together so I could test the lights. Inserts lit up and changed colors. All warning indicators were lined up.
Satisfied, I reinstalled all of the panels. It takes some effort, but it
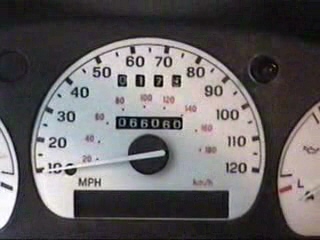
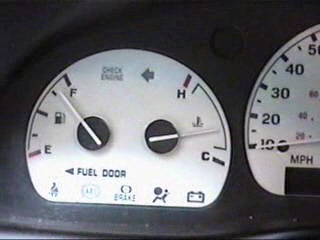
is well worth it. See the Pics below. Click on them to see an enlarged photo.
Shooting