 |
|
|
|
|
|
|
|
|
|
|
|
|
|
|
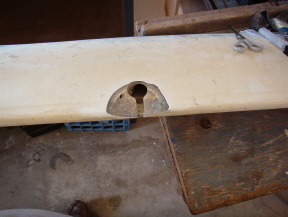
The first thing I did was to grind the area I needed to repair. Then I used a sharpie pen (it had roughly the right diameter) to mold in the hole for the raising line to go through. I had to use those two metal bars to hold the wet fiberglass down while it cured so it would conform to the shape of the sharpie. If I had it to do over again, I would've just filled what remained of that hole with filler, laid up the fiberglass over it, and then drilled the hole out. It was a huge pain to cut out all the little pieces of mat I needed, and then try to get them to lay up next to the round hole I'd made. |
|
|
|
 |
|
 |
|
|
|
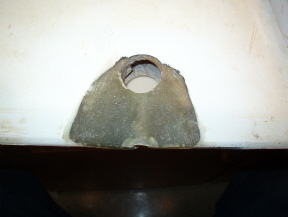
When I finally finished, it wasn't pretty, but it worked. I don't have a picture of it, but I also mixed up some gelcoat and painted that over the top of the repair. |
|
|
|
 |
|
 |
|
|
|
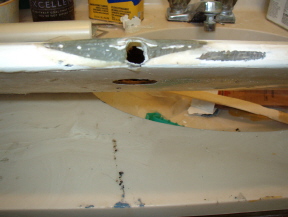
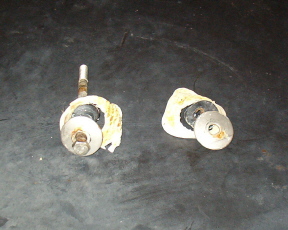
Installing the centerboard was much easier than taking it out. I ordered a new centerboard bolt kit from Bluewater Yachts since the bolt itself was somewhat deformed and I didn't know where to get the rubber washers that went along with it. |
|
|
|
 |
|
|
|
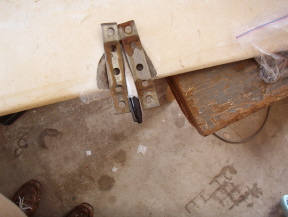
I had my friend help me by holding the centerboard up from underneath the boat while I put the bolt through from inside the cabin. Getting the nut to screw on was a little rough, but once it was on a little bit it was easy to tighten up. Then I re-installed the inspection flanges (I had sanded them down a bit since I had scratched them up removing them) with marine sealant and the original screws. After I put the Wake-Up Riley back in the water and filled up the water ballast, I kept checking those inspection flanges for leaks, but they have held up great! |
|
|
|
|
|
Back to Repairs |
|
|
|
HOME |
|