Now onto bearing selection! For this swap we are using the GM "tall-spindle" that is found in many applications (caprices, firebirds & camaros...just to name a few) and years, but the application that your tall spindles originally came from will determine what bearings to use to get the hub to work on your spindle.
Here's the kicker! Generally, tall spindles from '70-'77 used an outer spindle O.D. of .750" (measured just below where the threads end for the castle nut on the spindle). For these tall spindles (it doesn't matter if they are 12" spindles or 11" spindles) use an outer bearing from a '70-'77 second generation F-body (Camaro, Firebird or T/A) in the 3rd generation F-body hub to get the hub to work on your spindle.
For tall spindles that measure .850" diameter on the O.D. you must use the stock 3rd generation F-body outer wheel bearing to get the hub to mount on your spindle.
Both .750" & .850" O.D. tall spindles (doesn't matter if its a 12" or 11" disc tall spindle) use the stock 3rd generation inner bearing with ease! That was easy wasn't it?!?
The only true way to tell what outer bearing to use is to actually measure the O.D. of your tall spindle. So get out those calipers or tape measure and see what you have!
All I could find are some M12x1.5x54 wheel studs with a 12.8mm knurl. I have decided to try these until I find an auto parts store that carries SAE 7/16"x20x2" wheel studs. I know that Summitt and Jeg's sell the SAE studs I'm looking for, but I would like to keep this project to where you can pick up the parts at you local neighbor hood parts store.
I also picked up new A-6 and A-34 inner and outer bearings (respectively) and the appropriate inner seal as well.
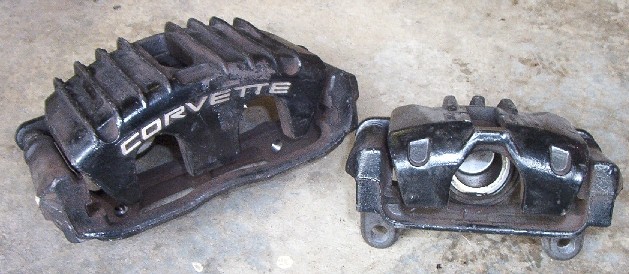
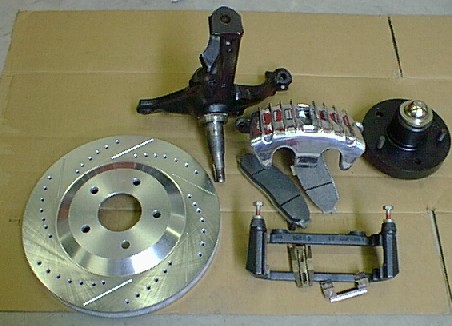
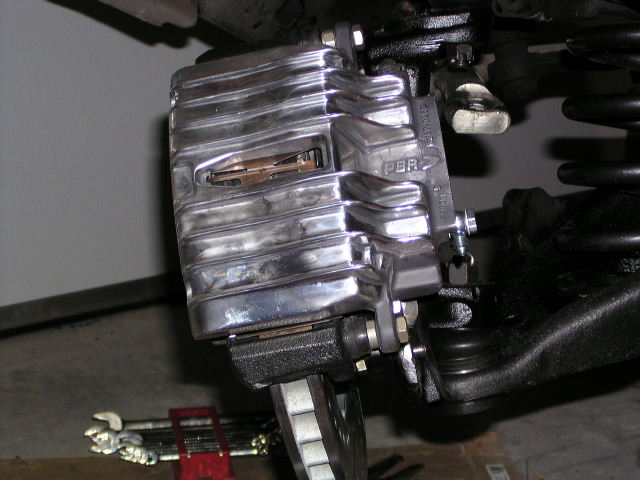
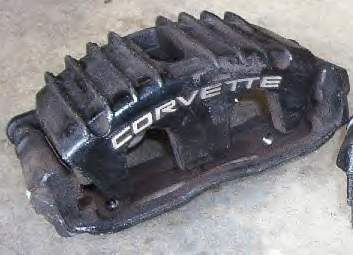
The C5 Calipers:
Here is what I plan to use for calipers. The fronts are on the left and the rears on on the right. These should make my Chevelle stop!!
Many ask, "Why these calipers?" For one, they are a pressure cast aluminum caliper that feature strengthening ribs across the entire caliper. This helps with caliper spread under load. And the best reason for me is that I can walk down to the local parts counter and pick up replacement parts easily rather than having to phone some company that has designed their own caliper to market. Aquiring replacement parts easily is a big plus in my book.
On a side note, the C5 front caliper abutments (a.k.a. "caliper brackets") use 14mm x 2.0 bolts to attach to the spindles. These are metric bolts thus look for a 10.9 on the bolt's hex head when searching for your bolts. This 10.9 metric strength class is the equivalent of an SAE grade 8 bolt.
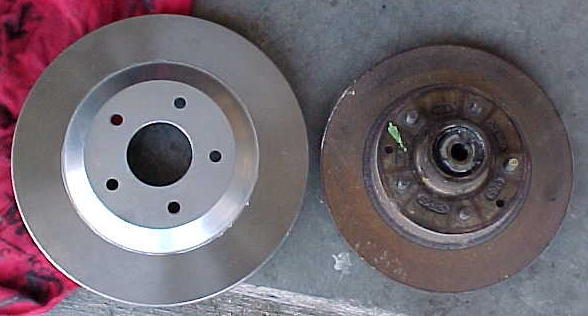
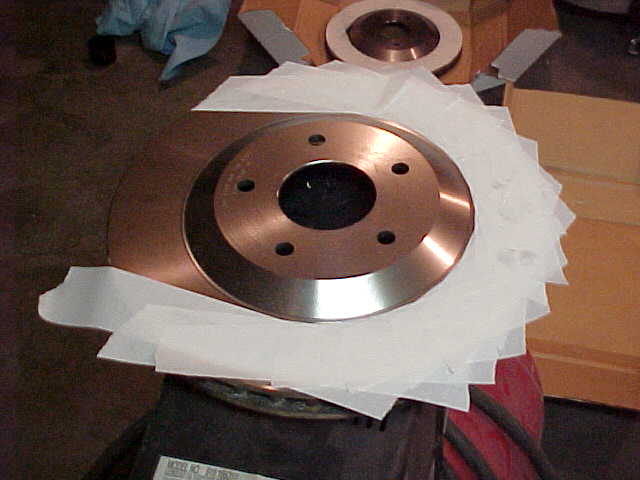
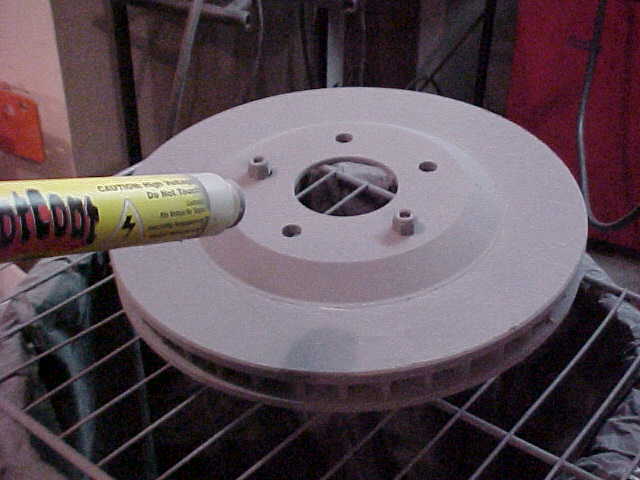
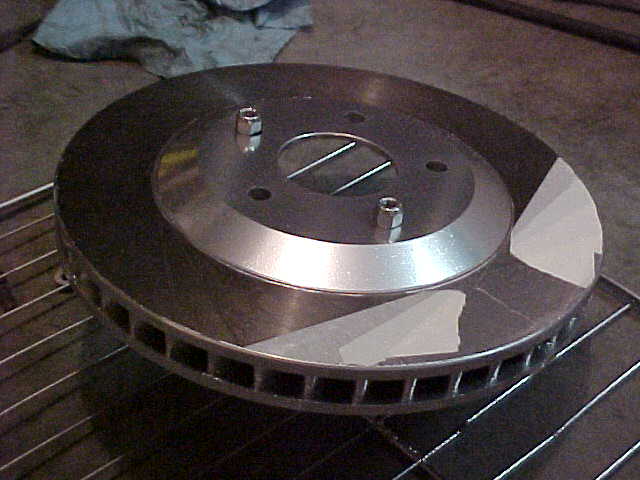
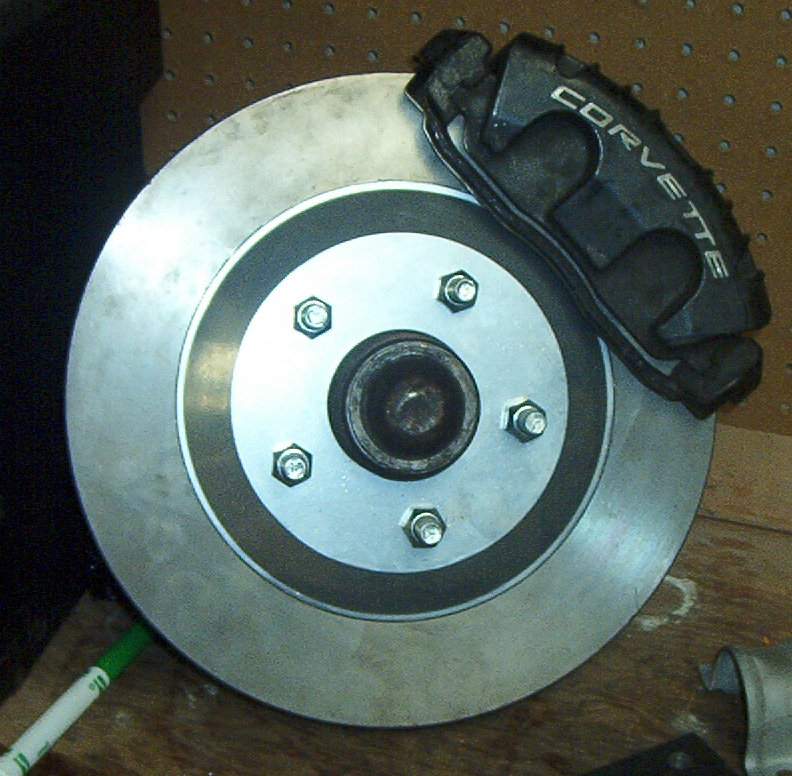
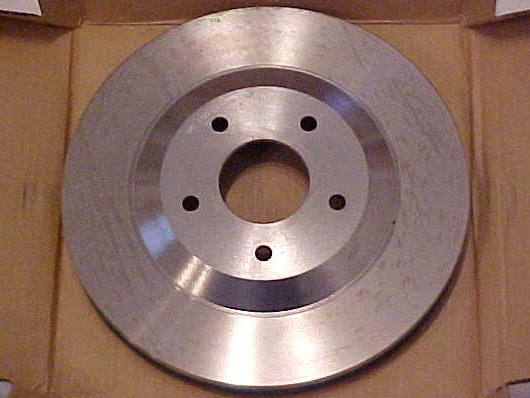
The C5 13" rotors:
I'm going to be using 13" C5 Corvette rotors for this swap. They are pretty impressive for stock pieces. They measure 13" O.D. and are 1.25" thick. Click here to see the difference between 11" discs and 13". These should haul my Chevelle down pretty easily!
I'm kind of a neat freak when it comes to my Chevelle, so in order to keep these rotors lookin' good "down the road" I've decided to powdercoat the cooling fins (it will probably bake off after a few hard stops with the Chevelle, but only experimenting and experience will tell us that).
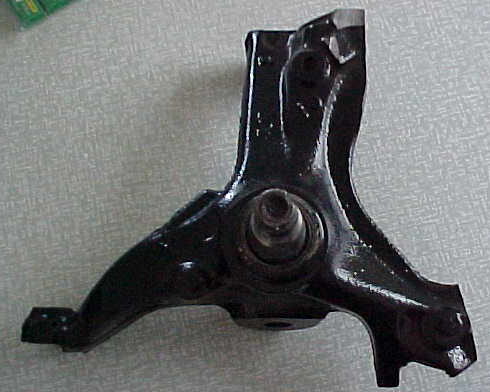
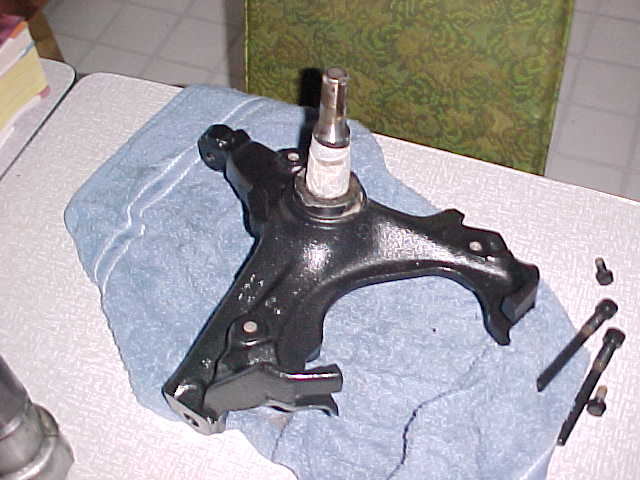
The B-body Spindles:
We are going to use '78+ B-body 12" spindles which are plentiful in the wrecking 'yards and offer the advantage of gaining a negative camber curve to our Chevelle's suspension.
But, you don't have to use B-body spindles. Second generation F-body spindles ('70-'81) will also work or plain 11" B-body tall spindles will too. But careful attention must be used to run the correct bearings in the hubs for what year/original application you have in spindles. More explanation is given in the "hub" section of this webpage for bearing selection.
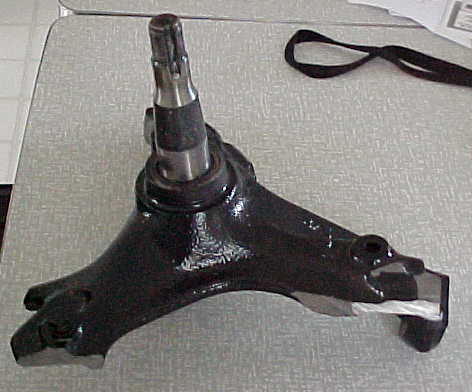
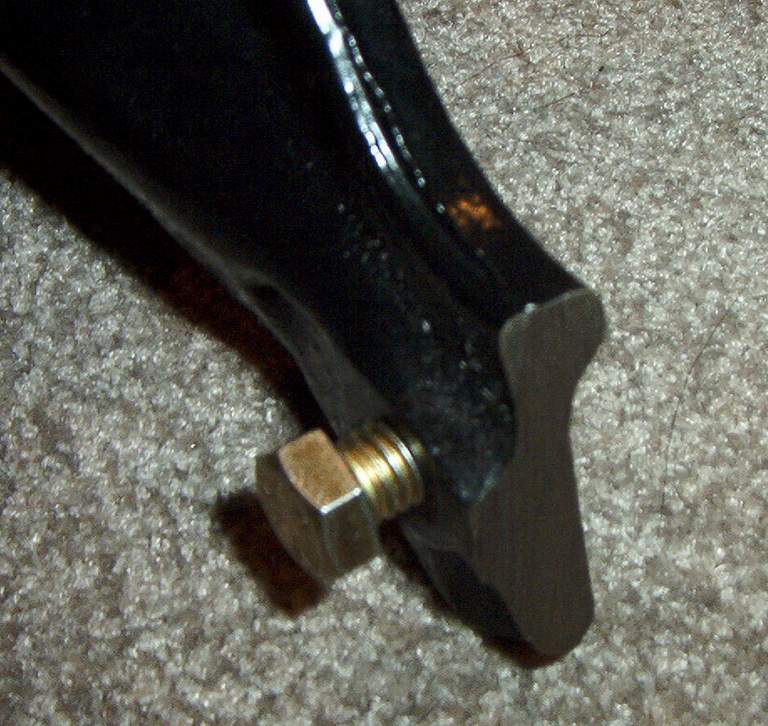
Here is what a stock B-body tall spindle looks like. When getting B-body tall spindles search for '78 and newer, but if you can try and get the '84+ spindles as they are supposedly a strong/lighter design. The only difference I can see is the webbing between the two designs. If you are just searching for 12" tall spindles then look for either station wagons or Cadillac's as those seem to be the cars that have the 12" discs.
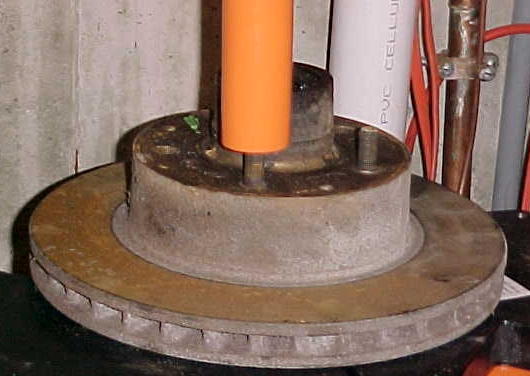
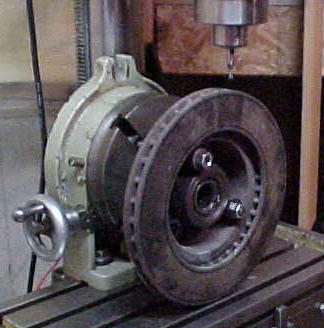
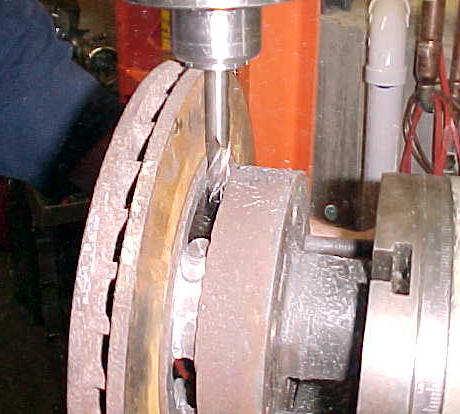
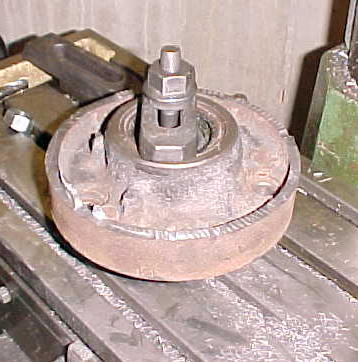
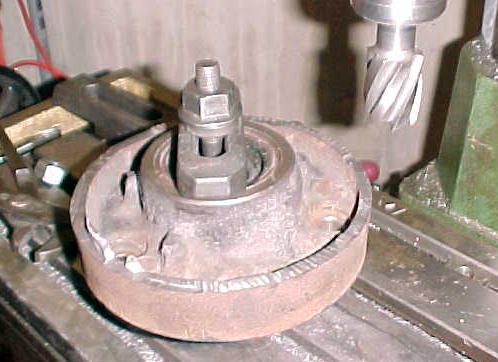
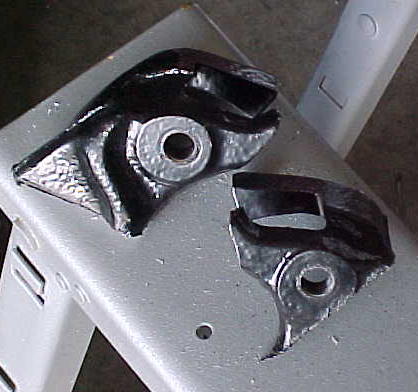
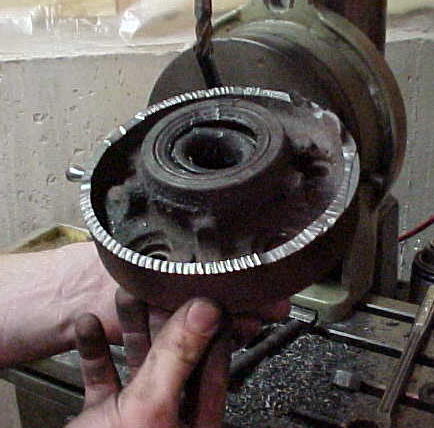
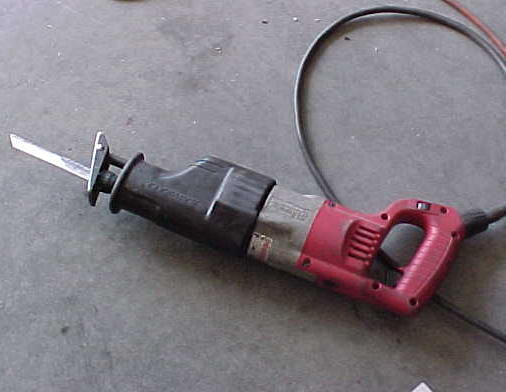
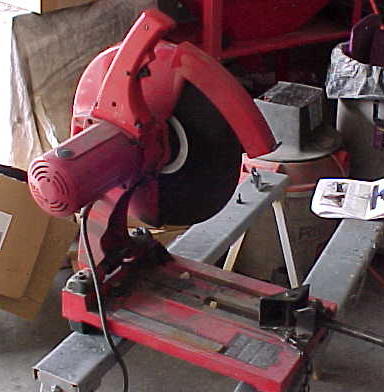
Next, we will then have to cut off the tall spindle "ears" to be able to fab up a mounting bracket that will allow us to mount the C5 calipers onto the spindle. You will need a couple of tools to accomplish this (or not...it all depends on how you want to "McGyver" this). Tool #1 & Tool #2
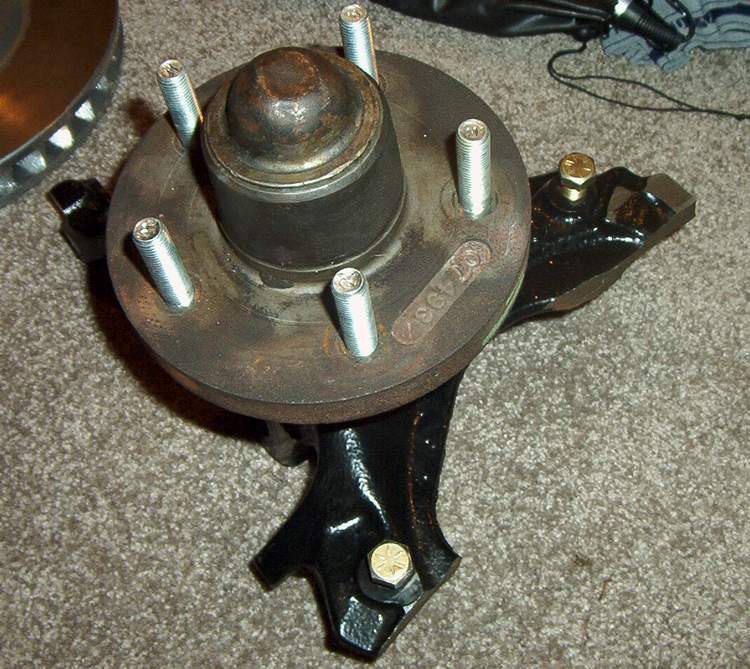
The dust shield bolt holes are next for modification to allow mounting my fabricated bracket to the b-body spindle. You may be saying to yourself, "Damn those dust shield bolts are tiny...is this guy out of his mind?" No, I'm not out of my mind (at least not yet!). I'm going to drill and tap the holes to a larger size to use bigger/stronger bolts in there to mount my caliper bracket. Remember this is your safety you are concerned about!!
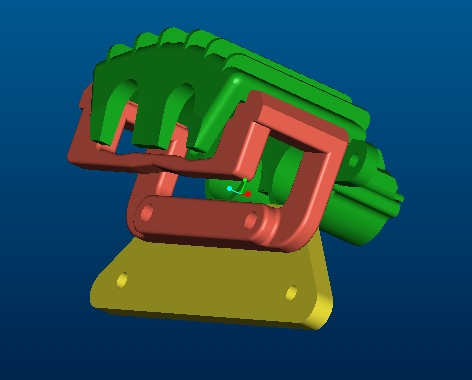
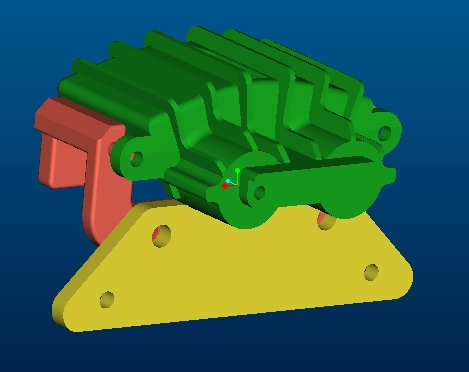
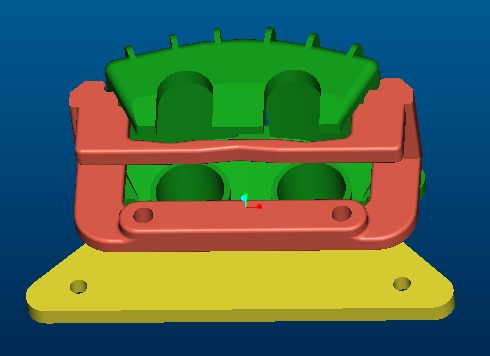
The Caliper Mounting Bracket:
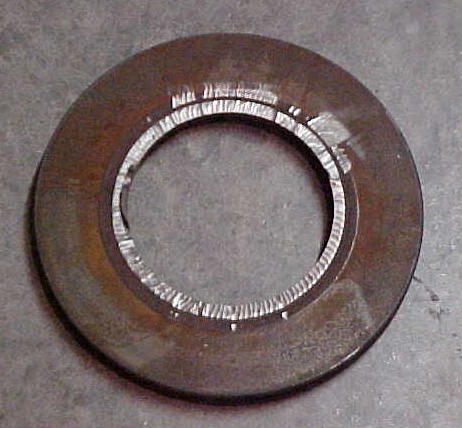
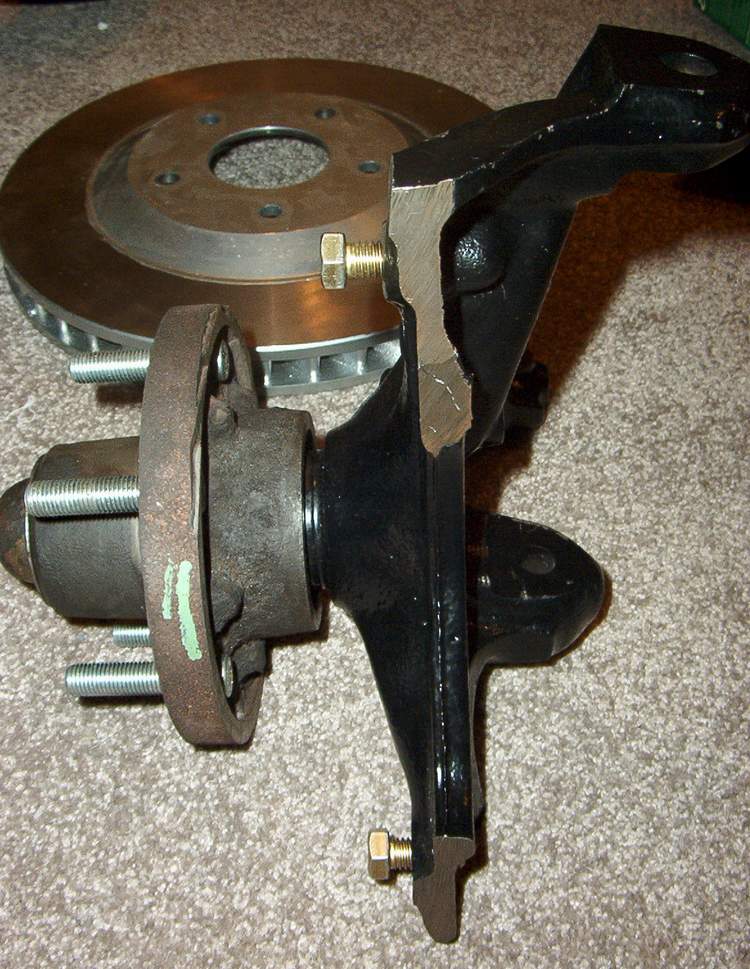
The dust shield bolts need to be drilled and tapped to allow bigger bolts to be used for our caliper mounting bracket. On the b-body spindles there are three dust shield bolts. You will only need to use the top bolt and the most rear bolt (when looking straight at the spindle on the car) for our bracket.
Here is how I did it.
I used grade 8 bolts that are sized SAE 7/16" x 20 x 1". You will need to drill out the original holes using a 3/8" drill bit and the appropriate sized tap for cutting the new threads. The 7/16" bolts should be plenty strong for holding our caliper bracket.

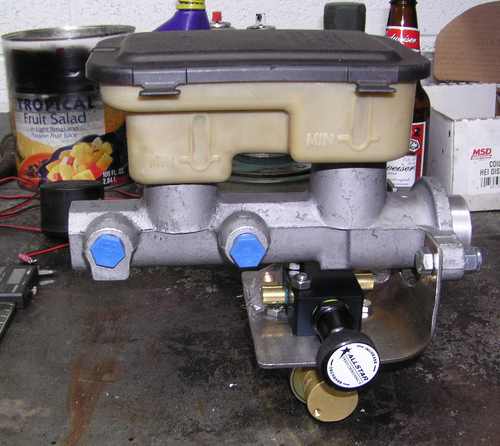
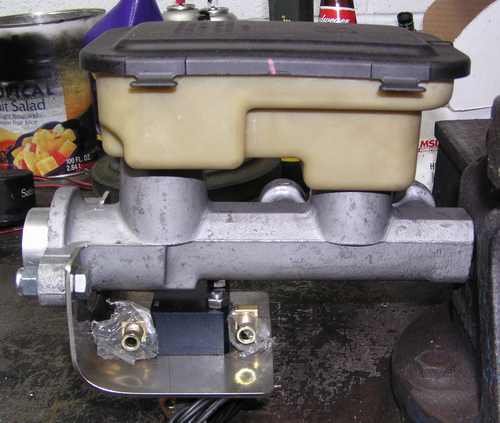
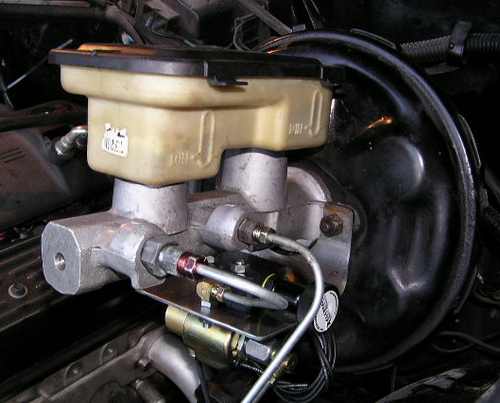
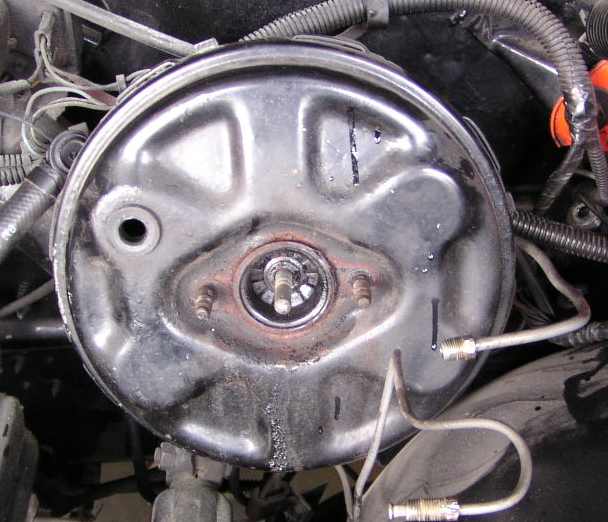
The Master Cylinder:
The master cylinder is one of the key ingredients to this swap that can either make or break the energy/effort we have devoted so far. If we size the master cylinder bore too big, we will not be able to generate the line pressures needed to allow the calipers to do their job. If we size the master cylinder too small, then the brake pedal will have excess pedal travel to generate the amount of brake fluid volume to the calipers.
But, before we can pick the master cylinder to use we first have to figure out if we have a shallow or deep pushrod hole. If we have a deep pushrod we can easily use a late '67-'76 'vette manual brake master cylinder with a 1" bore (AC-Delco part #: 18M27) or use a '77 Chevy Malibu (with a six cylinder) manual brake master cylinder that features a 15/16" bore (AC-Delco # 18M500). If you have a shallow pushrod hole then it can be a little harder to come up with a master cylinder to use. But, there is a solution! Even though it does require a little more machining time it has advantages.
I took a look at what master cylinders came stock on PBR caliper equiped vehicles and quickly found out GM's engineers did more than just engineer master cylinders. They also found a way to increase gas mileage through the brake system. Sounds like science fiction doesn't it? It's not.
Thanks to government C.A.F.E. corporate wide gas mileage requirements the GM engineers designed a quick take-up master cylinder. These new types of master cylinders feature a third piston and check valve into the front brake circuit that retract brake fluid quickly to retract the caliper pistons into their bores thus reducing drag on the rotors. When you press the brake pedal, the third piston quickly forces brake fluid to fill the void and adjust the caliper pistons to apply braking force.
The search was on to find a suitable master cylinder that could help generate enough fluid pressure (since the PBR caliper piston area is very small when compared to the iron Moraine stock calipers). A 15/16" bore master cylinder was found to come stock on S-10 trucks. It also featured the outlet ports on the same side as our stock Chevelle master cylinder & features SAE flared seats for the brake line fittings (unlike those found on other quick take-up master cylinders), but some machine work is necessary to fit into our early design Moraine booster.


+
 +
+
 +
+
 =
=

Copyright � 2003-2006
NO PHOTOS, TEXT AND/OR CONTENT USED THROUGHOUT THIS PAGE MAY BE REPRODUCED,
TRANSMIITED OR USED IN ANY MANNER WITHOUT THE EXPRESS WRITTEN PERMISSION OF THE
COPYRIGHT OWNER.