PSP 3, Lesson 6~~ALPHA CHANNELS, SPLITTING CHANNELS, AND MASK EFFECTS
This page is graphic intensive, please be patient while it loads! Thank you!
Using Channels to Make Selections
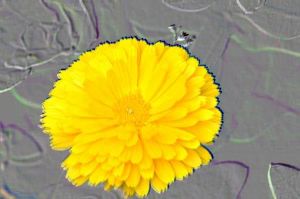
This flower was originally on a green background by selecting it using the alpha channel and then the red channel, I was able to then change the green background to this embossed background you see here.
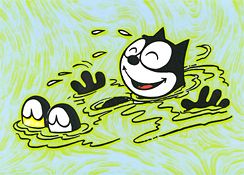
Here is the before graphic and the after. Here I used the blue channel and selected the moon and water. Upon inverting the selection I applied the mosaic glass effect to the background. Here is the original image
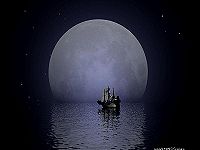
Now here is the graphic with the blue channel used and the mosaic glass effect applied

Using Channels to Make Selections Part 2~~~~~~~~Using Channel Splitting to Edit an Object
Here is the same flower graphic. Here the blue channel was selected and a texture applied, then I combined the RGB channels to come up with this effect.
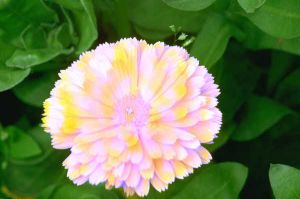
Here is the before graphic and the after. Here I used the blue channel, applied a texture and combined RGB channels to come up with this effect. Here is the original image
Now here is the graphic with the combined RGB channels and the swirl effect applied.
Using Alpha Channels to Make A Selection
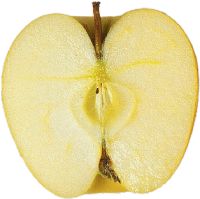
This apple had a black background. Using the alpha channel, we deselected that black and now have it on a white background with good results on the Antialias edging.
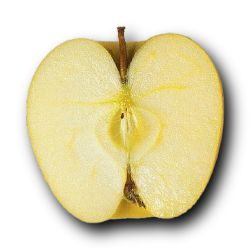
Here using masks we accomplished the same thing as far as getting rid of the black background and then we selected the apple and added a drop shadow.
Using Masks For Effects, Part 1
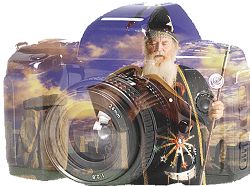
Here I used a camera graphic and saved it as a mask. I then opened the wizard graphic and applied the camera mask to it!!!!
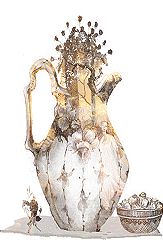
Here I used an urn graphic and saved it as a mask. I then opened the lady in the forest graphic and applied the urn mask to it!!!!
Here I used an angel man graphic and saved it as a mask. I then opened the fairy graphic and applied the angel man mask to it!!!!
Using Masks For Effects, Part 2
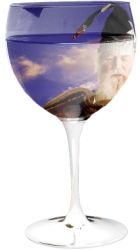
Here I used a wine glass graphic and saved it as a mask. I then opened the wizard graphic and applied the wine glass mask to it!!!!
Here I again used the wine glass graphic and saved it as a mask. I then opened the catgirl graphic and applied the wine glass mask to it!!!!

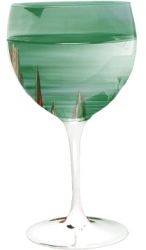
Here I again used the wine glass graphic (I really love this as a mask, can you tell?) and saved it as a mask. I then opened the Green Castle tops graphic and applied the wine glass mask to it!!!!
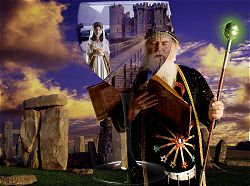
Here I again used the wine glass graphic mask. I then opened the Wizard graphic and applied the wine glass mask to it, then I inverted the mask and added the graphic of the maiden!!!!
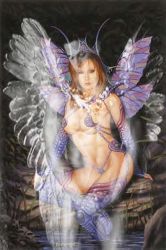
Here I again used the wine glass graphic mask. I then opened the Dark Angel graphic and applied the wine glass mask to it, then I inverted the mask and added the graphic of the mermaid with the baby!!!!

Here I again used the wine glass graphic mask. I then opened the Ghosts in the Attic graphic and applied the wine glass mask to it, then I inverted the mask and added the graphic of Garden of Dreams.

PSP 3, Lesson 1
PSP 3, Lesson 2
PSP 3, Lesson 3
PSP 3, Lesson 4
PSP 3, Lesson 5
HOME~~~~~~~EMail me!