 |
|
|
|
|
|
|
|
|
|
|
|
|
|
|
|
|
|
|
|
|
|
|
|
|
|
|
|
|
|
|
|
|
|
Tech Tip - Cutting Roof Clips |
|
|
|
 |
|
|
|
 |
|
|
|
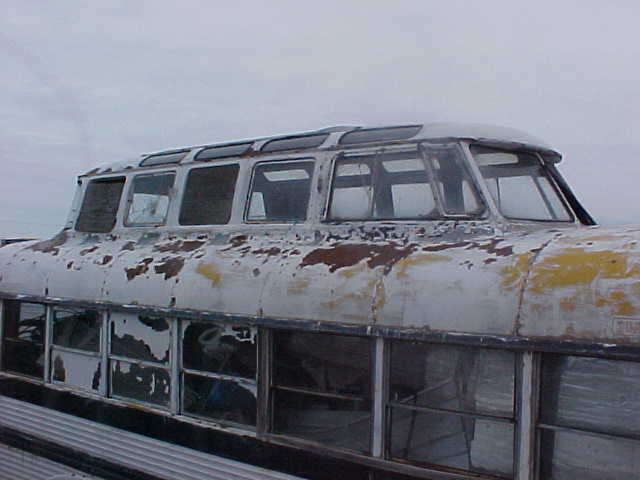
The first step is developing a game plan. The roof has been tack welded in a few places, so those will have to be cut. |
|
|
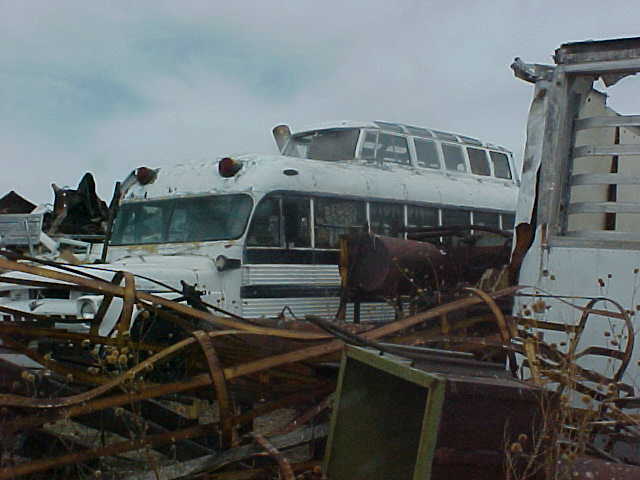
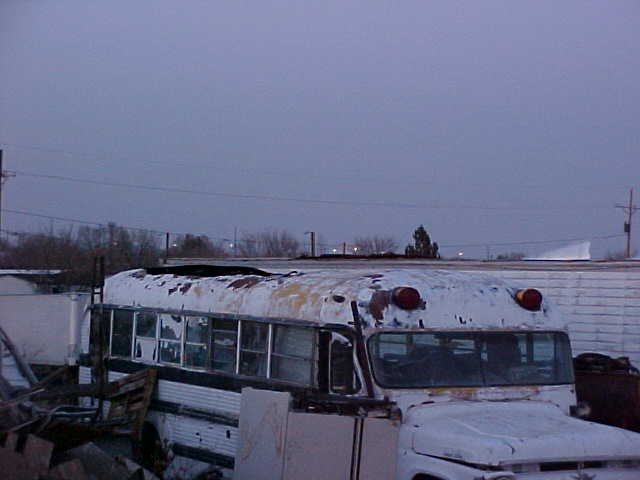
This is the project, a late 50's-Early 60's 23 window roof clip. The roof has been welded to the roof of a 60's Ford school bus. |
|
|
|
|
|
|
 |
|
|
|
 |
|
|
|
|
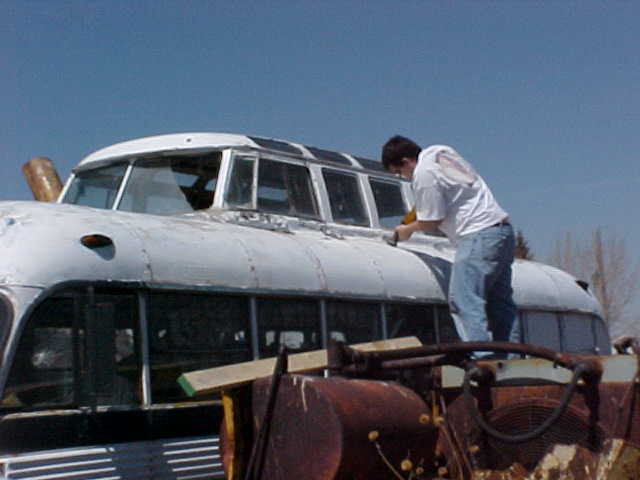
The tool of choice was this heavy duty 18 volt cordless Dewalt Sawzall. You want to use a fine tooth metal cutting blade. A larger tooth will get hung up more often, draining the battery. |
|
|
|
Procede to cut the roof of the school bus, leaving the structural braces intact until later. Be sure to leave as much metal as possible for easy grafting. If at all possible, cut the school bus and not the VW Bus. |
|
|
|
|
|
 |
|
|
|
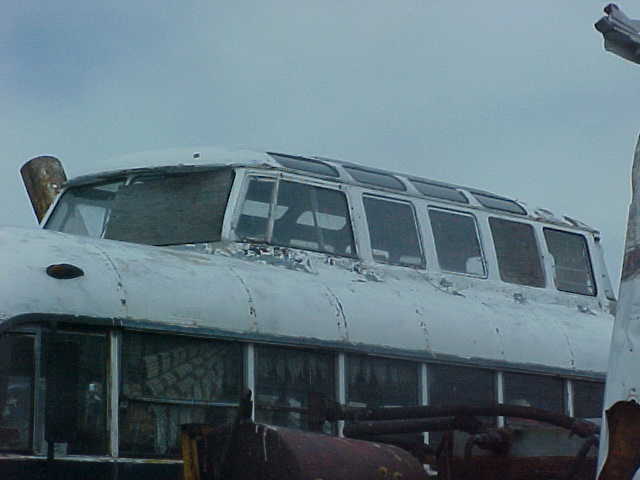
After the outer skin is cut, crawl inside the vehicle and brace the roof in place. The main thing here is keeping it from colapsing in on top of you. Two 8ft 2x4's jammed between the school bus and the roof clip worked well. |
|
|
|
After bracing is in place, procede to cut remaining structural points. After the roof is free, you can have a fork lift, a crane or a winch pick it up, but we didnt have the luxury. Intsead, we slid the roof off the front of the school bus, down onto the hood, and then onto the trailer. |
|
|
|
|
|
 |
|
|
|
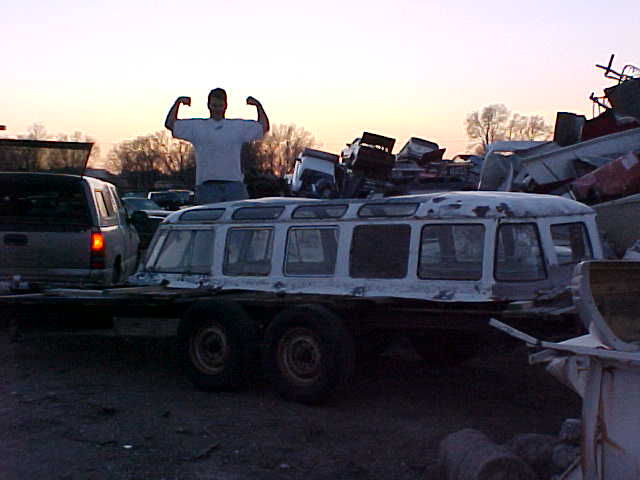
After the clip is loaded onto the awaiting trailer, be sure to lash it down tight. Also, be sure to folow local regulations while towing. |
|
|
|
|
|
Before |
|
|
|
After |
|
|
|
|
 |
|
|
|
 |
|