Materials:
1 - 3 ring binder.
At least 1 yard of fabric
Small amount of contrasting fabric
Quilt batting
Glue gun & stix, tape
Stiff posterboard
Stiff cardboard
Lace or eyelet (if desired)
Directions:
Place batting on flat surface.
Lay open album on batting.
Cut batting to fit album cover.
Glue batting to cover.
Lay fabric on flat surface & cut 1-2" larger than album.
Bring fabric over corner & glue in place.
Repeat for other 3 corners.
Glue edges of fabric to inside of album mitering the corners.
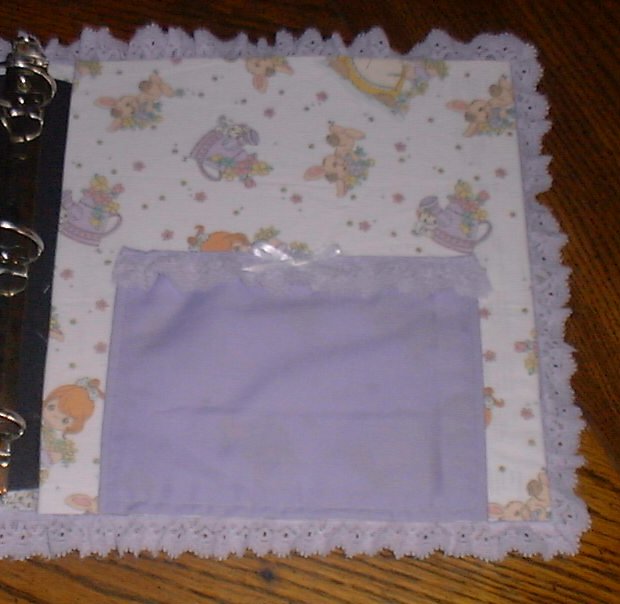
Glue lace or eyelet to all edges of the album on the inside.
Cut a piece of stiff posterboard to cover the inside of each album side.
Cover the posterboard with fabric using the same method described above.
Glue to each side of album.
*NOTE* You can add a fabric pocket to each side if desired.
Hem a piece of contrasting fabric using a sewing machine or fabric glue.
Glue to one or both sides of album.
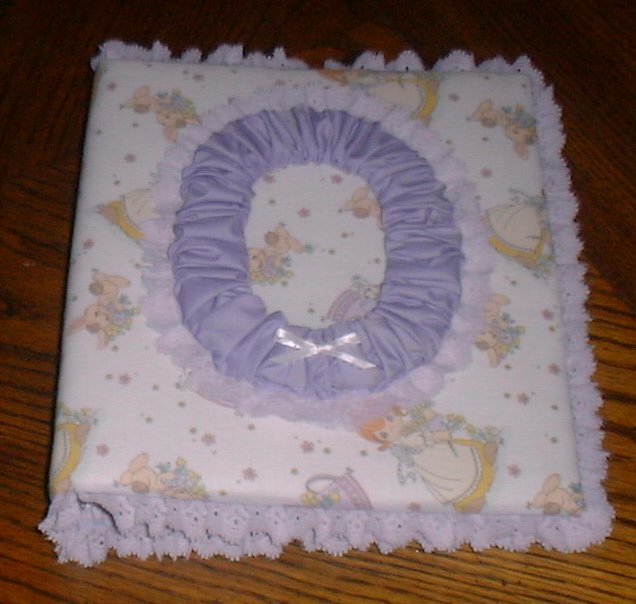
Cut a piece of stiff cardboard in desired shape.
I used an oval shape here.
Cut the center of the shape out, I made mine about 1" wide.
Cut fabric 3" x 36".
Sew the long side to form a tube.
Turn right side out.
Cut the cardboard frame on the longest side.
Slide the tube of fabric onto the frame.
Tape the cut edges of the frame together.
Arrange the fabric evenly.
*ruffled look obtained*
Glue frame to front of album where desired.
***Be sure to leave an opening to insert your photo!***
