CHRISTMAS CRAFTS AND DECORATIONS
Most people enjoy getting
something that you have hand made. It can be as simple as a Christmas Tree
Ornament or a pomander ball and you will get ooh’s and aah’s when they open the
package. My package at a recent gift swap was a pint of strawberry jam, a pint
of homemade salsa, and a pint of bread and butter pickels and I wouldn’t have
traded it for any of the other gifts. Even the big snowman cookie jar was no
match for my homemade gift. Homemade gifts tell people you care to have put
your own handiwork into the gift.
BURLAP BAG ORNAMENT
You can buy burlap in many
different colors at the fabric store or just get plain brown colored burlap.
You will need:
- Burlap
- Needle
- Thread
- Twine
- Fabric glue
- Candy
- Cut a piece of burlap
4-1/2 inches by 13 inches.
- Fold over so fold is
at the smaller bottom and sew up the side seams with a needle and matching
thread. You can do a whip stitch or a running stitch. I find a whip stitch
done with contrasting colored embroidery thread looks quite nice.
- Turn right side out
if you used regular thread or leave alone if done with embroidery thread.
- Fold an edge down at
the top opening and glue twin in a loop at one side.
- Fill with candy and
hang on a tree.
NOTE: You can cut out the
shape of Christmas stockings and sew all but the top and follow the same
directions.
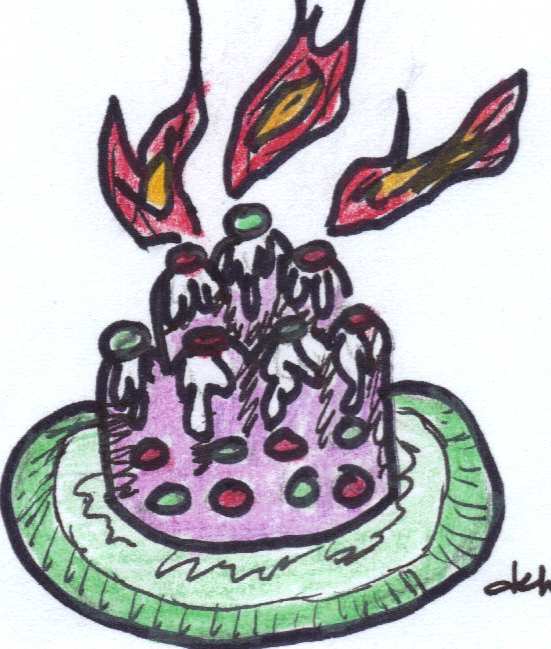
POMANDER BALLS
Pomanders can make your
closet and drawers smell lovely. The first pomander instructions are if you
have a lot of time. The next one is the speedy method.
NOTE: You can Orris root
and essence scents ( you can use essential oils) at craft store and some
pharmacies. If you can’t do a search for them OnLine.
You will need:
- 6 to 8 apples, oranges,
and/or lemons
- ½ pound whole cloves
- ¼ cup each ground
cinnamon, cloves, nutmeg, allspice
- ¼ cup powdered Orris
root
- 4 drops essence of
cloves or cinnamon
1.
Insert whole cloves closely
together all around the fruit. This might hurt your fingers so you’ll want to
do this in shifts. You can pierce the skin with a darning or embroidery needle
to make it easier for the clove to go in.
2.
Combine spice mixture and Orris
root in a bowl.
3.
Roll cloved fruit so that much of
the mixture is picked up.
4.
Tie ribbon around fruit and hang
in a warm, dry, dark place for about 1 week. The fruit will shrink a bit.
5.
Add the essence after the fruit
is dried. You can add any oil at any time to refresh the scent.
EASY POMANDERS
1.
Make the pomanders as above
but bake in a tin pan in a 200 degree oven for about 3 hours.
2.
Cool
3.
tie ribbon on or wrap in lace
or netting with a tie at the top.
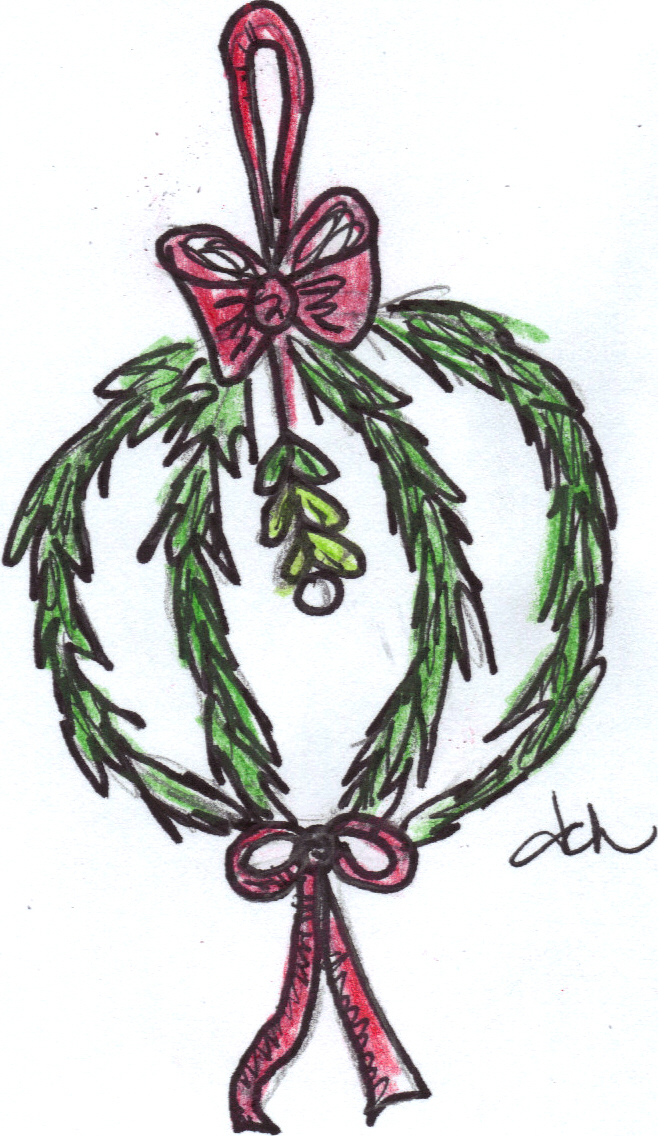
KISSING BALLS
Kissing balls were the
main decoration in the house prior to the Christmas Tree. They consist of a
double circle with streamers attached at the bottom and going up to the top.
Mistletoe was hung in the center and sometimes little manger scenes were placed
inside.
You will need:
- 1 wooden embroidery
hoops (any size you want) taken apart into 2 pieces
- artificial pine,
sparkly wire garland, ribbons, sequins, lace, beads.
- Heavy duty Glue
- Glue one hoop inside
the other to make a ball shape (I’d use a glue gun for this)
- Wind ribbon,
artifical pine, sparkly wire garland, etc around the hoops and decorate with
anything you can find that looks good. (Again use glue gun)
- Make sure to tie a
piece of mistletoe inside so it hangs inside the ball and make a hanger to
hang it from the ceiling.
- Watch out who is
around when you stand under it.
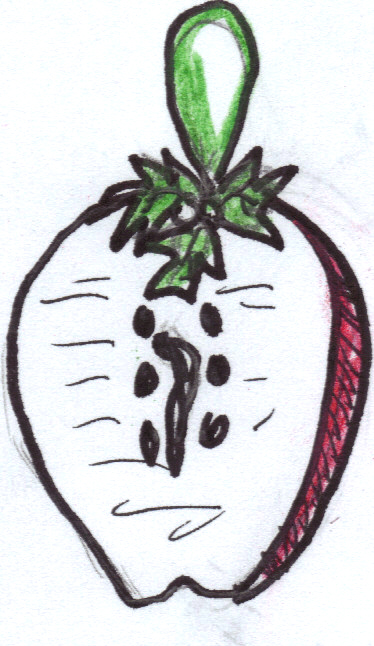
DRIED APPLE ORNAMENTS
These ornaments look good
on a country tree. Unfortunately they don’t last from year to year so you will
have to get rid of them with the tree.
You will need:
- Whole apples cut
horizontally in slices about 1/8 inch thick. Leave skin on.
- Lemon Juice
- 1 teaspoon salt
- Paper towels
- Ice pick or nail
- Wire screen
- Clear Acrylic spray
- Ribbon
- Silk or dried flowers
- Cut apples
- Place lemon juice and
salt in a bowl. Soak apple slices in it for about 10 minutes. Remove and
dry with paper towels.
- Poke a hole in the
top of the apple slice with ice pick or nail to place a hanger later.
- Lay flat on a wire
screen that will fit in the oven. Make sure it is all metal with no wood so
it won’t burn in the oven. Set oven 120 to 150 degrees and bake for 4 to 6
hours. If you oven only goes to 200 put it in and watch after 2 hours.
Apples are done when they are leathery, not brittle.
- Spray slices with
clear acrylic spray to keep bugs away. Spray front and back and let dry.
- String a ribbon
through the hole and glue a silk or dried flower on the apple slice.
NOTE: You can make a
dried apple wreath by gluing slices to a cardboard wreath form. Decorate with
greens and ribbon.
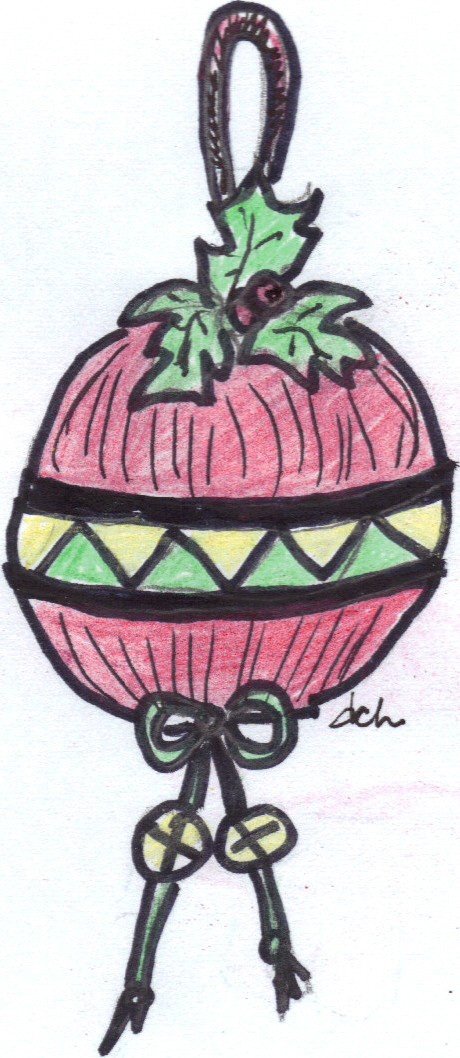
VICTORIAN LACE AND
SATIN ORNAMENTS
These are really easy to
make and you can be as creative as you like. People love getting these and if
you put them in a basket to pick with other handmade ornaments, guaranteed they
will be picked over first. Using a glue gun will melt the satin.
You will need:
- Cheap satin covered
Christmas Ornament balls
- Lace trim, eyelet or
ribbon
- Thin ribbon
- Silk flowers
- Clear fabric glue
- Straight Pins
- Wrap and glue lace,
eyelet or ribbon around middle of the ball horizontally.
- Make a bow with thin
ribbon and attach to the top and one to the bottom of the ornament using the
straight pins.
- Attach silk flowers
with pins or fabric glue and you can tie little bells to the bottom bow to
hang and tinkle.
- If there isn’t a
plastic hanger at the top be sure to attach a loop with pins or tie a ribbon
loop through the plastic hanger.
VICTORIAN PAPER
ORNAMENTS
During the Victorian era
people would take paper pictures and embellish them with cotton , lace, and
other materials and hang them on the tree. Collectors of this type of stuff
call it Ephimara and it is very popular. Make your own ephamara ornaments.
You will need:
- Old looking pictures
cut out from greeting cards. (they should be pretty stiff – on card stock)
Use last year’s Christmas Cards or buy new ones to use.
- Fabrics, laces,
ribbons, cotton batting, rick-rack, buttons, beads, sequens, metallic pip
cleaners.
- glue
- Cut out figures you
wish to use and back with Holiday fabric or wrapping paper.
- Trim with lace or any
of the above.
- Punch a hole in the
top and insert ribbon or gold chord to make a hanger.
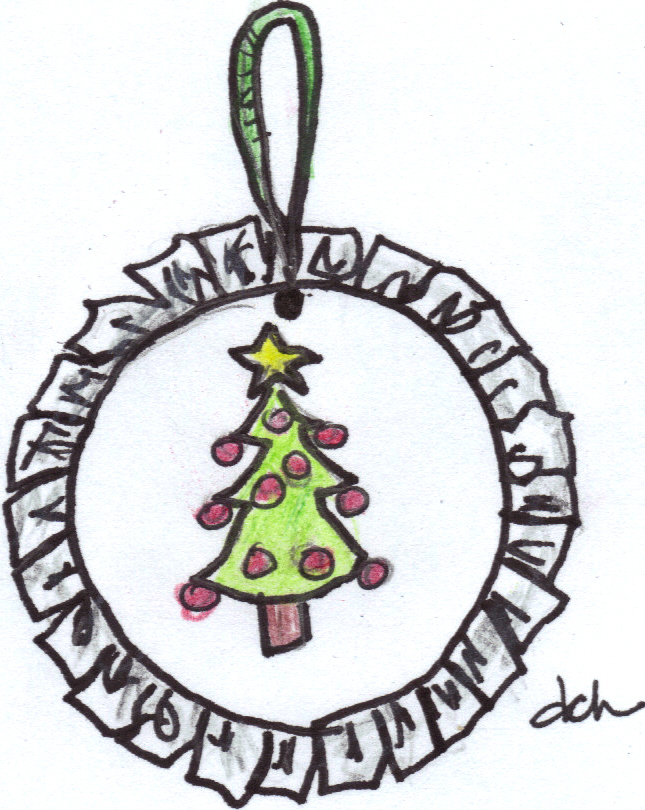
CANNING JAR LID
ORNAMENTS
These look really cut on a kitchen tree. You
will need:
-
Canning jar seals (the flat round ones not
the brass edges
-
Acrylic paint and paint brush
-
Twine
-
Ice pick or nail
-
Wooden board you don’t care about
-
Hammer
-
Eyelet trim
-
Glue gun
-
Poke a hole at the top edge in the same
place on 2 canning jar seals using and ice pick or nail over the board you
don’t care about with the hammer.
-
Paint Christmas pictures on the white side
of the canning jar seals. (Teddy bears, holly, elves, Santa, cardinals,
etc.) Let dry
-
Glue eyelet to frame one of the seals
around the edge.
-
Glue other seal, gold sides together
-
String twine through the holes in the seals
and tie in a loop.
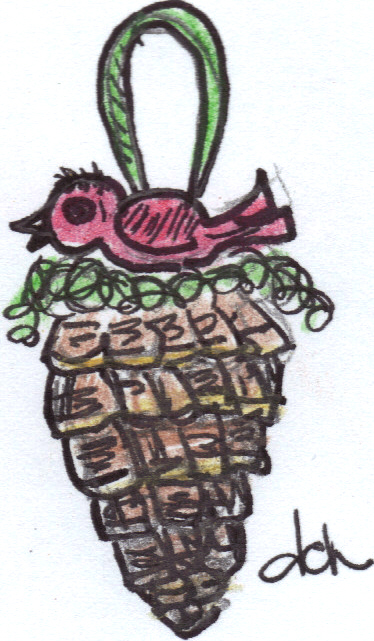
PINECONE BIRD ORNAMENT
These ornaments are great on forest themed
trees.
You will need:
-
Large pine cone
-
Artificial bird
-
Fishing Line
-
Glue gun
-
Spanish Moss
-
Glitter and white glue or gold paint and
brush
-
Tie fishing line into a large loop and glue
it to the pinecone so that the bottom or big end is at the top. Loop this
line around the petals of the cone.
-
Place white glue on edges of cone and dip
in glitter or tip the edges of each petal with gold paint. Let dry.
-
Glue a small amount of Spanish moss to the
big end of the cone then glue the bird on top of the moss.
-
You can decorate with dried flowers if you
like.
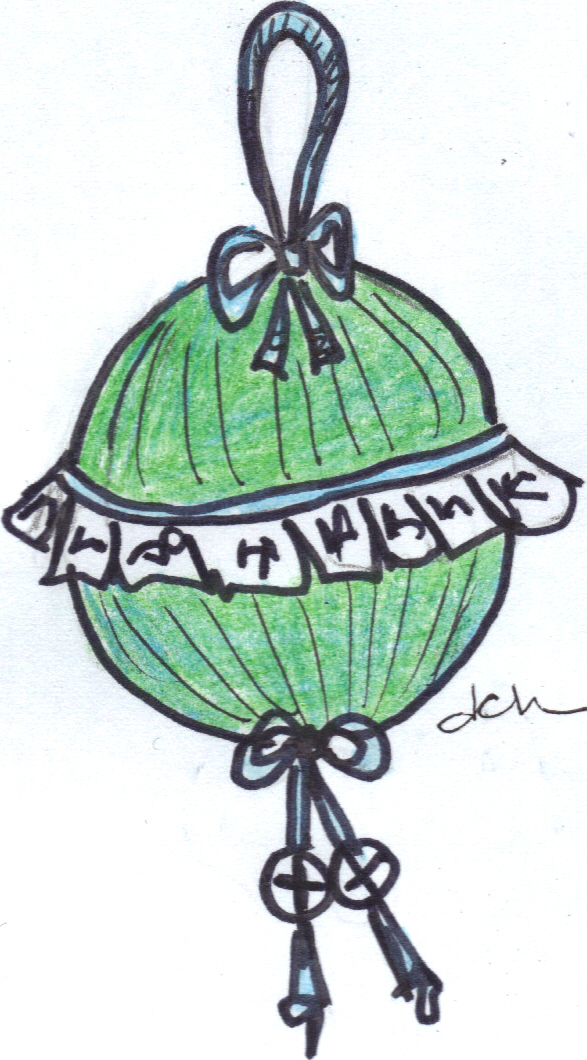
LACE BALL ORNAMENT
These are pretty on a Victorian theme tree
You will need:
-
A clear plastic Christmas ornament ball
-
Lace bought on the bolt
-
Ribbon
-
Rubber band
-
Silk flowers
-
Glue Gun
-
Cut a square of lace. To find the right
amount of lace use the following formula. Measurment of ball x 4. If you
have a 3 inch ball, multiply 3 x 4 and get 12. Cut a 12 x 12 inch square of
lace.
-
Lay ball in center of lace square and bring
up over the ball.
-
Secure with a rubber band at the top of the
ball near the hanger.
-
Cover rubber band with ribbon and glue silk
flowers near the top of the ornament.
YARN BALL ORNAMENT
Kids like to make these
probably because it is so messy. If you have the strength for it , it will be
worth the trouble.
You will need:
- Small balloon
- Paper cup
- White glue
- Narrow ribbon
- Water
- Yarn (red and green
variegated is best)
- Scissors
- Fill the paper cup
half full of white glue. Add enough water to make the consistency of cream
- Blow up the ballon
the size of an apple and tie off
- Cut lengths of yarn
in manageable sizes and soak in glue mixture.
- Wrap around balloon
in any directions. Add several layers leaving no spaces as big as your
finger.
- Weave the last piece
of yarn under some of the wrapped yarn at the top of the ornament.
- Tie another piece of
yarn around the balloon to hang, leaving a piece of newspaper underneath to
catch the drips. Your ball will dry over night.
- If the balloon has
not broken poke with a pin.
- Tie with a ribbon at
the top to hang on the tree.
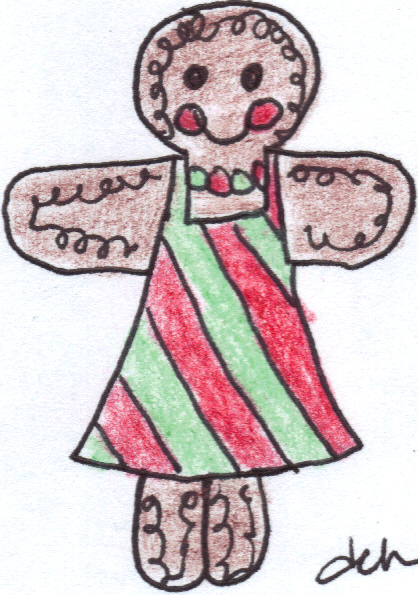
GINGERBREAD PEOPLE
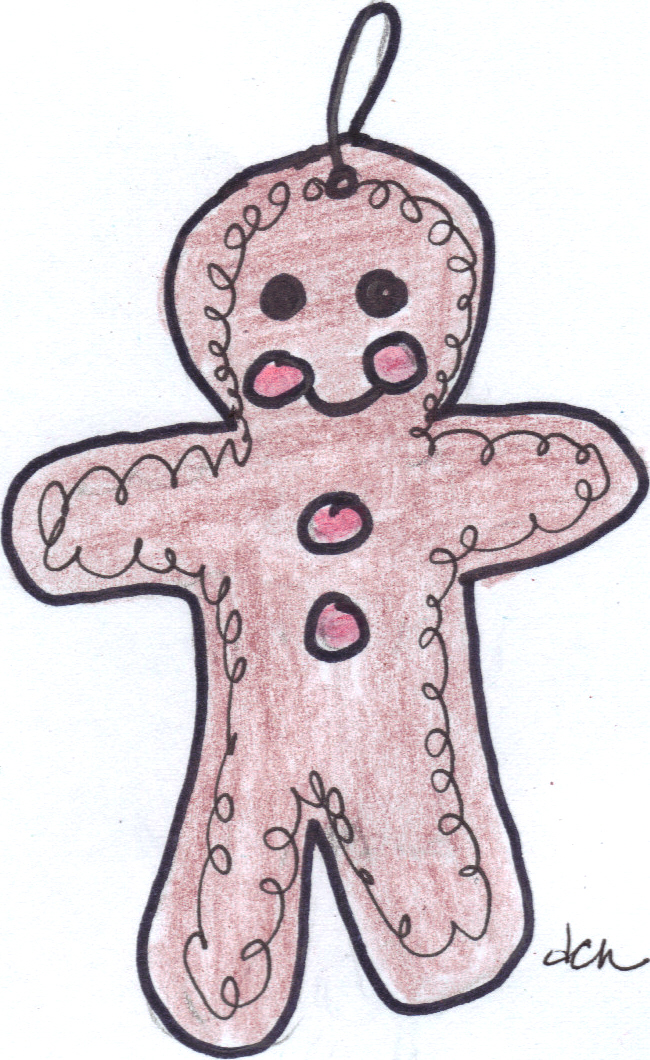
These are really cute.
They use brown paper grocery bags which are becoming increasingly hard to find.
You can also make them out of plastic foam that can be bought from the craft
store in the kids craft section. I have included both instructions.
PAPER PEOPLE
You will need:
- Scissors
- White glue
- Red Rick Rack
- Black magic Markers
- Poster board
- Brown paper grocery
bags
- Gold Cord or twine.
- Make a slit from the
opening of the brown paper bag to the bottom.
- Cut the rectangular
bottom out of the bag and open up flat. You may have to run a warm iron
over the bag to straighten out any big wrinkles.
- Using a cookie cutter
and trace the figures of gingerbread people onto the bag. Cut out with
scissors.
- Decorate gingerbread
people with rick rack all the way around about ¼ to ½ inch from the edge.
- Draw eyes, nose and
mouth with magic markers. You can write the names of family members across
the chest or leave it plain.
- Cut out the same
figure from poster board and trim it to be a little smaller. Glue to the
back of your gingerbread person. This will make it stiffer and it won’t
self destruct as easily.
- Cut another of the
same from the brown paper bag and glue to the back.
- Poke a hole through
the top of the gingerbread person and insert gold cord or twine tied in a
loop.
FOAM PEOPLE
You will need:
- Scissors
- Fabric Glue
- Red rick rack
- Marker or Fabric Paint
- Brown foam sheets
- Gold cord or twine
- Small black and/or red
pompoms
- Trace the figure of
gingerbread people onto the foam with a pen and cut out.
- Glue rick rack all
around the edge as above
- Glue little pompoms
for eyes, nose, buttons and fill in another features with marker or fabric
paint.
- Do the same on both
sides.
- Poke a hole in the
top and insert gold chord or twine and tie in a loop.
SNOW PICTURES
Little kids love to make
these. Make them for decorations and affix them to the refrigerator with
magnets or make them small, glue popsicle sticks around the edge for a frame and
hang on the Christmas tree.
You will need:
- Dark blue or black
construction paper
- White chalk
- Hair spray
- Have the kids draw a
blizzard, one single snowflake, a polar bear, or anything else with the
white chalk.
- Spray it with
hairspray. This will stop it from rubbing off.
DOUGH ORNAMENTS
These can be as ornate or
as simple as you want them to be.
You will need:
- 1 cup flour
- 1/3 cup salt
- ½ cup water
- a few drops vegetable
oil
- Rolling Pin
- Cookie Cutters
- Acrylic craft paint and
brush
- Glitter (optional)
- Ribbon or yarn
- In a bowl mix flour
and salt.
- Slowly add water and
oil and mix with spoon.
- Knead dough and shape
into a ball.
- Roll dough flat on a
floured board. If dough is too sticky add a little flour and knead it in.
- Cut with cookie
cutters.
- Place on a cookie
sheet and poke a hole big enough to get yarn or ribbon through in the top.
- Dry overnight on one
side, then turn over and dry the whole day on the other side.
- Paint with acrylic
paints.
- If you desire you can
sprinkle with a dusting of glitter before the paint dries to give the
ornament a sparkly effect.
- Place a piece of
ribbon or yarn through the hole and tie in a loop.
NOTE: These will not last
from year to year unless you treat them. I have used acrylic clear spray paint
and it has worked for a few years but if you have the time and do not have
little children around you can also use paraffin wax. Paraffin is very
flammable and can burn the skin badly so make sure there is no way anyone can
knock it over while you are doing this.
1.
Melt several blocks of paraffin
in a metal coffee can situated in a pan of boiling water.
2.
Once it has melted Completely dip
your painted and dried (and glittered) ornament so that it is totally covered.
I use tongs to hold on to the yarn strung through the hole.
3.
I have cooling racks that have
legs holding them up about 5 inches from the surface of the table. Place
newspaper under them and hang with a short Christmas ornament hanger or paper
clip on the rack so that the excess wax will drain onto the newspaper.
4.
Let dry and then you will have to
replace the yarn since the one you used probably has paraffin all over it.
These will keep forever.
Go back to
main page