TrailBlazer Rocker Panel Painting
The TrailBlazer SS comes with a color matched Lower Rocker panel which compliments the body very well. All of the other models have a black plastic panel. I have chosen to paint mine to match the rest of the body like the SS TrailBlazer.
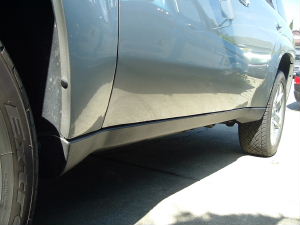
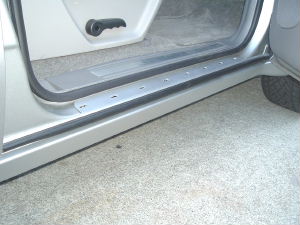
Here is the Original Lower Rocker, which does not match the rest of the body. It is held on by one 10mm bolt on each end inside of the Wheel wells.

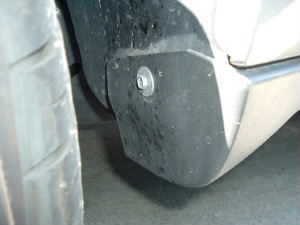
There are also several Push Pins holding the Rockers on underneath the body. One pin is located behind the Front Fender, and another in the Rear door jamb. The step moldings hold the upper part of the Rocker to the body, and must be removed, as well as the Rubber door strips below the step molding which are all removed by pulling them away from the body and rockers.
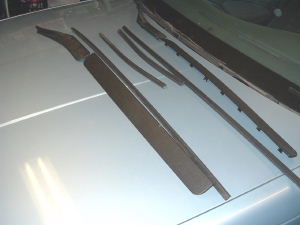

Here is a view of the step moldings and rubber door trim after they have been removed from the vehicle, and the Lower Rocker panels being prepped for paint. They are prepped in the same manner as any other plastic paintjob. First with Plastic Adhesion promoter, then a layer of Primer paint. The Primer is wet sanded with 600 grit, and re-painted until a smooth finish is achieved. Then they are ready for a final coat of Paint and Clear.

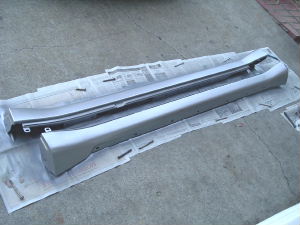
I have also painted all of the push pins, except for two, which will be located in the Rear Door jamb. The Rocker panels have been Painted, Cleared, and are ready for installation.
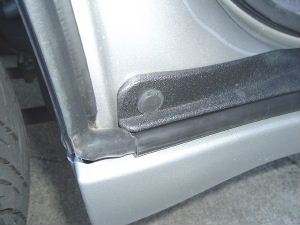
The body clips are put back into the Door jamb which hold the Step molding and Lower rocker in place. Notice how a few are missing, probably thanks to the bean counters at GM trying to save money by leaving out a couple clips. The Rockers are installed by placing them in position and over the clips, with both of the doors open. There is a relief in the middle of the panel where the rocker must be pushed up between the body and the rear door which can damage the paint, so I would recommend covering it with tape or something so the paint does not get damaged during installation.
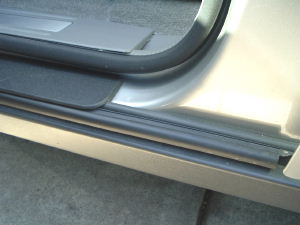
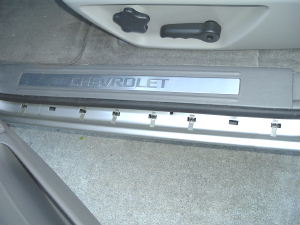
Also is a shot of the assembled Rear door jamb portion, with the Rubber trim and Step molding in place. Here is the Push pin that was not painted, so it will match the step molding which it holds in place.
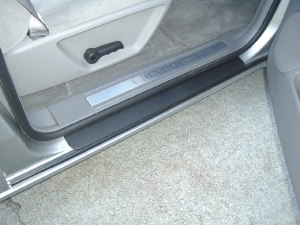
The Front door jamb is finished in the same fashion. First the Rubber door trim is installed firmly, then the Step molding is put under the rubber trim and pressed into place.
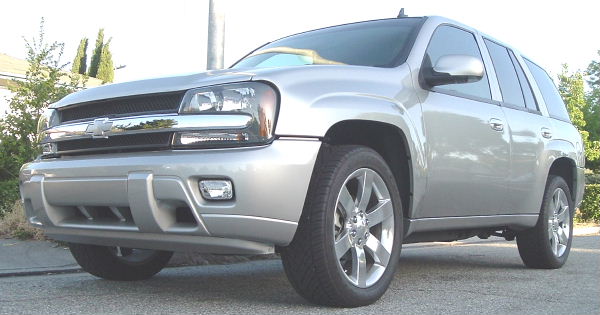
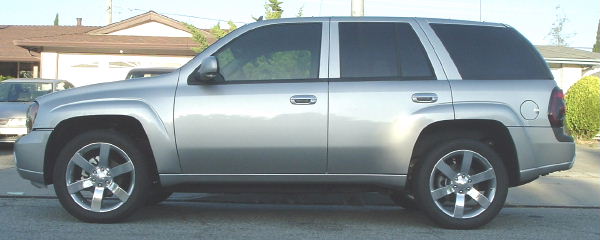
The Finished product, a TrailBlazer with body color matched Lower Rocker panels. This gives the body a bigger look, while making it appear slightly lower due to the color matched body panels. While I was at it, the Lower Valance on the Front bumper cover was removed and painted. It is held in with only two push pins, and was painted at the same time as the Lower Rocker panels.
Back To Main