
The kit included (2) 6" round chrome plated lights, (2) plastic light covers, (1) wire set w/ switch, and 8' of plastic tubing.


OVERALL PROJECT RATING
- 5 -
Rating 5: All parts included, ease of install, satisfied with performance!
| Home | ||||||||||||||||||||||||||||||||||||||||||||||||||||
| Tech | ||||||||||||||||||||||||||||||||||||||||||||||||||||
| 6" KC Daylighter Lamp Intsall | ||||||||||||||||||||||||||||||||||||||||||||||||||||
|
||||||||||||||||||||||||||||||||||||||||||||||||||||
| The 6" KC Daylighter kit we ordered from 4 Wheel Drive Harware cost $109 with shipping. The kit included (2) 6" round chrome plated lights, (2) plastic light covers, (1) wire set w/ switch, and 8' of plastic tubing. |
||||||||||||||||||||||||||||||||||||||||||||||||||||
|
||||||||||||||||||||||||||||||||||||||||||||||||||||
| First we measured the span between our front bumper grill guard and marked where we wanted the lights to be. We decided to mount them on the grill housing so they sit flush with the tubular bumper as opposed to mounting them on the bumper itself. | ||||||||||||||||||||||||||||||||||||||||||||||||||||
|
||||||||||||||||||||||||||||||||||||||||||||||||||||
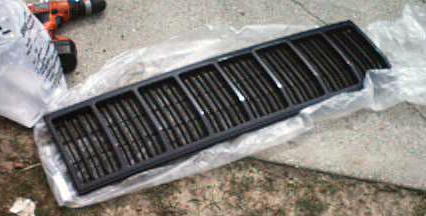
| Next we had to unbolt the bumper, tilt it and remove the grill so we could do some modifications to allow room for the 6" deep lights. | ||||||||||||||||||||||||||||||||||||||||||||||||||||
|
||||||||||||||||||||||||||||||||||||||||||||||||||||
| Now we were able to cut out a few of our grill sections to make room for lights. We measured and cut them to be as close to the lights as possible and allow room for adjustment. The grinder we used cut through the plastic like butter. | ||||||||||||||||||||||||||||||||||||||||||||||||||||
|
||||||||||||||||||||||||||||||||||||||||||||||||||||
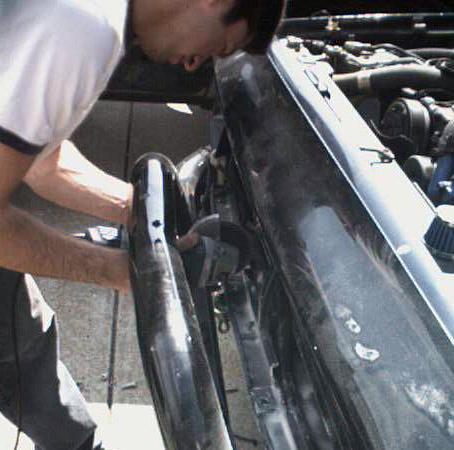
| Now with the grill removed we had to shave down a few areas on the grill housing with the grinder to make room for the light mounts. The housing had an "L" shape to it that needed to be flattened. | ||||||||||||||||||||||||||||||||||||||||||||||||||||
|
||||||||||||||||||||||||||||||||||||||||||||||||||||
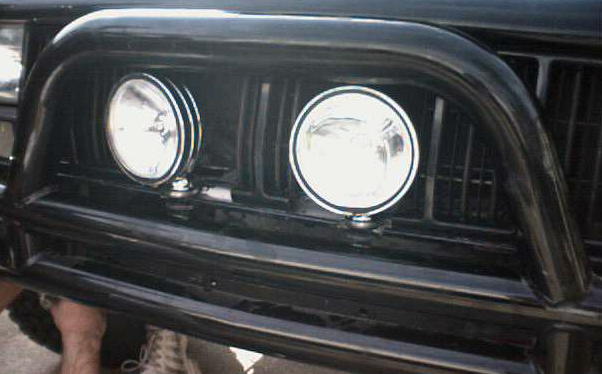
| Here the lights are mounted, grill is in place, and the bumper is bolted tight. Next was running the wiring to get some illumination. Before we buttoned it up we connected the light power wires and ran them to the engine bay. | ||||||||||||||||||||||||||||||||||||||||||||||||||||
|
||||||||||||||||||||||||||||||||||||||||||||||||||||
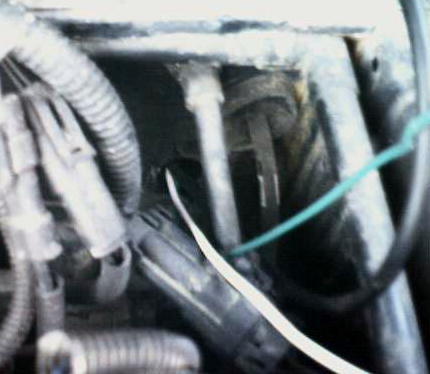
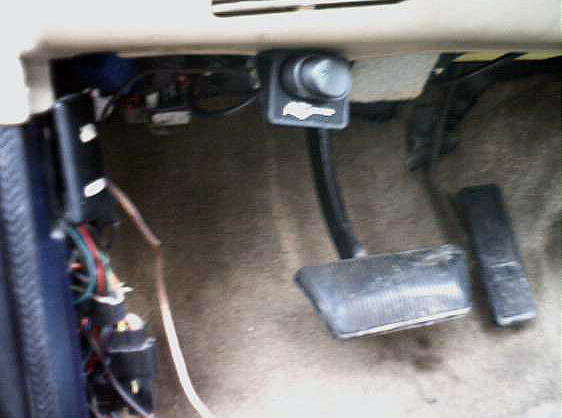
| We connected all the wires to the relay switch and the battery according the the wiring diagram supplied by KC. This picture shows where we ran the white switch power wire and green illumination wire through the fire-wall where the hood-popper cable comes up from under the dash. | ||||||||||||||||||||||||||||||||||||||||||||||||||||
|
||||||||||||||||||||||||||||||||||||||||||||||||||||
| After we ran the wires throught the firewall we removed the drivers side kick panel and mounted the switch under the speaker grill, KC provided the mount and screws. We then connected all the wires up, crossed our fingers and flipped the switch. And the Lord said "Let there be LIGHT!" | ||||||||||||||||||||||||||||||||||||||||||||||||||||
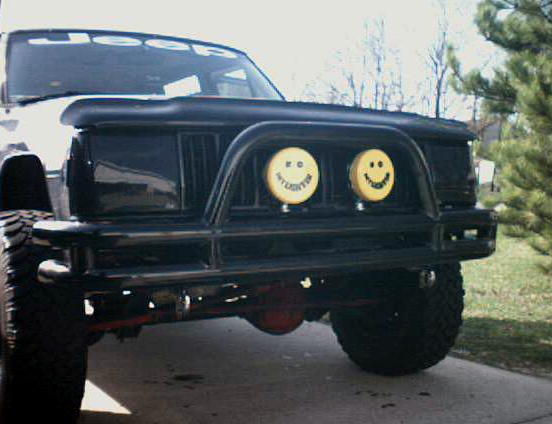
| This is the finished front. Not too bad! This project took a couple of hours with the modifications we had to make, but the mouting and wiring only took 30 minutes. OVERALL PROJECT RATING - 5 - Rating 5: All parts included, ease of install, satisfied with performance! |
||||||||||||||||||||||||||||||||||||||||||||||||||||
|
||||||||||||||||||||||||||||||||||||||||||||||||||||
| Tech | ||||||||||||||||||||||||||||||||||||||||||||||||||||
| Home | ||||||||||||||||||||||||||||||||||||||||||||||||||||