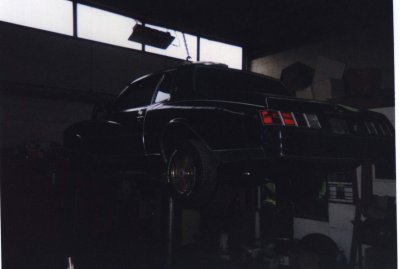
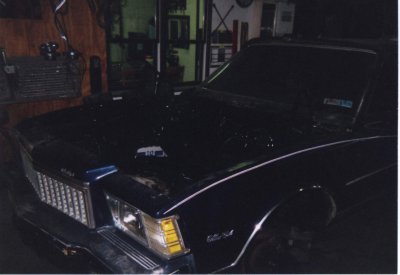
Dan's 1979 Monte Carlo Rebuild

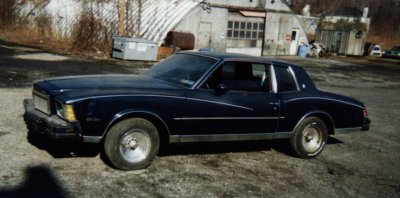
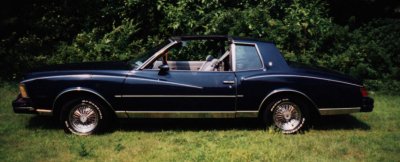
This is how it all started. A Metallic Blue 1979 Chevrolet Monte Carlo with all the options. It was a rough and tough car, but when it was cleaned up, she shined! At this point, I wasn't sure about the motor, I was told it was a 350cid, but it didn't have any punch to it, so I though it still could have been a 305cid.

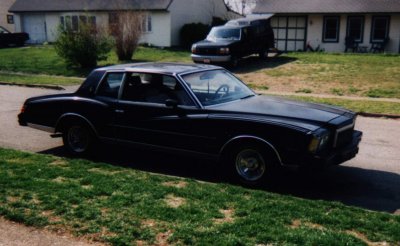
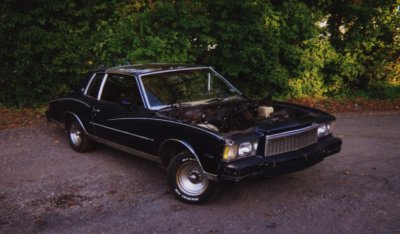
Here's the Monte all washed and waxed up. The best thing about the car was the t-tops, but it was also what utlimately led to it's sale. At this time I was happy with car, and wanted to only clean it up a little.

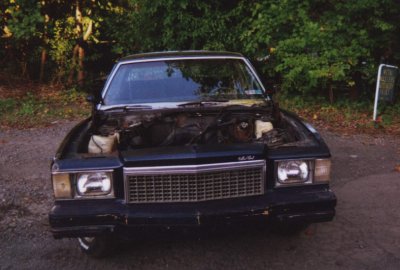
Now, this is where things started to get rebuilt. I had the t-tops re-sealed by East Coast T-Tops, and discovered that the center support bar for the t-tops was completly rusted through. I had no choice but to replace it, and spend close to $1000 on the tops alone. This is when I decided to try to restore the car as best I could. I never really worked on cars before, but I was willing to learn from my friend who owned Metal Masters Auto Body.

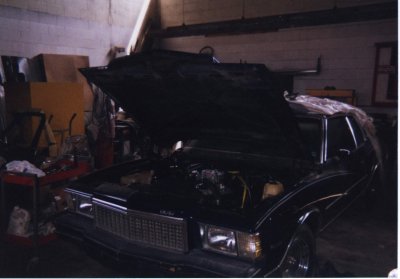
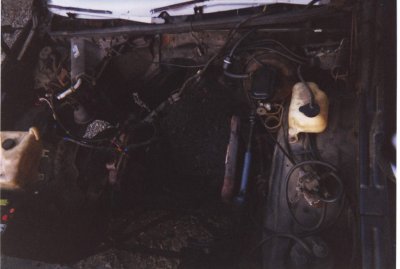
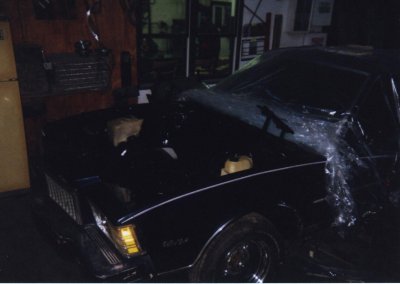
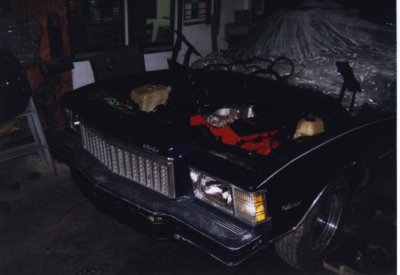
Here is the Monte right after I pulled the motor and transmission. I didn't realize how dirty things were until I started ripping them apart. I eventaully pulled out all the misc. stuff out of the engine compartment, like the bottles, and hoses, etc....

After a few weeks of cleaning the under carriage and motor compartment from 20 years worth of oil, grease, road tar, etc... I undercoated the car and painted the engine compartment gloss black, but not before I took the front suspension apart and replaced everything with a polygraphite bushing set.

Here's how it looked after everything was painted inside and under.

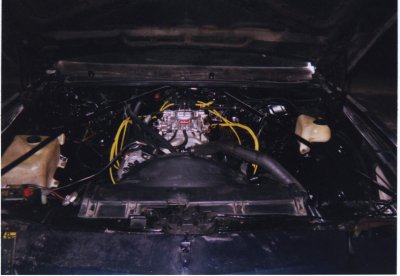
This is right after I put the new motor in with the original transmission. The motor is a 350cid, with a pretty decent steet/strip cam, Edelbrock Performer RPM intake, Edelbrock 750 cfm carb, HEI distributor, Accel wires, and everyhting else pretty much stock. The old motor is still at my friend's shop - just a big paper weight at the moment, but I may eventually do something with it.

Hosted by www.Geocities.ws

Here's the Monte after I had the exhaust installed. I was running 2 1/2 inch Flowmasters with a typical Monte Carlo SS exhaust. I wanted it to pass emissions, so I had a high flow catalytic converter installed, and I used the stock exhaust manifolds. I changed my mind later to go with a true duals, but it never happened.

After I got the exhaust on, I took it out to romp on it. Nothing happened. The car was a sled, it didn't start moving until I got the rpm's up to about 2500. I couldn't even spin a tire on loose gravel, and I didn't know what was wrong. Eventually after talking with people and a finding a little common sense, I changed the entire rear with a 3.73 posi, and dropped the original transmission to replace it with a freshly rebuilt TH350 including a shift kit and 2700 stall converter. You can also see that I was starting to tear off body parts and get them ready for paint.

At this point, I was starting to worry. I wasn't sure if I ever get the Monte back together. This picture shows all the parts I took off. Doors, fenders, front end, trunk lid, ..... all gone. But what I did have was a new posi and transmission, and of course I had to test them to be sure they were working properly. So, onto the road I went! Just as you see it. Good thing that I didn't take out the seat belts cause the first thing I did was a nasty 180 spin in the middle of the road when I pulled out. It was my first experience with a posi, and let me tell you, I learned real fast how to handle it. All the mods brought the engine to life.

A few months later, here is the next major step. I started prepping and cutting in the fenders and door jambs. The color, Chevrolet Corvette Artic White. I picked the color because it was a very bright white that had a tint of blue it in to make it stand out. You can see that I'm getting all the panels together and adjusting body lines. But I ran into problems. When I fitted the hood, it was off by about an inch, and there was no more adjustment. The problem???????? Guess??? A bent frame, caused by an accident before I bought the car. So, next step, straighten it out.

Here's the car up on the frame rack. It wasn't bent to far out, but enough. We needed to heat the frame and keep it under pressure over night before it worked it's way out. Not to bad for my first rebuild.

This is after I straightened out the frame and getting the Monte ready for paint. You can see that all the parts are cut in and it's just a matter of masking the car before paint.

Here's the Monte all masked up and in the booth.

Here's the Monte in the booth with the sealer applied.

Hosted by www.Geocities.ws

Here's the Monte after the base coat of Artic White was applied. You can see it's still "wet" because when it dries it will dry flat.

Here's the Monte after the clear coat was applied. You can see the shine to it now. The clear really brings out the color nicely.

This is after the masking was removed.

This was the first time the Monte was outside with it's new paint.

Hosted by www.Geocities.ws

1