Alternator Conversion
First lets dispense with the legal BS...
This information is provided for your entertainment. If you choose to follow this page as an instruction template you do this at your own risk NOT MINE... If you burn out your cars entire elecrical system, burn it down etc.... You did it and I don't want to hear about it. You are responsible for what you do not me.
Bosch/Motorloa Non AC Diesel to Subaru Hitachi
First some history.
I have had a running feud with the alternator on all my VWs they never really work right for me even when they are newly rebuilt. Replacing the Bosch on my 81 has been a yearly event for 7 years running. Every January or February the alternator refuses to charge at even the anemic 13.5 volts that it did last year and I have to swap it out.
In vain attempts to make it work better I have tried;
- Adding an extra #8 ground wire with soldered eye lugs and grease from the engine to the following locations;
- Engine block to body
- Engine block to the alternator case
- Engine block Direct to Battery Ground
- Replacing all the Primary battery cables and terminals with oversize cables and good solder on terminals.
- Replacing brushes (almost impossible to find)
I did the ground and wire trio the first year with no perceptible results and immediately followed it with fabricating the battery cable replacements.
This year as always... I checked all the connections and the belt all were tight and no corrosion on the grounds or battery lugs....
I decided to try brushes as they looked to be worn. This bought me @ 1/2 hour of 12.5 volt run time and then it stopped charging yet again.
That was it! I've had enough. I looked at the shelf in the back corner of my garage and decided i'd try mounting a Delco 10SI that I have sitting back there waiting for just such an occasion.
The Delco is a 65amp unit I pulled off my '75 GMC Pickup before it went to the happy hunting grounds. The pivot mount fit with a small spacer (washers) but the mounting ears are are @ 150 degree angle not at 180 like the Bosch.
A Tension Mount could be fabricated to make up for this but the pulley doesn't line up when it is hung in the bracket and the bosch pulley won't fit this Delco so a new pulley would need to be machined.
I also had a dead (not dead of natural causes) Hitachi from a 1983 Subaru GL. Just eyeballing this one I could see it fits with only a few minor modifications to the VW cast bracket...
Not only do the Hitachi ears sit at 180 degrees but the pulley lines up perfectly with the rest on the engine and I get 10 extra amps in the bargain.
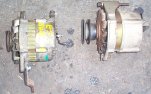
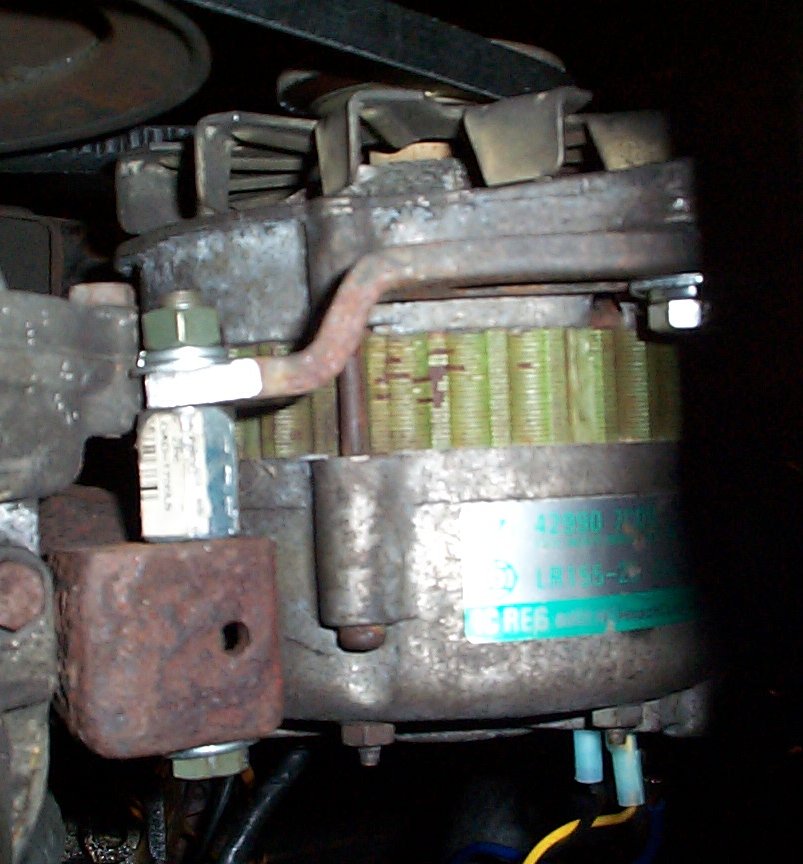
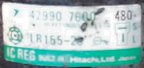
Soooo... I replaced the corroded Subaru lump with a junkyard Hitachi IR155-28 unit $20 from a 1985 Brat that hadn't been rained into.
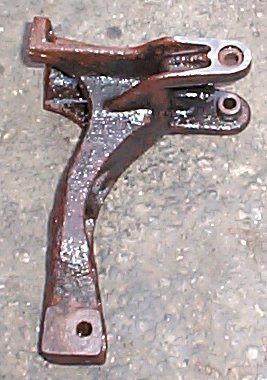
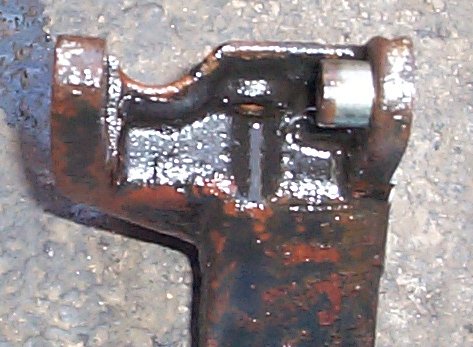
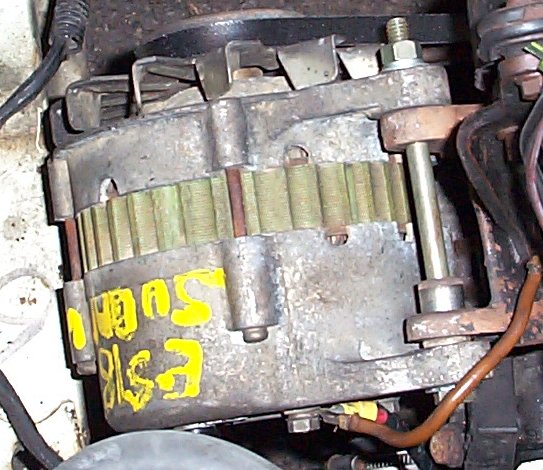
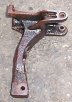
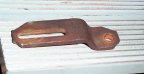
I than massaged the cast mount in my mill drill. I machined the outside of the timing belt side ear flat and square and then removed just enough metal from the transmission side to allow the New Alternator to slide over the bracket. A belt sander would work just as well if proper care was taken.
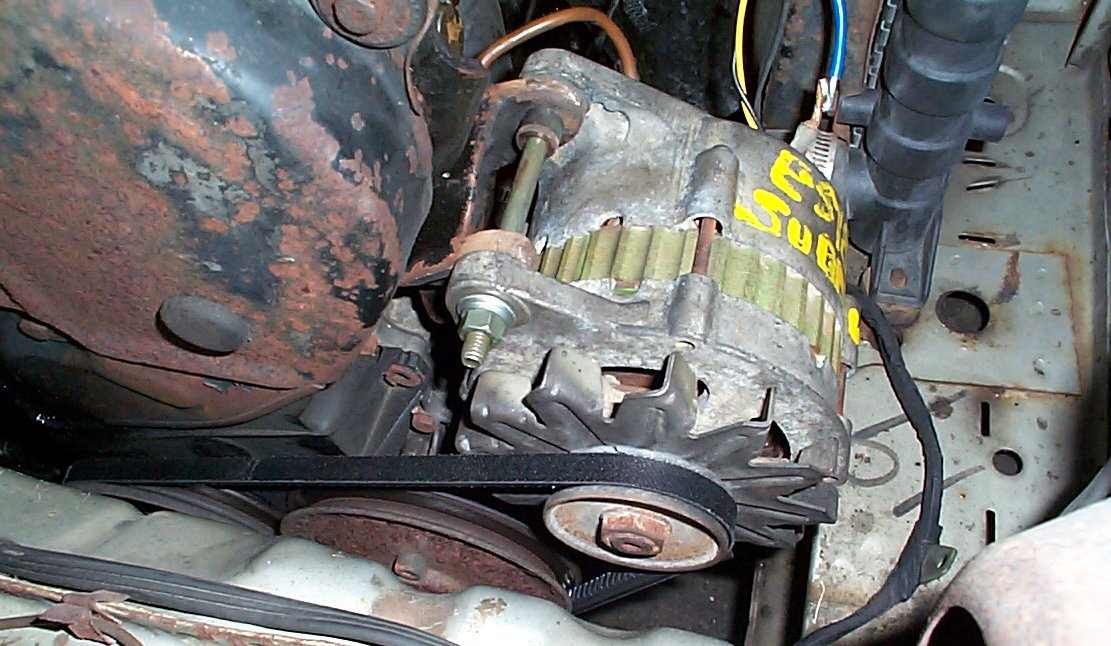
You can see in the following pictures that I didn't have to remove much and it didn't affect the Bosch mounting position if I decide to put the VW unit back in place.


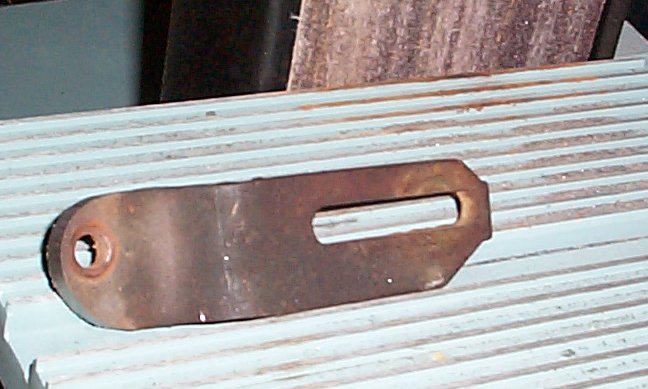
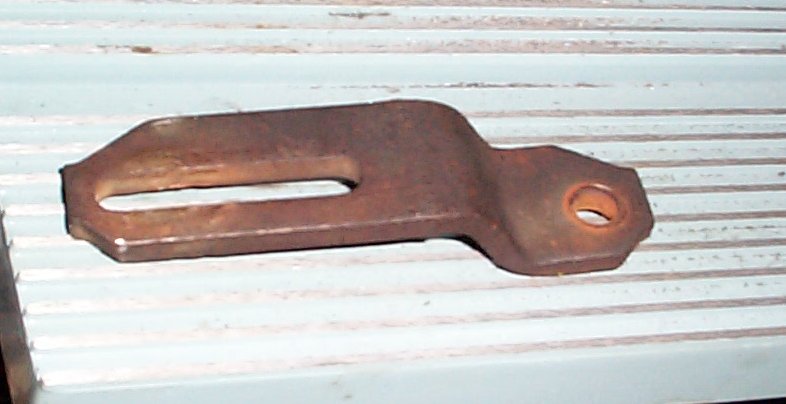
I needed a longer bolt washers etc for the Pivot. The sloted belt tension arm needed a longer bolt with a spacer. The spacer is made from a small toggle bolt shortened and drilled out to fit in my lathe. A hacksaw hand drill and file would work here but would take much more time.
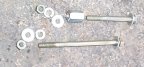
The slotted belt tension arm when mounted interfered with the water pump casting. I used the belt sander to massage the fit removing less than .25 inches from the back of the bracket.

I tied the VW Plug up to the main harness after filling the connector with wheel bearing grease and tying a sandwich baggie around it.
Belts
The Hitachi now bolts in place but the stock belt Dayco Kelly #15350 is at least 1 inch too long. Off to Auto Zone to buy 3 shorter belts.
I decided to use the Dayco Kelly #15340. This belt is @ 1 inch shorter than stock. I may yet have to put on an even shorter belt though. The 15340 uses almost all of the travel in the adjuster.
A 15330 will fit if the pivot bolts are removed to allow tilting the alternator to work the belt onto the pulley. When I started the engine the new belt appears run straight and true on the new alternator with no vibration.
Buut...No charge with no wires....onward.
Wiring
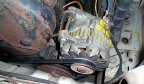


The Batt wire that you can see in the first pic "In_Place4" was replaced as soon as the unit proved funcitional. This was a quick and dirty solder job to see if it worked.
Wiring is pretty straightforward. According to the documentation I could find the only wires required are the S switched voltage sense lead and the bolt on +Bat battery connection.
I ran 8ga blue teflon/copper primary wire direct from the Hitachi Bat + terminal to the battery.
I ran a yellow 14 Ga wire from the S terminal to a switched lead from the fuse panel.
According to the documenatation this is all I need. So I start the car. &%*^&%&#& no charge. What's wrong? My Haynes Manual for my long dead 1983 Subaru GL shows the L lead running thru a blocking diode to all the warning lights on the dash.
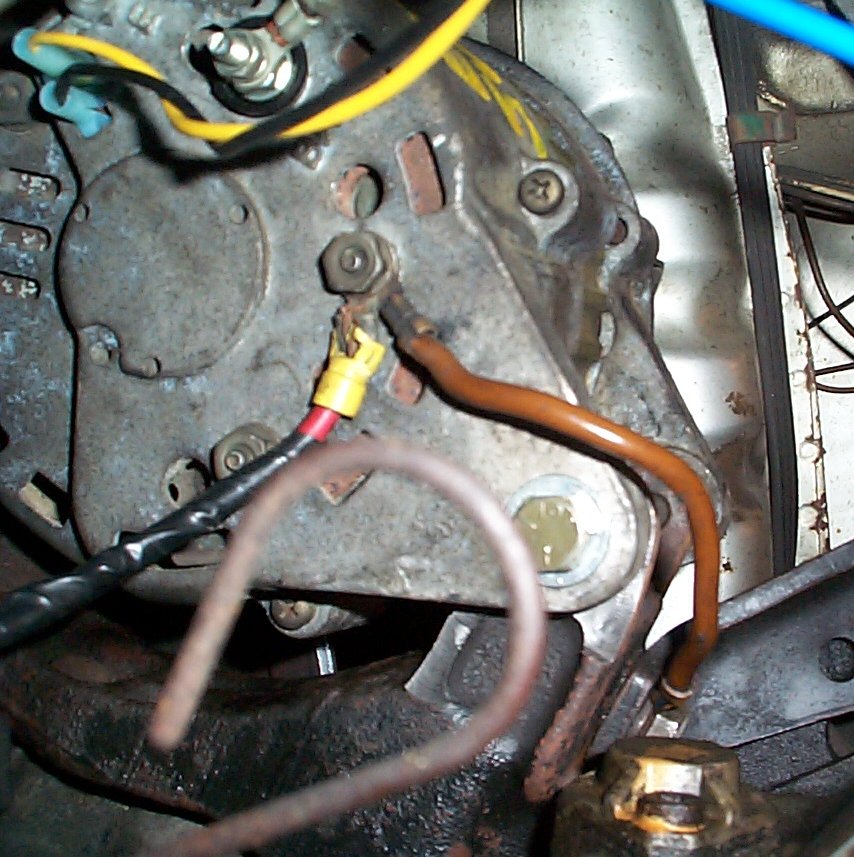
The L Terminal is apparrently used for the idiot light. A wire form this lead should at least be run to a switched ignition lead with a blocking diode. I added a Black wire to the L lead and ran that to the yellow wire. At the end of the black lead from the L terminal is a blocking diode to block flow from the L terminal to the 12 volt feed which in this case is the yellow wire connected to the S terminal.
I Re-start the car. COOL!! Instant 14-15 volts no tapping the throttle no begging just there..... right now. WOHOO!!!!
Test time... I turn on everything the headlights, front and rear wipers, rear defrost, heater fan, and radio still 14-15 volts rock steady the engine slows a little but no change in the voltage.
I have never been able to run the headlights and the heater fan at the same time EVER the charging system couldn't keep up. My test trip was 20 miles over to a freinds house and back at night with the radio, heater, and headlights on at the same time. I love it!!!
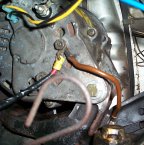
Black wire "L" terminal wire with diode blocking current from flowing out from alternator.
Charge indicator contact flows current as long as alt is charging and grounds when no charge is present.
Yellow wire "S" terminal hooked to ignition switched wire.
Voltage sense for regulator
Hopefully this text diagram will help make it clear as mud.
Ignition Switched contact-----|<-------L Black
Ignition Switched contact--------- SSSSSS Yellow
Finishing Touches
I will need to shield the wires with split loom and tie them up in a more permanent fashion than they are now.
The idiot light is not connected. I have a good voltage gauge so I don't need the idiot light... Eventually I may hook it up but not right now.
Update
2 weeks and no dire results still charging as expected. Maybe the battery will last another 2 years....
BACK