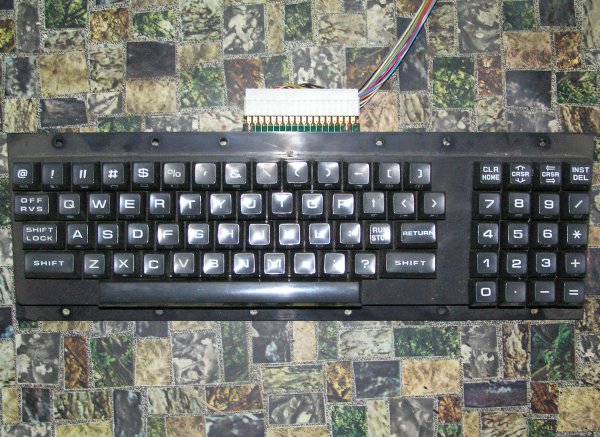

Here is how I clean Commodore PET keyboards. Apart from looking dirty, PET keyboards seem to suffer from 'sticky keys' where individual keys either stop working or bounce and produce double characters.
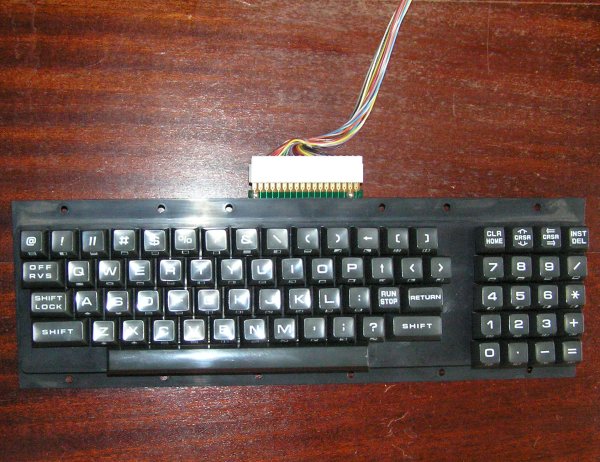
| First job is to remove the keyboard from the PET case. There are 12 screws holding it in, and the case has a convenient prop to hold it open. Remember to unplug the keyboard cable from the motherboard. The connector is keyed so you don't need to remember which way round it goes. |
|
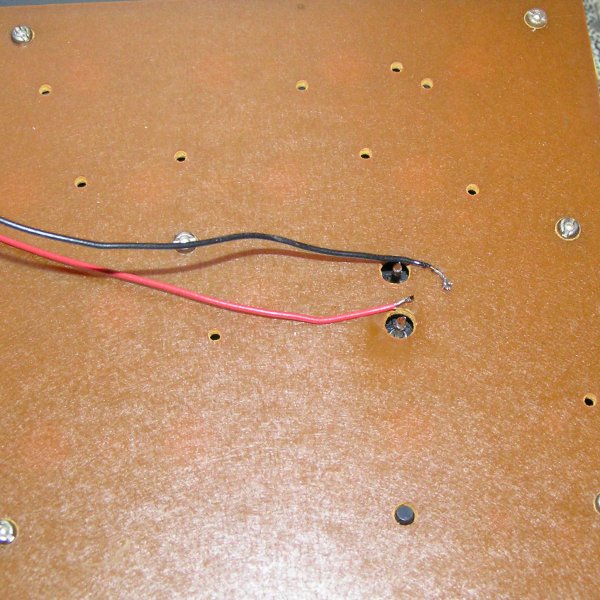
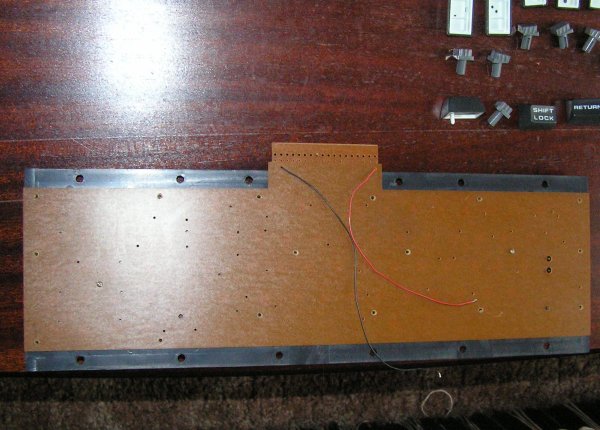
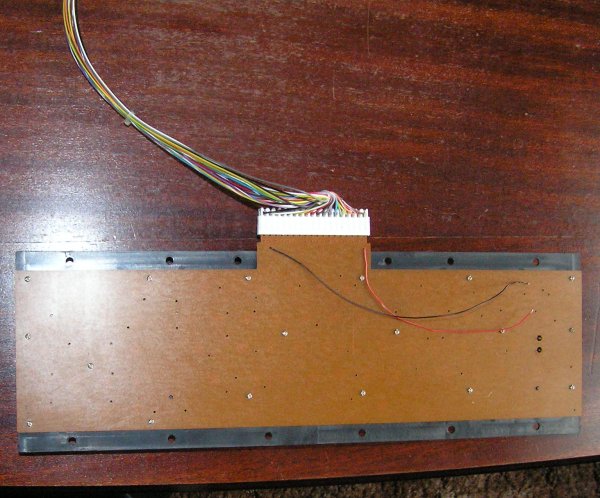
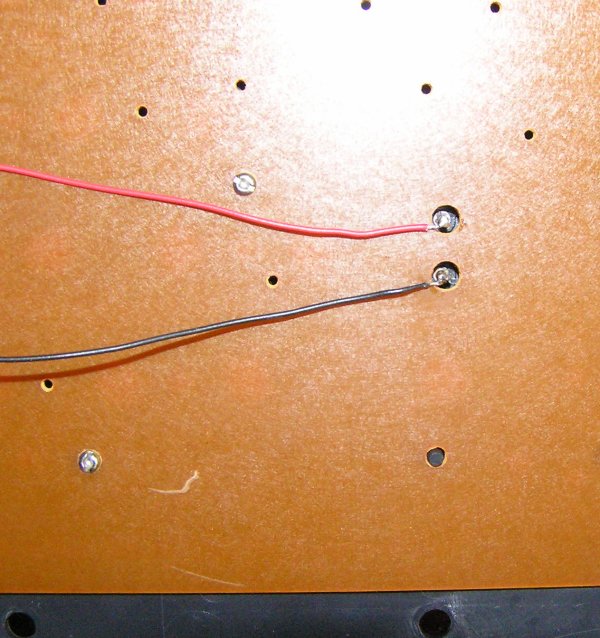
| Now unsolder the 2 wires on the back of the keyboard that go to the Shift Lock key. No need to remember which is red and which is black, it does not matter. |
|
| Now, using 2 large screwdrivers, lever off each keytop. Put the screwdrivers on either side of the keytop and rotate them together so the keytop is pushed up. There is a knack to this. The object is to get the key to rise vertically by pushing it up evenly on both sides. Sometimes, the keytop will come off and leave the plastic 'adapter' still attached. Don't worry, just lever this up too in the same way. Under each key is a spiral spring which might boing off. Make sure you don't loose any spring, keytop or plastic adapter! |
|
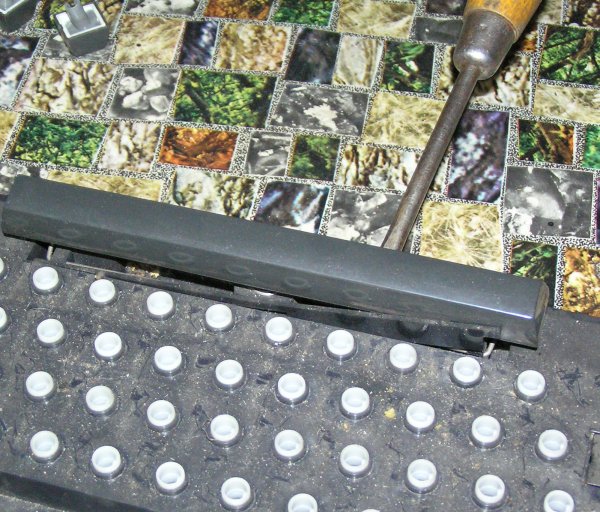
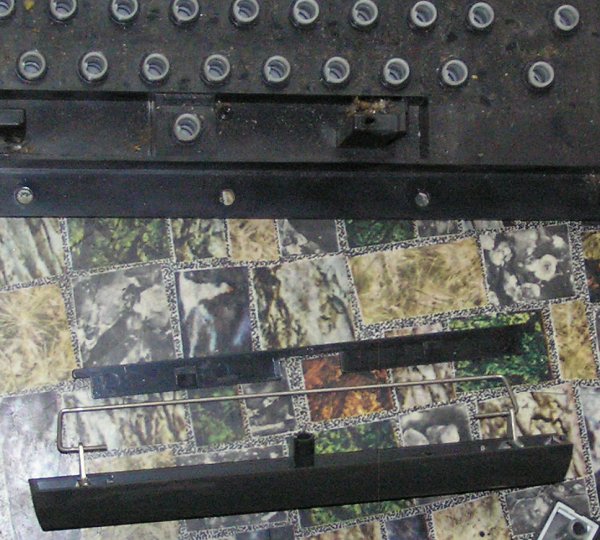
| Lever off the plastic strip that retains the spacebar wire. Then the spacebar can be gently levered up as with the other keys, but you want to get it to go up, then rotate forwards revealing the spring. Carefully remove the spring! Then the spacebar wire can be eased back and out of the keyboard body. The spacebar and its wire stay connected to each other. |
|
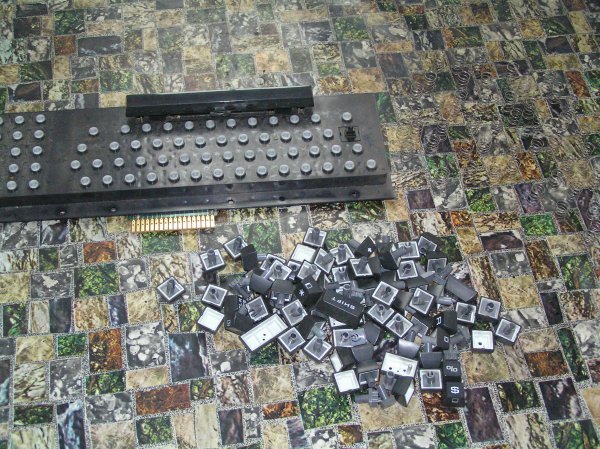
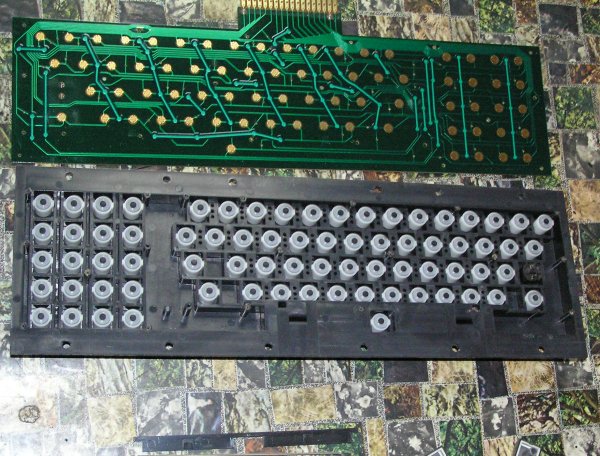
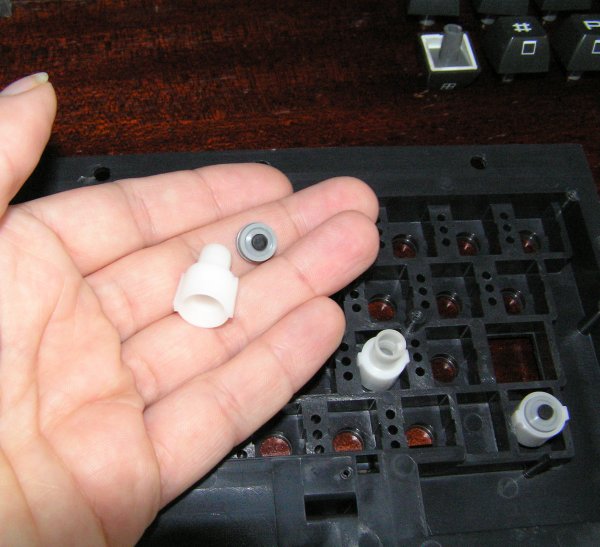
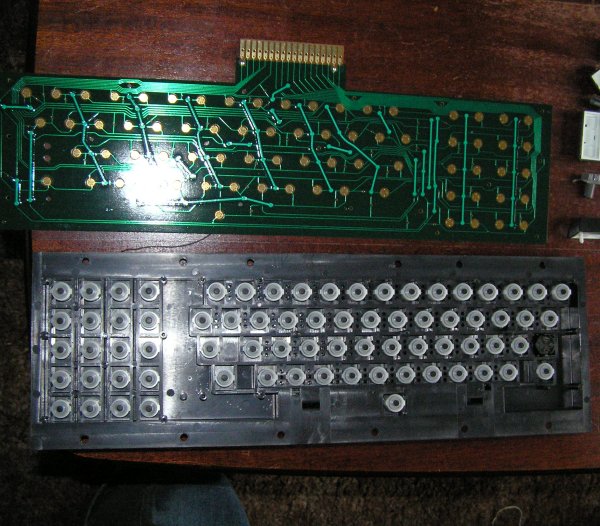
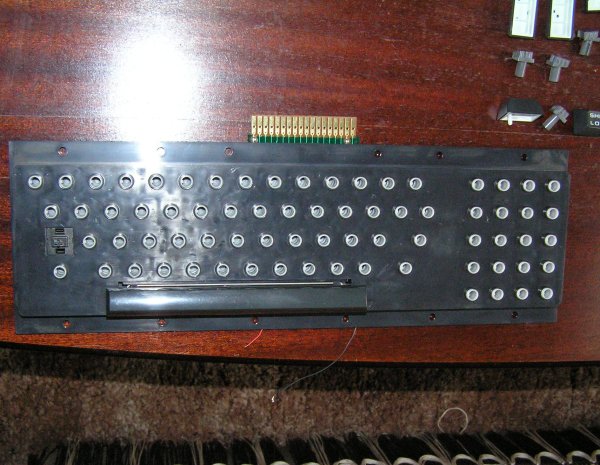
| Now that the keytops are all off, its time to unscrew all those little screws on the underside of the keyboard. Once they are all removed the circuit board will just lift off to reveal the switches. The switches themselves are made of a white plastic slider and a rubber end cap with a conductive pad on its end. |
|
| Now, each part is washed in warm water and washing up liquid (detergent). It should not need anything else because all you are removing is a mix of finger grease, sweat, dust, and bits of food. I find washing all the springs, keytops and all the other little parts is very boring, but even so, care must be taken not to loose a single part. I wash all springs, then all keytops, then separate the white plastic sliders and rubber ends and wash those too. Just throw each group into the water and then either rub them down with a cloth or use a toothbrush as appropriate. Once they are all done, pat off excess water in a towel then stand them all out to dry. |
|
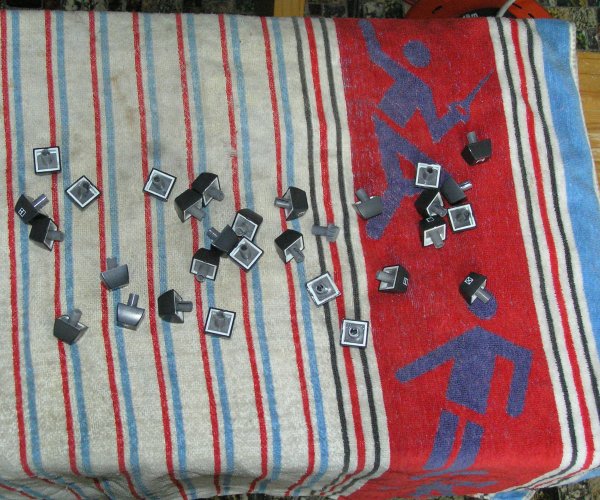
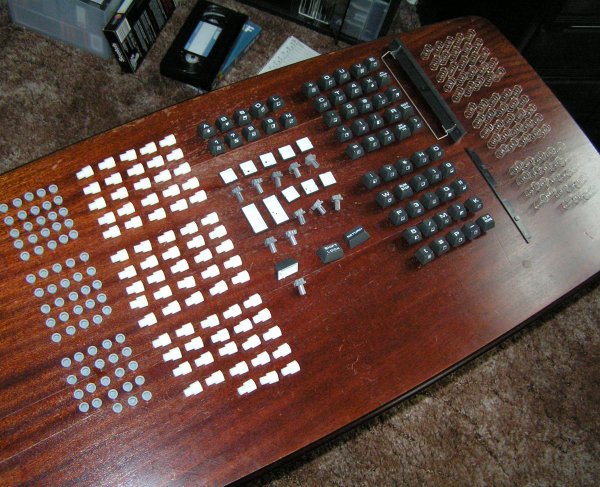
| I line up all the parts into rows so I can easily count them and know I have not left anything in the water or dropped on the floor. When counting, remember there are not an equal number of keytops, springs and white sliders, because the Shift Lock key is different, and does not have a spring. Also wash the black plastic keyboard unit and the circuit board and leave them to dry. I wait for a day for all the parts to dry off properly. |
|
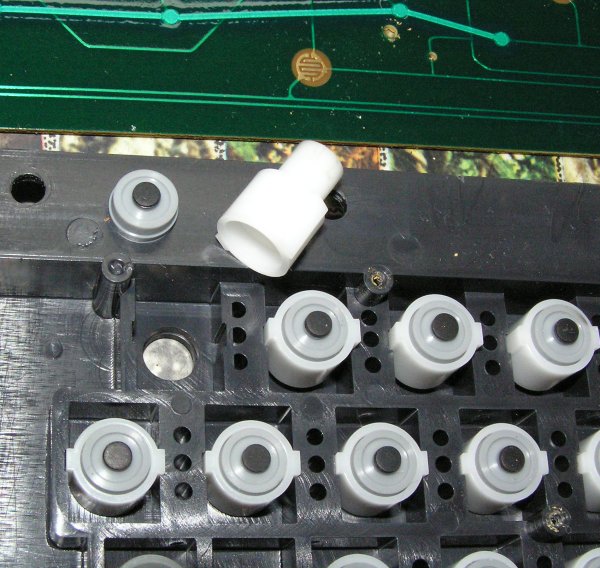
| The switch parts need to be reassembled then put into the keyboard unit. Push a rubber endcap into the white slider and then put the slider back into the keyboard. It has 2 lugs on the outside that slide into groves in the keyboard unit. There is only one right way round because inside the white cylinder is an alignment lug for the keytops. So take one slider and a keytop and put the slider into the keyboard and try the keytop in, you will know if its the right way round or not. Once all the sliders are in, lift the keyboard up to check it from below that all sliders are the same way round. |
|
| Now put the circuit board back on, there should be one or two alignment pegs on the keyboard to kelp align the board. Just put a couple of screws in at this stage to keep the circuit board on. |
|
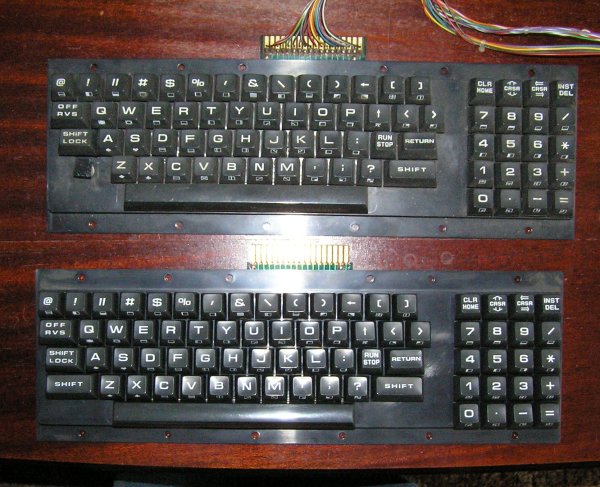
| Turn over the keyboard back over and carefully put the spacebar back in by gently getting the wire back into its slots and then put a spring back in and ease the spacebar down onto its white slider. Its easy to see if you are trying to put it in the wrong way round. Push the retaining strip back in, it should click into place. Now replace the keytops, one row at a time. Don't forget the springs on each one, and gently push them in. Once a whole row is in, hold the back and more firmly push the keytops down and you should see them in a neat line all at the same height. Do get the keys in the right places! You did remember to make a note of where each one goes? I am lucky and have a spare keyboard to copy. |
|
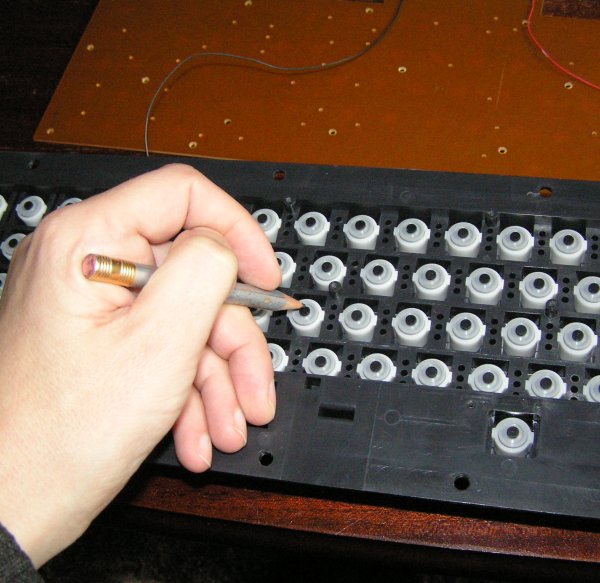
| With the keytops all back on, and the circuit board still lightly held on with just 2 screws, its time to test all the keys. Reconnect the keyboard to the PET motherboard. Don't put it in the case, just hold it in one hand. Power on the PET and gently press each key and check that you get the proper response on the PET screen. If any key does not work with a gentle press, or bounces, make a note of it. Once you have a list of faulty keys, power off the PET and unplug the keyboard. Now unscrew the 2 screws and remove the back circuit board. Take a soft pencil and lightly scribble on the conductive pads of each key that you had problems with. Now replace the circuit board and 2 screws and repeat the test. You should have got all the keys working, but if not, repeat the pencil action and retest. |
|
| Once all keys are working, disconnect the keyboard from the PET, and replace all screws in the back, making them tight but not too tight. Then resolder the two wires to the Shift Lock switch. |
|
| Finally, the keyboard is finished and just has to be replaced in the PET case. Put back the 12 screws, plug the cable back into the motherboard and the job is finished. |
|
| Back to my home page Email me |

|