Machining your own parts, or anything for that matter, is an extremely rewarding experience. If you have access to any machine tools (lathe, mill etc), you will know that it takes only a little time and basic knowledge to be able to fashion a basic shape on a machine, but it takes huge amounts of skill and experience to turn out the finest quality articles. Combining knowledge gained from my Dad and from the internet, I set out to create my first proper part - a heat sink for my ModelTech brushless motor. This required the use of various techniques and a reasonable amount of precision, so I thought it would be a good test of my abilities.
TURNING is the name given to basically reducing the diameter of a cylinder on a lathe, by passing the tool along its length as the cylinder is spun in the lathe's chuck. My heat sink required a diameter of 36.0mm, with an error of no more than 0.5mm. In machining terms, this is quite a big error, and so not a difficult target to hit.
BORING and INSIDE-TURNING were needed to make the hole in the heat sink, into which the motor would slide. The initial hole was bored using a series of drill bits of increasing sizes, mounted in the tailstock of the lathe. Then the hole was taken out to the precise size needed to slip over the motor with very little play, using an angled lathe tool on the inside of the heat sink.
PARTING OFF is the process of cutting the workpiece off the piece of bar stock it is made from, using a thin tool. The cooling fins were made with this tool also, before parting off the heat sink.
When the heat sink was finished it was slid on to the motor and secured with thread lock compound. I do not recommend this because at a later date I was unable to remove it... Anyway, completion of this made me realise that a complex project like Proto1 was at least within my ability, even if I would have to learn on the way, and gradually improve my technique. Intuition plays an important role in getting a good result in this game, but armed with basic ideas (correct tool height and turning speed, etc) you can do well.
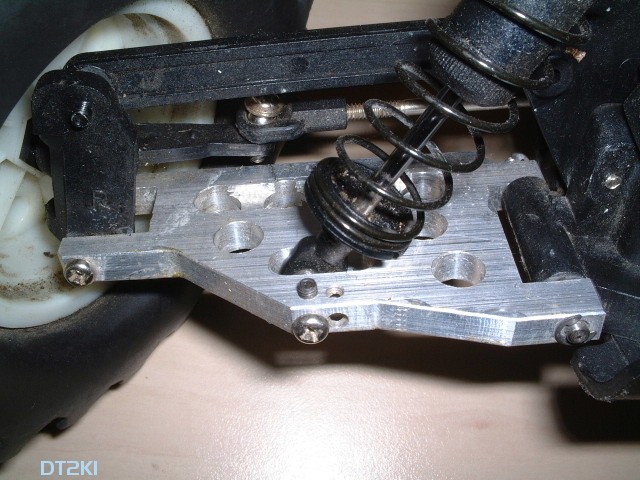
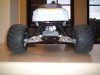
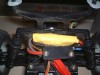
I also undertook a priliminary milling project before attempting the Proto1, to see if I had the ability to make all the non cylindrically-symmetric parts needed. I made a pair of front suspension arms for my Traxxas Stampede monster truck. Basic technique here was to roughly cut out the shape on the bandsaw (out of 1/4" aluminium plate), and then finish it by edge milling using a 5mm end-mill. The wishbones were then drilled for lightness and milled out a bit too. The hardest part was drilling the holes for the hinge pins in the exact right places without the drill wandering. If I couldn't do this, the Proto1 would never be a success. Fortunately it all went fine, and now my Pede has a set of real bad-azz wishbones. |