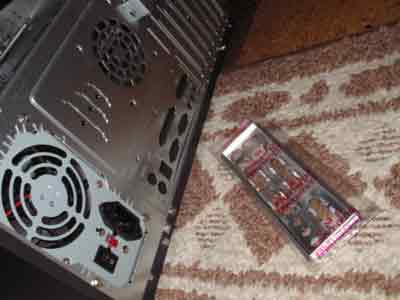
1.a. Pre-install: Backpanel for motherboard.
Usually your motherboard will come with a panel that is specific for your motherboard, most cases the one that is in your case will work, but for my ASUS A7N-266VM i needed to use the one with the board. This board has built-in video (geforce 2), sounds (5.1), Ethernet.
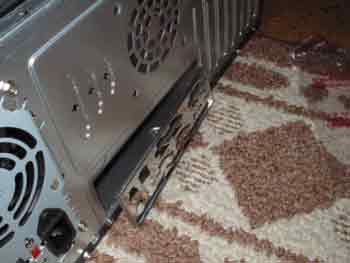
1.b. Inserting Motherboard insets into case and mounting motherboard.
Before you can mount the motherboard into the case, you'll need to put in the motherboard standoffs. Just line them up to the motherboard screw holes (top image). Then mount the motherboard in the case and screw it in.

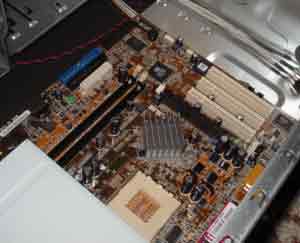
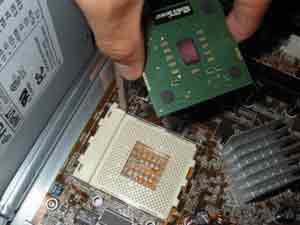
2.a. Installing the CPU and Heatsink
The next thing i install is the cpu/processor and heatsink, i used an Athlon XP 1800+ cpu. (again, my motherboard is made for an AMD processor).
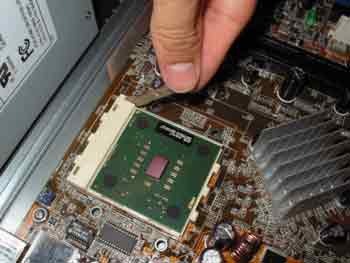
Lift up the lever by the cpu slot to unlock the slot, then line up the corner to the motherboard's process slot.
Then pull the cpu securing level down.
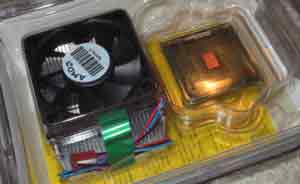
2.b. Installing the Heatsink on on the processor.
This is probably the most dreaded part of building a computer. The heatsink will sit directly on top of the processor. If you want, you can put some thermal grease on the bottom of the heatsink. Then the hard and scary part of attaching the clamps. You'll see what i mean once you build your pc.
BE SURE TO HOOK UP THE CPU FAN TO THE MOTHERBOARD'S CPU FAN connector.

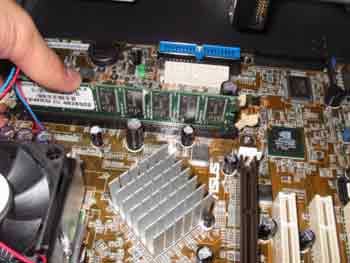
3. Installing Memory (DDR SDRAM)
Just line it up and push as so...
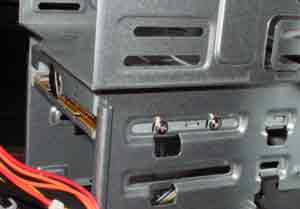
4. Installing the Drives (HD, DVD/CD, Floppy)
Just find a spot and screw in the holes.
Be sure to set the jumpers on the harddrive.
If you have only one harddrive, set is the primary. If you have two harddrives, keep them on the same IDE cable and set them both to CS or Cable Select, the order on the IDE cable will determine the primary/master and the secondary/slave. Do the same with your CD/DVD Drives. Be sure to hook up your harddrives to the main ide or IDE0. Also be sure to hook up the power cables too.
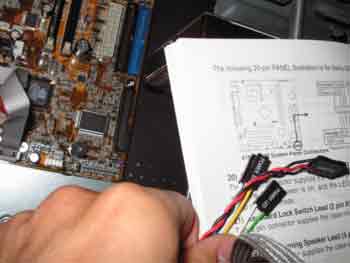
5. Hooking up the Front Panel connectors (power and reset button, led lights on the case).
To do this, you'll just have to use your motherboard manual and the case manual/wires to match them up. Trial and error works the best with this task. Also if you have front usb ports, you can hook them now. Also be sure to hook up the ATX power connector from the power supply to the motherboard.
6. PCI Cards/Video Cards.
Install the video card into the appropriate slot (AGP or PCI, most newer video cards are AGP)
If you have any additional PCI cards (ethernet card, modem card, etc). You can install them now or wait until your sure your system boots.
7. Boot Your New System!
Hopefully, your system will boot once you power it on. If you get a bunch of beeps and a blank screen, try to remove and reseat your video card. Also try the same with your memory. Another thing would be to check the motherboard makers website for POST beeps/errors.
Setting up an OS will be added later.
Hope that helps ya get an idea of what it takes to build a system.
Peace
seamonkey420
My Current System:
AMD Athlon XP Barton 2600+ CPU
Aopen Ak79D-400VN Motherboard
1GB PC2100 DDR Memory
100 GB and 80 GB Western Digital SE drives
NEC 4x DVD-R/RW +R/+RW CD-R/RW
Ati Radeon 9000 Pro 128MB
Antec Alienware case with Blue/Green Cathode and clear side panel with 400Watt AMD Approved Powersupply
-IBM Thinkpad T30
Mobile P4 1.8Ghz, 40GB, 256MB DDR, Wifi