
 |
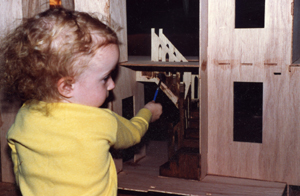
This is my daughter
Kari at the wonderful age of two. She wanted to help with the dollhouse
and so she's begun staining the stairs from the first floor to the
second. This was in about 1987. Shortly after this time as soon as the
basic shell was finished, parenting and work took over and the house
was "stored away" for quite a few years. Kari is entering college this
fall (2003) on a scholarship. |
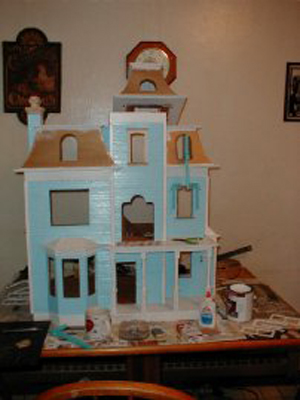 |
Finally, back out of storage. Tape wiring system is installed but the only lights working (installed) are the two coach lamps on the front porch. Color scheme we're using is a light blue with mostly white trim. The other trim ACCENTS will be a very dark blue. The tower roof will be kept as "removable" as it is now. Four slots and tabs hold it into place on top of the tower. |
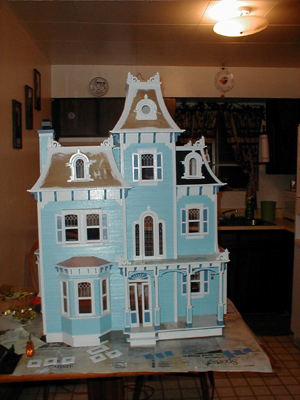 |
Most of the trim
is installed and we've added copper to
the roofs of the bay windows and all of the dormer windows. Beginning
the gray paint on the foundation for a "magic stone" covering which
will be added. Also painting the roof sections that will be shingled a
flat black to look like roofing paper if there happen to be any cracks
that can be seen through the shingles. We used poster board glued in
strips and cut to fit in the shutters. They were painted the darker
blue. We also used turned decorative toothpicks to create an
interesting
effect above the front door. Doors aren't yet attached because we
plan to hinge them. The four dormer windows on the top floor are hinged
already. |
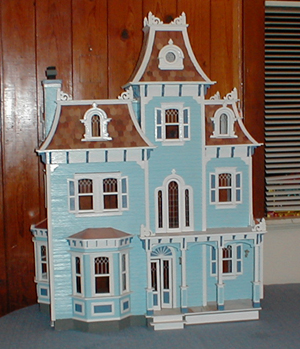 |
The roof is finally
on and the gray is painted on the foundation. We made the shutter
inserts with cardstock in strips and painted them the darker trim
color. Most exterior trim is now installed, including the copper over
the dormers and bay windows. Still need to do the porch floors, flat
portions of the roof and "aging". The
next step will be installing the ceiling lights and wall plugs. The
curved dormer windows were a bit difficult to assemble but add such an
unusual elegance it was worth every bad word uttered. We may change the
circular tower window to a "stained glass" one at some future date. |
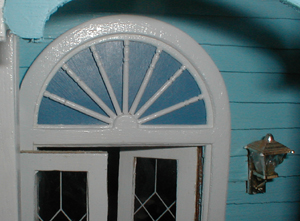 |
Detail of the front
doorway
arch. We put a dark blue cardstock behind and cut the "fancy" ended
toothpicks for the individual spokes of the arch. Thes were glued in
place and painted along with the rest of the trim. Doors are just
SITTING there, and not hinged or attached yet and the inside door edges
aren't cleaned up yet either. |
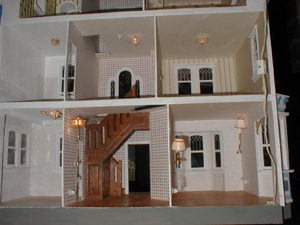 |
We have lights! The
reason this picture looks strange is because the house was upside down
when it was taken. So the hanging lights are up against the ceiling and
the lamps are hovering as if a poltergiest was around. Kitchen and bath
on the left have textured and painted ceilings but no flooring or wall
coverings yet. |
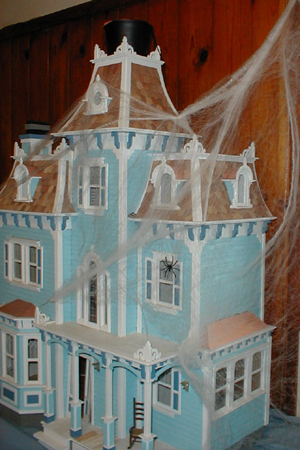 |
Halloween 2003, I
stretched
a spider web across the house, adding a big spider. There's also a
battery operated "flaming" caudron on top of the tower roof waiting to
be poured onto unsuspecting trick or treaters a la what the Adamms
Family did to the Christmas Carolers in their first movie. |
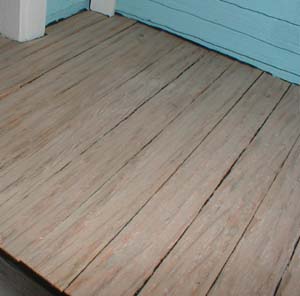 |
These are the planks
on the front porch. At this point they've only been "aged" one coat and
I'm still deciding whether or not to give them another coat of the
wash. Before putting the boards on, we painted the porch surface a flat
black to give it more "depth". Now if you look closely you can see
"darkness" between the boards. |
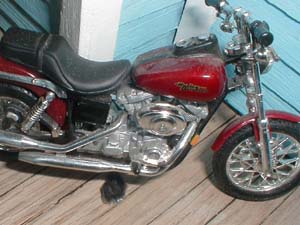 |
Melissa parked the
Harley on the now finished porch. I told her Harley's leak and she
shouldn't park it there. I came back about an hour later to find the
growing puddle just like I predicted. LOL! She made the oil spill with
white glue and a little paint on wax paper. After it hardened, she
peeled it off and put it under the bike. |
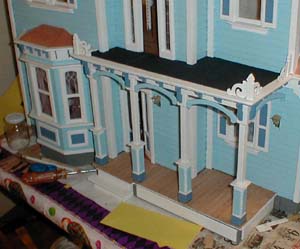 |
On the second floor
balcony we used an eighty grit emery cloth. It costs a bit more than
sandpaper but is a lot easier to work (the grit stays on with folding
and handling) with and it's available in the coarser grits in black.
This pic also shows the boards on the first floor before any aging. |
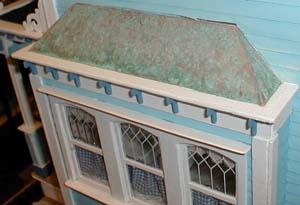 |
No matter what color
we used the patina didn't look right painted on, due mostly to my
painting abilities not the color. We found out that sponging on regular
household bleach onto the copper was a quick way to "age" it to a REAL
patina. This is about 6 applications. |
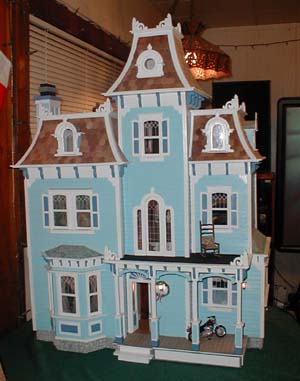 |
The outside of the
house is finished except for the aging of the roof shingles which we'll
do later. The stones are on the foundation and all the lights are on,
though you can only tell it by looking at the two porch lamps. We still
have quite a bit of stuff to do on the inside, but luckily most of that
is decorating. The bath isn't quite there yet and we don't have
curtains everywhere or we don't like some of the ones we have. And we
do want to add crown molding at some time. I'd also like to do
something inside the tower room at some point though we're not sure
exactly what yet. |
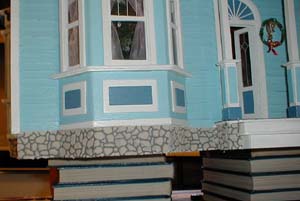 |
We used the "Magic
Stone" system to add the masonry around the foundation with a "medium
gray" background for the grout. Later we sponged on a bit of some more
shades of gray and brownish washes to give the stones a more natural
look. You can see the Christmas tree and wreath are still up. |
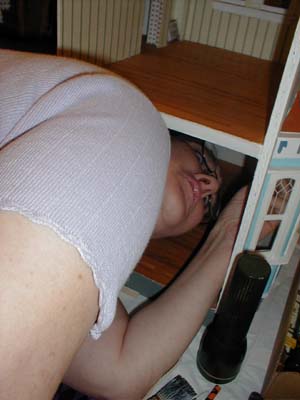 |
Here's Mel practically
standing on her head trying to figure out how to get the curtains hung
in one of the bay windows. We has purposely waited to install the bay
window trim until after the curtains were in. We found that bending a
curtain "rod" (aluminum tube) in two places and using one rod for all
three windows was easiest to work with. |
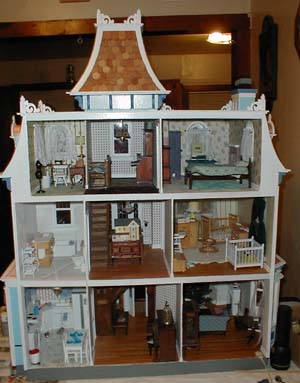 |
This is a view of the
house from the back. This isn't our final decorating scheme, just
tossing in whatever pieces we had handy to get an idea how things will
work out. At this point, Mel is working on more curtains and Darrell is
designing a cabinet that will be built in for the bath room. We
eventually want to put crown molding in the rooms but don't have any.
And of course the walls need pictures, mirrors and all the other little
touches that make a house a home. |
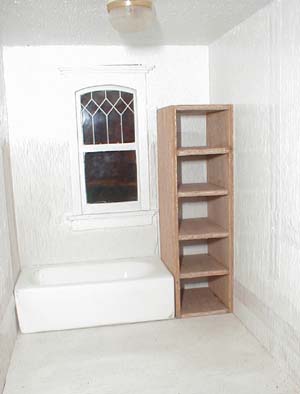 |
Bathroom cabinet has
been made.
It was constructed from scrap pieces from the house kit (mostly window
punchouts). It will eventually be
an enclosed tub with sliding glass doors. Later we added two pieces to
the top that match the overall "trim" around the houses windows, and
such. (see below for those) At this stage you can see some portions of
the tape wiring system though you can see also that under the "stucco"
textured ceiling it doesn't show at all going to the light fixture. |
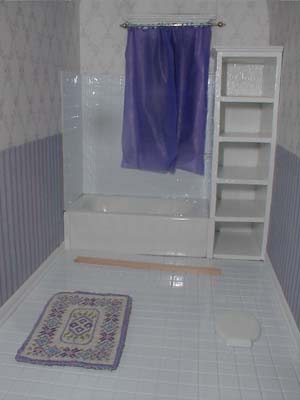 |
The tub and surounding
area (and floor) have
been tiled, These plastic tile sheets were really hard to figure out
how to make them attach and stay put. What finally worked was plastic
"model" cement to glue the tile to a sheet of construction paper or
thin card stock and then regular glue to the back of the card stock to
attach to the walls or floors. Curtain is real "plastic" from a "dollar
store table cloth". Baseboards and tub trim (to hide gaps) were added.
Melissa did the bath mat on 40 count silk. And will make a matching rug
for the toilet. Here you can also see the two sections I added on top
of the built-in cabinet to match trim scheme of the rest of the house. |
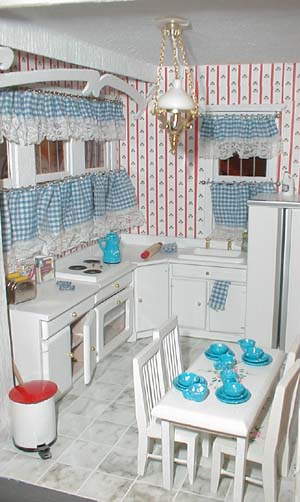 |
This is pretty much
the kitchen. The crooked bay trim piece isn't glued in because we plan
to install some "recessed" lighting up there. This is one of the rooms
we used regular dollhouse flooring. This is the "white marble" style.
Melissa made the cafe curtains including sewing on all those individual
jump rings and the lacing on the edge. Again on the three window side
we have only a single rod crossing all three windows. She also made the
mop (pictured on another page here) and the pot holders and dish towels. |
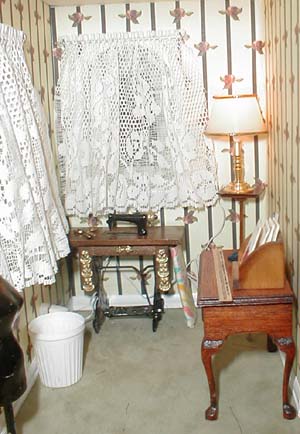 |
The little room over
on the edge on the third floor was turned into a sewing room. I need to
put a socket over on the side of the room with the lamp so we don't
have to run the cord around to the other side but I'm out of those. And
it just doesn't look right up there on the antique candle stand. We
plan to make a better sewing machine but for now we've got this little
cheap one. And Mel is thinking she needs a serger too. The waste paper
basket is a trimmed up "coffee creamer" container courtesy of Denny's
Restaurant. |
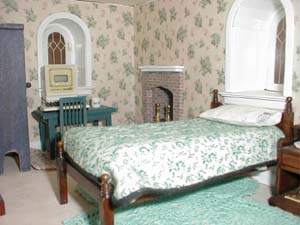 |
Third floor bedroom.
You can tell the lil people are just moving in. (no curtains or pics on
walls) but my computer is up with the coffee cup (personalized with my
name) next to it. We didn't
add the trim around the fireplace. We put paper printed bricks inside,
and on bottom of it and covered a piece of cardboard to glue on front
to bring it out some from the wall. Notice brick edges. |
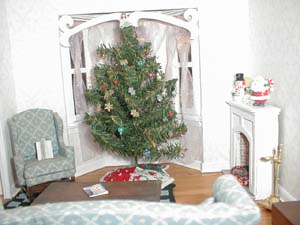 |
Bricks were put inside
this
fireplace too. Mel made the tree, it's decorations, (with angel) and
the skirting. I made the sofa, chair, and books. We still haven't
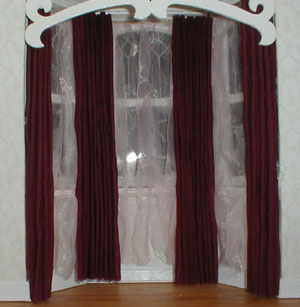
"shaped" the curtains yet, and there's no crown molding in any room
yet. Installing base board in the bays was challenging until I figured
out I only needed 45 degree angles. |
 |
|
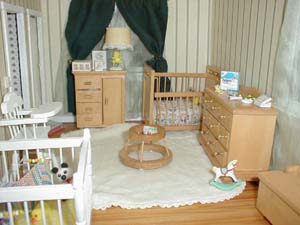 |
We aren't sure what
this room will eventually become. For now it's a nursery. Mel's using a
light green sheer back curtain and a heavier forest green drapery over
it. She made the lamp, stuffed animals, rattle, teething ring, and
blankets, mattress, diapers. The boxed items are folded together
printies. The rug is a real baby washcloth. |
 |
|
