
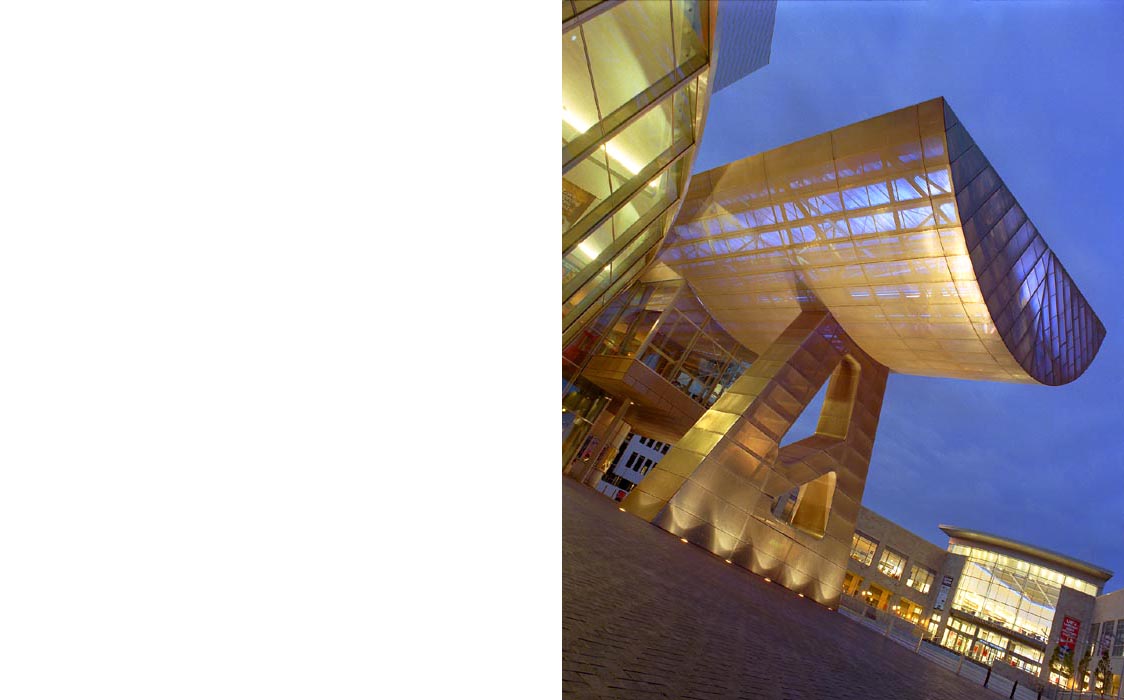
Open the file lowryview3.jpg from your tutorial images folder found on your disc.
Click on Image > image size. From the dialogue box, note the image size and resolution. The width in pixels is 562. The height is 700 and the resolution is 72 pixels per inch (ppi). Click OK.
Open a new file (File > New). Set the width in pixels as 1124, set the
height as 700 pixels and the resolution as 72 ppi. Click OK. You now have an
empty new file. You now have two files open on your screen. 
Click with the mouse inside the lowryview3.jpg file to activate it. Select the Move tool from the tools palette. Click inside the image and drag it into the new file you just opened. Place it on the right of your new file. Use the move tool to align it perfectly.
Notice you now have a new layer in your layers palette.
Click back inside lowryview3.jpg to activate it. Go to: Image > Rotate
canvas > Flip canvas Horizontal. Notice how the image has changed.  Now, make
sure the move tool is still selected then click and drag this image into your
new file. Line it up perfectly on the left with it's mirror image. If you sized
your new file correctly, it should fit perfectly. Check out your layers palette
now.
Now, make
sure the move tool is still selected then click and drag this image into your
new file. Line it up perfectly on the left with it's mirror image. If you sized
your new file correctly, it should fit perfectly. Check out your layers palette
now.

Minimize Photoshop. From the TUTORIAL IMAGES page at http://www.geocities.com/darkroom_genie download the image Lowry flood layer. (Right click on the image > save picture as. From the dialogue box that pops up, keep the file name as it is and save the picture to a folder on your computer. Your computer may default to "My Pictures". This is OK).
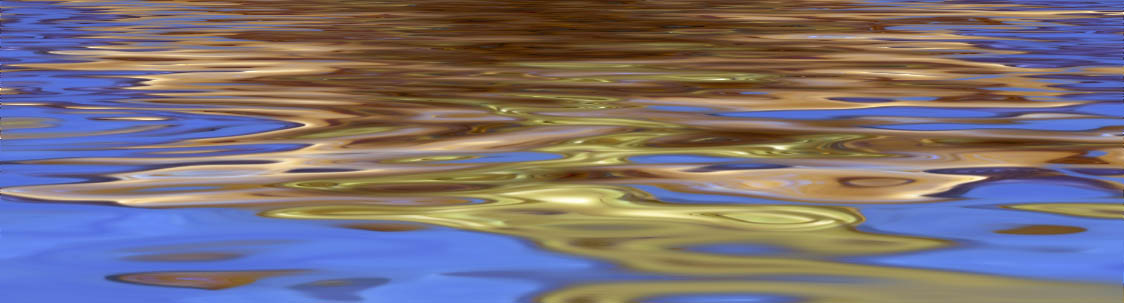
Maximize Photoshop and open the image file you just downloaded from the web site (the flood effect). Once again, with the move tool, drag it into your new file and position it at the bottom. How many layers are now in the layers palette?

Click File > Close. Click "Yes" to save the changes at the prompt. Choose a name for your file and save it as a TIFF. This will preserve the layers.