1. 2. 3.
100% Opacity / 100% Density 40% Opacity / 100% Density 40% Opacity/ 22% Density

We can change these settings as necessary to get the effect
we want.
|
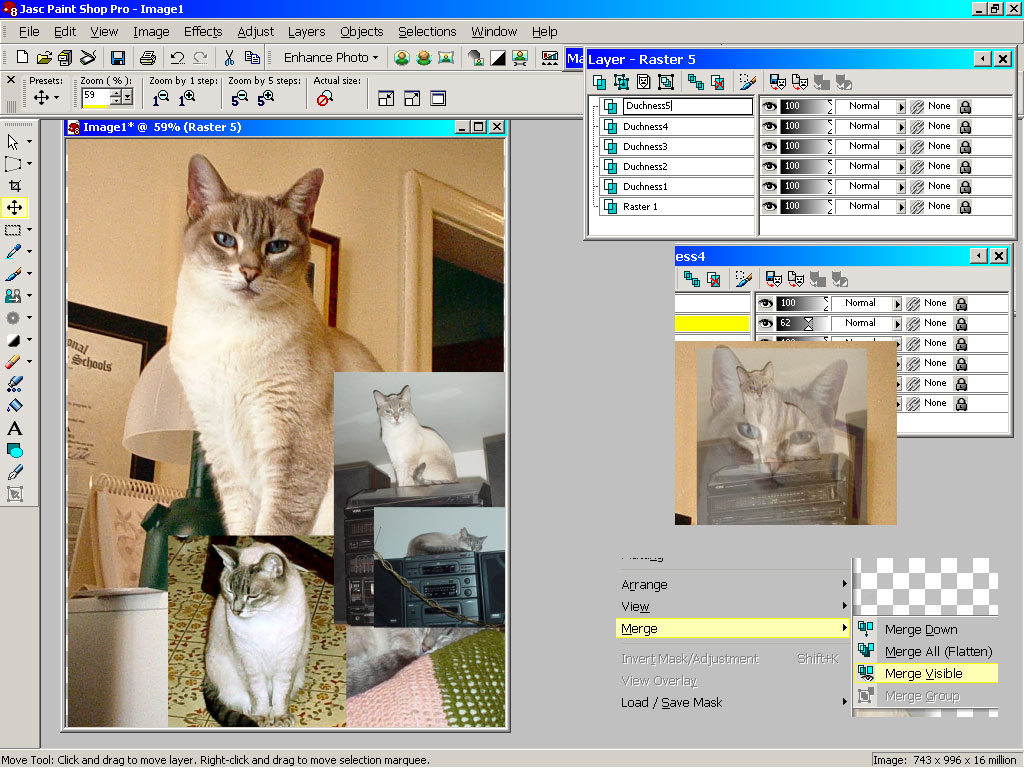
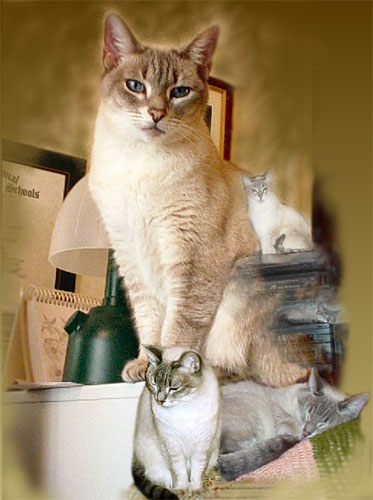
| In the screen shot above I show a number of things, first I have assembled a group of photos of my cat Duchess, to the right I show various aspects of the layers palette and one clip from the layers menu. First note I have named my layers so that I can keep track of my layers. Notice the parts of the layers palette. The eye makes visible or invisible the layer it is next to. Next we have the transparency sliders, and in the clip below the first layers palette you can see what happens when I selected Duchess 4 layer and moved the slider to 62 %. Once you have your photos arranged and erased or cutout as you want, you can close the eye of any layer you don't want to merge and then "Merge Visible", this will leave the blind layer this open from the others. |
|
1. 2. 3. 100% Opacity / 100% Density 40% Opacity / 100% Density 40% Opacity/ 22% Density
We can change these settings as necessary to get the effect
we want.
|
| Since I had a transparent canvas I decided to use a gradient as my background, I chose Coffee Cream because it blends best with my main Cat image. |
| . |
| I haven't showed the in between steps as I think from the notes above you can see what I have done useing different setting of the eraser I removed the parts of the photo I didn't want. When I had the layers as I wanted I merged only the photo layers, so that I could then blend the edges of that layer using the eraser and smudge and soft tools. the big temptation is to play with it forever, so when you think you are almost done quit and come back later, also save at various stages, with its own name, so that when you do come back later and find you have over worked an area you can go back to an earlier version and leave out the steps that caused your image to become over worked the other reason for saving often is there is alwys the chance of computer failure for a million reasons. |