| The Battle Room | ||||||||||||||
| -Back to the main page | ||||||||||||||
| This image was created outside of the byond environment. It will look very similar to this with the exception that the tiles are smaller and the text of Party Status and Enemy Status will be on a selection menu. Check out byond to get a firm grasp on this. As for the notifications at the bottom of what is happening, that will appear on the right side. Regardless, you get an idea of the battlefield situation. It displays each character's portrait and direction, and, in the byond format, a bunch of overlays signifying colour and the like. There will also be very involved sound effects that I have managed to find over the months of preparation for release. Enjoy the view. You may be right in the thick of it some day. | ||||||||||||||
![]() |
||||||||||||||
| Turn 1 - Wylar moved from H-5 to F-7. - Dagolar moved from H-3 to F-5. - G.Centipede 1 moved from A-2 to A-4. - G.Centipede 2 moved from B-1 to C-2. |
Turn 2 - G.Centipede 3 moved from A-7 to B-5. - Wylar moved from F-7 to C-5 and attacked G.Centipede 3, hitting for 3 damage. - Dagolar moved from F-5 to F-4. - G.Centipede 2 moved from C-2 to F-3 and attacked Dagolar, hitting for 2 damage. (Dagolar: 8 / 10) -G. Centipede 4 moved from D-1 to C-4. |
Turn 3 - Wylar attacked G.Centipede 4 but the attack was blocked. - 
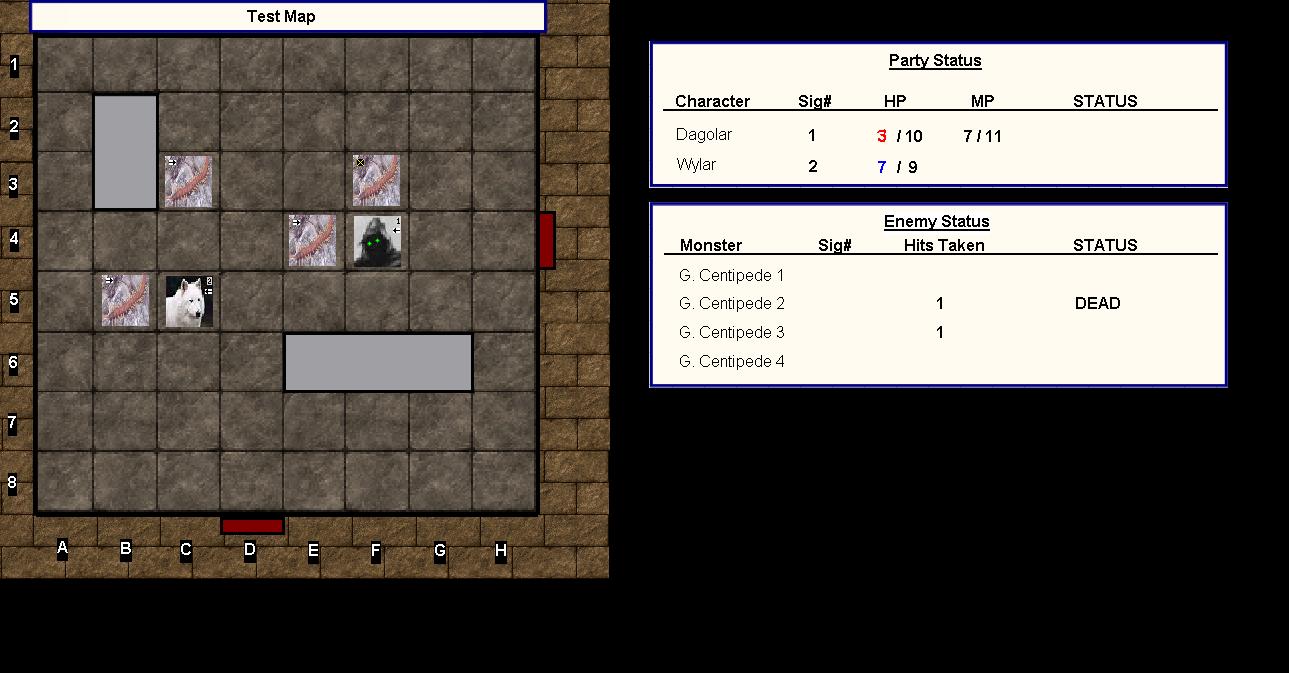
Dagolar cast cold snap 1 on G.Centipede 2, dealing 5 cold damage. G.Centipede 2 was killed. - G. Centipede 3 attacked Wylar, hitting for 2 damage. (Wylar: 7 / 9) - G. Centipede 4 moved from C-4 to E-4 and attacked Dagolar, dealing a CRITICAL HIT for 5 damage. (Dagolar: 3 / 10 *danger*) - G. Centipede 1 moved from A-4 to C-3. |
||||||||||||