Page 3
Starting the wings
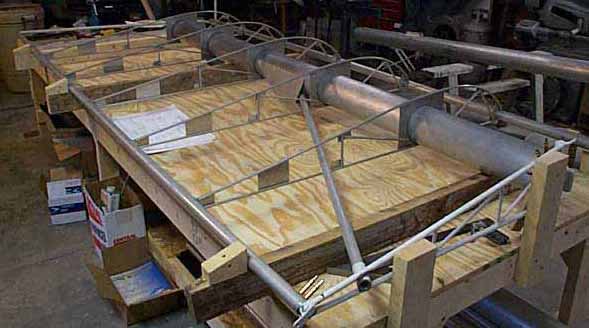
Here you can see the wing layout. Pretty simply really, just slip the ribs over the 5 inch spar. getting them level is the important part. Notice the 2x4's running chord wise. This is so you can shim front to back and get them level. I used 2, and cut blocks for each end to hold the width consistent. This way the whole thing can be assembled before drilling the first hole. In the top pic you see the inner steel rib clamped to 2 uprights at the end of the table. This is the starting point, and square everything to this inner rib. Drill here first and install clecos and you can then move the wing spars around to get em square.
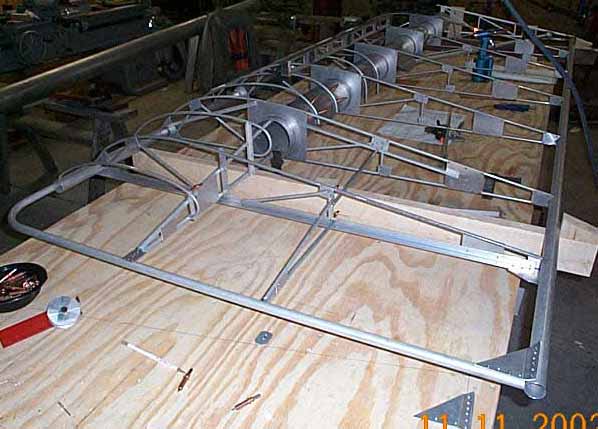
IN the second pic, viewed from the wingtip, you can see the extra aluminum angle braces called for and about half the false ribs in place. The main rib spacing is 19 inches, and there was 23 inches of bow-tip. The end rib here was just a false rib (half rib), and I elected to change it into a full rib for more support on the trailing edge for aileron hinge and added a extra horizontal "V" brace to the bow. This will also help hold the airfoil shape much better at the lower and outer trailing edge area of the wing.
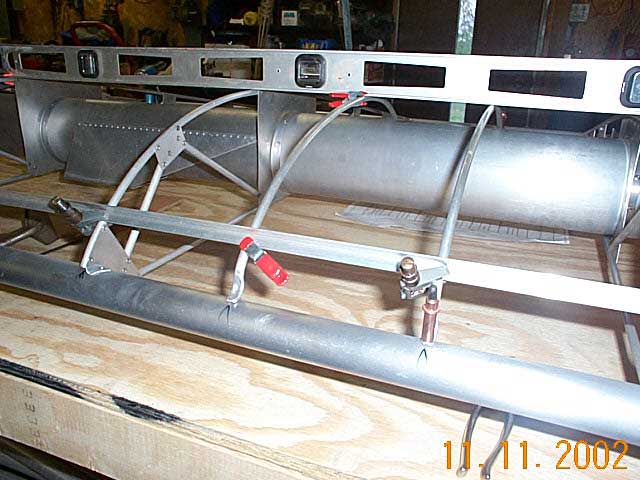
Above you see my method of aligning the false ribs with the main ribs. Just a couple of straight edges, one clamped on the leading edge and one on the top. Clamp the false rib to the straight edges and then you can bend and form the false rib so it will fit.
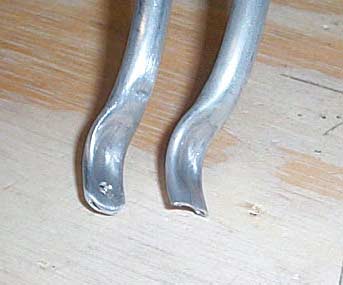
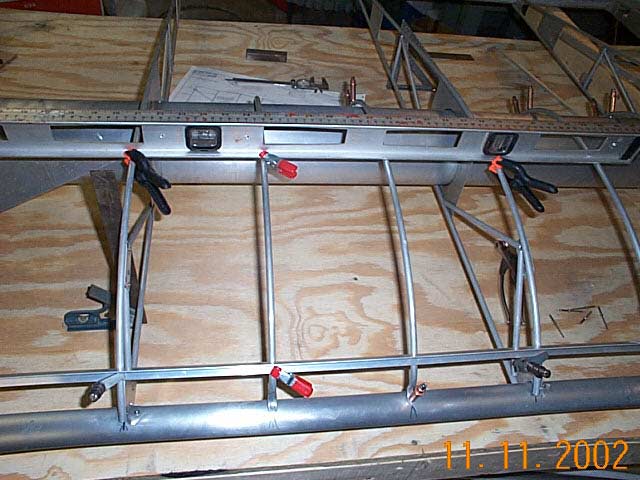
On the right is a false rib "as supplied". For goodness sake don't install it without dressing it as I have the one on the left !

Here is a drill guide I made many years ago. It sure is coming in handy on this project! I use it for drilling ALL the 5/16th tubing. If you are building a Kolb, or any other project that uses small tubing, I wouldn't even considering doing without this.
For you who a wondering about the time involved, from the day of these pics (11/11/02) it has been about 6 weeks since I brought this project home. I would have certainly been much farther along if I didn't have to strip the cage and re-prime, and re-build the empennage. I spent an awful lot of labor going backwards in the 1st 30 days. Never the less, The kit seems very straight forward and well organized, and I am very happy with the progress I have made, working only on weekends, and a just few evenings.