Covering the wings pg 8
First you must drill the rib for fabric rivets. A chalk line makes quick work and even rivet lines
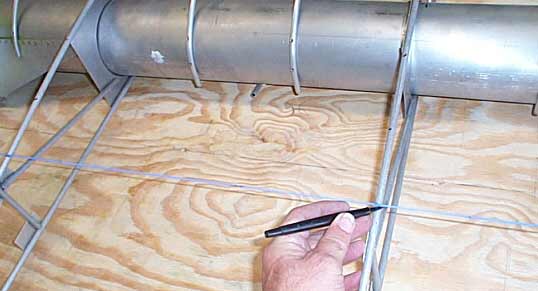
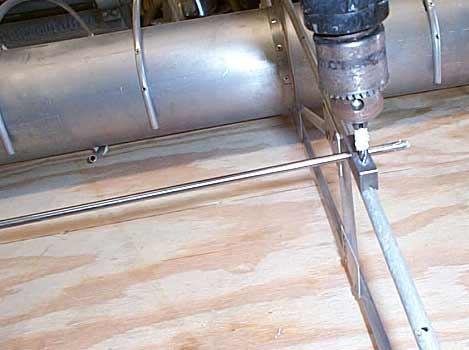
Below is the rib drilling fixture that Jim an Dondi Miller sell. Works like a champ. The round rod rests on the adjacent rib to help keep vertical alignment. Using this little jewel I never drilled a misaligned hole.
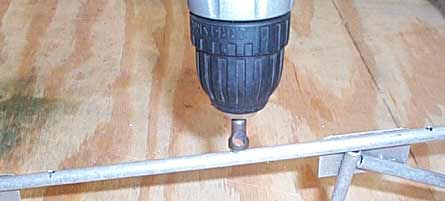
Next chamfer the holes just a tad
Now clean it up so it is smooth and so the polybrush will stick better
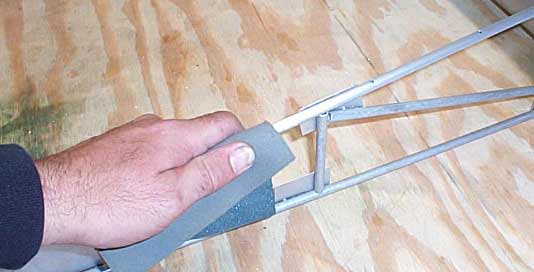
Dont forget the antichafe tape.
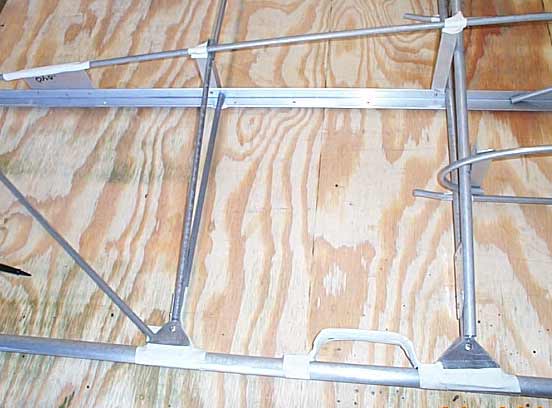
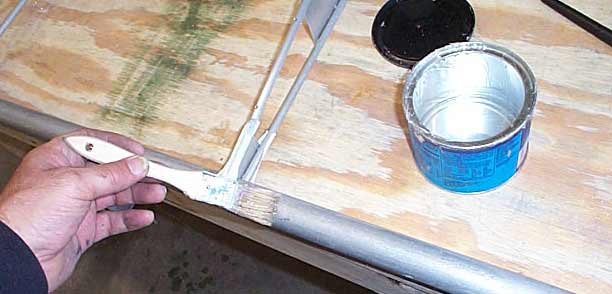
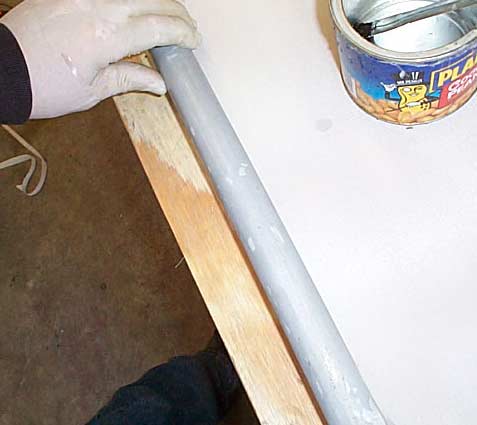
Apply Poly-TAK glue to the perimeter tubing and let dry.
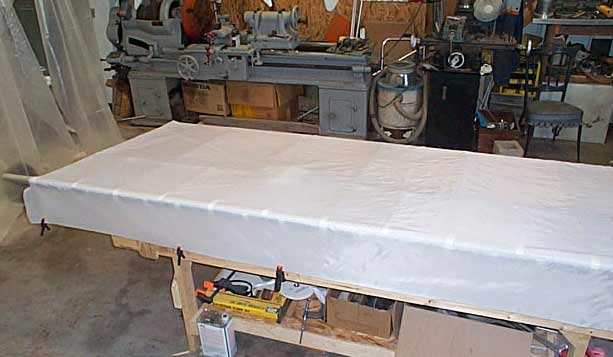
Now cut a piece of fabric and drape it over the wing. Bottom side first. I used some clamps on the skirt for a little weight.
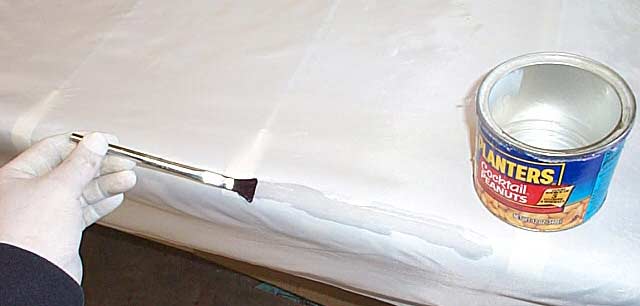
Below I am using MEK thinner to attach the fabric to the underlying coat of Polytak. Use you finger and rub it in for a good bite. I am using LATEX gloves here. Vinyl gloves will melt in the components of the Poly-Fiber system
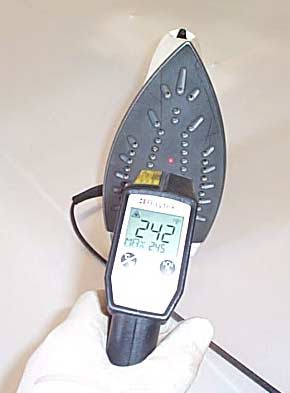
Now calibrate your Iron, and flip the wing over and do the first shrink.
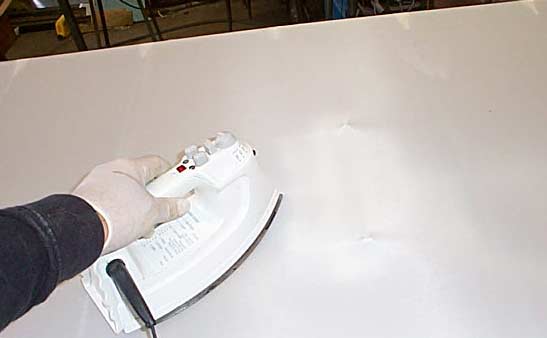
OK, if it all looks good, then flip it back over again and trim and roll the fabric around the tub and finish gluing. Here is where you can smooth out all the wrinkles using MEK to melt the bond a little and then iron the bubbles out. Use those LATEX gloves and rub the fabric to get the glue to come thru.
Next, flip it over and repeat the process for the top covering. This time, trim so you will have at least a 2 inch overlap of fabric to fabric contact and all the exposed seams will be on the bottom of the wing. When you are done then do the final shrink at 350 deg. Brush on the first coat of Polybrush and apply rib lace re-enforcement and melt the hole for the rivets with a soldering iron right into the underlying rivet holes. Rivet down the fabric, Then Apply tapes. The Poly-Fiber manual will instruct you one all this and If you have any questions, Jim Miller at Aircraft technical support can help you along.
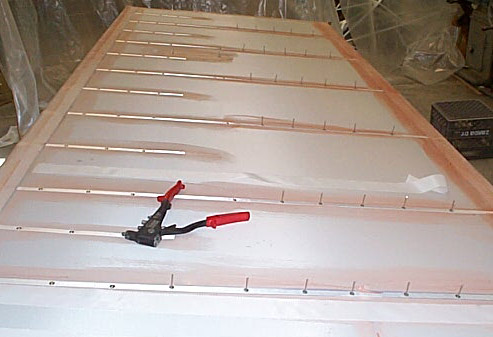
Here is the bottom side with Polyester re-enforcing tapes in place and rivets inserted thru. I Used a hand rivet puller here because the Special Fabric rivets were a tad too long to seat the flange before being pulled. With a hand puller, I could squeeze slow and effectively shorten the length of the rivet before setting, that way the large flange would sit down flush on the surface. An air powered gun would set the rivet to fast and they would not be down flush.
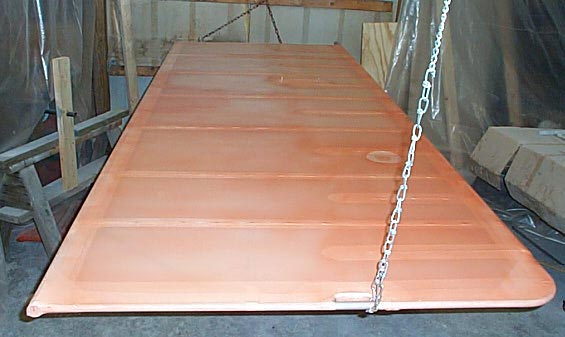
And here is my hi-tech NASA approved wing turning jig! A couple of chains from the rafters worked real well. This wing is ready for the 1st color coat.
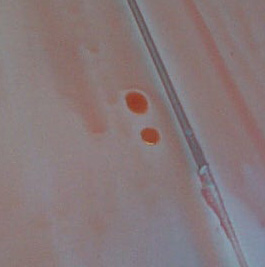
Here is a short pitch for Poly-Brush! Now below, you see runs in the red-tinted polybrush adhesive...those runs are INSIDE the fabric, and they don't bother anything. the manual says it can be expected in fact as the first coat needs to completely penetrate the fabric weave and some excess will collect inside, and likely run... BUT....you also see a DRIP on the outside. Sloppy me...And I didn't notice it until 2 days after so it was completely dry.
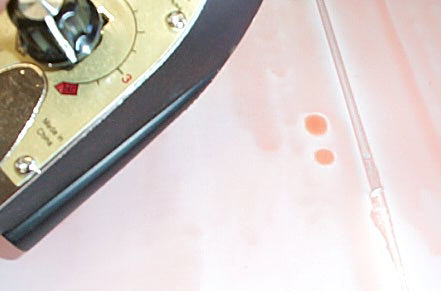
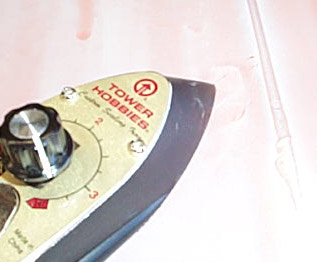
2 ways to fix it... either take MEK and soak it until it is soft and rub it out.....or...heat up the iron and simply melt it in! Any sags, runs, drips or other imperfections that are other than smooth can be taken out this way! This is my favorite trait of poly-brush! just one of many reasons I like this system and not latex or some other way to fill the weave. Poly-brush is also an ADHESIVE---note how the fabric is stuck real well to that rib.
Oh yea!