Modifications
Here are a few changes I have made after logging 42 hours on my little bird from the end of July, until I brought it home for the winter.
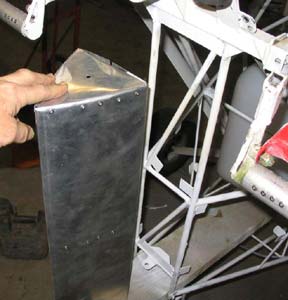
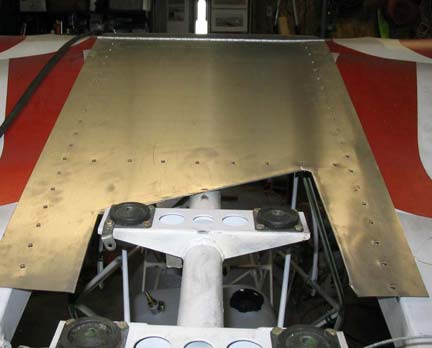
I fabricated an aluminum "Ducktail" faring for the rear of the cage to hopefully smooth out the air into the prop. Note the tabs welded onto the cage to facilitate attachment. Also the tabs you see forward are for attachment of a small cargo area.
One problem I was having was my head hit the underside of the wrap around wing gap cover If I swallowed hard. And headset rubbed about all the time. I needed more headroom. This is the solution I came up with while also providing for a more durable wing gap cover. You cant seen them, but I cut the leading edge tubes off short, and placed nut-plates in the bottom of the tube to attach the leading edge of the cover. Also...you see the Green primer, this is where a couple of tabs were welded to the cage to attach the center of the cover.
shot from the bottom..as you see here I have gained 7 inches of headroom!! edges of wrap will be trimmed even and a rubber seal just like on the windsheild will be used on the edges top and bottom..
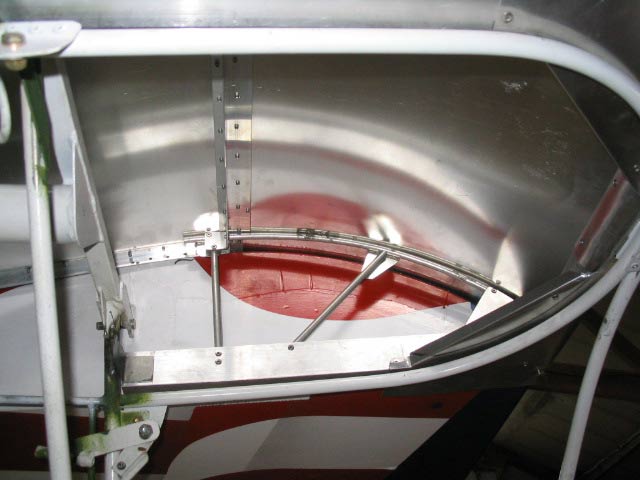
Above, looking from the rear with the hinged section raised, you can see that the leading of the cover is wrapped around a section of wing leading edge tubing to give it the same profile as the wing. In the center is the wrap simply rolled around and fastened with 2 rivets, and the edges cut on an angle and bent up and around a piece of 5/16th tubing (cant see) that attaches from the leading edge tube to the aluminum angles on the side for a little extra stiffness. Just enough clearance is left between this part and the loop of tubing below it to allow the soft enclosure to be slipped between.
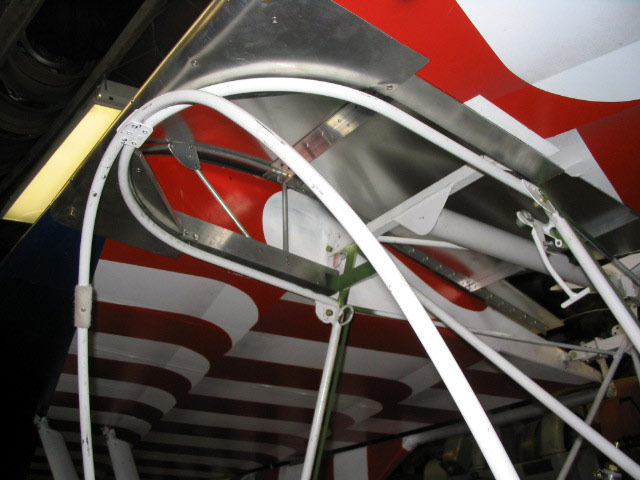
Here is the same view...back a bit, with the hinged section down. A tab on the large cage backbone tube will be welded here to allow attachmen via camlocs right beneath the line of rivets across the cover. IN retrospect, If I would have known more before building the wings and covering them. I would have welded small tabs along the inner steel root-rib to facilitate attaching the cover with Dzus fasteners or Camlocs. It would have been much simpler and required less structure, therefore less weight.
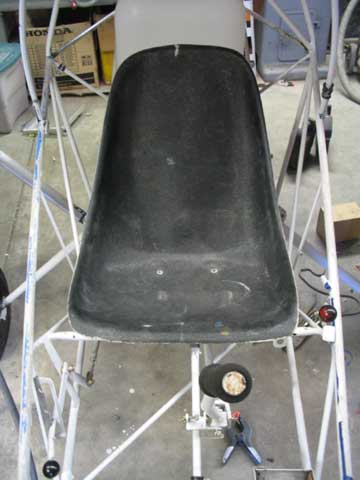
Here is a seat from Mark Smith...the Quicksilver parts guy, slightly trimmed around the edges for clearance, and below..the tabs welded to the cage to attach it. And an support for the back welded to the sides of the cage, with the 2 tabs in the middle.
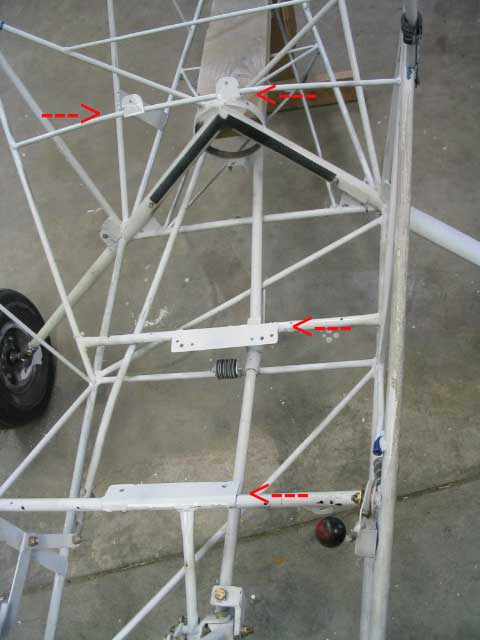
these are tabs welded in to attach the fiberglass seat..the extra holes in the bottom tab are..uh...well...to lighten it up!(grin)
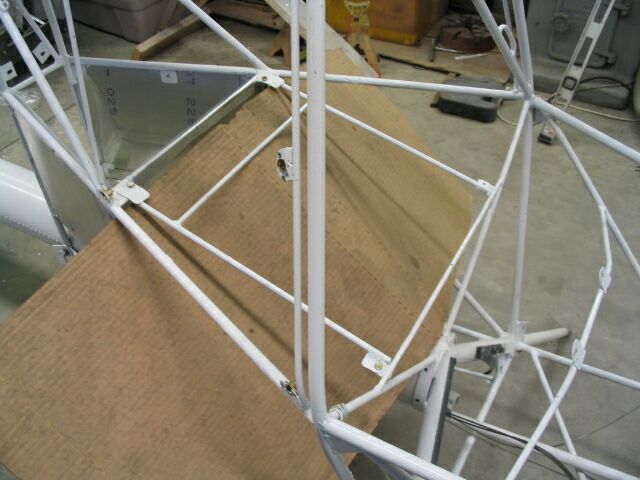
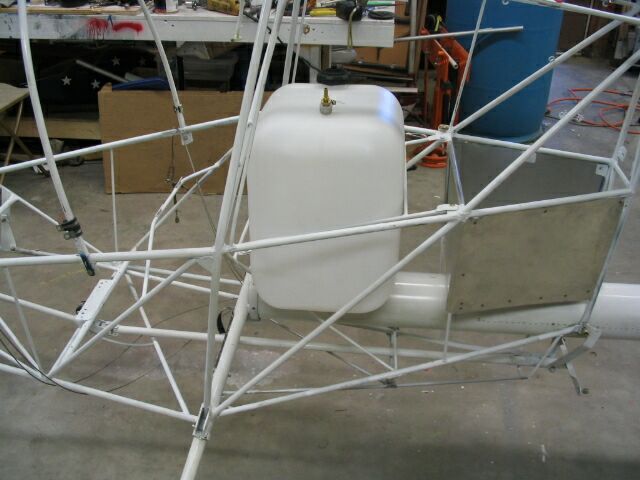
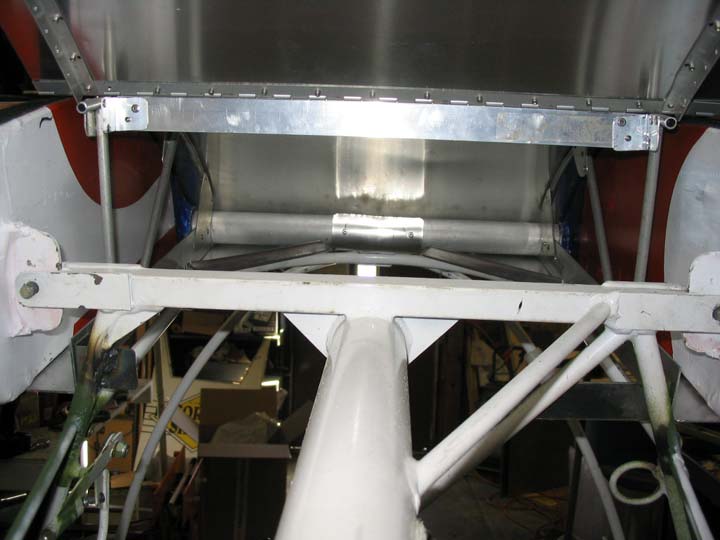
Tank and bracket in place. The aluminum cargo stowage is in the rear of the cage area.
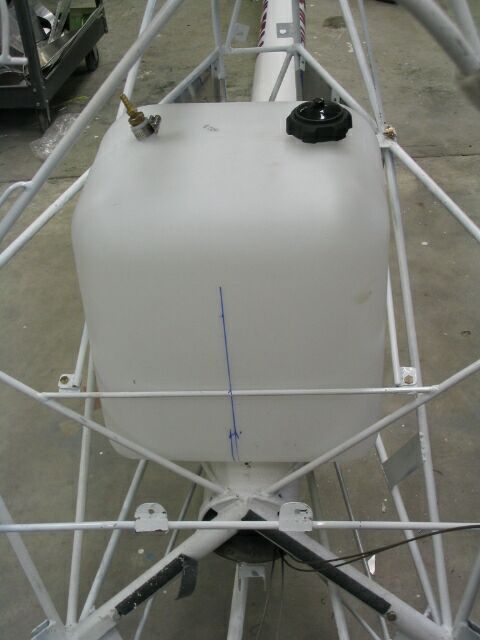
This is a 10 gal tank from Quad city Challenger. I made the bracket around it from .250 X .028 chromemoly tubing and welded tabs to the cage and to the bracket to enable removal. This way, a smaller bracket can be fabricated to match the 5 gallon tank if it ever needs to go back in.