|
|
|
|
|
|
|
|
|
|
|
|
|
|
|
|
|
|
|
|
|
|
|
|
|
|
|
|
|
|
|
|
|
|
|
|
|
|
|
|
|
|
|
|
|
|
|
|
|
|
|
|
|
|
|
|
|
|
|
|
|
|
|
|
|
|
|
|
|
|
|
|
|
|
|
|
|
|
|
|
|
|
|
|
|
|
|
|
|
|
|
|
|
|
|
|
|
|
|
|
|
|
|
|
|
|
|
|
|
|
|
|
|
|
|
|
|
|
|
|
|
|
|
|
|
|
|
|
|
|
|
|
|
|
|
|
|
|
|
|
|
|
|
|
|
|
|
|
|
|
|
|
|
|
|
|
|
|
|
|
|
|
|
|
|
|
|
|
|
|
|
|
|
|
|
|
|
|
|
|
|
|
|
|
|
|
|
|
|
|
|
|
|
|
|
|
|
|
|
|
|
|
 |
|
|
|
My Installs |
|
|
|
|
|
 |
|
|
|
THE STYLE
is most important!!!! |
|
|
|
|
|
A few random installs...... |
|
|
|
 |
|
|
|
 |
|
|
 |
|
|
|
|
|
|
|
|
|
|
Tim's sounds. A pretty simple install of a couple of amps, a processor, a tape player, MD changer and a CD changer. And actually, some splits and a sub too! :D |
|
|
|
 |
|
|
 |
|
|
|
|
|
 |
|
|
|
|
|
|
|
|
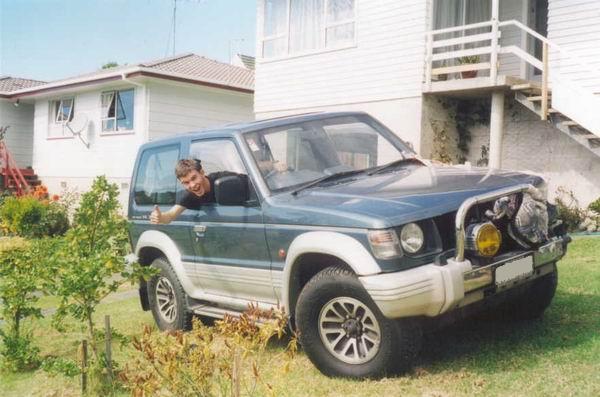
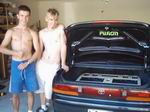
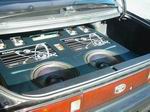
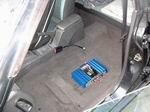
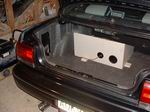
An install I did for a guy called Nadir - a good friend of my neighbour's. CD player, two amps, a pair of splits and a pair of 6.5"s for rear panels. ALso - a sub, and later a box as well. Pajero's are COOL!!!!! :D |
|
|
|
 |
|
|
|
 |
|
|
|
|
 |
|
|
|
|
|
 |
|
|
|
|
|
|
|
|
|
|
|
 |
|
|
|
|
|
 |
|
|
|
|
|
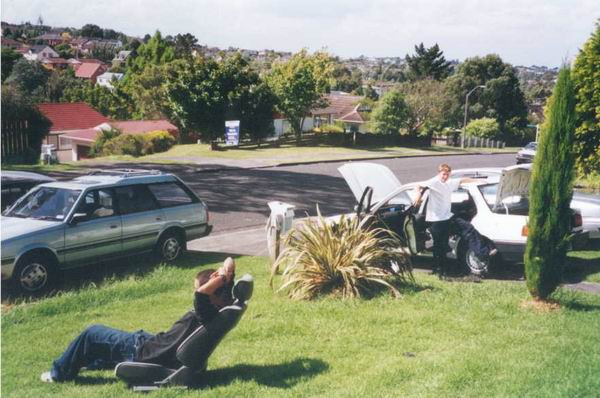
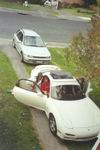
| My very own install, in the absolutely wicked Subaru Leone station wagon! |
|
|
 |
|
|
 |
|
|
|
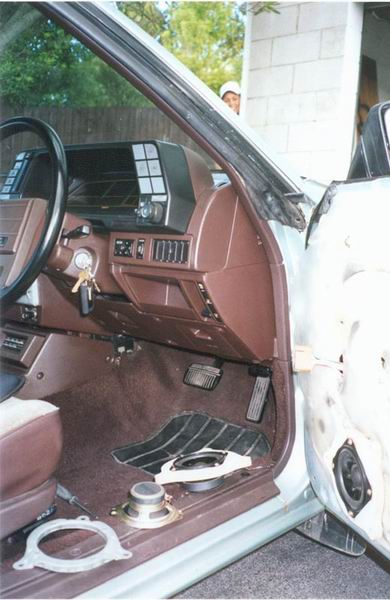
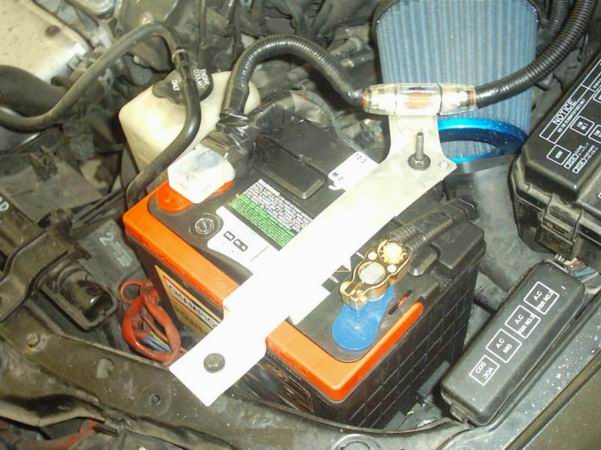
The first part was upgrading the factory battery clamps and wiring. Soon after, I made baffles to fit in 4" Fusion components instead of factory speakers |
|
|
|
|
 |
|
|
|
|
|
 |
|
|
|
|
|
|
|
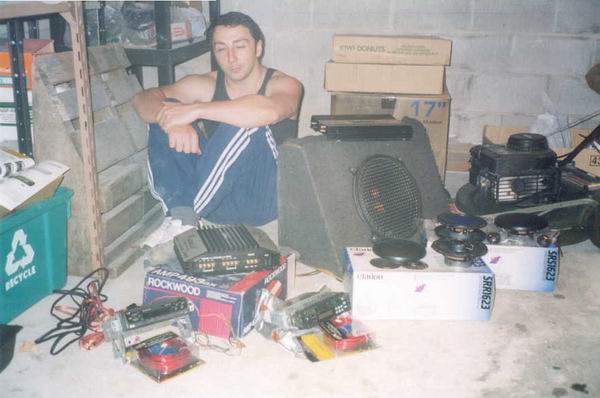
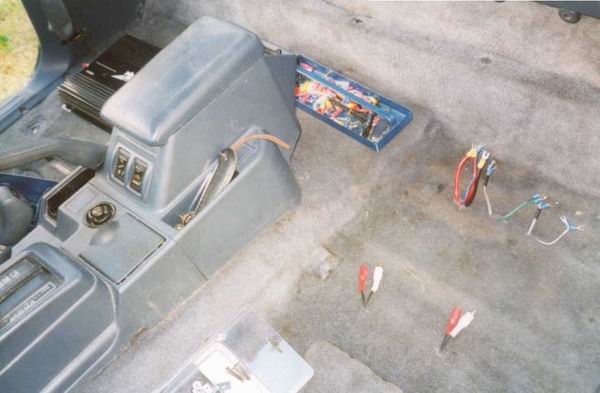
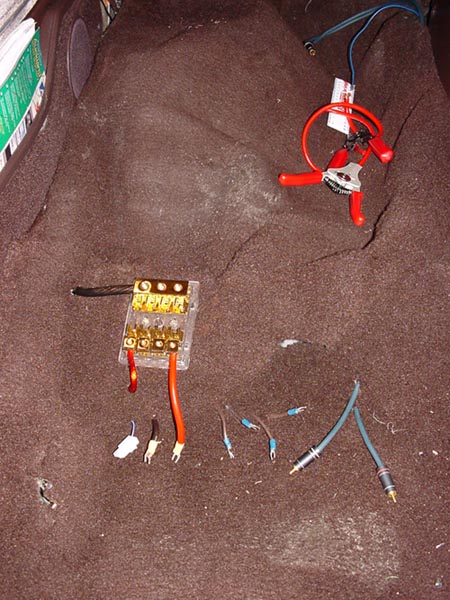
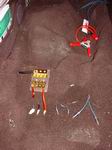
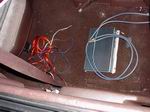
Before installing for good, I played around a bit with combinations of how things go together. Here's some dodgy as wiring to run two amps and a cap. |
|
|
|
|
|
|
|
|
|
|
|
|
|
|
|
|
|
|
|
 |
|
|
|
 |
|
 |
|
|
|
|
|
 |
|
|
|
|
|
|
|
|
|
|
|
|
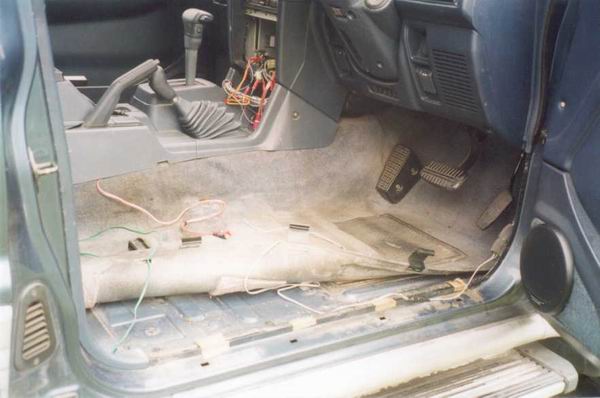
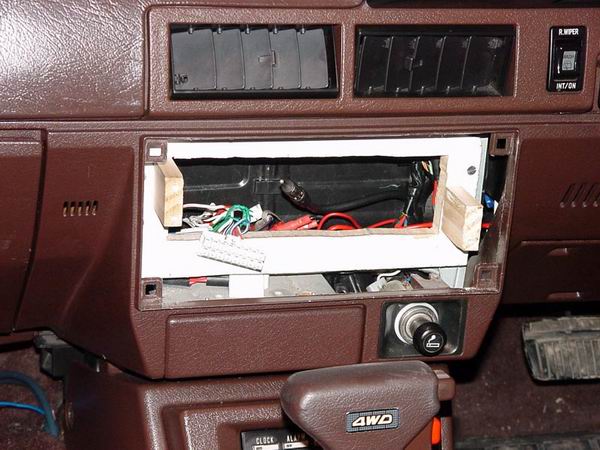
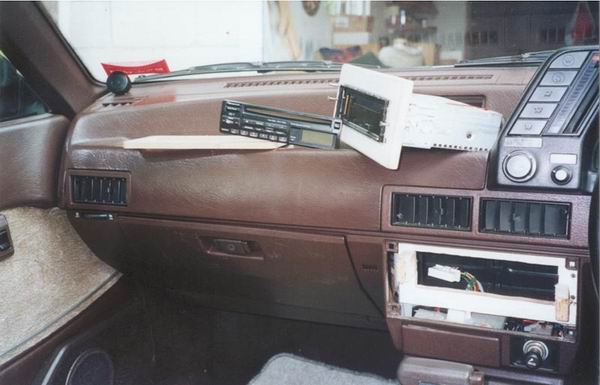
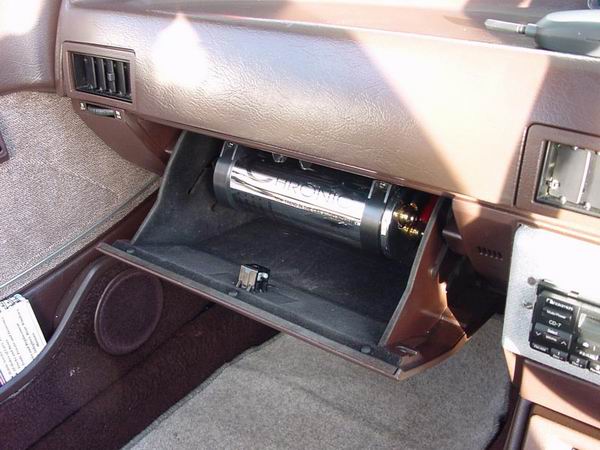
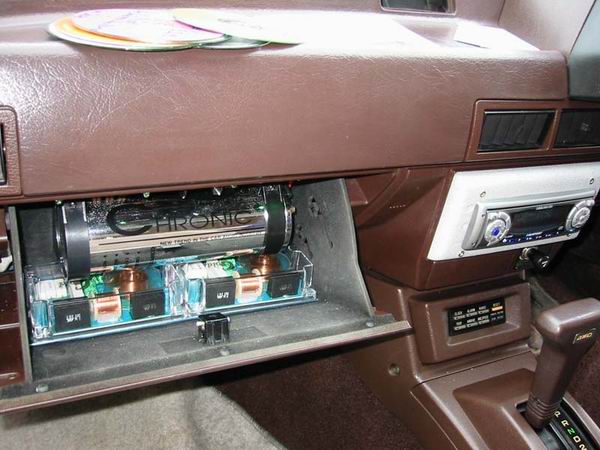
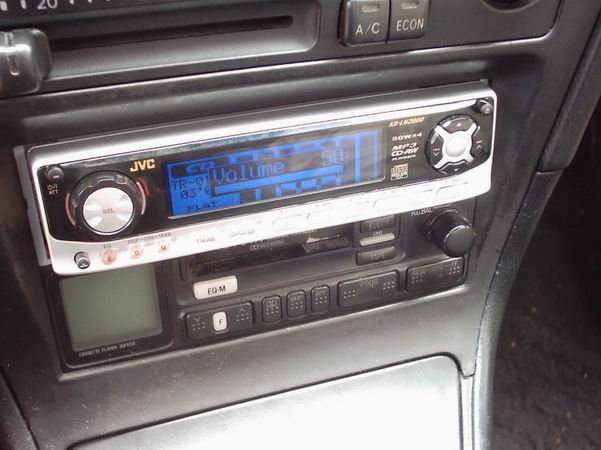
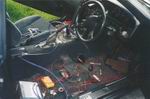
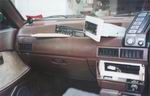
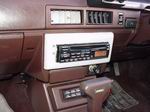
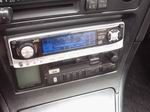
The dashboard had to be HIGHLY modified in order to fit in a standard sized CD player. The unit I originally had was a Nakamichi CD7, which I got as a present. Very good unit. The capacitor was fitted into the glove compartment for security reasons - I wanted to have a fully discreet system. |
|
|
 |
|
|
 |
|
 |
|
|
 |
|
|
|
|
|
|
|
 |
|
|
|
|
|
|
|
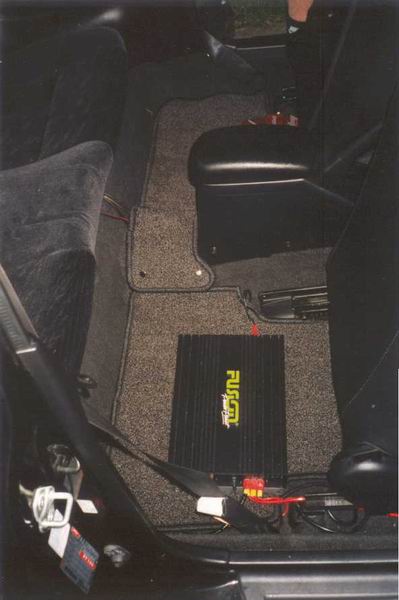
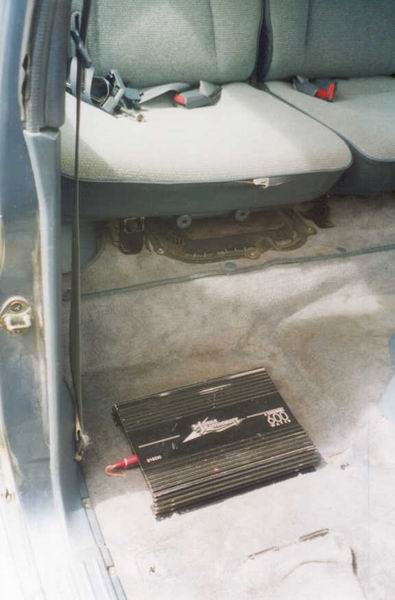
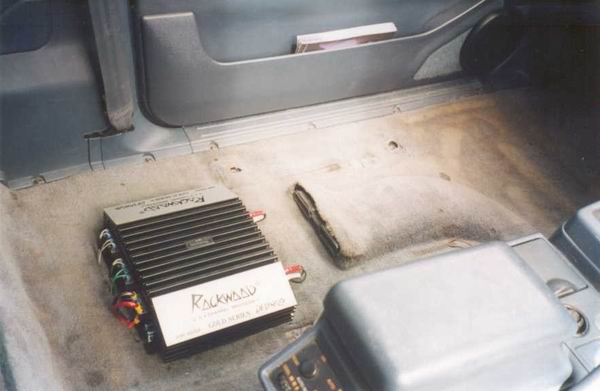
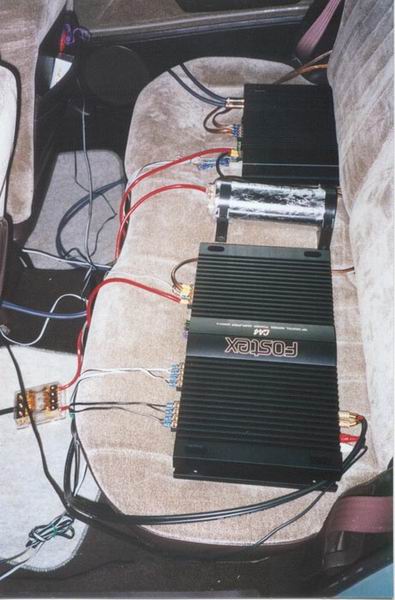
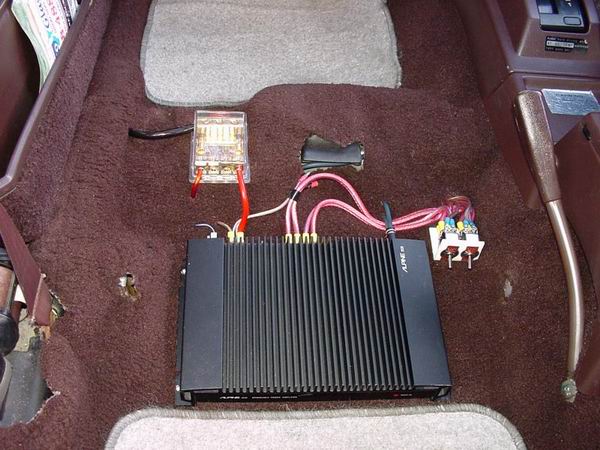
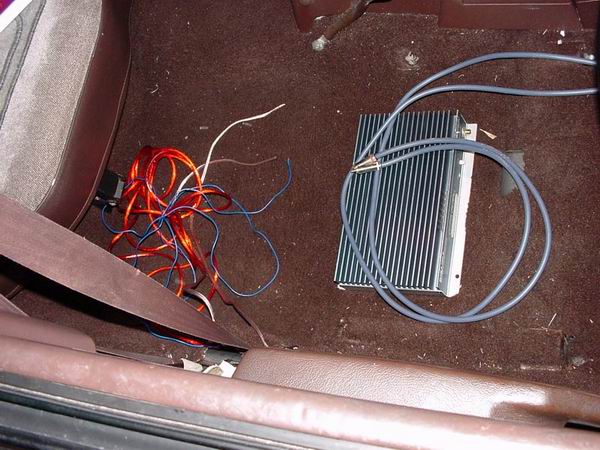
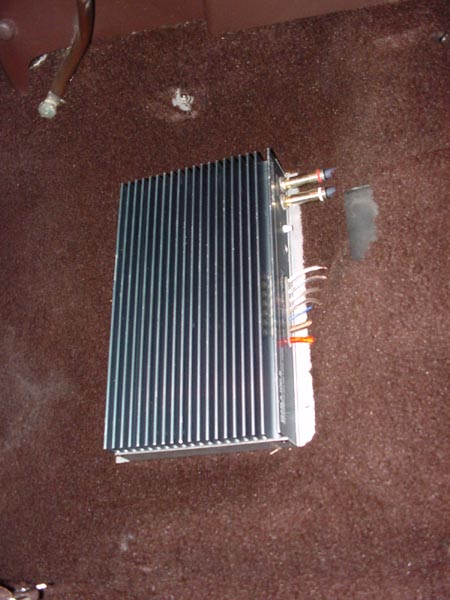
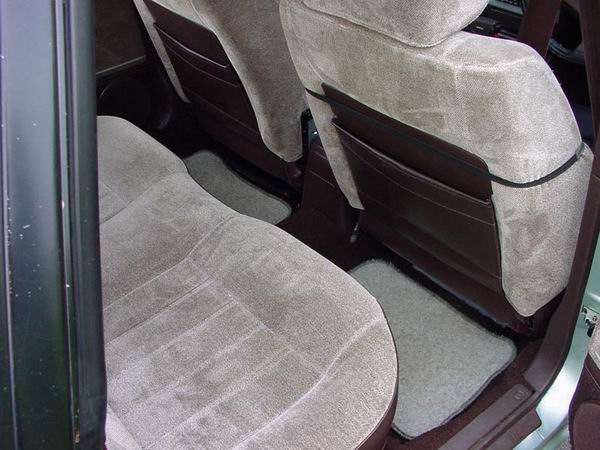
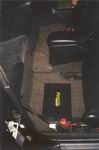
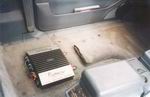
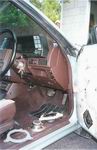
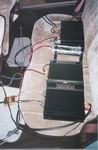
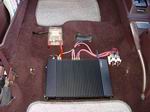
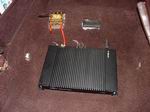
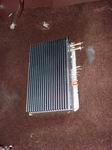
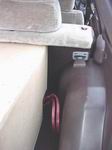
The seats got kicked out while I was fitting an old-as Alpine 3539 amp under the passenger seat for the subs and the Soundstream A100 2 channel pure class A amp for the fronts. The two fitted PERFECTLY, and as the end result, were not visible at all (see pic on right) |
|
|
|
|
 |
|
|
|
|
|
|
|
|
|
|
|
|
|
 |
|
|
|
 |
|
|
|
|
 |
|
|
|
|
|
|
|
|
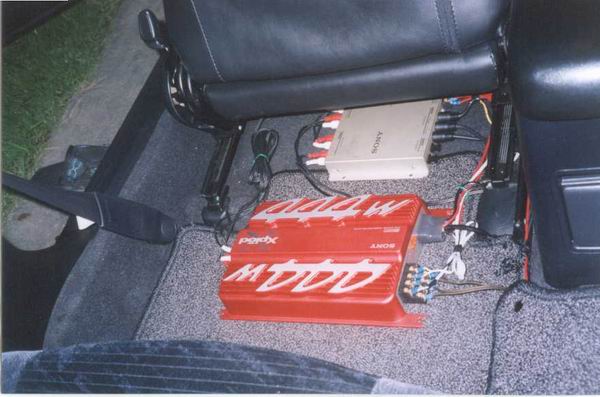
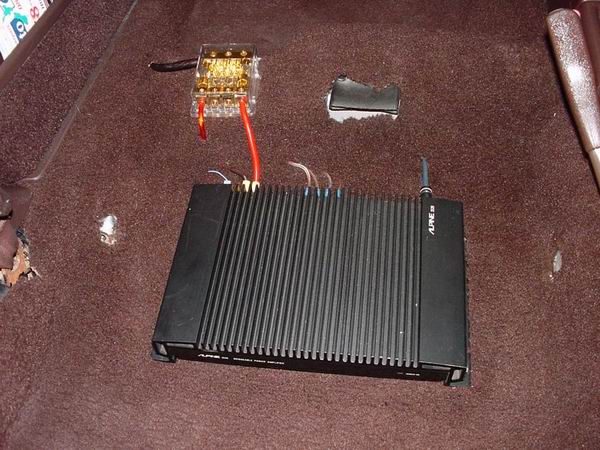
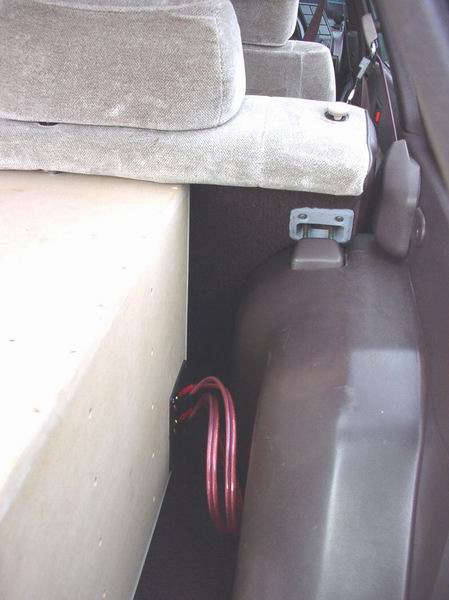
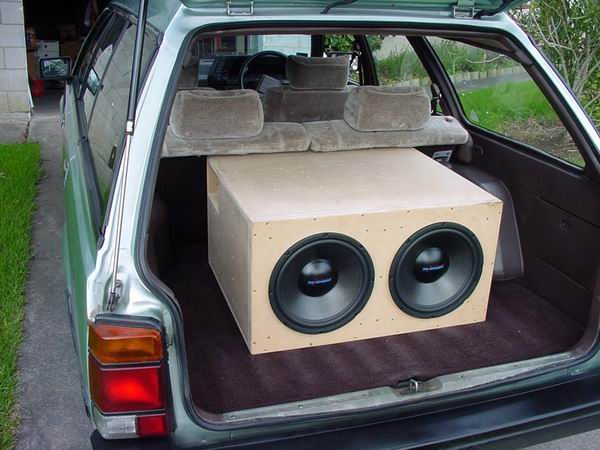
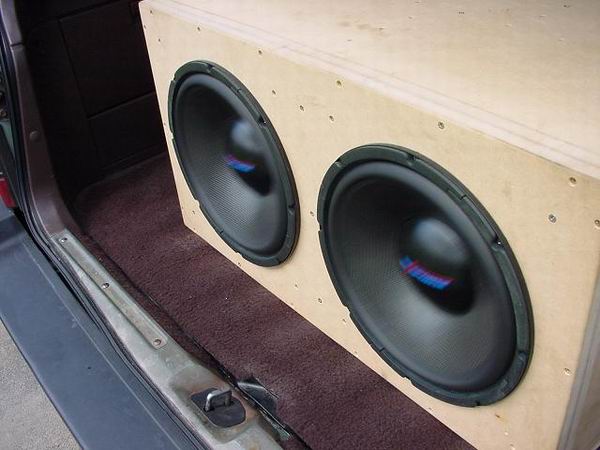
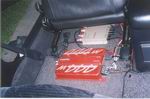
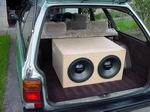
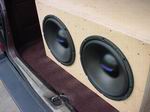
Next to go in were the subs. The box is also in the boxes section if you want to see more of it. The subs could be switched off by a flick of a switch next to the sub amp (the picture above), and instead of the subs, the Alpine amp would run the 6.5"s in the rear doors. This meant, I could remove the box any time, and just hide the wires under the back seat, when the whole boot is needed, or I am going to aplace where I don't want anyone to know that I have sounds. The bass would still be played for the speakers in the rear doors, so it was a VERY handy solution to having non-permanent sounds. |
|
|
|
|
|
 |
|
|
 |
|
 |
|
|
|
|
|
|
|
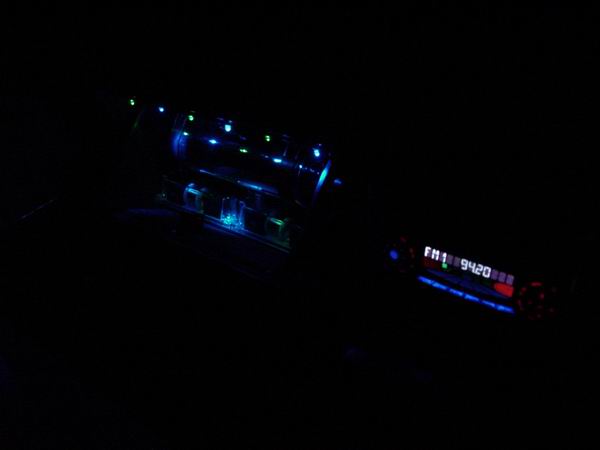
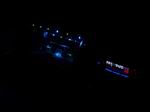
I also went to the car show a few times, and got some people taking pics of my set up, as apparently it was quite cool. Anyway - later on I got myself a Blaupunkt Casablanca CD51 Headunit, which was quite superior to the Nakamichi. That slotted straight in. I also upgraded my front speakers to 5.25" splits, whch came with crossovers. I mounted those crossovers into the glove compartement, and put in 6 LED's, which turned on when the glove compartment was open AND the cd player was on. That REALLY lit up the crossovers and the capacitor, as well as half the cabin! |
|
|
|
Dave's install |
|
|
|
 |
|
|
|
 |
|
 |
|
|
|
 |
|
|
|
|
|
|
|
|
|
|
|
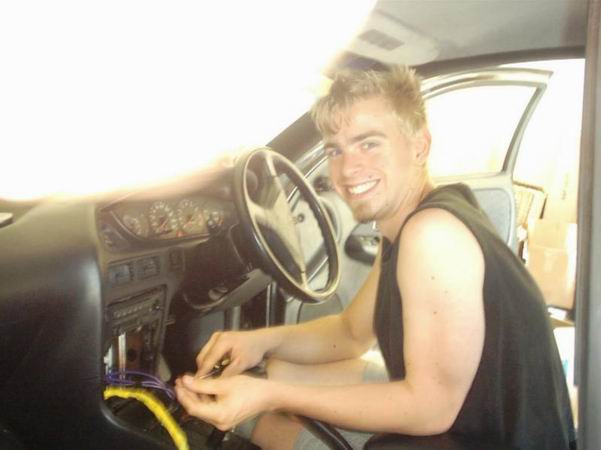
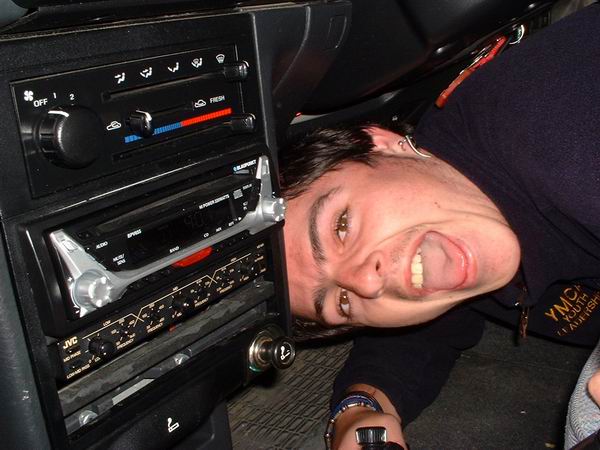
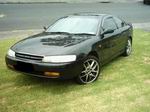
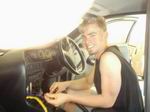
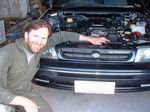
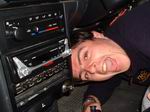
The car, the owner, the Headunit and the battery. Almost sounds like a name for a book! hahaha....hmmm
Actualy, this is Dave - aka. DJ Peroxide. He was in charge of putting in the headunit and in-car wiring. The battery was mainly my job. Had to modify the...almost everything actually. Clamps, Mountings, fuse-holder mountings - we just cut it out of Aluminium sheets to the right shape. |
|
|
|
 |
|
|
 |
|
|
|
 |
|
|
|
|
 |
|
|
|
|
|
|
|
|
|
|
|
|
|
|
|
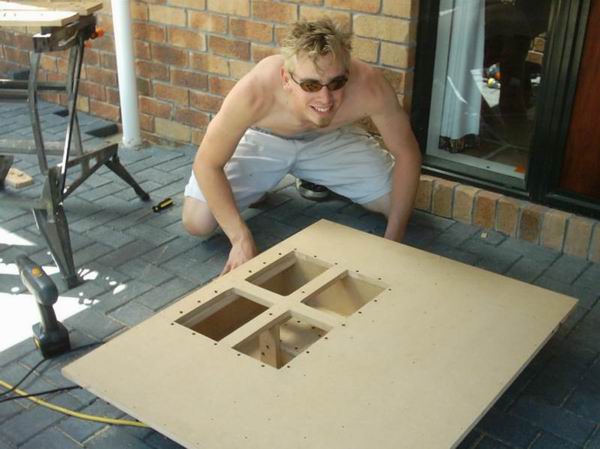
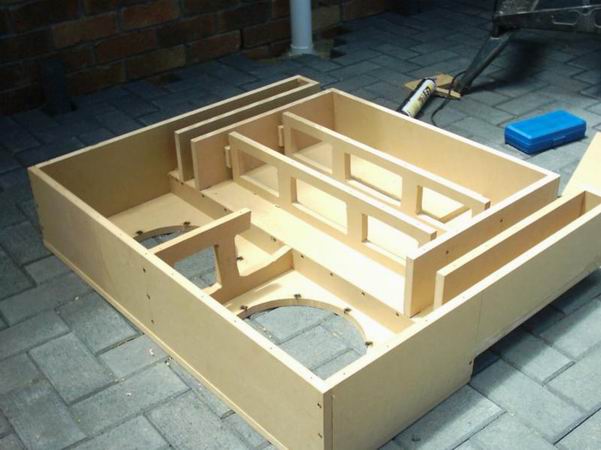
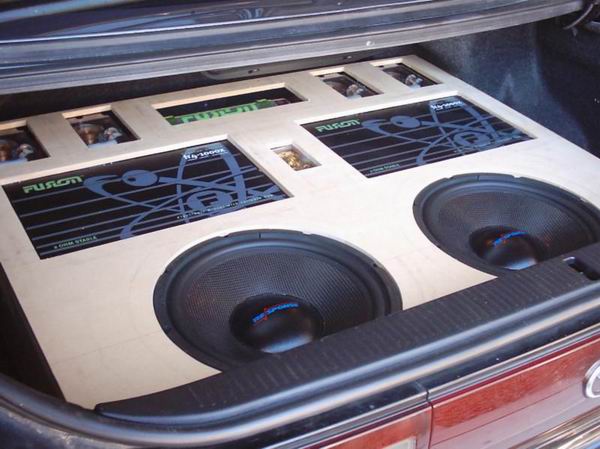
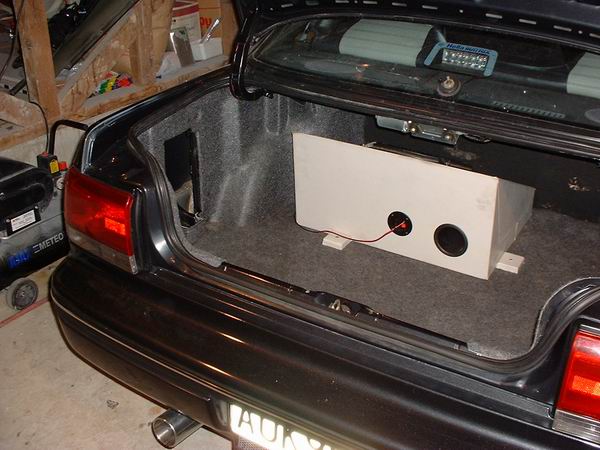
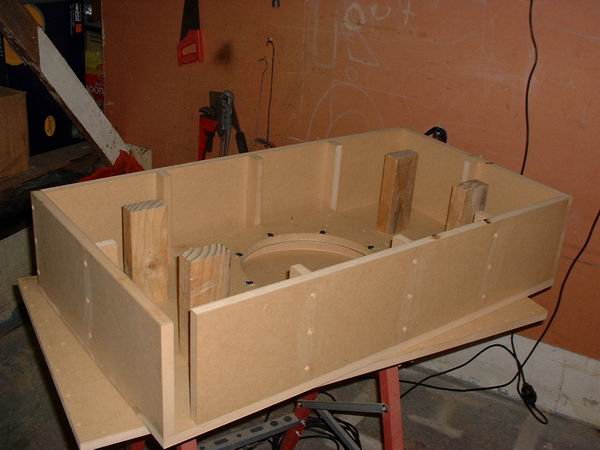
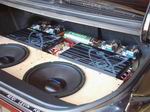
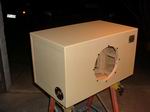
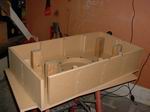
This is where the fun began. The boot install was like three things at once - a sub box, an amp rack, and there was something else... It was built/glued outside in 3 parts, and then the 3 parts assembles inside the car, for total theft protection. Basically, the tyre-well part was put in first, then the main box and then the sub baffle. |
|
|
|
 |
|
|
|
 |
|
|
|
|
 |
|
|
|
|
|
 |
|
|
|
|
|
|
|
|
|
|
|
|
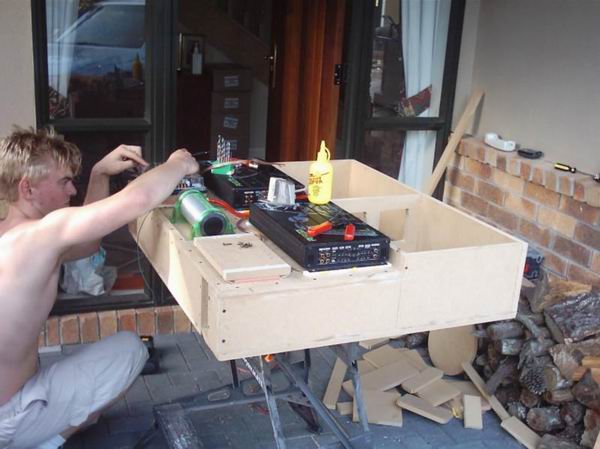
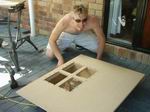
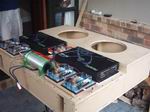
The box/amp rack in making. Every little thing that went on it had to be either lifter or sunk it in order for the final outcome to be totally flush with the cover. In the second pic you can see the little platforms raising the crossovers, and how the cap is sunk it. Later, it was installed into the boot, well - the first two parts of the box anyway - and hooked up! |
|
|
|
 |
|
 |
|
|
|
|
 |
|
|
|
|
|
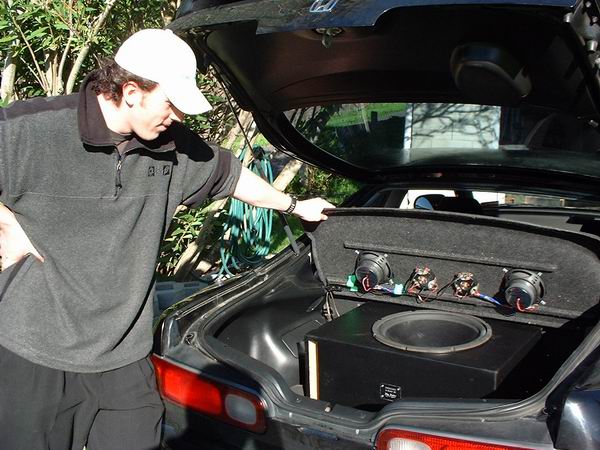
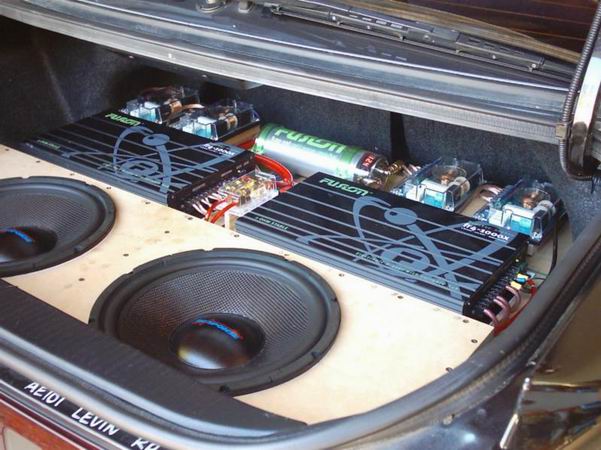
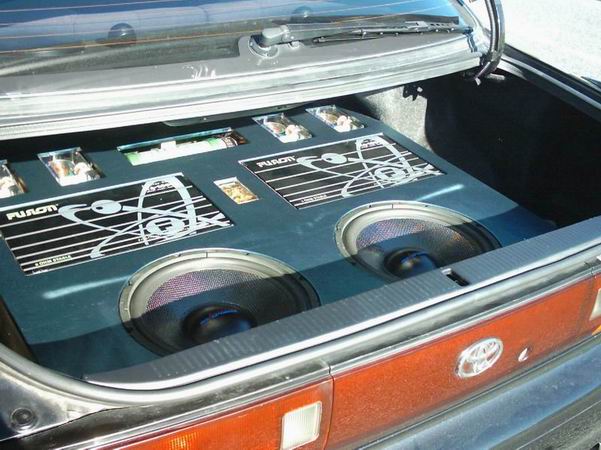
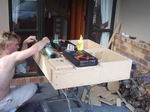
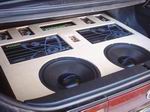
The cover sheet was cut out of 12mm MDF, to JUST fir around all the objects. It was held down by velcro strips, as we didn't want it mounted permanently. Ahhh.... the install gets the thumbs up from me, while Dave is just happy to finish the 4 straight days and nights in his driveway/garage. And finally - the FINAL RESULT! |
|
|
|
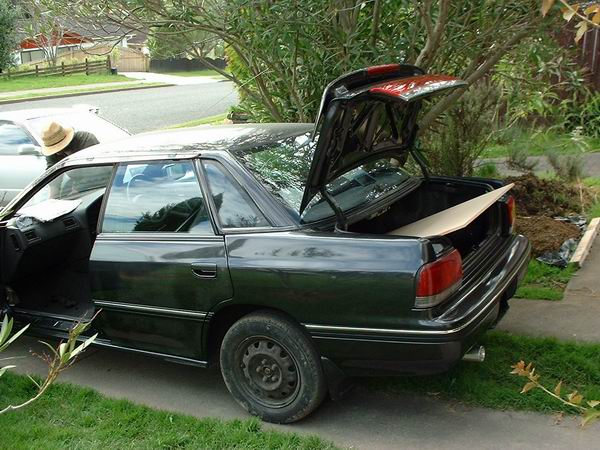
Vadim's Legacy |
|
|
|
 |
|
|
|
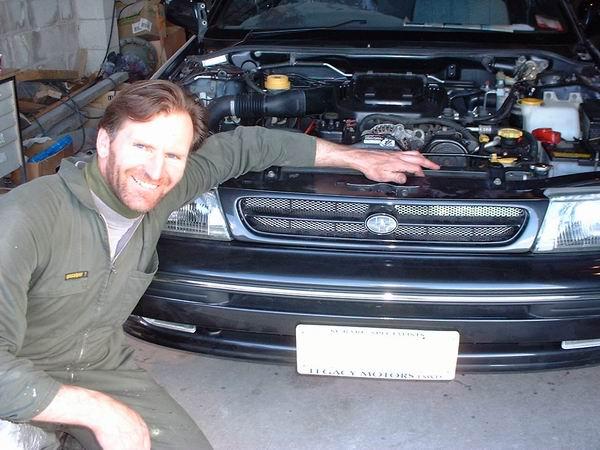
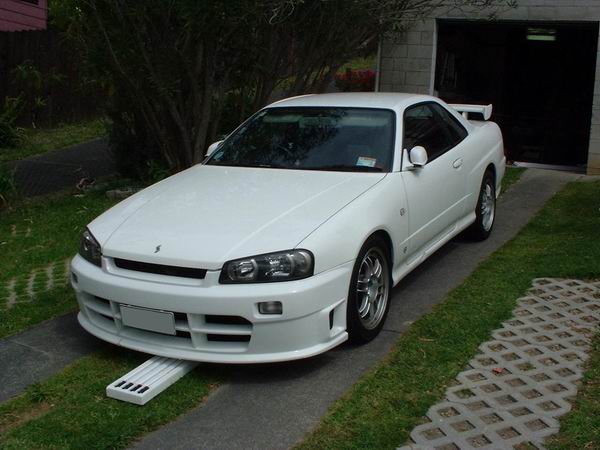
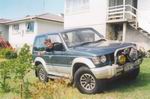
Now this guy is a legend! His name is Vadim, and he's my next door neighbour. He is a panelbeater, and got this Legacy in a WASTED AS condition about a year ago now, and over this time, has brought it back to almost factory condition - IF NOT BETTER! I helped him install a few gadgets to make it more fun, while he helped me HEAPS with painting my Vortex |
|
|
|
|
|
 |
|
 |
|
|
|
|
 |
|
|
|
|
|
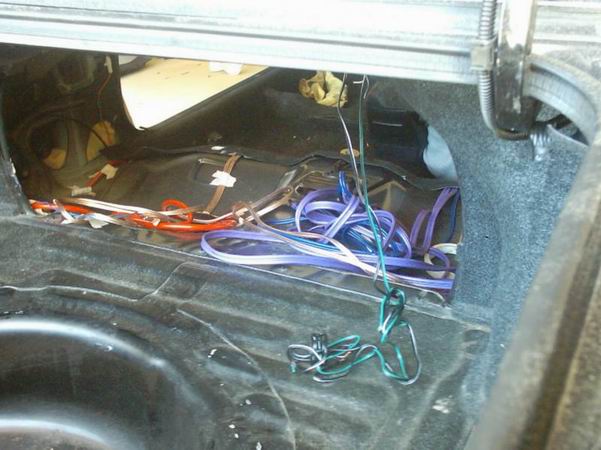
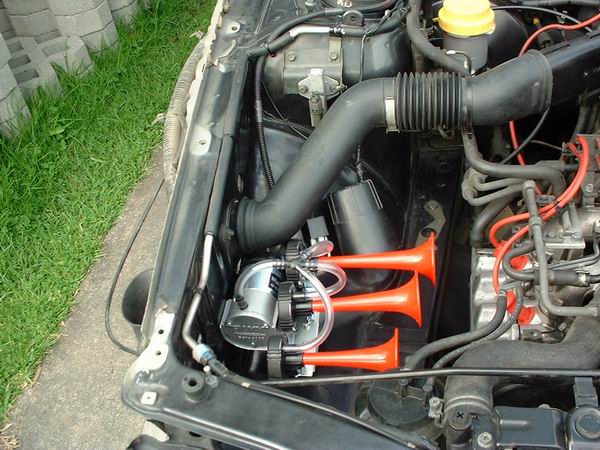
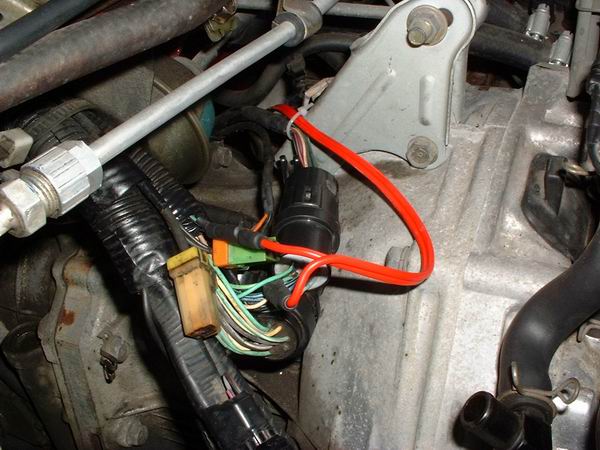
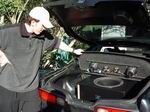
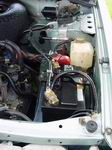
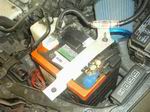
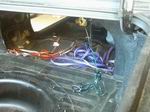
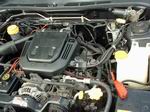
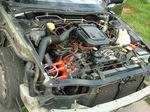
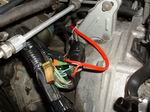
First things to go in were the two 10guages for the sub amp and the air-horns. You can see the red and the black fuseholders in the first pic. The black one's for the amp and the red one's for the horns. In the second pic, see if you can figure out which black loom carries the 10guage and the horn-signal (which I got from disconnecting the original horns by the battery, and using that signal). The horn rack was custom built from aluminium to hold the horns and the compressor, which was just bolted onto the chassis using the existing holes - no modifying here! |
|
|
|
 |
|
|
|
 |
|
|
|
|
 |
|
|
|
|
|
|
|
|
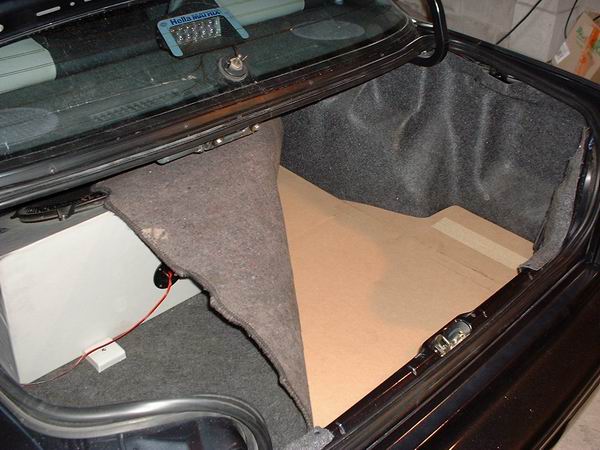
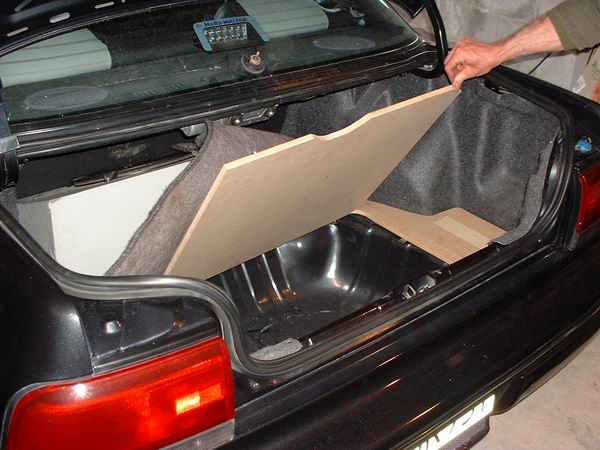
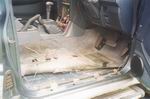
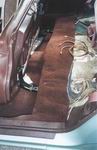
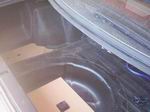
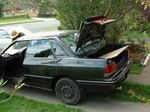
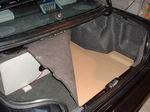
The only thing that was missing from the car was the boot floor. I actually made one for Vadim out of 12mm MDF, by measuring out his boot and cutting one out using a jigsaw. It fitted PERFECTLY, and I even made a little "door", which is used for taking out the spare tyre. |
|
|
|
 |
|
|
|
 |
|
|
|
|
|
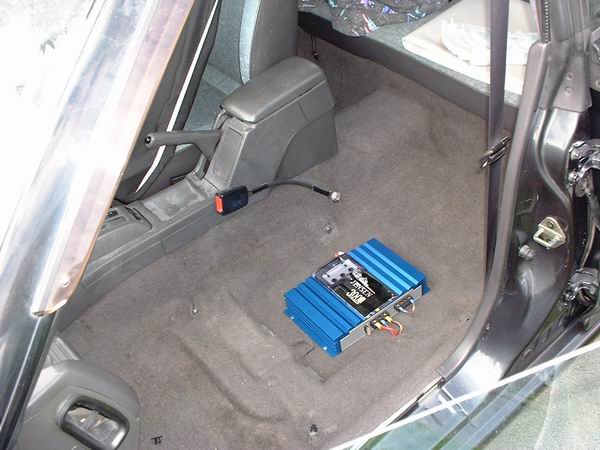
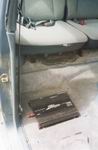
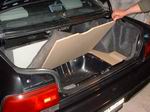
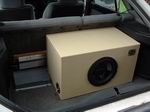
The sub amp and the re-carpeted box (this is the same box from one of the previous installs - the Pajero one. The guy with the Pajero got me to make him a new box, and gave his old one with the sub to Vadim as a present. I just slapped some new vinyl on it to make it look newer.) |
|
|
|
Graham's Laser |
|
|
|
 |
|
|
|
 |
|
|
|
|
 |
|
|
|
|
|
|
|
|
A few months back, I got to install this WICKED AS Blaupunkt CD player, a JVC crossover, a Sound Stream amp and some speakers into Graham's Ford. What I did was also put through all the wiring and some extra RCA's for when he wanted to expand his system. Which happened! :D I built him a box for his Jaycar 10" Titanium sub, and along with it, installed a new Sound Stream amp, which now runs his 6 speakers (2 tweeters included), new splits in the front and the sub box. The old 2 channel Sound Stream runs the sub. |
|
|
|
Neon Madness |
|
|
|
 |
|
 |
|
 |
|
|
|
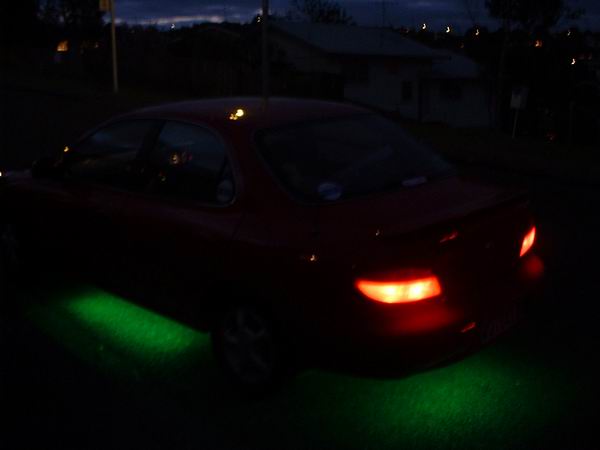
Some people call it a Christmas tree, but it's actually a Hyundai! I got to install 2 sets of undercar neon sets for these two Korean guys - Michael and Martin. Michael's is the Hyundai, into which I also had the ...privelage of installing an MP3 player. :D That was a mission |
|
|
|
 |
|
|
|
And this is Martin's car. Looks MINT!!!! I haven't got a pic of the finished result as we finished early in the day, but as soon as I get one, I'll chuck it up onto here! |
|
|
|
|
|
 |
|
|
|
One of Martin's friends came ova in this mean as CRX - now it has Fusion neons under it. Them cool - they make plasma/lightning looking things if touched.... :D 9000Volts... |
|
|
|
|
|
The WORKBENCH |
|
|
|
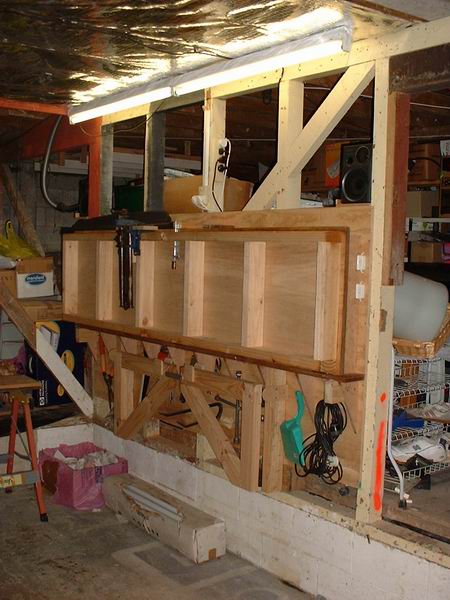
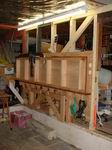
In about February 2004, I finally got up off my bum and built a workbench for my garage (with people's help ofcourse - I couldn't lift it all by myself....). The reason I made it was simply because I needed somewhere very good and clean to work on, especially for the projects I had coming up at University (modelmaking etc.). However, it could not simply be a permanent table, as my dad puts the Legacy in the garage each night, and there's no space for a table. |
|
|
|
 |
|
|
|
Unfirtunatelly, I didn't take a "before" picture, as I didn't think it would make such a huge difference. But in the background of this pic is the previous wall - jib board nailed to house supports! |
|
|
|
|
|
 |
|
|
|
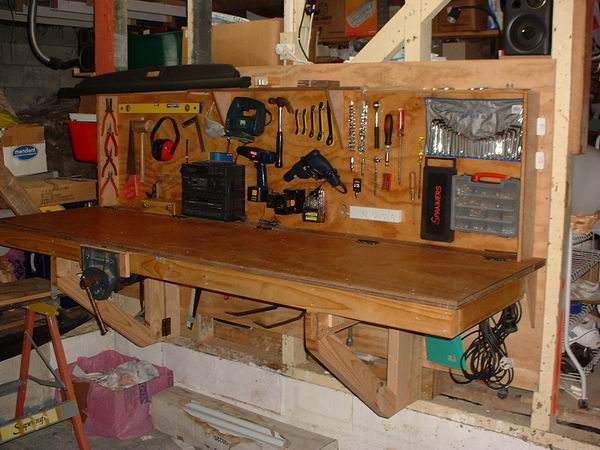
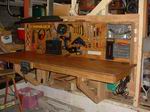
And this is what it looks like now! The bench is actually hinged, and folds up for the night and comes down on swing-out frames when I need to use it. The bench is locked at the top with a number key-pad, and the hinged swing out frames are held together by a 6mm machined alumium lock. The bck plate is a full sheet of 17mm DD grade plywood, held down onto each support by around 10 screws, so it's DEFINATELLY not moving a millimetre. Obviously, the construction was done prior to mounting this plywood onto the wall. I also put in 2 additional 4foot flouriscent lights (above the workbench) which provide light EVEN during the day time! |
|
|
|
|
|
 |
|
|
|
The insides of the bench are not only the fold-down table top, but also my tool storage. This way, all my tools are available by reaching out when working, and are safely locked away. The tabletop is 2 layers of 12.5mm marine grade ply (I got some for free from friends) and the table frame is roughly 7metres of 2" by 4". So it's NOT light to lift! Especially, with a very nice (and heavy) wood vice. 4way power is put through, and most importantly, my CD/Radio is recessed in behind the wall, with speakers just above the top edge of the ply! Working is too much fun in the garage now! :D |
|
|
|
|
|
Guess what - I HAVE A CAR NOW!!!! :D |
|
|
|
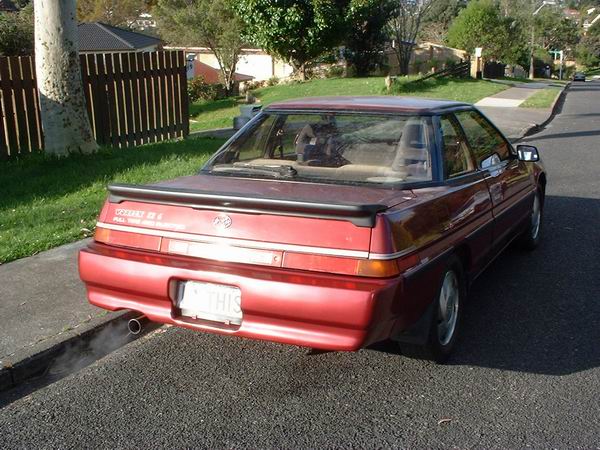
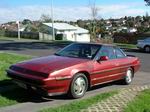
Well - I guess I had since June 2003! :D It's a rare piece of machinery - a Subaru Vortex with a Flat6 2.7L engine. I got the car from a really nice person called Pam Hamblyn as a present, and have restored and done lots of work on it since. Please go here to check out all the details on the Vortex, but here are some pics that have to do with cool, electrical stuff.... :D |
|
|
|
 |
|
 |
|
 |
|
|
|
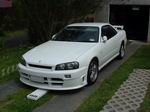
This is it! :D The Beauty herself........ bet you haven't seen one of these around before! :D |
|
|
 |
|
|
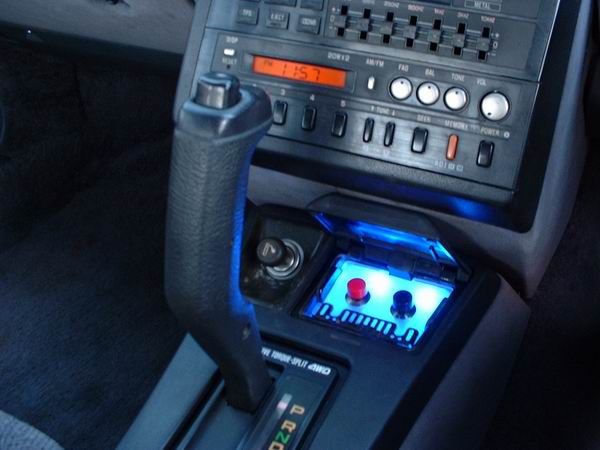
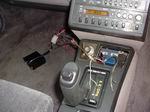
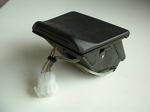
One of the first things I did to modify the Vortex was to install the air horns, which I brought back with me from Japan. They are real cool - you can do this fade down FooooWaAAAAAAAAaaaaaaaaaa....
Since I don't smoke, I hid the buttons in the ash tray. There are 2 LEDs at the bottom of the tray, which through a spreading filter, light up the frosty perspex plate onto which the buttons are mounted. The LEDs only light up when I turn on the lights and are STUPIDLY powerful at night (this shot was taken with the sun still up). All the wiring is obviously hidden, and the "brains" are placed under the glove compartment.
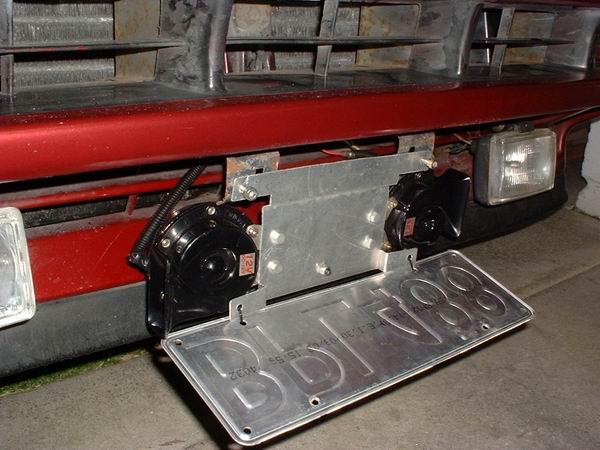
The only place I could actually find for the horns themselves was behind the numberplates! I manufactured a 1mm aluminium bracket that would hold them in nice and strong. This way they are both protected and firing directly into the air |
|
|
|
 |
|
|
|
|
|
|
 |
|
|
|
|
 |
|
|
|
|
|
|
|
 |
|
|
 |
|
|
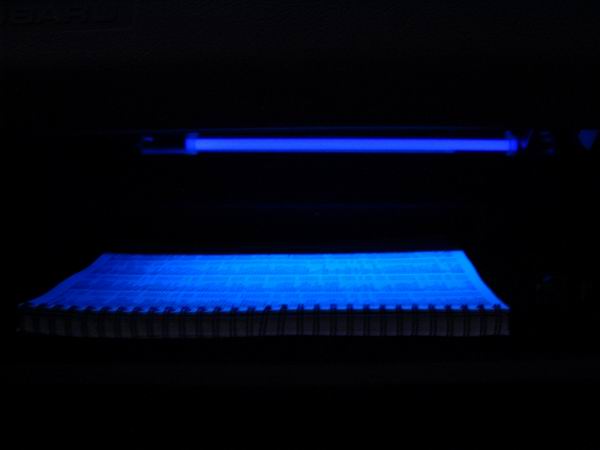
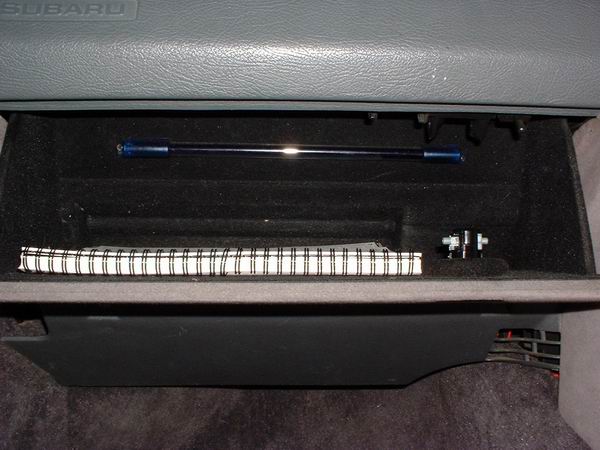
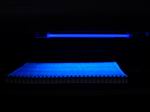
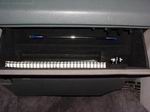
Just a little thing I did to stuff around was replace the normal glove compartment light bulb with a UV light. I did it by taking out the bulb and sinly tapping into the existing wires to run a 12V UV Neon. I had to re-wire the transformer for the UV tube, as it normally runs from a cigarette lighter adapter. |
|
|
|
|
|
|
|
|
 |
|
 |
|
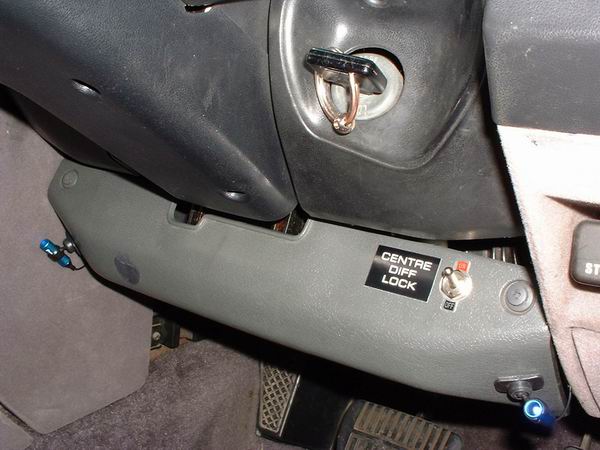
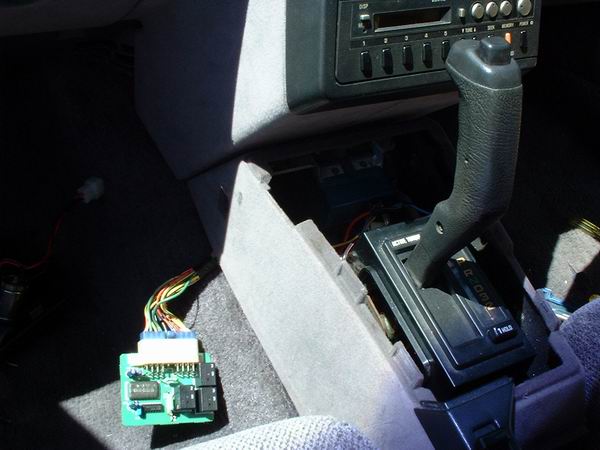
One of the next things I did was to sort of re-wire my automatic 4WD tranny to let me manually switch to 50/50 front/rear centre diff ratio. The computer usually has this task, but the computer takes a few seconds to send the torque to the rear wheels if the front ones are spinning. I did this by interrupting the Duty Solenoid C wire with a switch, which if "open", makes the computer think that the front wheels are constantly spinning through. If the circuit is active (open), two LEDs light up to make me aware. |
|
|
|
|
|
|
 |
|
 |
|
Another couple of problems I've been having are the wipers. Well....wiper (Vorteces only have one :D) It sort of doesn't want to stop when I go to turn it off - just keeps going. STILL haven't solved it - do you know how to???? E-mail me please.... :) |
|
|
|
|
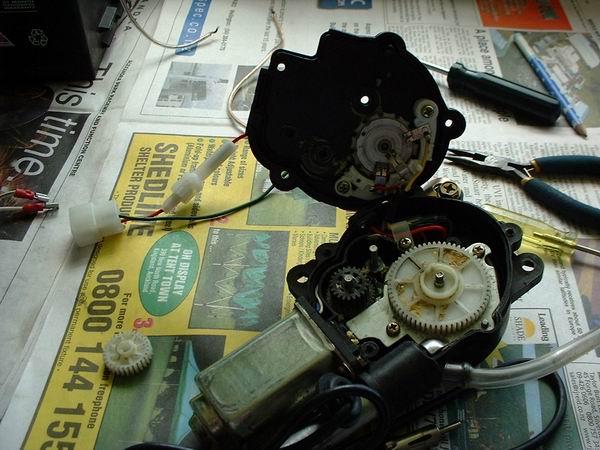
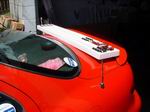
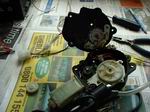
Somewhere along the way, I spent a couple days changing the mast on my power antennae. It's actually a really clever mechanism they use.... I ended up having to fool it slightly, so it worked with the slightly shorter mast. |
|
|
|
|
|
|
|
|
|
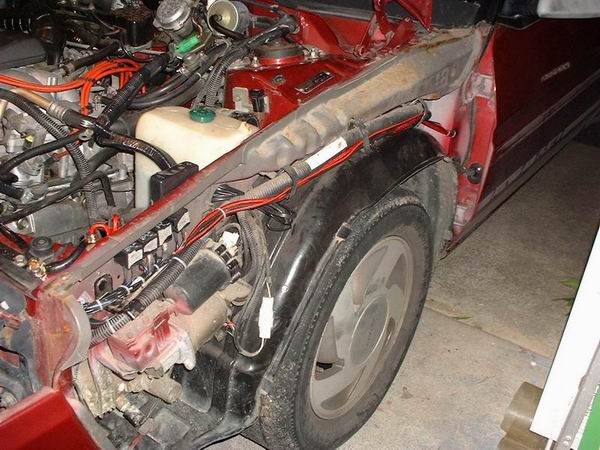
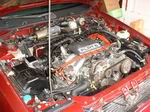
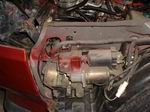
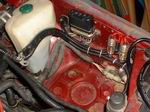
My next big project was to upgrade my lighting system. What I decided to do was to get rid of the 6054 SemiSealed lenses that the Vortex comes with, and put in some nice OEM lenses off a different car, which could accept H4. The donor car ended up being a poor 1986 Honda Accord.
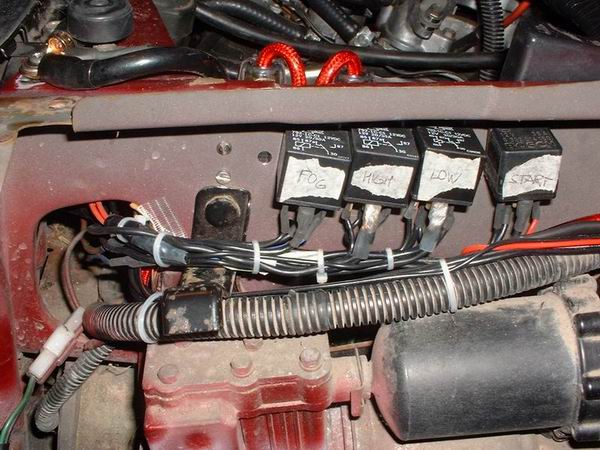
I chose to re-wire the whole lighting system while I was at it, to try to cut down the horrible 3.6V drop I was getting through the factory wiring!!!!! I needed to use relays to turn on/off the high beam, low beam and fog lights (one relay is also used to run the starter solenoid).
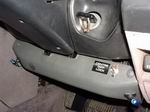
This is what the basic wiring looks like, with the left hand side fender removed. Hiding the relays behind the fender was ,I thought, the only appropriate thing to do, as then all the wiring and relays are prettu much invisible.
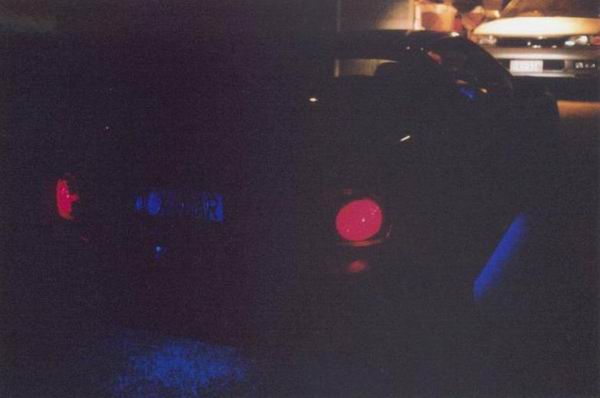
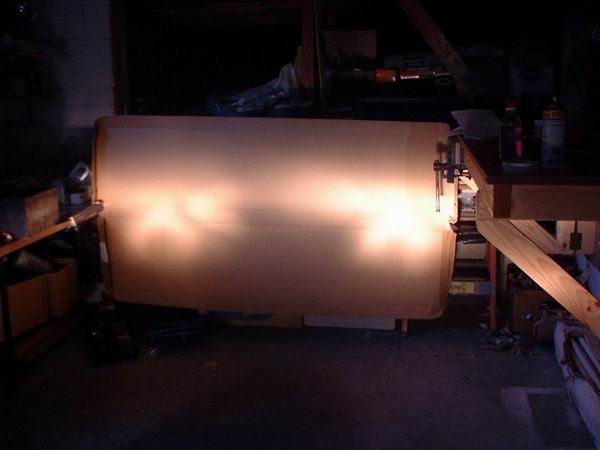
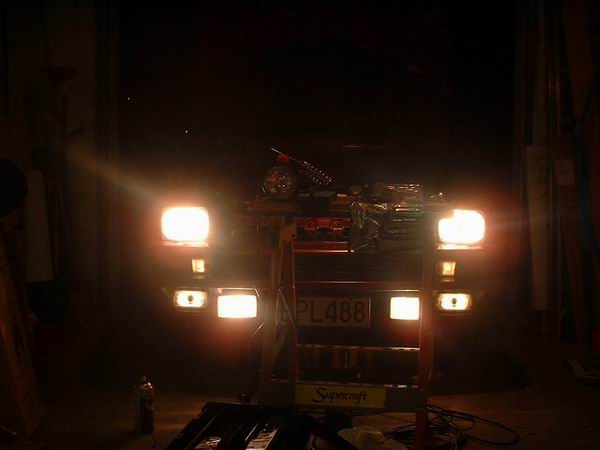
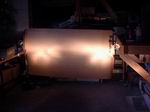
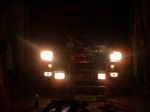
An interesting experiment, this photo shows much difference that 3.6V voltage drop can cause to lighting. While both lenses and bulbs are the same in left and right beam, the right beam is A LOT brighter! This is because the left light is being fed through the OEM wiring system, where as the right one - I'm feeding directly from the battery via some fat cabling.
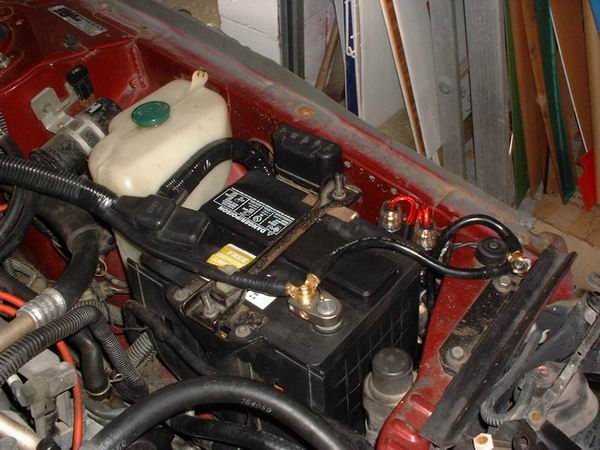
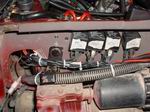
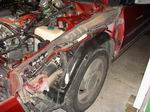
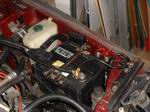
This is the tidy job that it ended up looking. There are 2x 8awg wires feeding two fuseholders, with 40A fuses in each one. One of them then splits into 3x 12awg wires, feeding power to the high beam/low beam and fog lights; and the other one feeds the starter solenoid and the wires running back into the cabin (for the alarm, amplifier, a remote window module and my air horns).
The wires running back into the cabin are neatly tied down inside the guard.
This is what the whole finished job looks like! Apart from where the 2x 8awg wires run, the fancy terminals and an extra ground wire, the engine bay looks tidy! |
|
 |
|
|
|
|
 |
|
|
|
|
 |
|
|
|
|
|
|
|
 |
|
|
|
|
 |
|
|
|
|
|
|
|
 |
|
|
|
|
|
|
|
 |
|
|
|
|
|
|
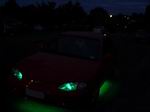
YEEEEEHAAAAAAAA!!!!!
Pitty the camera self-adjusts to the level of light, as it's actually quite impressive!!! |
|
|
|
|
|
That's most of the installs I've done to date. I'll try to keep this page updated, so check back some time!
THANK YOU VERY MUCH
Dima :) |
|