| Street Setup 1 |
 |
 |
 |
 |
 |
 |
 |
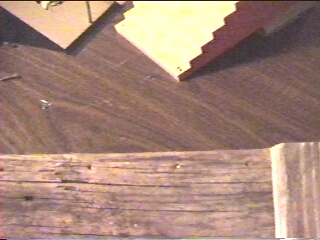
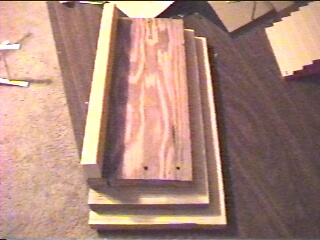
| Step 1 You will need about 4 feet of 1X2 wood for the bottom two stairs and ledge, and 2 feet of 2X6 for the top stair. Start by cutting the 1X2 into two pieces: one piece is 4 1/2" with a 45 degree miter and the other is a 5 1/2" with a 45 degree miter. These will be the short stairs (as seen at the far right in the above picture). |
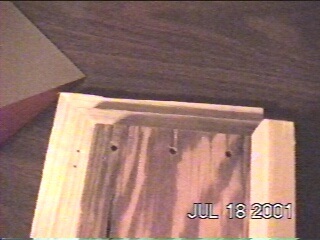
| Step 2 Next you need to cut the long stairs. Cut the 1X2 to 13 1/4" and 14 1/8", both with 45 degree miters. Now we will put these 4 pieces together. Glue and nail (pre-drill holes first to prevent splitting the wood) the 14 1/8" and the 5 1/2" pieces together (the bottom stair in diagram 1). Then do the same for the 13 1/4" and the 4 1/2" pieces. |
| Step 3 Now you have two L-shaped pieces. The longer and wider L is the bottom stair and the shorter and thinner one is the middle. Line up the two L's so that they are even at both ends. Make it so that they overlap about halfway to make one of the stairs (look above to see what I'm talking about). |
| Step 4 Next you need to fasten the two L's together. Predrill a few holes anywhere you want as long as the holes go through both pieces of wood. Next run a small bead of wood glue along half of each stair (where they will be put together) and then set the smaller piece on top and line it up as described before. Now hammer nails into where you drilled the holes. |
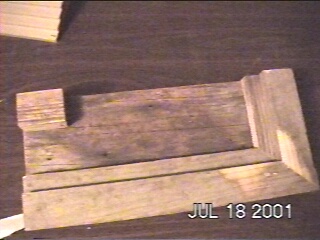
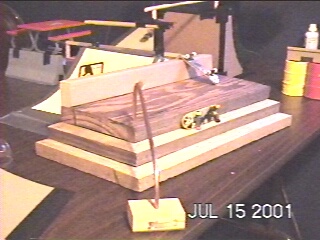
| Step 5 Here we will fasten the 2X6 onto the now joined L pieces. Cut the 2X6 to a length of 14 1/4". Do the same for this step as step 4 where you drill holes, glue the pieces together, and drive nails into the them. Look at diagrams 3 and 4 for additional assistance. |
 |
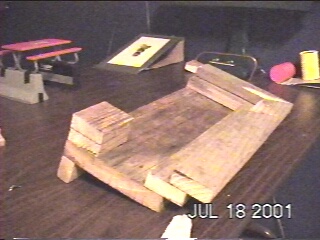
| Step 6 Now we need to attach the ledge to the stair set. Cut the ledge to a length of 14 1/4". Next, line up the ledge with the edge of the 2X6, clamp it together, flip it over, and drill 5 holes across the length of the board from the underside. I then ran a bead of wood glue across the bottom of the ledge, lined it back up with the drilled holes, and nailed it together. Simple as that. |
| Step 7 Almost there. Here we will drill the holes for the copper handrail. Get a 1/4" drill bit and drill 3 holes across the end of the 2X6. Make sure you don't go all the way through (only about 3/4 of the way), or the rail will slide through and won't stay in place. You can take the option of drilling one hole and epoxying the rail in place, but I chose to have a few holes so I could move the rail around. |
| Step 8 Next, drill one more hole with the same bit at the other end of the 2X6. I put one hole in the middle just in case I ever want to put the handrail on that side and do fakie/switch tricks. |
| Step 9 To finish it off, get some 1/4" thick copper wire from Home Depot and bend it to this shape. Get a scrap piece of the 1X2 and cut it to a small block as seen. Drill a hole in it (but not all the way through) to mount the other end of the handrail in so it has a firm base. That's all there is to it. If you want, add a ramp to the other side. I will be doing that soon, and I'll get a picture once I do it. |
 |