| Skatepark Ledge Combo |
 |
 |
 |
 |
 |
 |
 |
 |
 |
 |
 |
 |
 |
 |
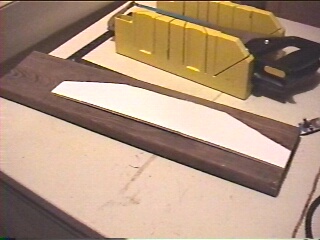
| Step 1 Draw up a template of the ledge. You can make the slope as steep or mellow as you want. I chose pretty mellow because I like to do flip in flip out tricks. After you have the template drawn up on cardboard or posterboard, trace it onto a piece of wood or any other material you prefer. I chose a 1X6 because the thickness is perfect for sliding. |
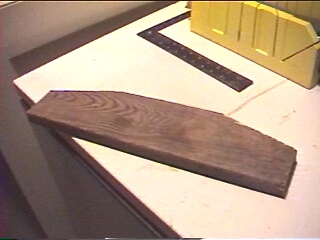
| Step 2 After you have the ledge shape traced, cut it out with a jigsaw or rotozip (if you're younger than 14, ask your dad to supervise or do it for you). If there is any rough edges, just smooth them out with a wood rasp, a file, or some coarse sandpaper. |
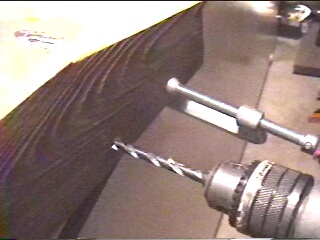
| Step 3 After you have the ledge cut out, you'll need to attach it to the Tech Deck kicker-flat-kicker set. Get a drill with an appropriate sized drill bit (you need a bit that's wide enough for the screws to fit through, but thin enough for the head of the screw not to go through). Then bore through the ledge and plastic so you have a hole. Then all you do is simply bolt the two objects together. |
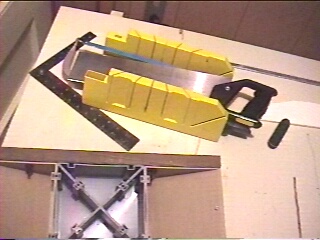
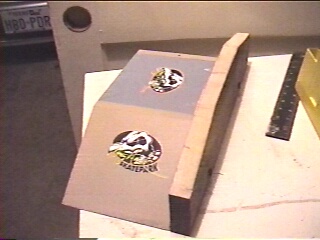
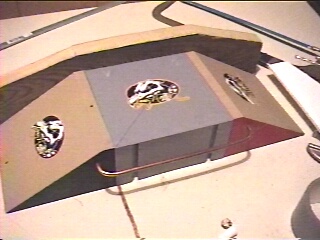
| Step 4 Here is a picture of the ledge attached to the Tech Deck accessories. Notice the two bolts screwed into the . . . screws. |
| Step 5 This is the top final view of the ledge attached to the ramps. If you would like something simple like this without the rails, feel free to stop and have this to bust stuff out on. If you want to get a bit more tech than proceed with me. *wink* |
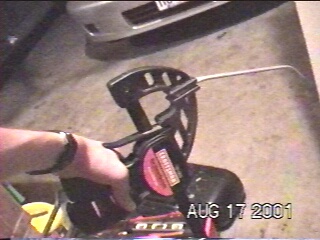
| Step 6 Next you're going to cut the flatbar which will be layed across the flat part of the ramp. I bought this from Home Depot for $1.75, it is called tension bar. Cut the bar to whatever length you want. I didn't want mine to be too high or long because then i wouldn't be able to skate on the ledge, so I cut it to about 8 inches. |
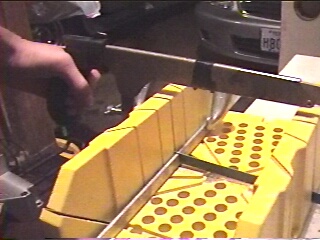
| Step 7 After you have the tension bar cut to the desired length, mark the spots that you want to bend (where the angled ramp meets the flat part on each side). Since the bar that I purchased was so sturdy, I used a clamp to give me that extra added kung fu grip. Just clamp where you want the bar bent, and lean on the bar with your body weight (but don't hurt yourself). |
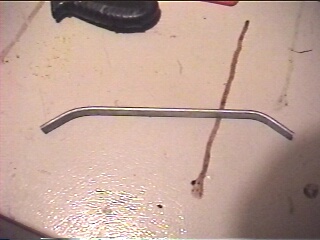
| Step 8 This is a picture of the bar after I bent it in the designated spots. Make your's longer or shorter, use your imagination. |
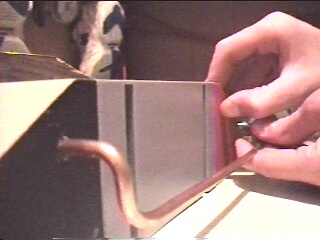
| Step 9 This is also an optional . . . option. Buy 1 foot of 6 guage copper wiring from Home Depot (about $0.40) and bend it to this shape. This will be the rail that goes on the side. After you have bent it to the desired length, mark the holes and drill them the same diameter as the copper (7/32 drill bit I believe). |
| Step 10 After you have the copper rail bent, insert it into the holes, bend it back into the holes, and epoxy it in place. If you don't have epoxy, superglue and duct tape work nicely. |
| Step 11 Here is a picture of the rail after the epoxy has set. |
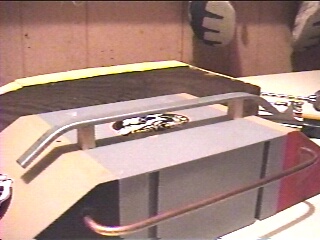
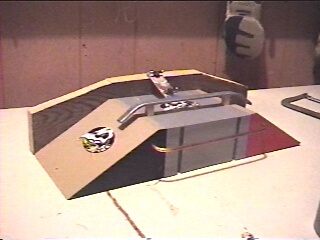
| Step 12 After the rail is in place and has dried, I added the flatbar. I cut a 5/16" square dowel into two 3/4" lengths. These serve as the legs. If you want that flatbar to be higher or lower, make changes to the length of the dowels as needed. After you have decided, cut the dowel to equal lengths. Then superglue the legs to the assigned areas of the flatbar, then superglue that to the Tech Deck ramp setup. |
| Step 13 This is the final picture of the Skatepark Ledge Combo. Hopefully you muster up your last bit of energy at the end of the day to finish this, tee hee hee. It took me and hour and a half total to make this. |
| Step 14 A Job Well Done . . . |