 |
| Miniramp Plans |
|
 |
 |
 |
 |
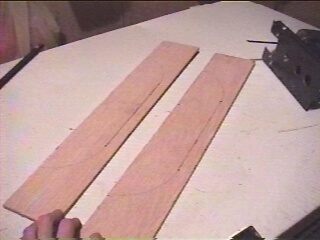
| Step 1 Draw up this design on a sheet of 3/16" plywood. You can customize how long, high, and wide you want it to be. My ramp is 12" long X 3.5" high X 21" wide. Also, the transition has a radius of 3.5" |
| Step 2 Cut out each of the sides of the ramp to length as shown. I used a jigsaw to do the cuts straight across. |
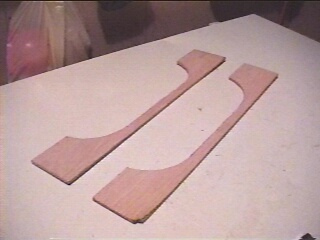
| Step 3 Next, cut out the transition and flat of the ramp. I used a Rotozip, mainly because it's quicker and easier to cut curves with that rather than a jigsaw. |
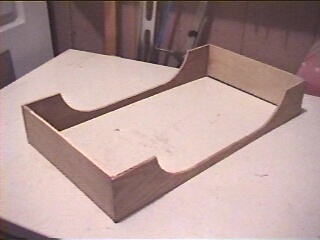
| Step 4 Cut out two additional pieces of 3/16" plywood to finalize the pieces needed for the frame of the miniramp. They need to be the same height as the drop-in areas. |
| Step 5 Assemble all pieces you now have. I used some Elmer's Pro Bond glue to hold them together, but some good old-fashioned wood glue will do just as well. |
 |
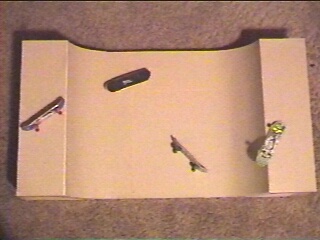 |
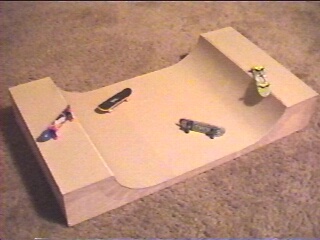
| Step 6 Choose a riding surface you would like to put over the frame. Materials that can be used include wood veneer, cardboard, flexible plastic, etc. I chose to use illustration board with brown paper layered over it. |
| Final Step Find a place to setup your miniramp. Put it there. |