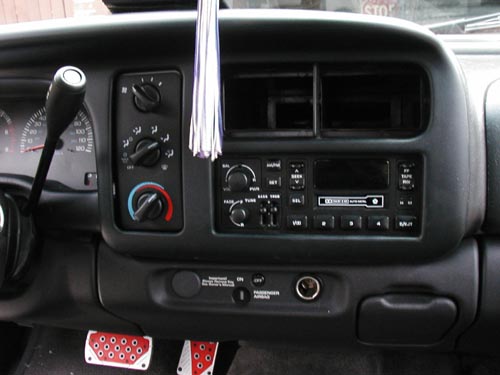
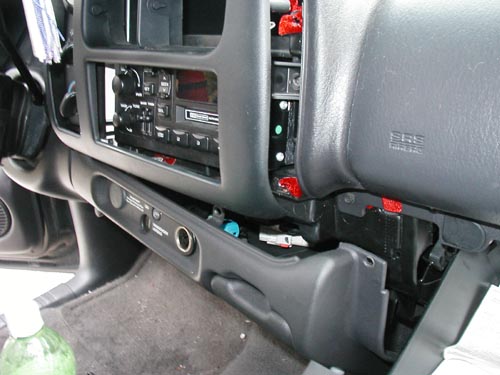
We
started by unscrewing all screws holing the center console
to the dash. This frees up access to the back of the cigerette
lighter. (See
Pic 2 & Pic
3)
*
You dont have to use your lighter if you don't want to -
you just have to use a Multi-Meter to find a constant 12
volts and you can use that for your electric tap - use a
little caution here, and always be careful when tapping
into any electricity - if you don't know what it goes to,
or don't have at least a little electronics knowledge -
don't touch it.*
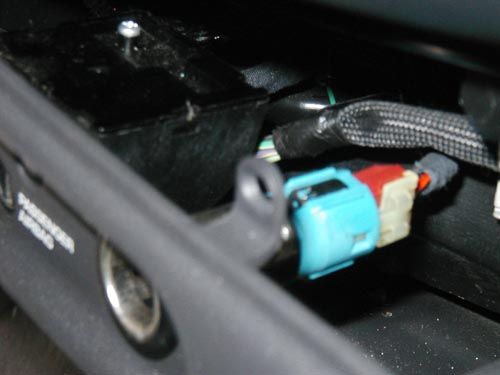
Once
you have access to the wires - Disconnect wiring harness
from lighter. Pull back the rubber sleeve covering the wires
so you have full access to them (See
Pic 3)
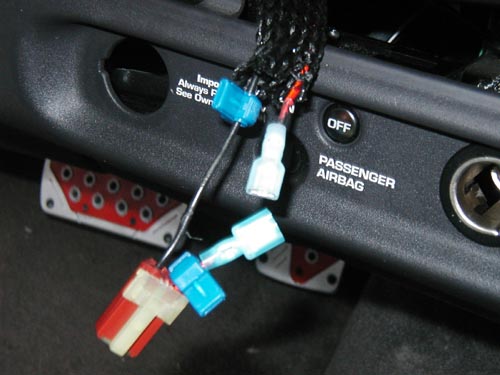
Follow
the picture as to where you should place your T-Taps and
Q.Disconnects - We chose to use a male and a female here
- so if you have have to remove the switch - you can just
connect the two Q.disconnects and complete the circut to
your lighter.
Now
our lights came pre-wired to plug *into* a cigerette lighter
- we chost to cut that off and instead use our own switch.
Use your wire strippers and split the wires so you have
about 6 inches or so to work with - If you are using 2 lights
as we did- look at Pic
6 to see how we joined both wires together with Q.Disconnects
- conserving on space with the little amount of wire we
have to work with on your cigerette lighters wiring harness.
Be sure when wiring to put both positive wires together
in thier own Q.Disconnect, do the same with the negitive
ends. With T-Taps be sure you can gently rotate them 360
degrees, as to ensure a solid connection with the wires
your tapping.
*
Note: before you connect your Q.disconnects to your light
- test out the wiring by touching the wires to each respective
wire on the Cig.Lighter Harness untill your light comes
on - this will also show you the proper connection you want
to use with your Q.Disconnects.
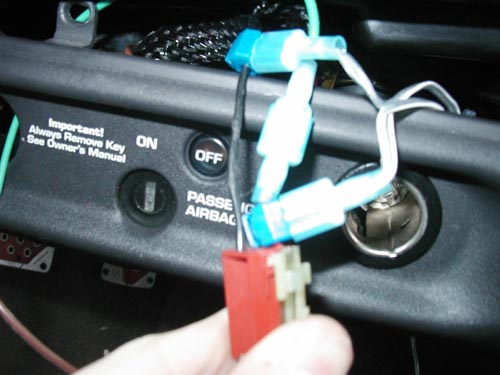
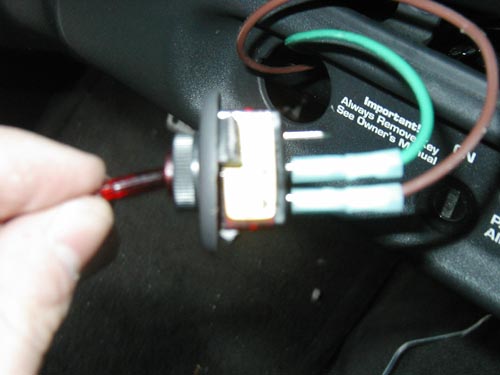
When
connecting your switch - (See
Pic 5, Pic
6, & Pic 7) In
Pic 5 we show you the red positive wire is cut with a male
and female Q. Disconnects now connected to it. In Pic 6,
we show you the blue wire is connected to the front of the
harness, while the rear Q.Disconnect is connected to the
brown wire. In pic 7, we show you the leads we connected
each wire to. Each switch is diffrent in the placement of
your positive and negitive leads, in our switch it is blue
- positive, brown negitive leaving the last open for a ground.
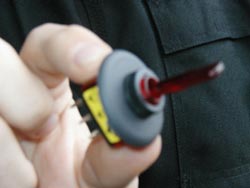
Now,
if you are lucky enough to *not* have all the options on
your car or truck - you can follow Pic 4 and dremel out
a nice hole for your new switch. Its not rocket science
- Just dont dremel off your fingers.
Notable
Quote:
- "
Fingers are Over-Rated "
Moments
earlier Dale shows us all how to dremal his finger at high
RPM's.
Once
you get everything connected - **TEST IT ** before you close
everything up. Test it, then test it again. With wiring,
often connections are not tight enough, and one movement
of the wire, say after you put everything in its place -
could potentially cause your lights not to turn on. This
doesn't mean it doesn't work, you just have to be sure your
connections are solid - if the light still does not come
on, check your connections to the harness, you may have
connected it backwards, switch them and try it again. Once
you are satisfied set your switch where you want it, screw
your console back together and enjoy. Our lights are set
to always light up when on, you can also chose to pulse
with bass - To do this you will have to play with your sensitivity
on your light untill your satisfied.
Good
luck and remember -
***
If your cars blow up - I just wrote it.. I didn't know if
you'd do it or not. :) ***
|