|
| � |
| Ice Cream | ||
| � | ||
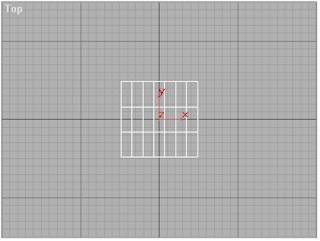 |
Step 1 (Creating the Twisted Ice Cream) |
|
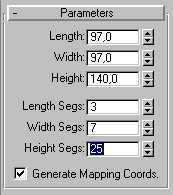
From
the Create Panel
|
|
|
Step 2 |
|
Select the Select and Move
Click on Zoom Extents All
then Go to the Modify Panel
|
|
|
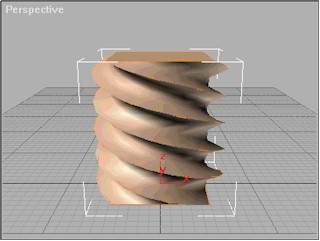
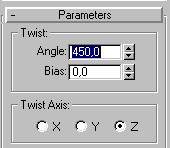
Step 3 |
| From
the Modify Panel
|
|
|
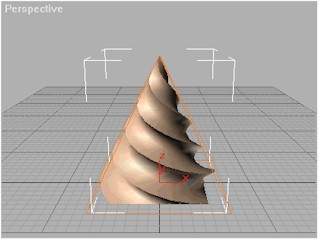
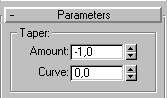
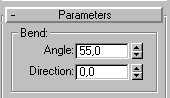
Step 4 |
| Click
on Bend on the Modify Panel and enter the following parameters:
|
|
|
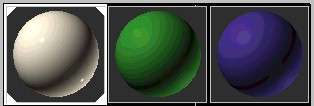
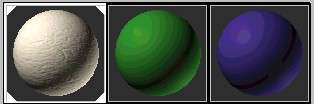
Step 5 (Material Editing) |
| 1.
Click on the Material Ambient (RGB) : R:100, G: 85, B: 75 Diffuse (RGB) : R:250, G: 240, B: 220 2. In the Material Editor click on Maps button to open the maps rollout then click on the None button related to Bump and choose Bitmap from the Material/Map Browser. Now click on the long Bitmap button under the Bitmap Parameters and select the following file: Paper.jpg from the Maps folder in the 3dsmax directory Click on Go Back to Parent
3. Select the Ice Cream Shape
then go back to the Material Editor and select the material Cream then
click on Assign |
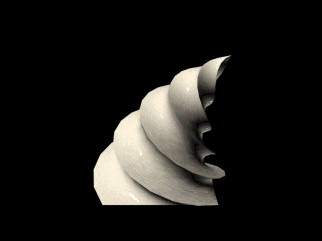 |
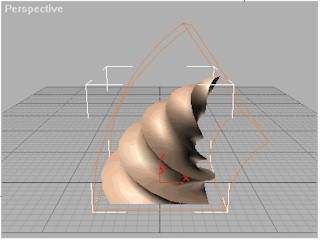
Step 6 (Final) |
|
This is the Final rendering
of the Perspective viewport. |
�