| Mini Hovercraft |
| Materials: Foam sheet, wooden sticks, hot glue, soda can, sandwich bag, lots of soldering skills |
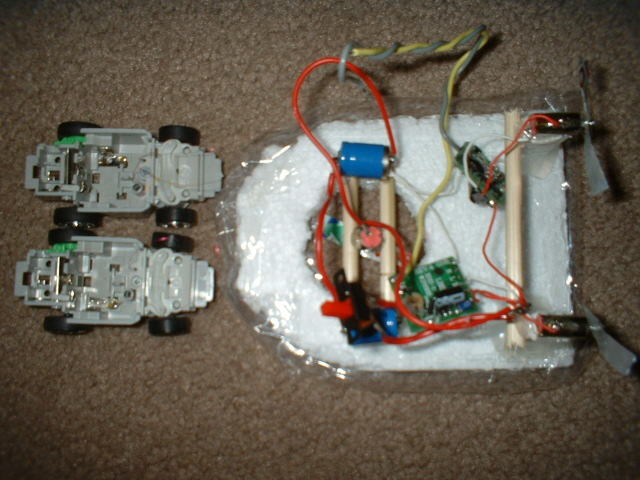
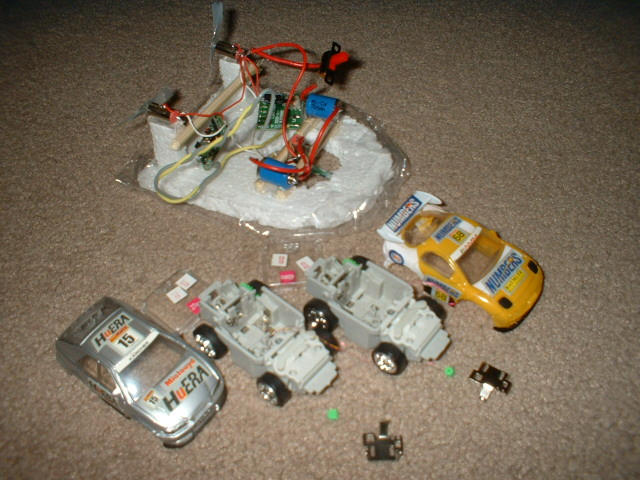
| Electronics: All from 2 Mini RC Cars, except another motor [requires 2 circuitboards, 2 batteries (3 or 4 may be used), 2 controllers and 3 motors] |
| The first step is to buy 2 of the SAME minicars. It doesn't matter what kind or brand, just make sure that they are DIFFERENT frequencies. Then, after testing to make sure they both work, take them apart, and get the 2 batteries, 2 motors, and 2 circuit boards out. You can just pull of the 4 steering wires, but make sure that you leave the other four wires on. Remember which wires went to the battery and which ones to the motor. For mine, the two middle wires were for the motor, but yours may be different. |
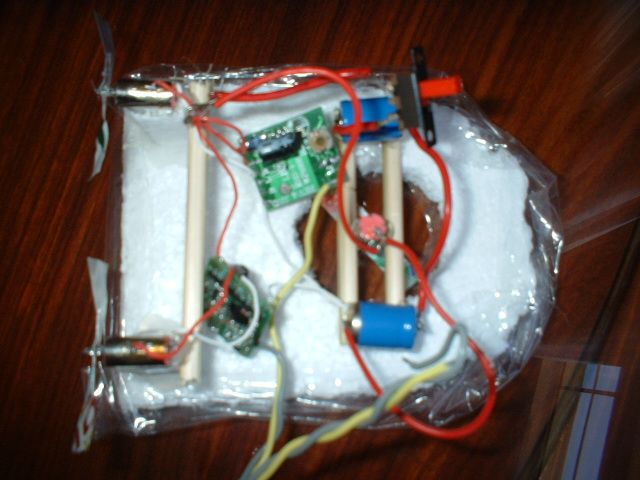
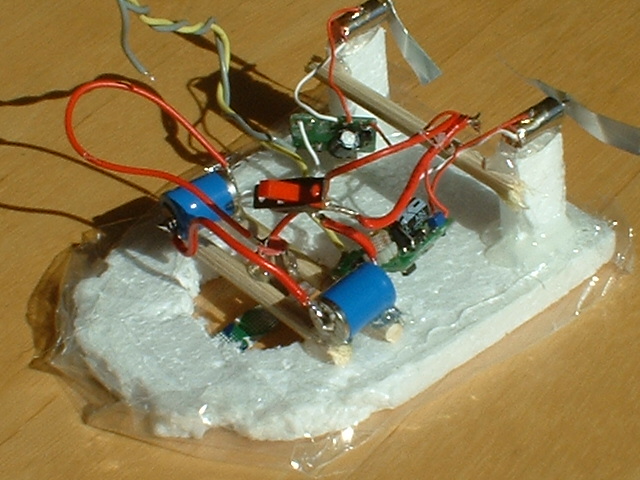
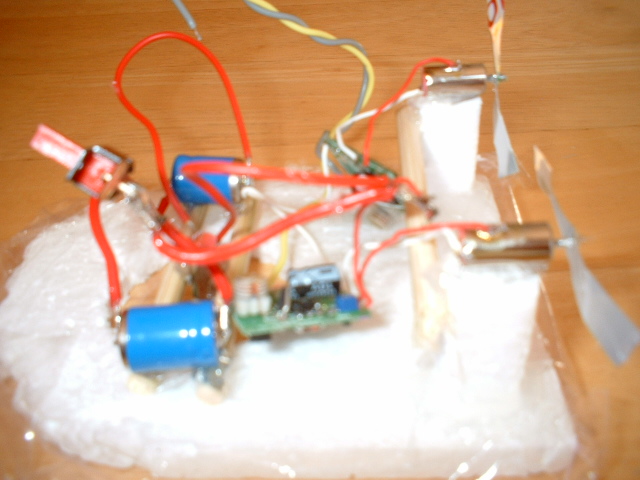
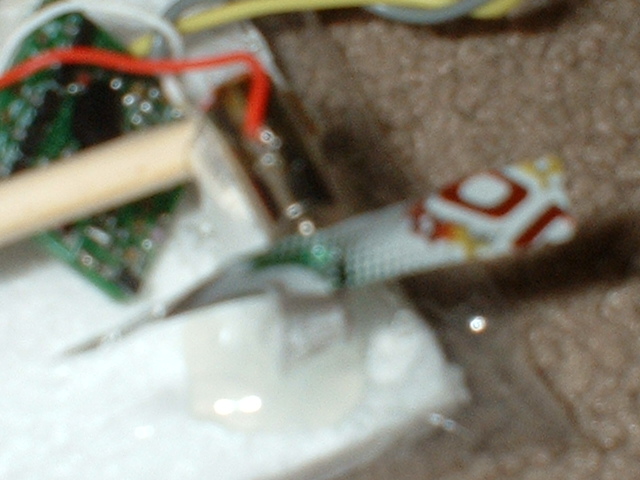
| The next step is to make the chassis. Cut the foam into your desired shape. Also cut out the same shape of your chassis from the sandwich bag, except make it larger than the chassis. Fold over each side of the bag, and glue it onto the chassis. Then, cut a whole the shape of your chassis (but smaller) in the skirt at the bottom. Next, create 3 propellers, using aluminum sheeting from the soda can. Poke a hole in the center with a pin, and enlarge it my sticking the motor shaft though it. Bend the prop slightly, so when it spins CC facing you, it will blow at you. Next, glue on 2 pieces of foam at the back corners to elevate and hold the thrust motors. Last, cut a circular hole near the center of your chassis, with a diameter slightly larger than the length of your lift motor's prop. Glue the third motor between 2 sticks, and glue them onto the chassis. Also, reinforce any weak parts with some wooden sticks and glue (see pictures). |
| The last part is to wire together the electronics. Make sure you connect the two batteries in series (voltage=2.4, still same capacity). Then, solder 3 wires on to the positive or negative end of the batteries. One wire is for the lift motor, and the other two are for the circuitboards. On the other end (negative or positive, depending on what you chose first), solder on a switch, and then solder on 3 wires to it: one for the lift motor, and two for the circuitboards. When the switch is turned off, no power goes to any parts of the hovercraft. Also, when the switch is turned off, you can charge your batteries. When you turn the switch on, the lift motor should start running and hopefully your hovercraft will hover. At this point, power is also flowing to your circuitboards, so when you push the buttons on the controllers the two thrust motors will turn on and off too. |
| If your hovercraft turns on but can't lift off: 1) Check to make sure that the lift motor is blowing the air down. 2) Check for any major air leaks in your skirt; even small ones might make a difference 3) Make sure that the air escapes from the skirt evenly in all directions. You might have to trim some of the skirt away, or make a new one. 4) Take some of the load off of your hovercraft by holding it up, and see if it can hover. If so, then you have too much weight on your hovercraft. Try to reconstruct some parts with lighter materials, make a smaller hovercraft, or increase the size of the prop on the lift motor. 5) If your hovercraft just does not have enough power to lift off or hover, you can try to put a faster motor in, increase the size of the prop, or add more cells (to increase voltage). |
 |
 |
 |
 |
 |
 |
 |
| Note: with 2 cells my hovercraft barely lifted off and hovered. You may want to try more voltage, or get some smaller batteries. |
| **UPDATE!!! I tried 3 cells, but I think it is too much for the motor to handle...It seems impossible to get it to work... |
|
|