 |
| How to build an Outdoor Enclosure |
| Welcome to my page. Here I am going to take you through the steps I used to build my outdoor enclosure. After finding a suitable spot that has plenty of sunlight, but also some shade during the day I started to measure out my lengths. I wanted the enclosure to be 5x5x5x5. I then got a shovel and marked that length in the dirt by digging ditches around the perimeter. |
|
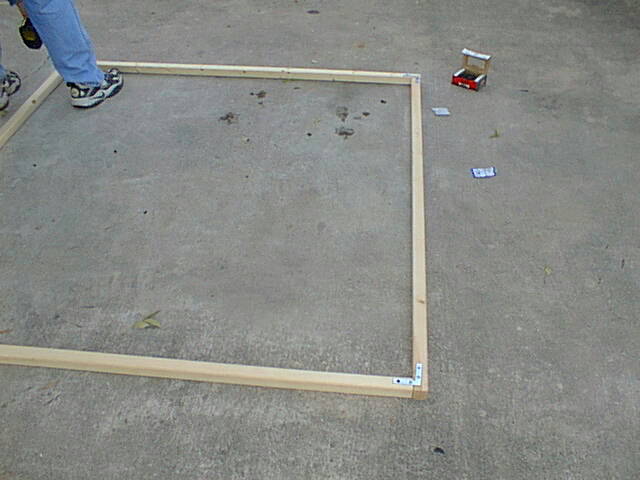
| I then went to my local Home depot (or whatever hardware store is in your area) and purchased some boards. I chose 2X5 's. I purchased them and also some chicken wire while I was there. I also purchased a package of nails and some brackets to hold together the sides of the boards. When I arrived home I held the boards straight and screwed in the brackets at the top. This allowed me to then screw the corner brackets in without the boards moving around too much. You can see that in the picture to the left. |
 |
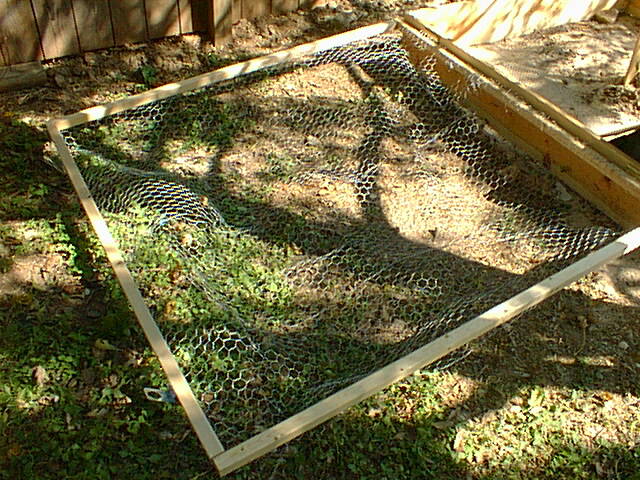
| Upon screwing the boards together I added more screws into the corner brackets. This provided escape-proof corners for my tortoises. I then proceded to dig up about an inch of dirt in the area where I intended to place the boards. I then took the chicken wire and placed it across the ground making sure to overlap any places that I missed. Then I placed the 4 boards I screwed together on top of the wire and over extended it to the outside and then bending it upwards to "seal" it. I then fastened it to the outside with nails. |
 |
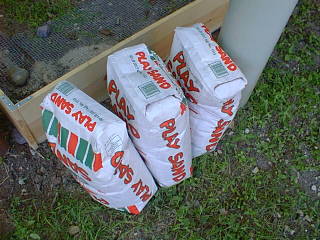
| Then once the groundwork was laid I began to fill the enclosure with sand. I started out with the 3 bags you see to your left. I highly recommend using Play Sand, although it costs more than construction sand it is worth it. Since in construction sand there is a lot more "junk" in it. Such as fertilizer, glass, large rocks, etc. Play Sand is perfect for this kind of use. I started with three bags but soon realized I needed about 6 bags total to shape their enviroment the way it should be. Next I added rocks to form an intresting terrain for them and vary their line of sight across the enclosure. |
 |
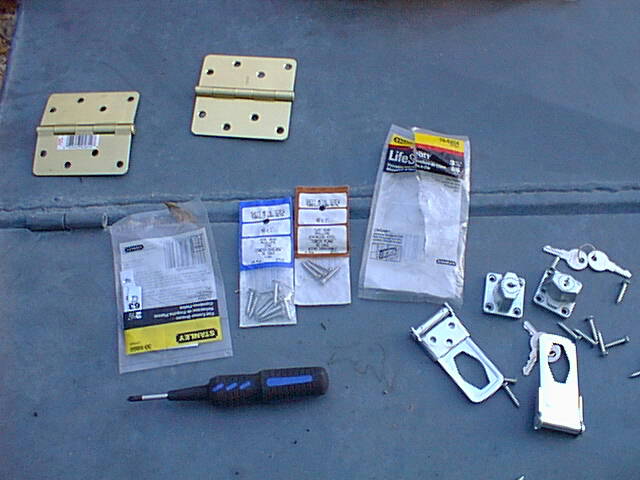
| Next I began to build the lid for their enclosure. You may see this as an unnesscary step, but that is not true. Although I cannot say for certain their are people who look to steal reptiles from people, I do know for a fact that one of my tortoises was stolen because I did not have a lock or a lid on the top. I am assuming it was a kid in our neighborhood eho then probably let it go "where turtles should go" thus insuring I would never see it again. I will not make this mistake again. Here is a picture of the materials I used to build the lid. |
 |
| I simply got matching pieces (2x 8) of wood from Home Depot and had them cut to 5 each. Then I formed a frame with four sides. This is the base off of which I will add the chicken wire to and add the latches to also. You can see that this makes a very sturdy lid with a low cost to you. |
 |
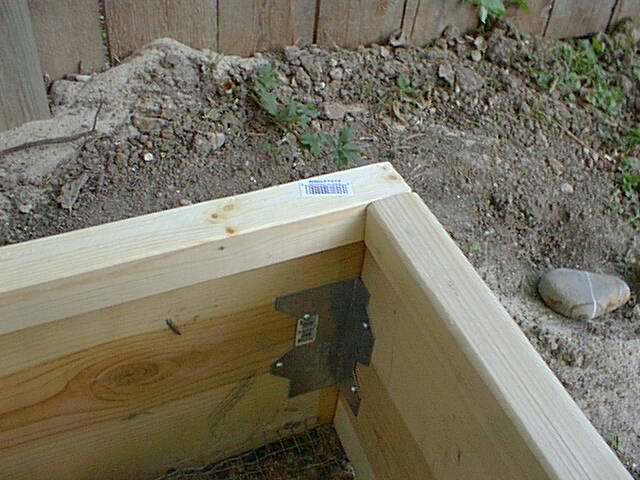 |
| As you can see from the picture this is what our new corners looked like. We added brackets to the corners to fasten them together. We then started to add the chicken wire to our frame. I did this by wrapping the chicken wire sheet I created (by fastining two sheets together) around the edges of the top of the lid. I then bought masondry nails (which have wide heads and small bodies) and began to drive these into the wood to hold down the wire. I did this every 3-4 inches to form a tight seal across the top. |
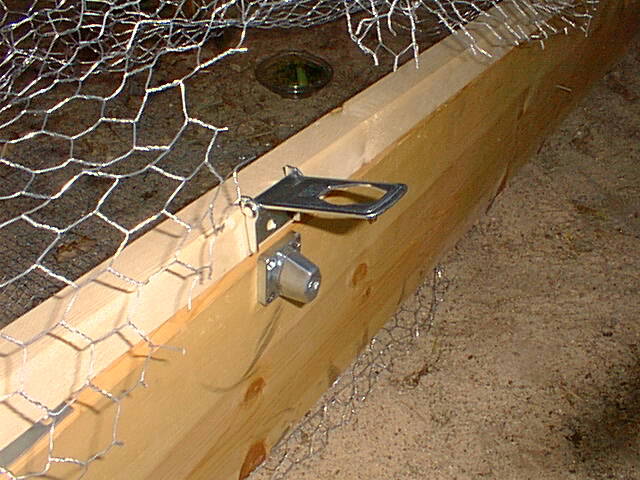 |
| I then added the locking latches from Home Depot. I think these are better than normal latches because of the added safety of coming with a key lock already built in. They were also cheaper than buying seperate master locks and latches. I simply attached one side to the lid and the locking part to the base. You can see this clearly in the picture on the left. You can also see how I am wrapping the chicken wire around the frame. I put two of these locks across the front of the enclosure. |
 |
| After attaching the lid to the enclosure by using the hinges pictured earlier I had finished the top of my enclosure. The chicken wire was securly fastened and the locks on the front prevented unwanted access to my tortoises. As you can see it doesn't look half bad! And it proved to be very sturdy indeed. At this point I started to do more landscaping, adding plants and their hide box, as well as their sun house, as I like to call it. This is simply a little hut where my tort can go and sit under a heat lamp 24/7/365 if they want. |
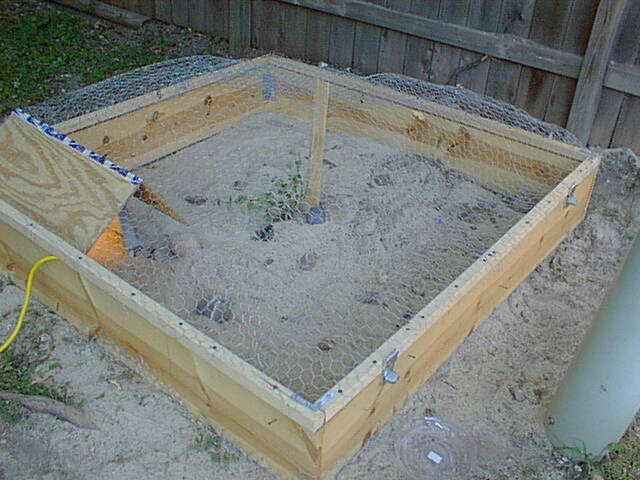 |
| You can see the house on the left of this pciture. I also added a small board of wood in the very middle to keep the wire from slouching down too much. I added more rocks as I found them and all that's missing from this picture is the hide box. Hope you enjoyed this article and I hope many more people across the world start putting their torts outdoors instead of inside. If you live somewhere where the weather is okay, why not put them outside? Trust me I can really tell the difference. And so can they!! Enjoy. |
 |
| This article is dedicated to the Memory of Dexter. Who was stolen from my backyard on 10/31/01. Hope you are having fun Dex!! Questions and comments can be directed to [email protected]. Thanks. |

|