 |
|
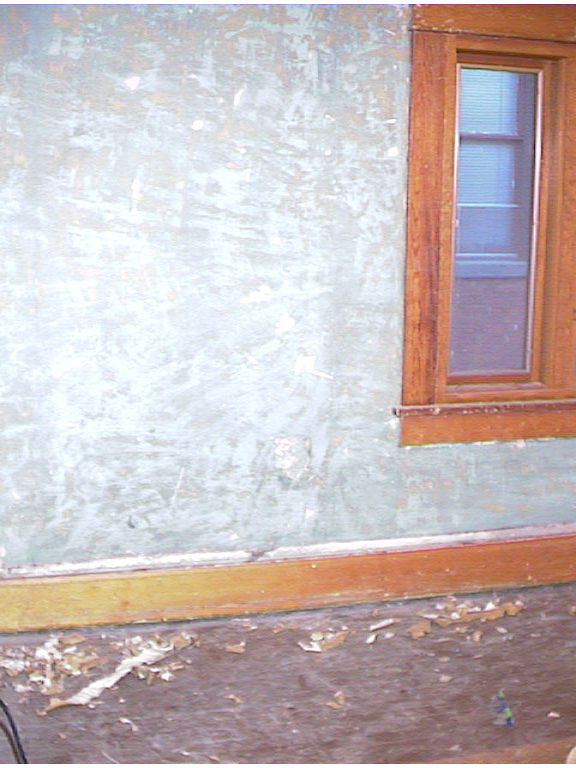
| The wood frame around window looks very nice after white paint and many layers of other paint had been stripped off. Heat gun works very well in this application. |
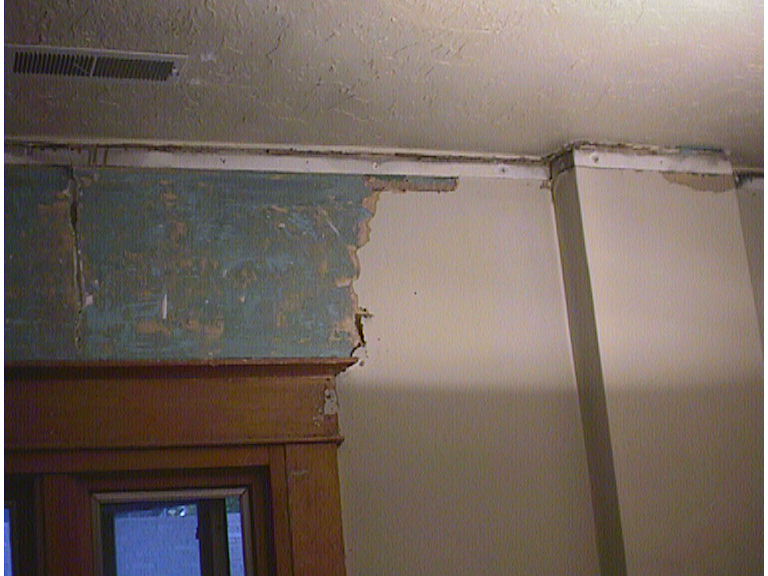 |
| Half way through the process of removing at least three layers of wallpaper that was last painted white. We used 4" scraper with very sharp blade that is for removing wallpaper. Basically we shave pieces off the wall. |
 |
| Well, at least they left some part of the wood trim not painted. Oh, that was behind the radiator. It weighs at least 250 lb. I wonder why there was not wallpaper behind it either. |
 |
| Most difficult part of the project was removing the wallpaper backing. I used water bottle to spray and wet the backing first, then scrap it off one piece at a time. There was wallpaper on the ceiling too. What a nightmare that was! |
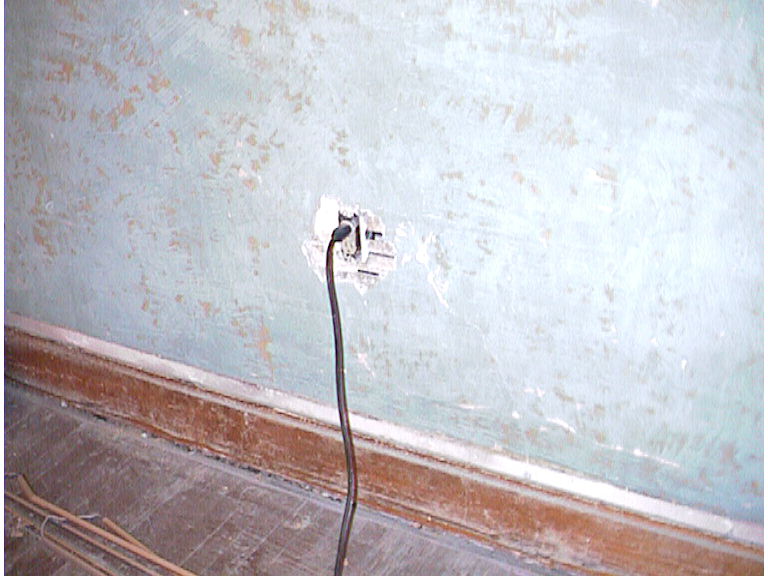 |
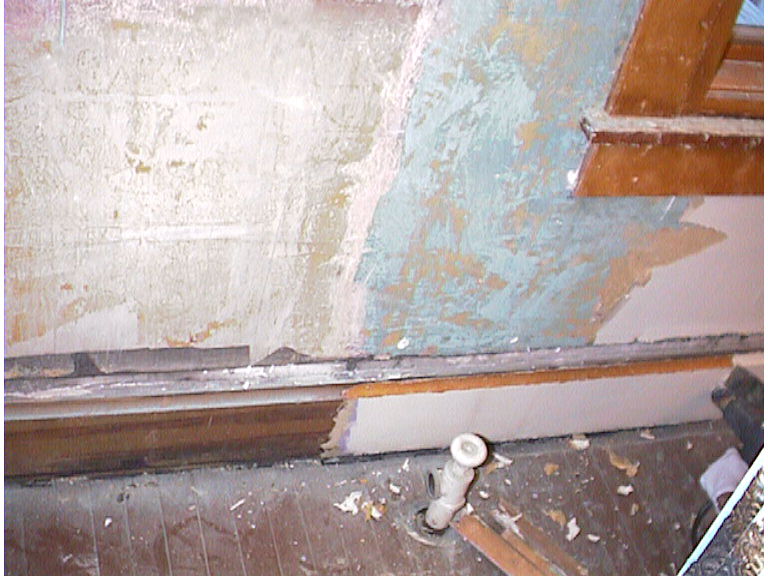
| Some plaster just fell off after the wallpaper had been removed. I tried skim coat of plaster to make it smooth, it was way too difficult than I would expected. So I patched up many marks from scrapping and old ding and dents, then just sanded it smooth. |
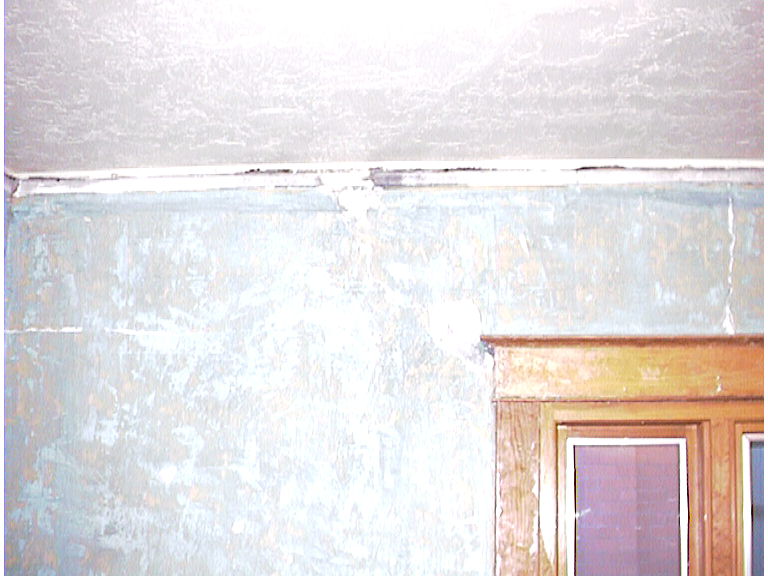 |
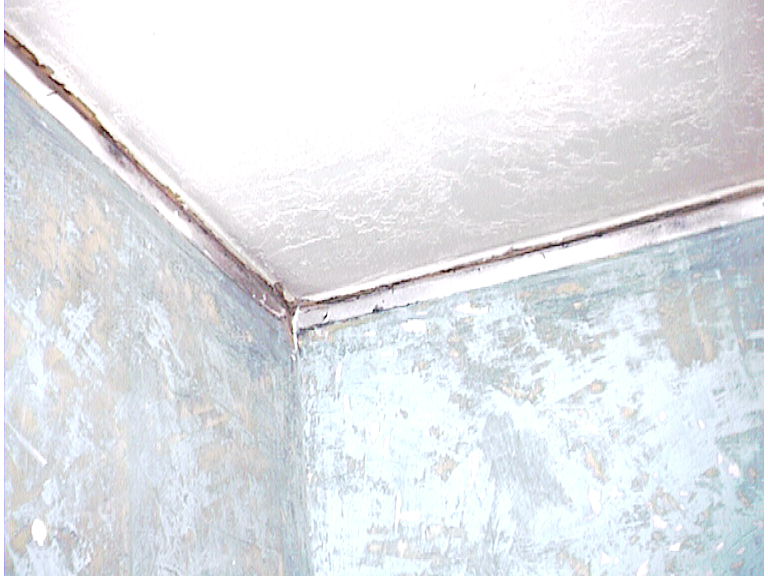
| After sanding, it was ready for primer and new paint. |
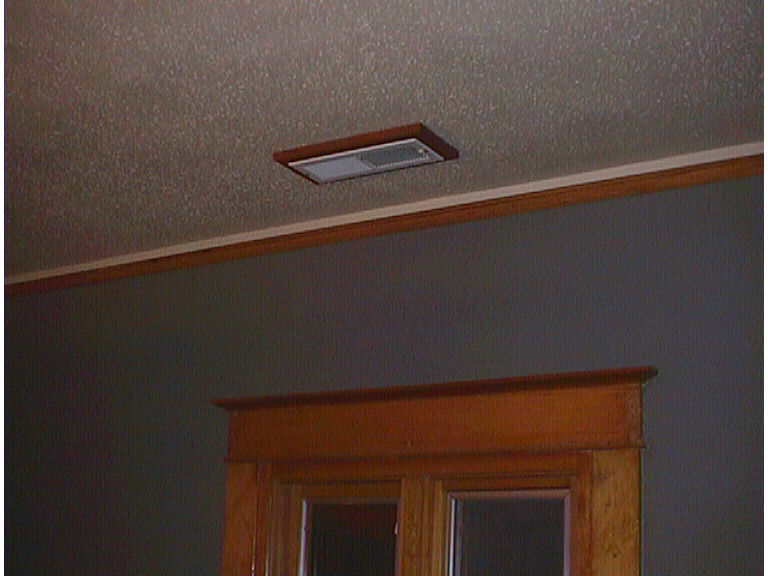 |
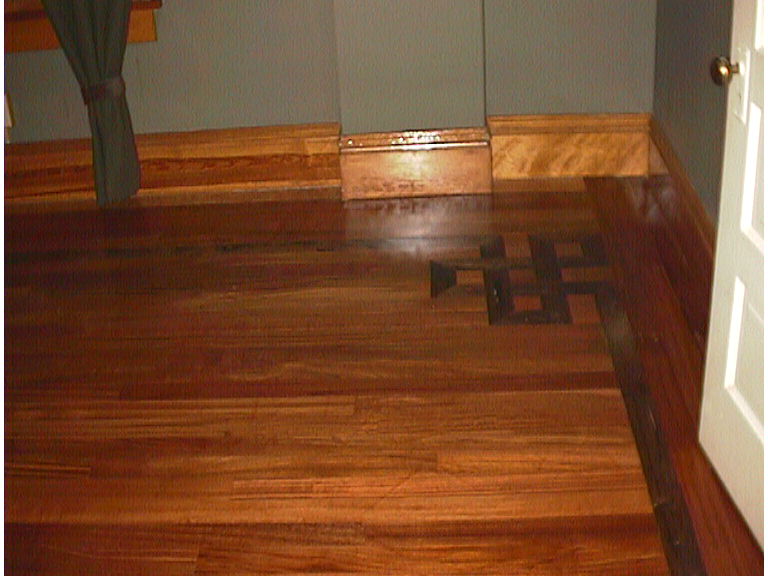
| The ceiling was finished with spray on texture paint and wall was painted with one of the Ralph Lauren's color we picked at Home Depot. Semi-gloss sheen. I made a wood frame for the vent since the plaster was loose around the opening. It looks pretty nice with matching finish to the other wood trim in the room. |
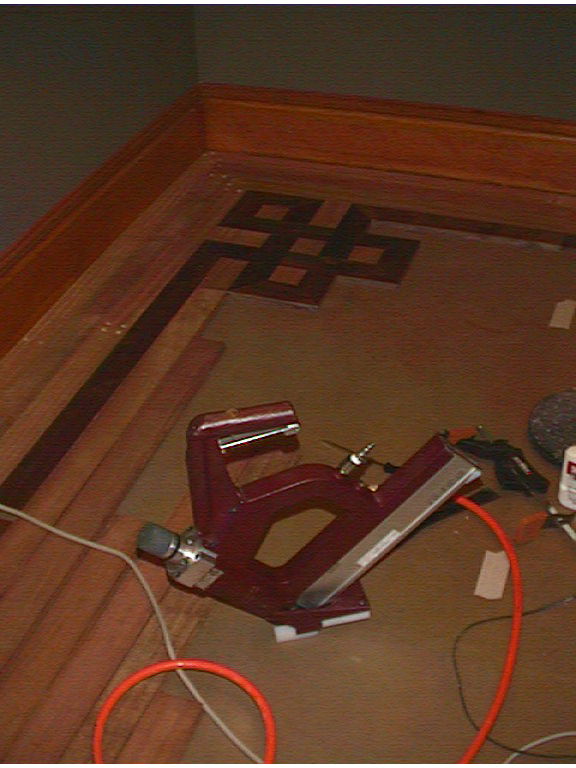 |
| After took off the carpet, we found that the condition of the old fur floor was beyond refinishing. So I decided to put new floor in both master bedroom and hallway. It would be a long project, so renting was not practical. Power nailer is a must for a project like this, so I bought a used Powermatic air floor nailer. It was a great tool. |
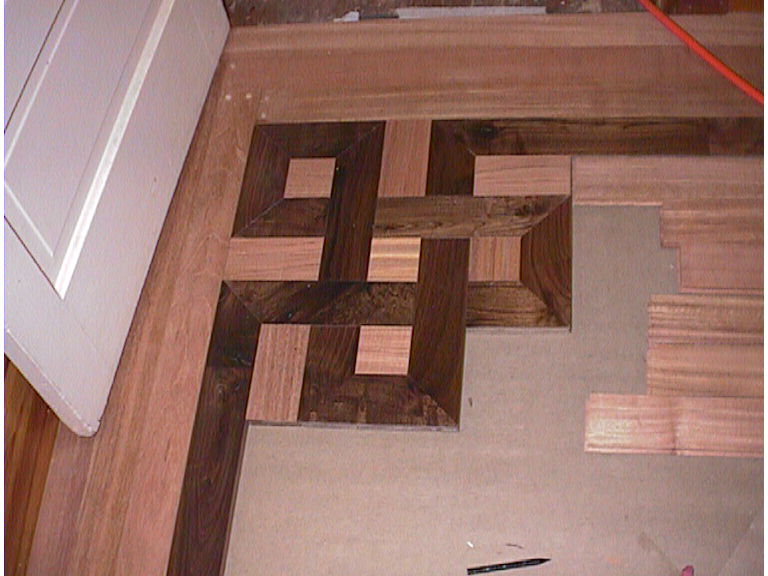 |
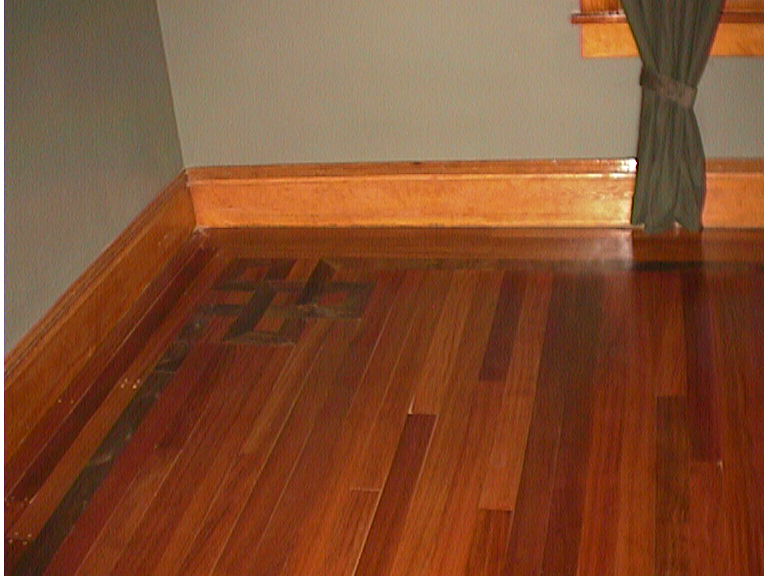
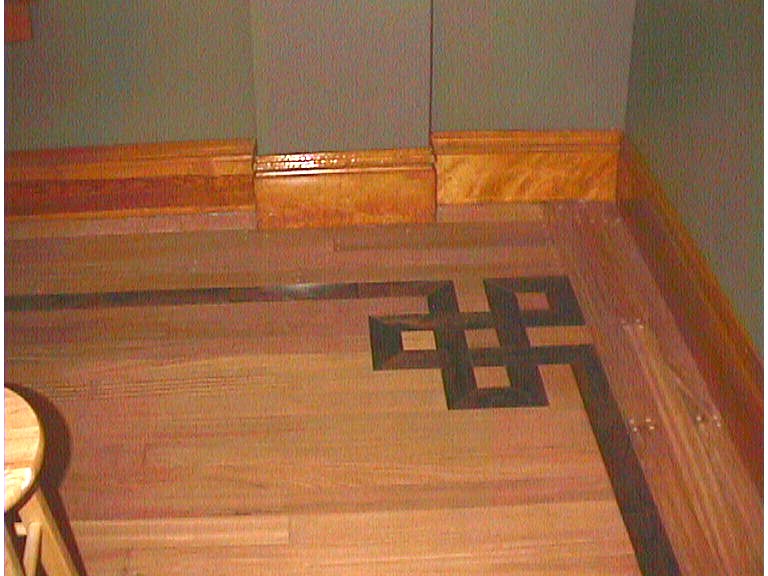
| I had been doing casual woodworking for a while and was my first time ever to install new floor. But I don't like just plain new floor. I want to be different, so I tried walnut celtic knot inlay in Brazilian cherry plank flooring. |
 |
| I made three plank wide border. After I found out that Brazilian cherry is so hard, face nailing was impossible, I used screw-down and plugged holes. The little white dots are the plugs. It adds some accent to the border which is nice. Planks are just butt jointed at the corners. I was not sure miter joint was a good idea for first timer. |
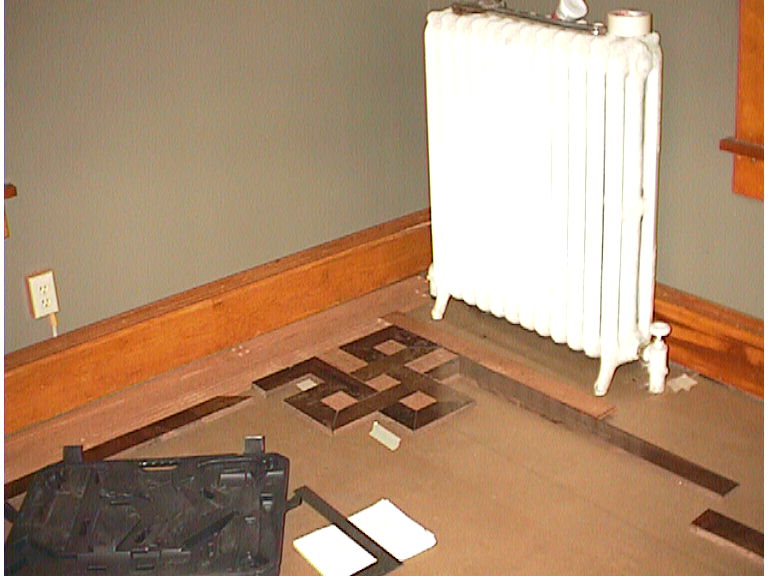 |
| The radiator was left on the old floor level. There will be a radiator cover later to make it not looking so ugly. It weighs more than 200lbs, so move it out of house to be sand blasted or refinished was out of question. |
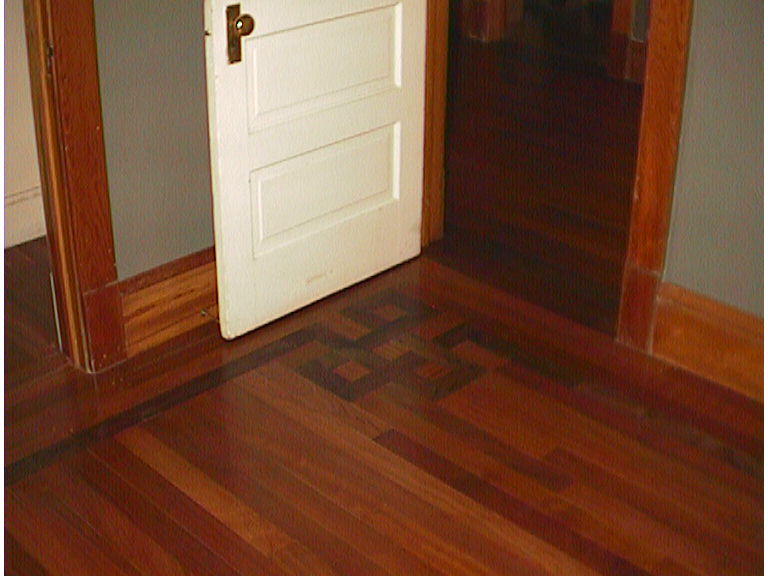 |
| Finished floor. |
 |
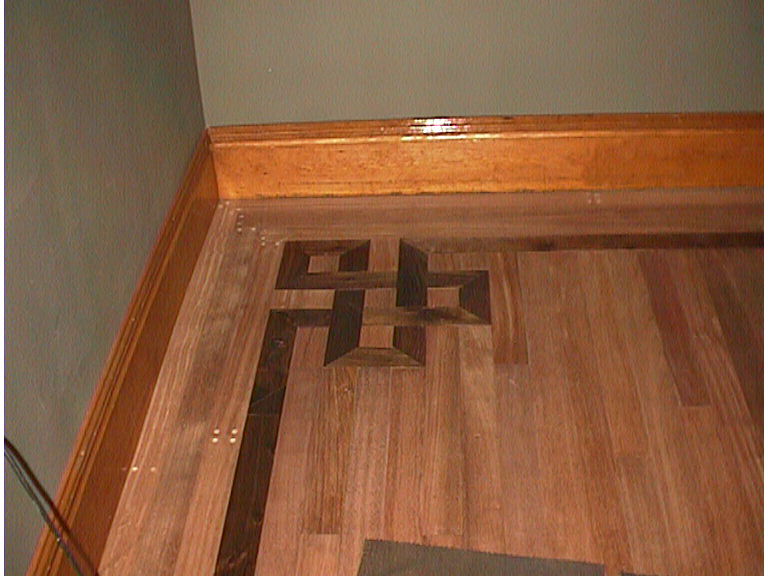
| Another corner of the finished floor. |
 |
| Finished floor. |
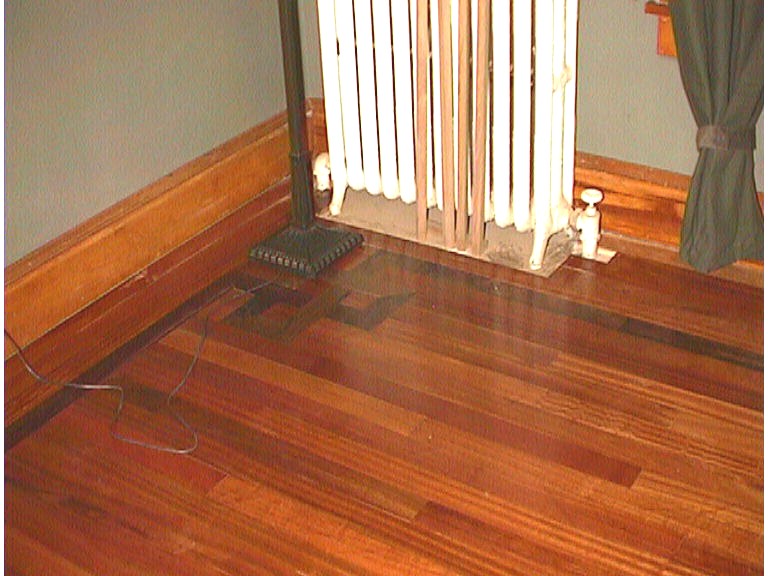 |
| Another corner of the finished floor. |
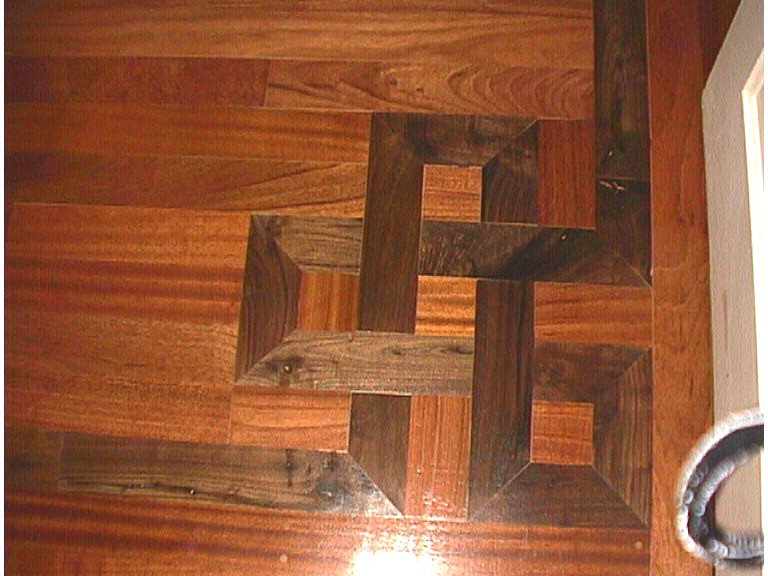 |
| A close-up look at the inlay. |
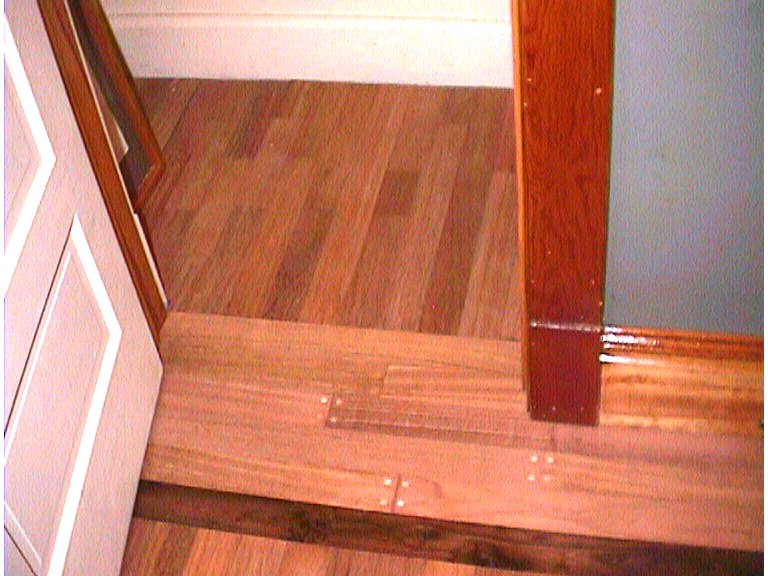 |
| View of floor in the master bedroom closet. All the closets in this old house are small. I think it's just common in old house. People did not need large space for their clothes as we do today. |
 |
| Bare floor before sealer and finish were applied. |
 |
| Another view of unfinished floor. |
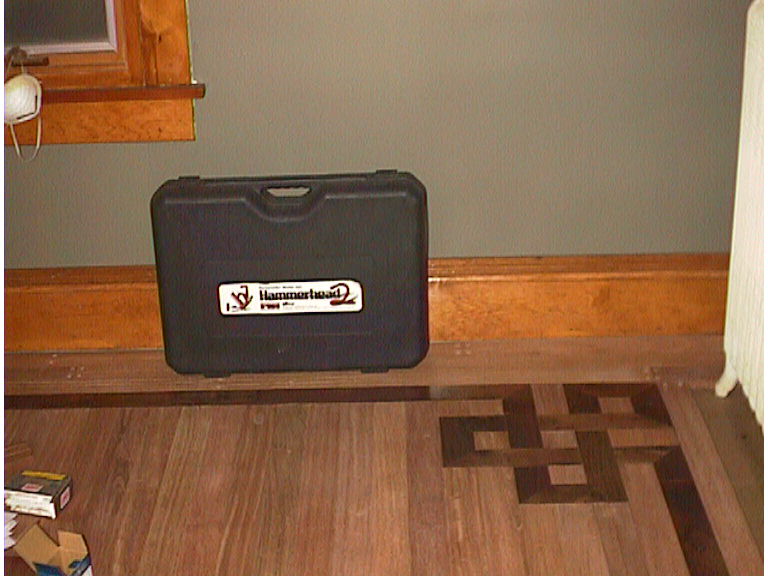 |
| Floor nailer had been put away - the floor was done. |
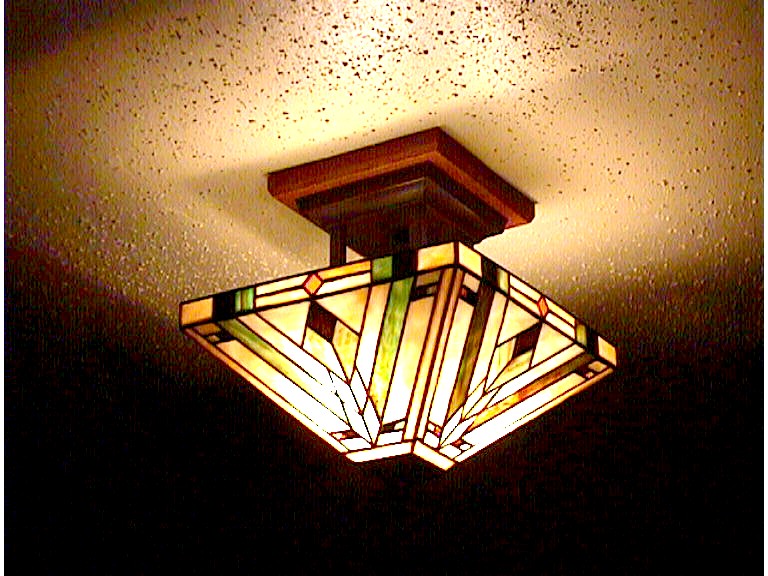 |
| Finally the light for the finished room. I made a mahogany plate for it to add a tone to it. |