 |
| Looking back, not only I had done a lot on home improvement and woodworking this year, but also learnt a lot to be a home owner. This was the second year we lived in our house. We had done some remodeling in the previous year, this year we had taken it to another level. So was my woodworking. I made quite few things through the whole year. Here I will list them one by one.. |
|
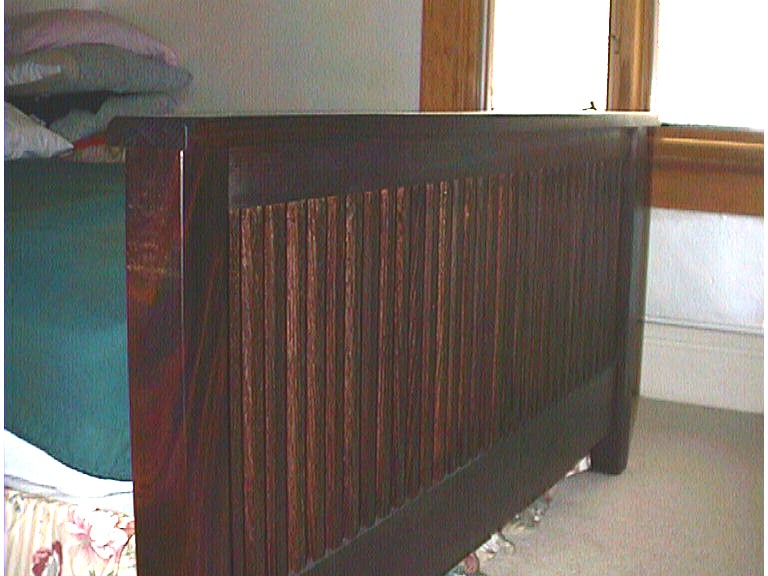
| The first project was the bed frame and nightstands. In-laws were coming. So we started looking for an extra bed. Found a pretty good deal on the mattress and box set, but no luck on the bed frames that can go with the house. One queen size mission style bed frames at Restoration Hardware sell for $1499. And over $400 for one nightstand. So I decided to make my own. |
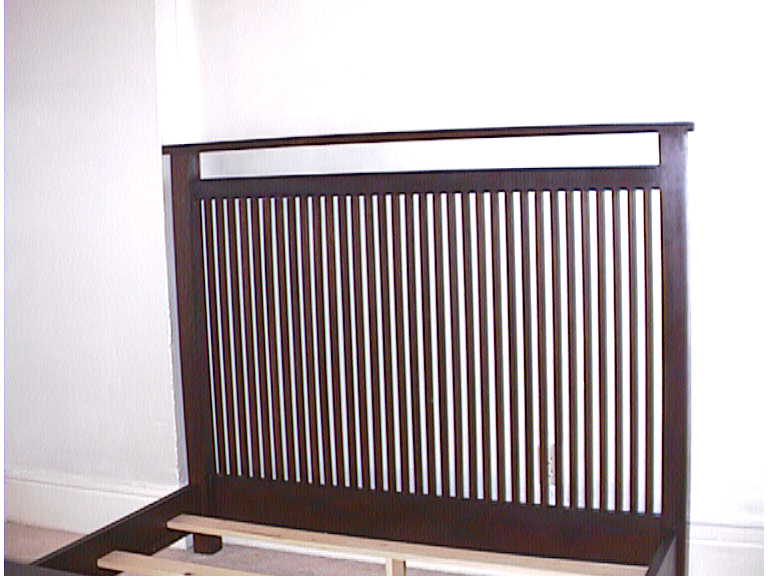 |
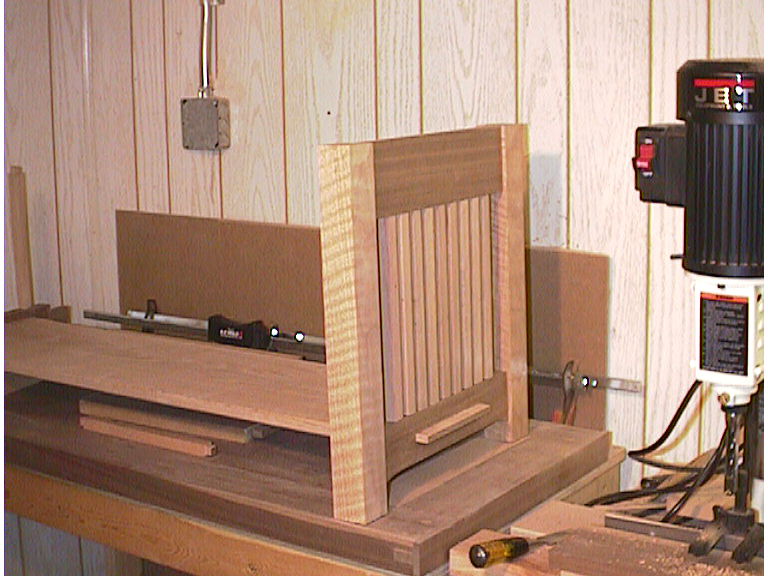
| Jeff Miller made a curved bottom rail. There was no way I could make that, so I left it straight. But I made true mortises on the rails. 33 spindles on each the headboard and footboard. That totaled 132 mortises and tenons. I do have a Jet mortise machine that did a great job in this project. |
 |
 |
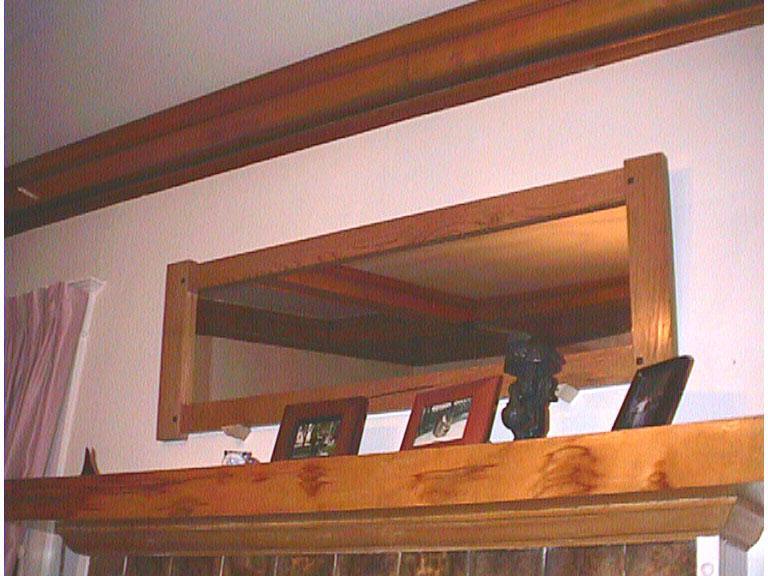
| A few months later, I got a DeWalt jigsaw. Then I made four support wings for the bed. |
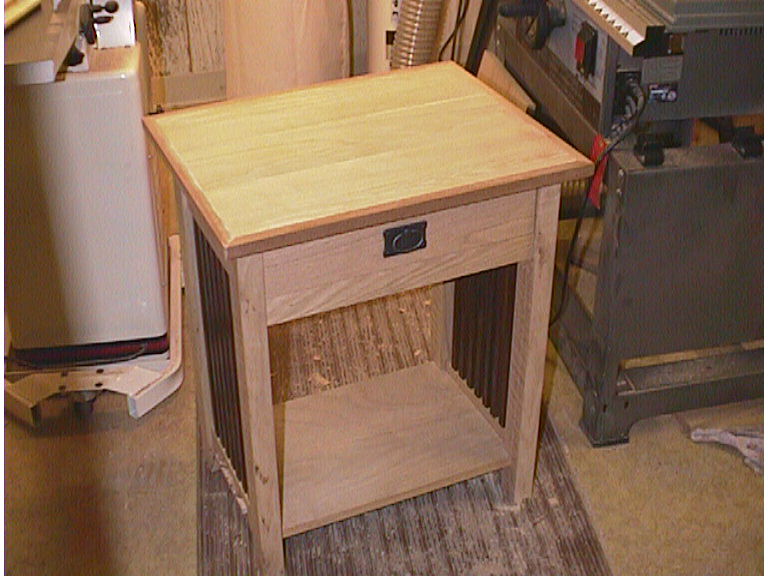 |
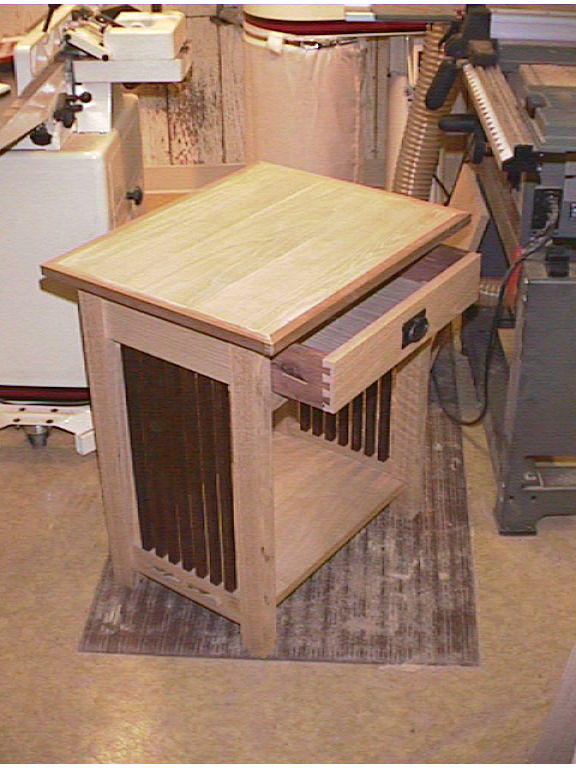
| Unfinished nightstand. The top is made of poplar with oak trim for the edges. Rest is red oak. The drawer sides are cedar with four corner dovetailed. It was my first ever dovetailed drawer. I used cheapest dovetail jig I could find - HF Tools $45 jig with 5 bits that burn everything that touch. |
 |
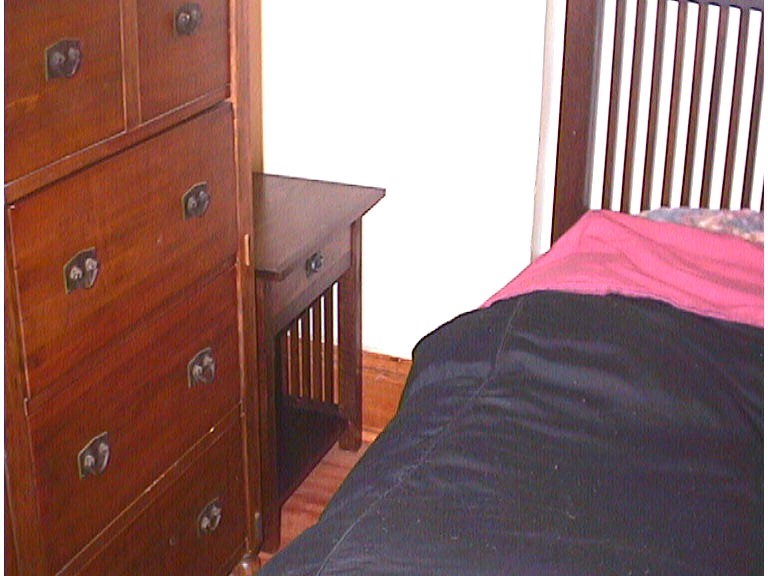
| Nightstand with drawer closed. |
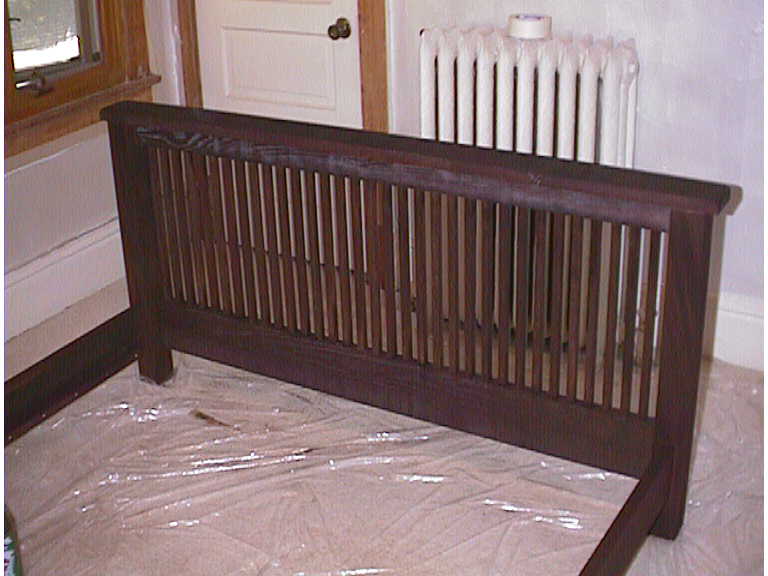 |
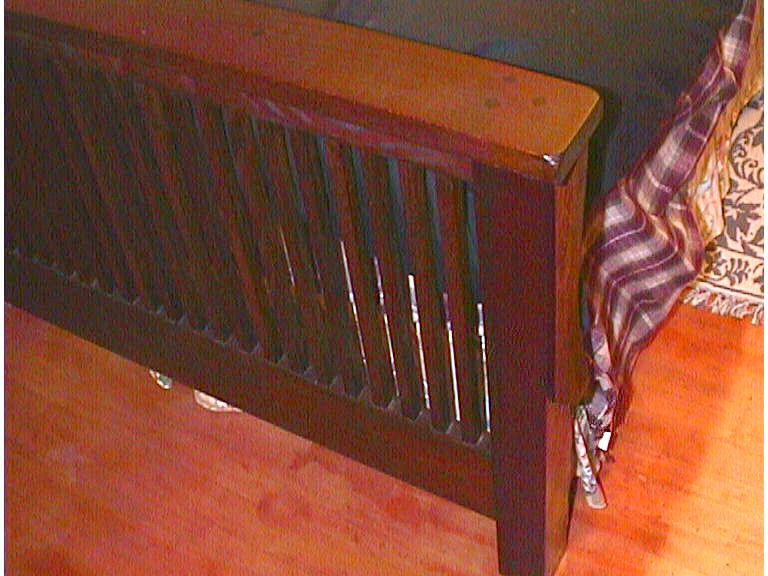
| The bed frame and nightstands were finished with mission style dark brown water based stain. Coated with linseed oil, shellac and dark wax for the glaze. |
 |
| It was a pretty big project for someone who was only second year into woodworking with very limited tools. I bought Jeff Miller's book - "Bed" for helping me on the construction and measurements. I used red oak for the whole project except the footboard legs that are mohagany. I bought those 3/4" slats from HomeBase before they went out of business. I did not even dare to cut those on my Ryobi BT3000 table saw. I did not have jointer nor planer at the time. So it took me lots of cutting and sanding on those 5/4" rails. |
| Another nightstand on the other side of the bed. |
 |
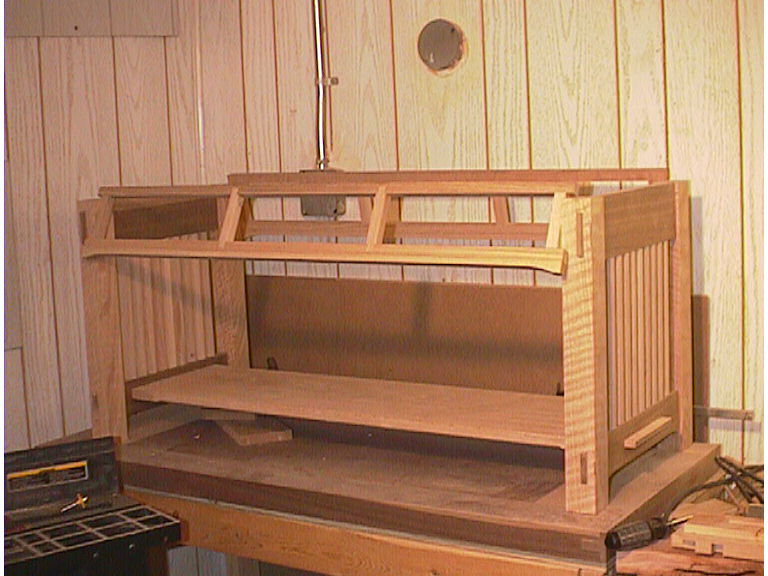
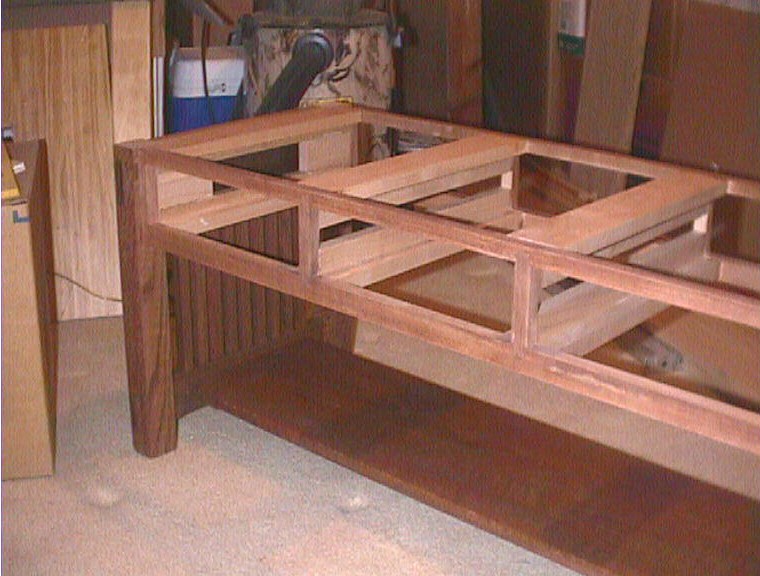
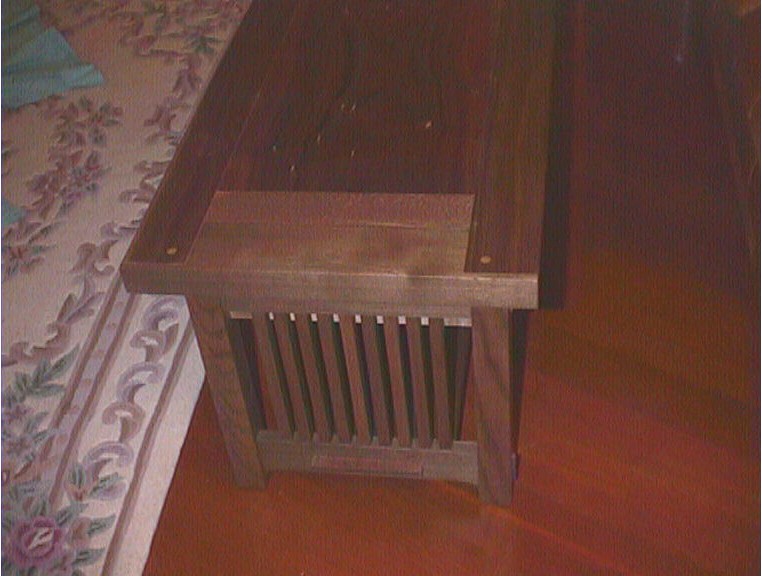
| After we refinished the oak floor in living room, the light colored coffee table (one of my early project) was out of style. So we were in need for a more mission style piece to go with the rest of the living room. Hardware Restoration had one with six drawers, three open on each side. But we don't have big enough space for that size. So I got the idea and started making this three-drawer coffee table. The drawers will open to each side. |
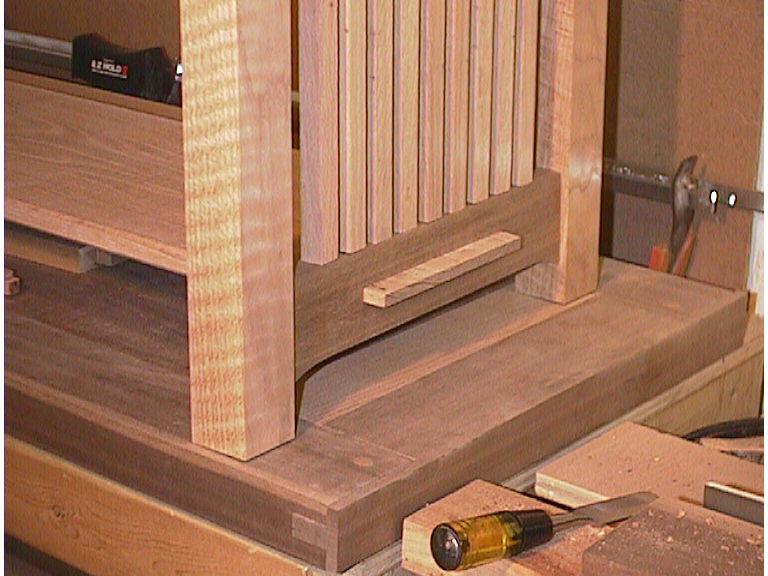 |
| The side rails are walnut with 3/4" oak slats set in 1/2" mortises. The legs are 2"x2" white oak. The top is constructed with some sort of rail and stile (my own version) of 1-1/2" walnut with 1" walnut in the middle and two piece red oak accent on the side. |
|
| Another nightstand on the other side of the bed. |
 |
 |
 |
 |
 |
 |
 |
 |
 |
 |
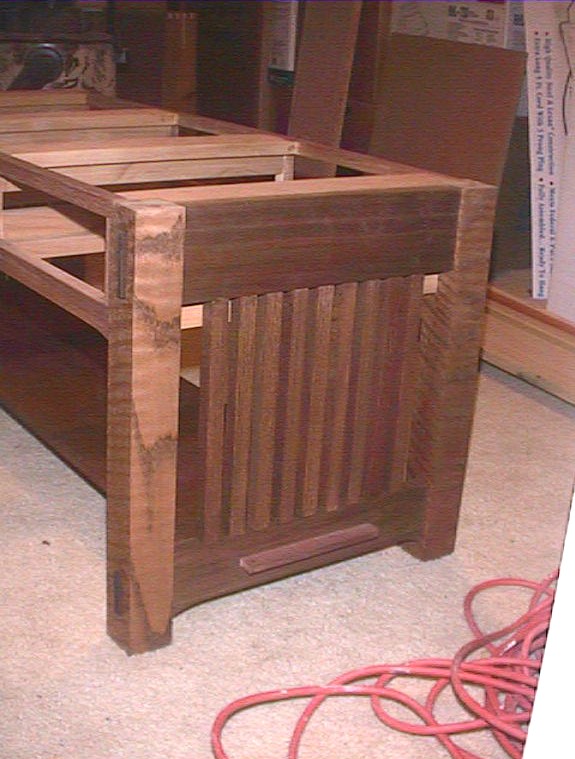
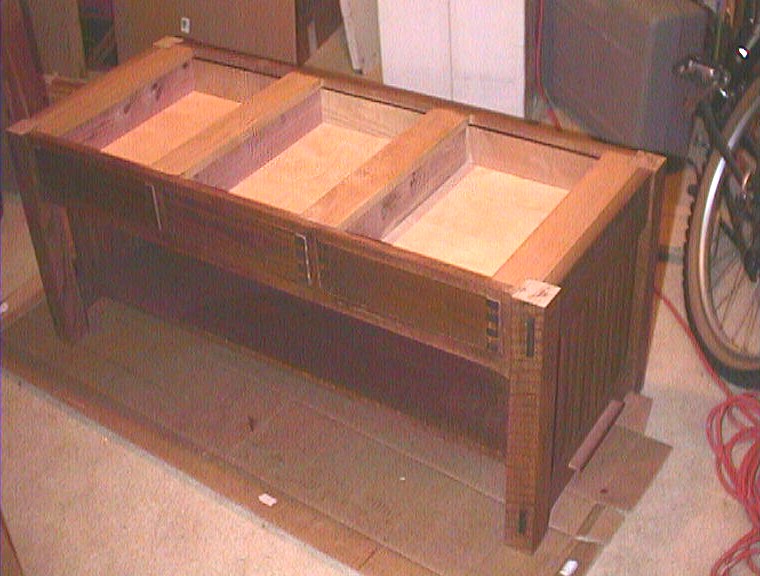
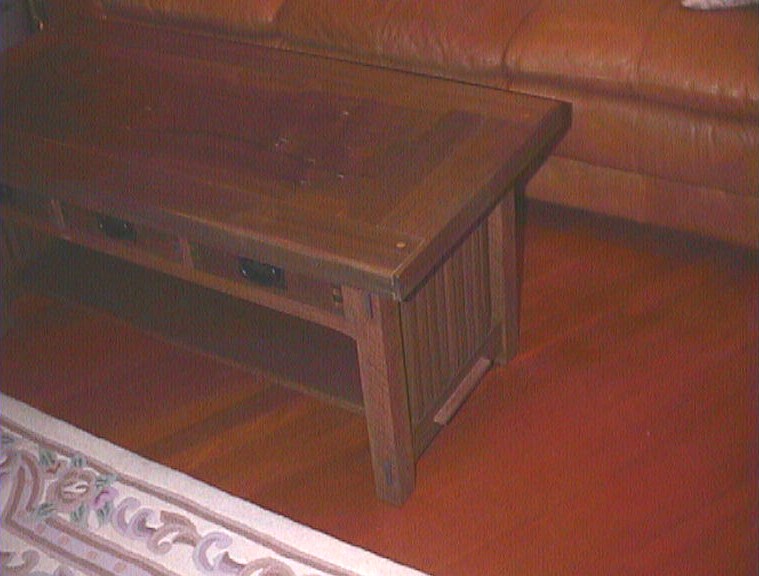
| This picture shows the fake tenons on the legs. The vertical pieces for the drawer opening frame are dovetailed in the rails that are jointed with tenon and mortise to the legs. |
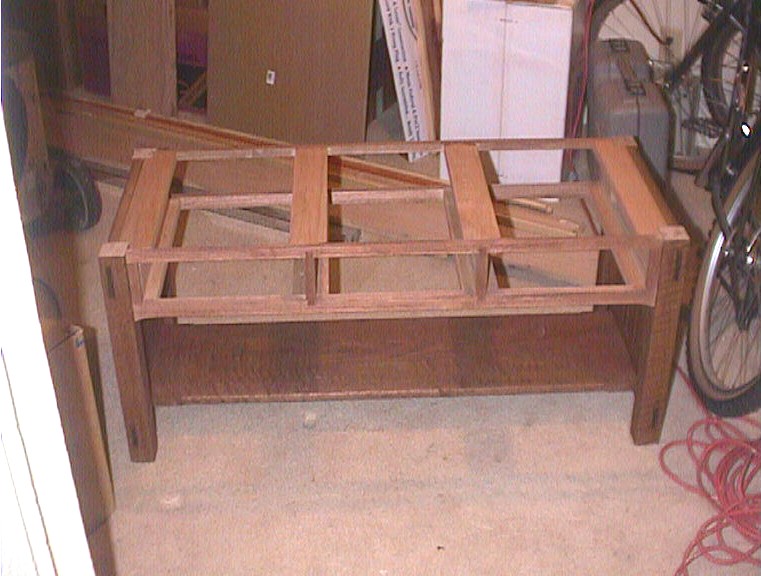
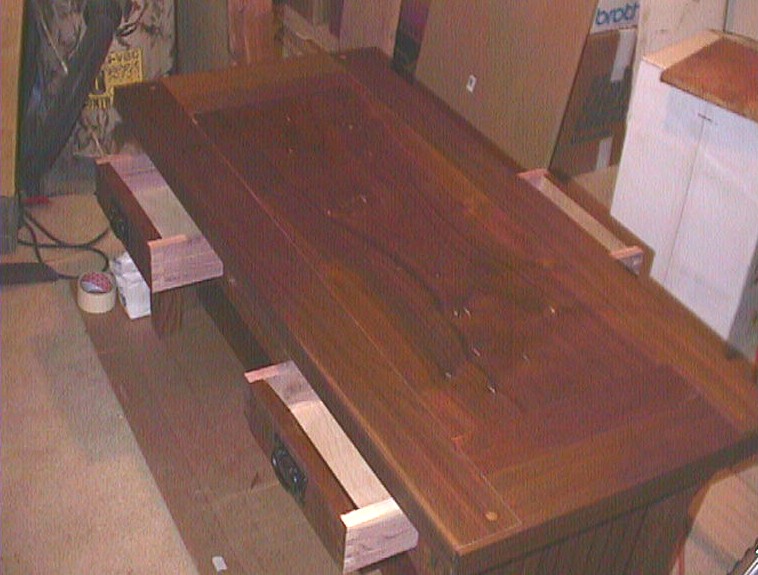
| After the drawer case is done and first coat of stain the coffee table was ready for the top. |
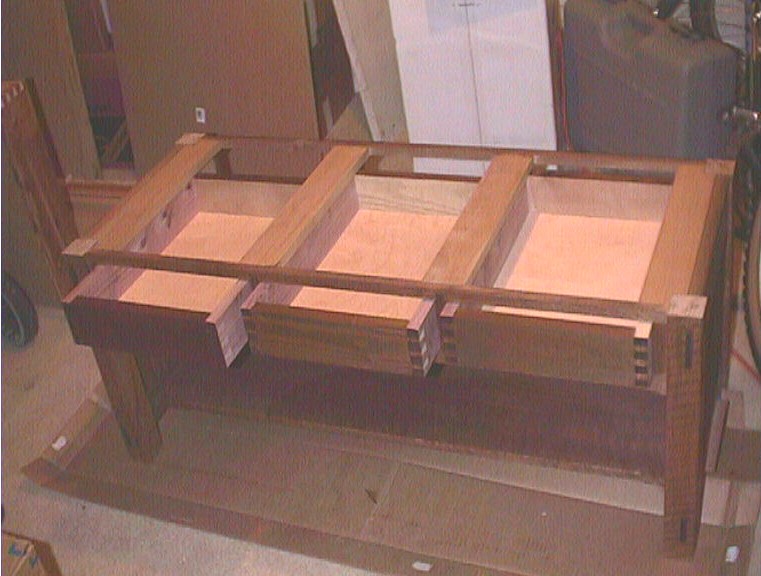
| I made drawers using hickory from fronts and cedar sides. Four corner through dovetailed with birch plywood bottom. |
| The drawers ride on the side rails with self-adhesive slick strip from Woodcraft. |
| The top was made from a 2" thick walnut I had for a while. I did not know what I was going to do with that piece when I bought it. The piece was not big enough to made the whole top, so I used it to make a rail and stile frame for the top. The center piece is 5/4" walnut that was not long enough, so I added two red oak strips at each end of it to fill the opening. |
| In this picture, you can see the red oak strip clearly. |
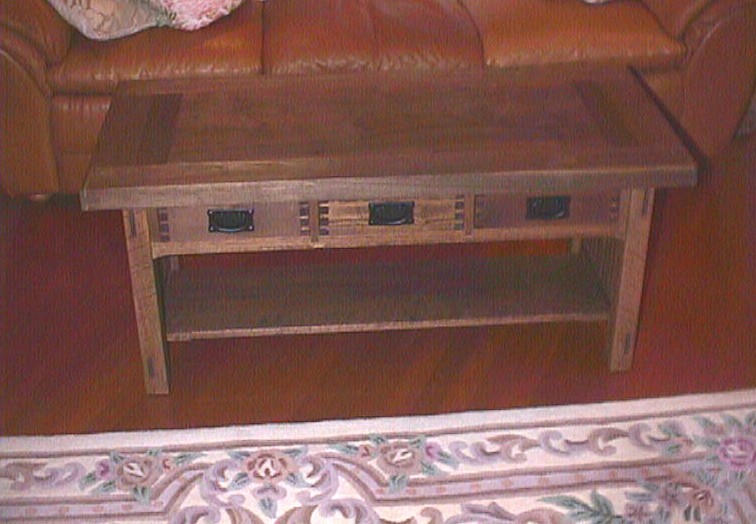
| The drawer pulls are from Lee Valley. Local hardware store sells similar pulls for almost three times the price. |
| Ok, I did stretch the picture a little bit. I think it just looks better that way. |
 |
| More projects |
 |
 |