 |
 |
 |
 |
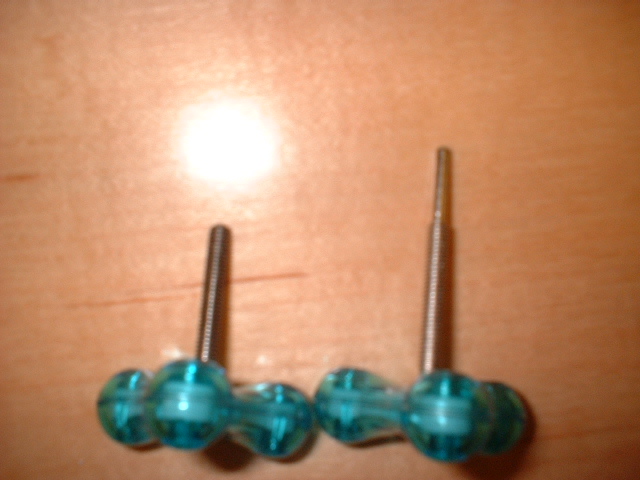 |
| Special tuning tools. As you can see one has the full stem and the other has the stem removed all the way to the threads. This was done so that I did not accidentaly punch through the pins when I was setting them. I've already done that to a few. A screw driver is essential when doing nearly anything with a V-Max or Saturn. Of course you need extra pins. These get worn out fairly quickly when you change strings multiple times. |
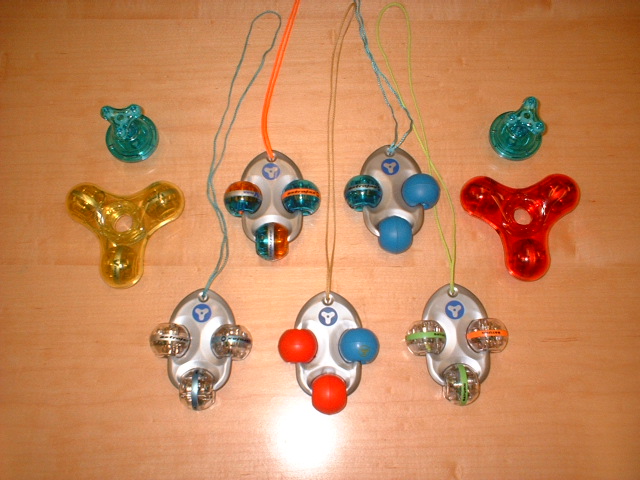
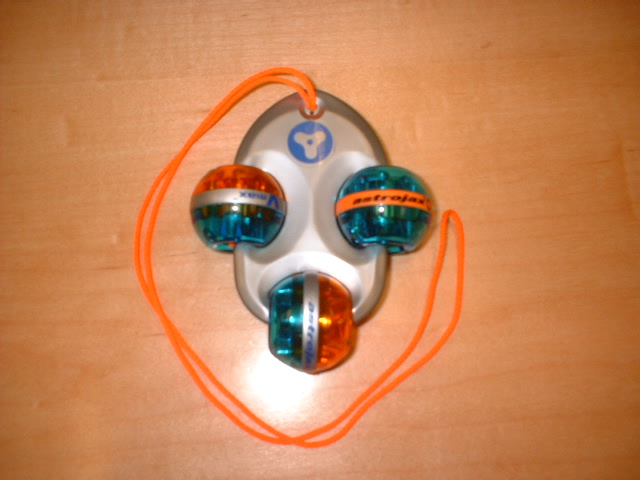
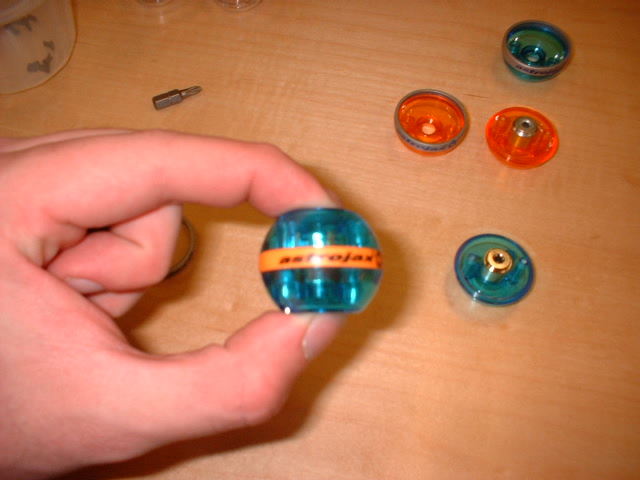
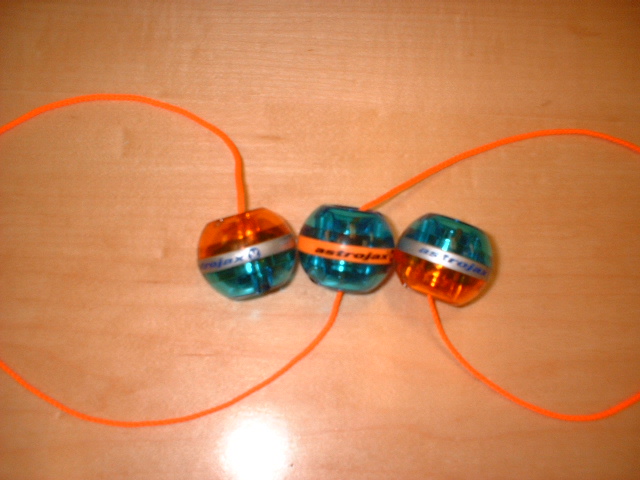
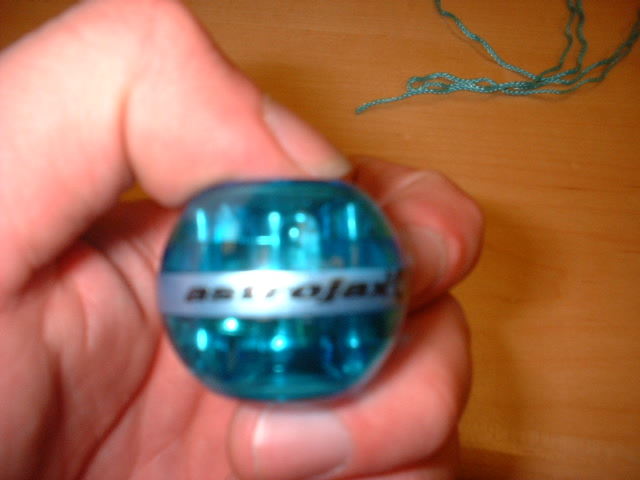
| Here are just a few of my custom Astrojax. Currently there are picture instructions on how to make the top middle two. The first will be the Sportjax and then the UFOjax. If you have the bandwidth however, you should visit daUFO's website for his movie on how to make your UFOjax. |
| Broncos Sportjax |
 |
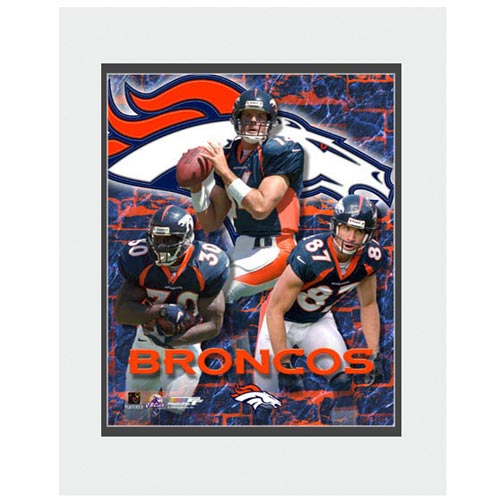 |
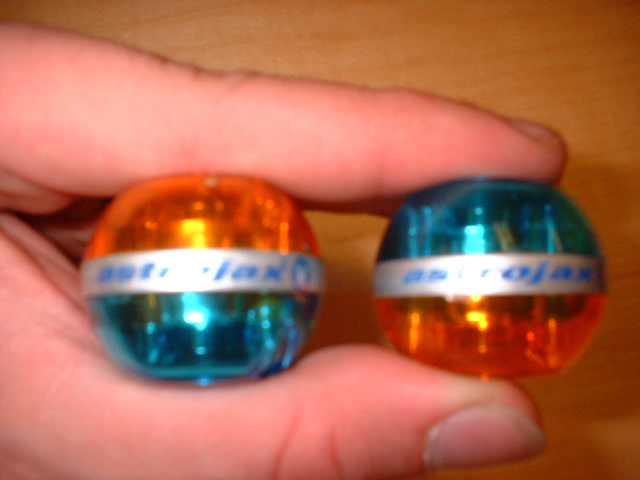
| Seeing as how I live in Denver, Colorado I happen to be a Denver Broncos fan. So I decided to make a custom ajx as a way to support this team. You can use your favorite team's colors to do the same. |
 |
 |
 |
 |
 |
 |
 |
 |
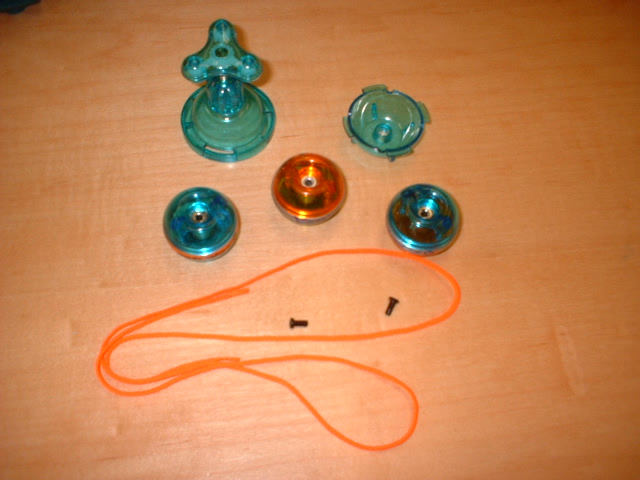 |
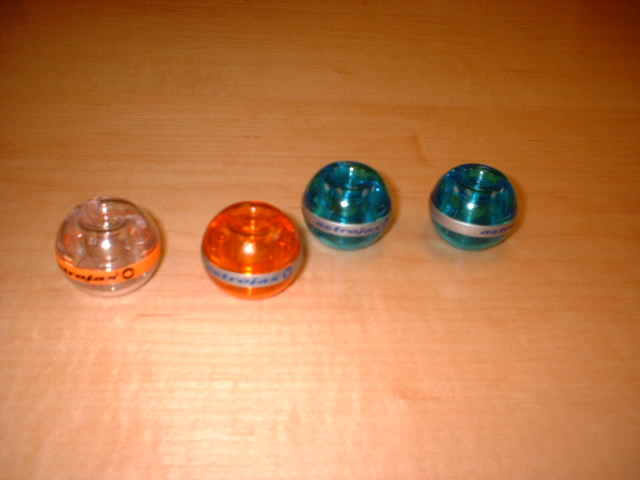
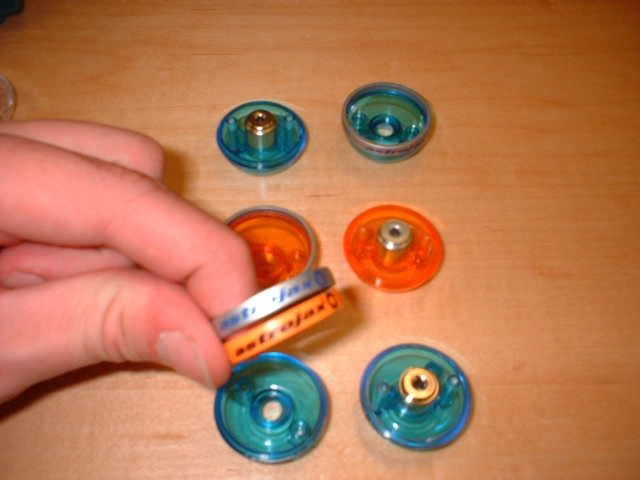
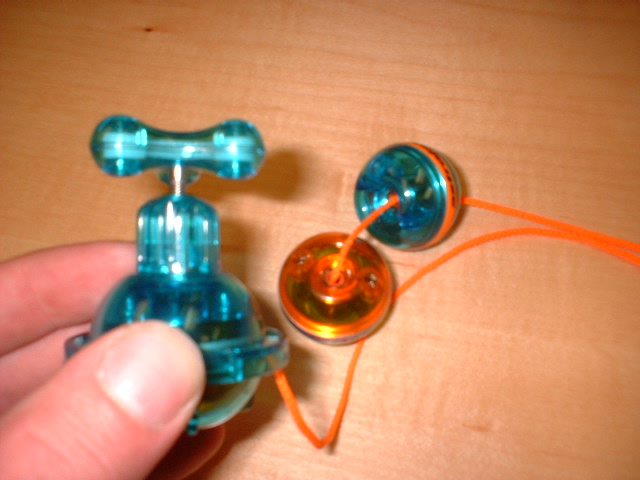
| The ajx you'll need: 1 orange ring saturn, 1 orange v-max and 2 blue v-max. Start by removing the screws from all 4 balls. Take and swap the bands from the Saturn and one of the blue V-max. (Fig 1-2) Replace the screws into the blue v-max and set the remains of the saturn in your parts container. We'll be using those for a later project. This newly completed sphere will be your center in this AJ. (Fig 1-4) Now assemble your remaining spheres using the top from one color v-max with the bottom of the other. (Fig 2-1) Now you'll need a string changer, 2 pins, an orange string and your newly created balls. (Fig 3-1) I used the blue parts on the ends. I thought it looked a little better. Well, there you have it! Like I said before, use the colors of your favorite team (if you can get them). If you cannot get those colors don't worry. I do have a solution but that will be covered another day. |
| Fig 1-3 |
| Fig 1-2 |
| Fig 1-1 |
| Fig 1-4 |
| Fig 2-2 |
| Fig 2-1 |
| Fig 3-3 |
| Fig 3-2 |
| Fig 3-1 |
 |
 |
 |
 |
 |
 |
 |
 |
 |
 |
 |
 |
 |
 |
 |
 |
| UFOjax Text intructions are to be read from left to right, top to bottom. Figures are labeled accordingly. For a full movie of this procedure visit 'daUFO' at http://astrojax.tym.de/ |
 |
| Fig 1-A |
| Fig 1-B |
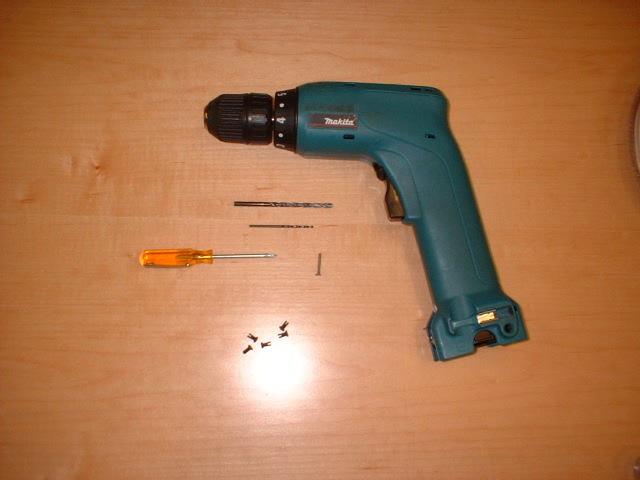
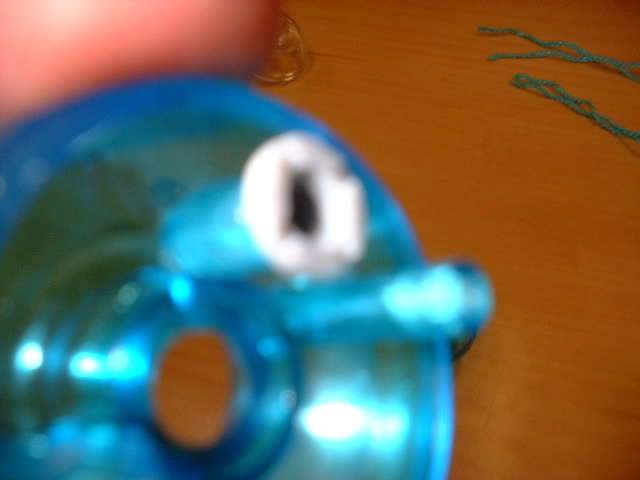
| What you'll need: 2 plus (blue), 1 V-Max (blue), 1 Saturn (Special Edition Blue). 1 blue string. Blue was just my color of choice and any Saturn will due. The blue V-Max is because none of the other colors have the little peice for the button. See fig. U-2 You'll also need the tools shown at top. See fig. 1-A & 1-B. |
| <<- Place for button |
| V-Max |
| Satrun |
| Button from Saturn |
| Drill bit size = 5/64 (1.98mm) |
| Bit size = 5/32 (3.97mm) |
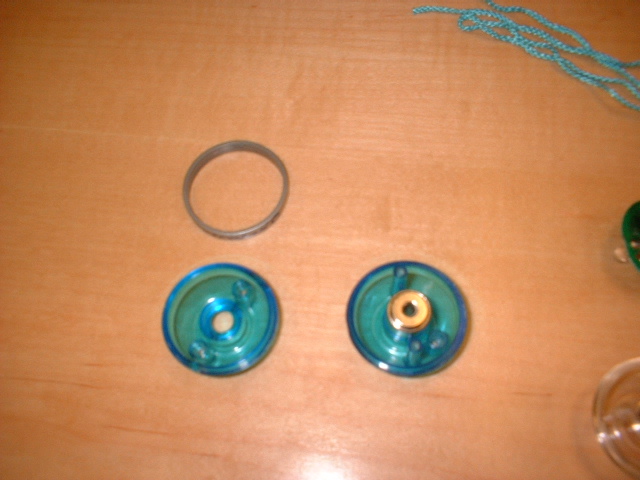
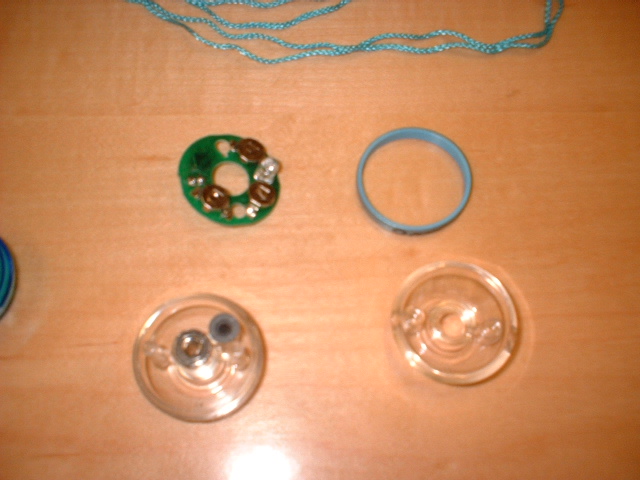
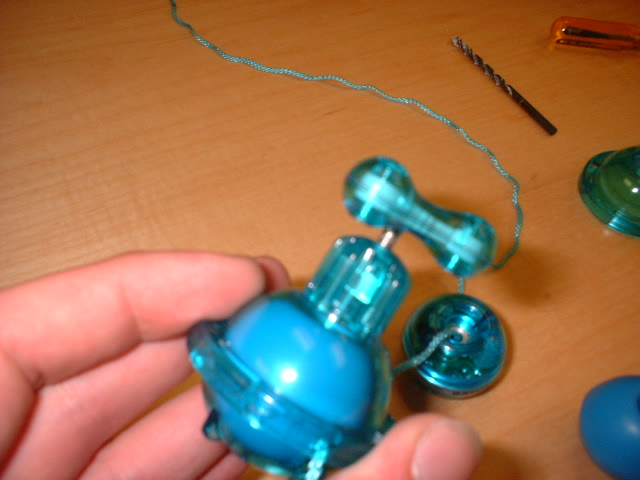
| Unscrew and disassemble the V-Max and Saturn balls. Be sure to place the screws where they won't get lost. |
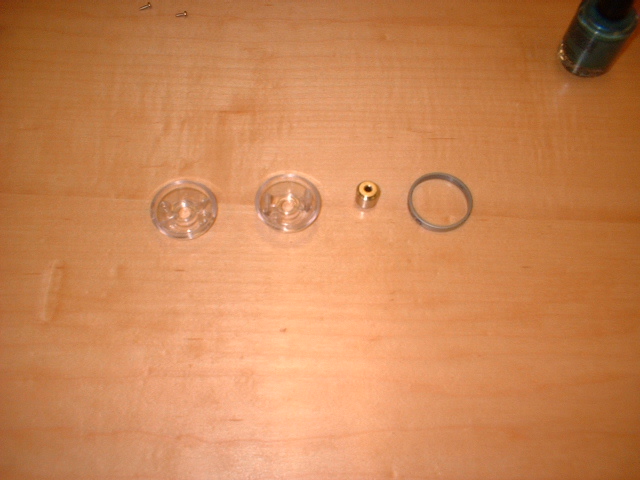
| Set aside electronics, weights and rings. |
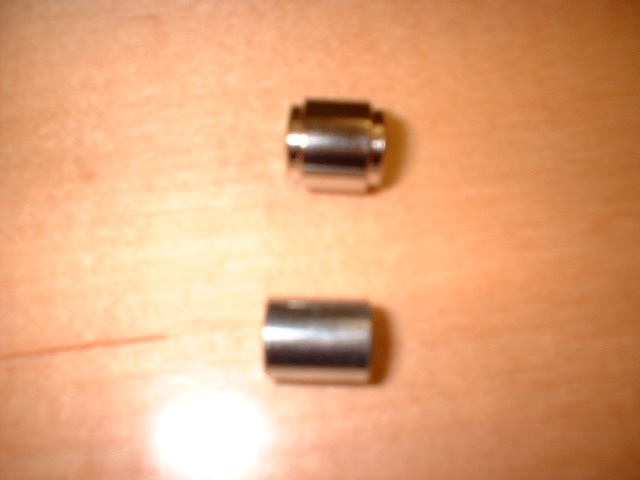
| Here you can see the real difference in the weights. You'll be using the Saturn weight as that is the only way the electronics (led components) will fit. |
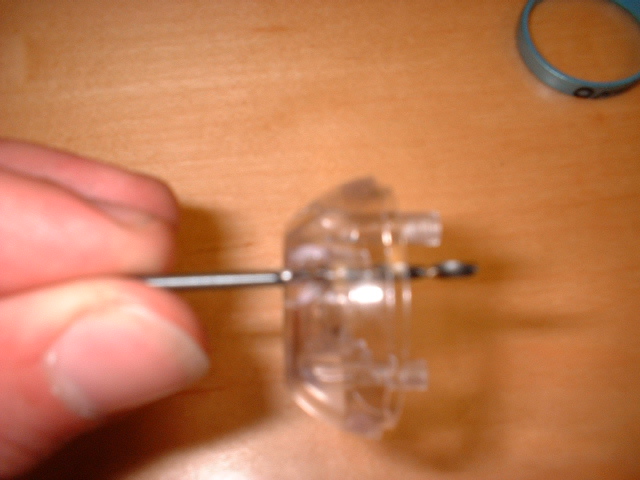
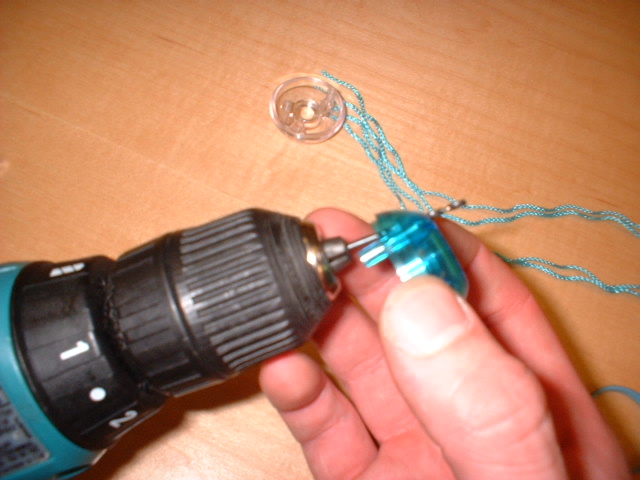
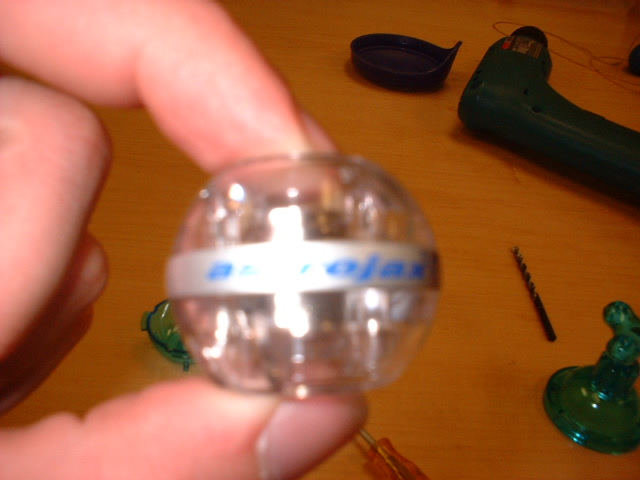
| Carefully drill a hole in the center of the space for the button. Clear away any debris. You can use the drill or screw driver to do this. |
| Almost ready but not quite. Next we'll need to make the space slightly larger so the button will fit loosely and not end up "jammed" down when you use the lighting function. |
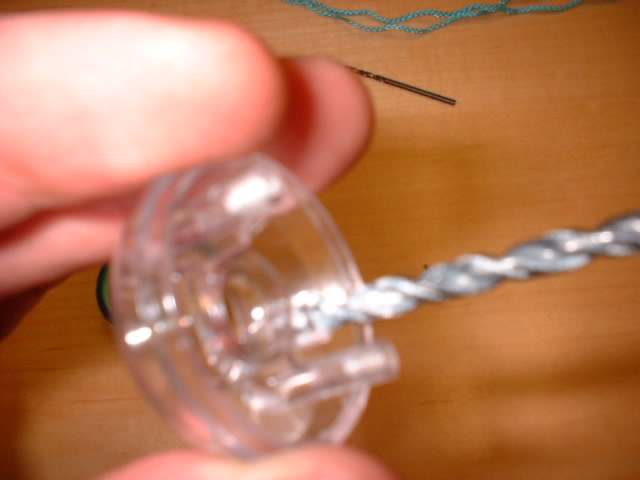
| Test the bit and see how far down it'll go. (And NOT while it's attached to the drill!) |
| Use the previous depth measurement and drill out your button slot. Be sure to clear away any debris after doing this. There may be quite a bit. |
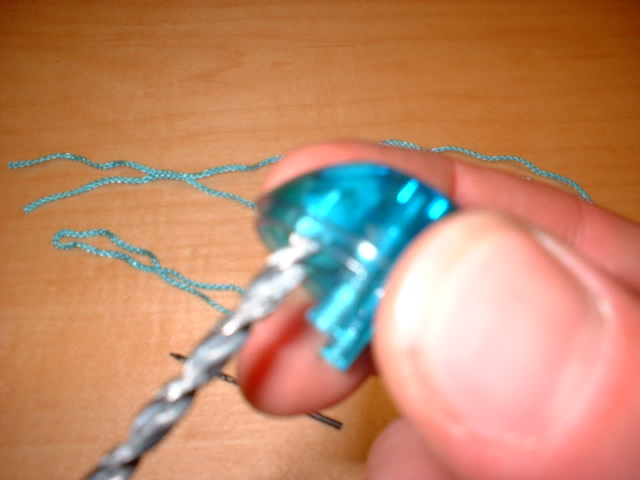
| Let's see if it fits. No? Why not? 1. Still have some debris. Take a little more time to clear it out. 2. Didn't drill deep enough. Do a little more drilling. Perfect fit! |
| Reassemble your new blue V-Saturn using whatever band you think will look best. I'm sticking with the blue. |
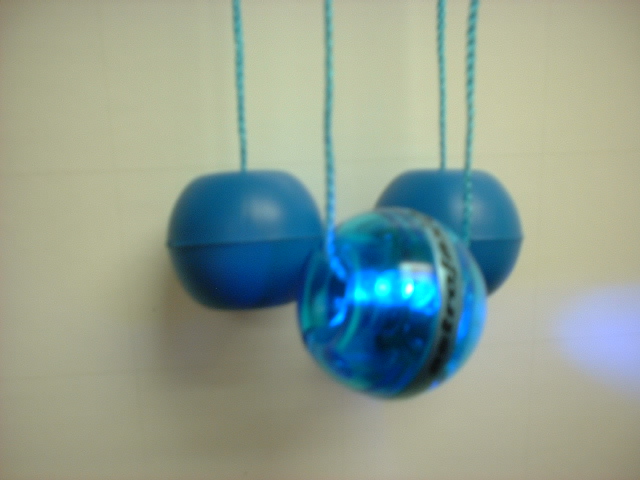
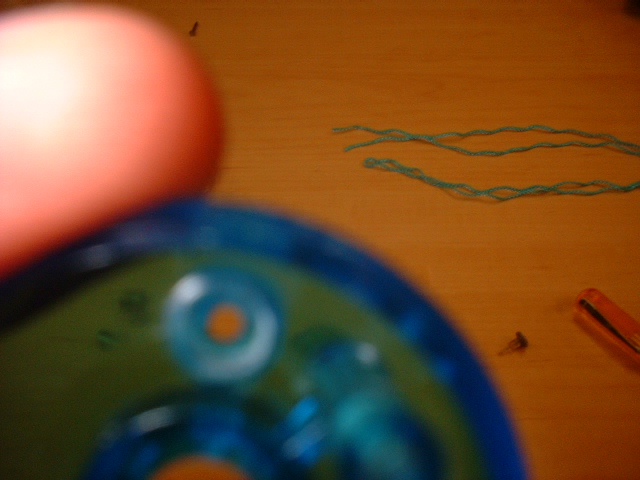
| Lighting test. Does yours light up? No? 1. Make sure the components are in properly. On the board you'll see a swirl like shape (@). This should be directly under the button otherwise it will not work! 2. Still have some debris. Clear it out. |
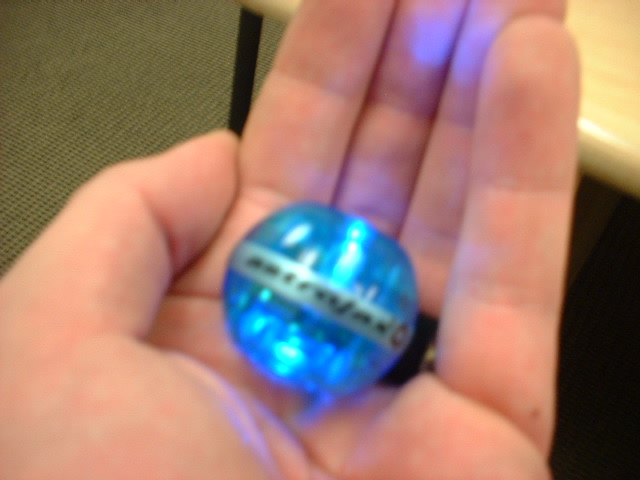
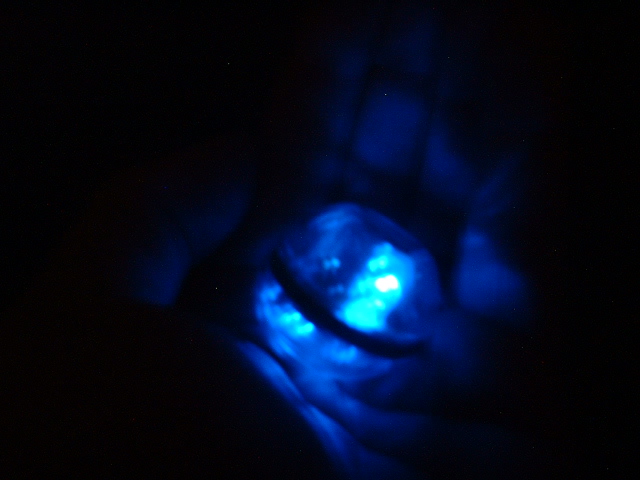
| Lighting test 2. I just thought it looked cooler in the dark! |
| Assemble your left over Saturn as a clear V-Max! We'll do something with this one later! Keep On Jaxing! Original idea from daUFO. See 'Credits' above. |
| Assemble using the blue Saturn as the center ball. Give a go! |
| How to make your own UFOjax! |
| Fig. U-1 |
| Fig. U-2 |
| Fig. U-3 |
| Fig. U-4 |
| Fig. U-5 |
| Fig. U-6 |
| Leftovers. Remember when I talked about using your leftover clear AJs? Or how about what to do if your team colors weren't available. Well we're going to address these issues now. Some people like to paint their Astrojax. Though I think this is a good idea I've heard that the paint has a tendency to chip off leaving you having a poor looking AJ or having to constantly repaint. Neither of these sounds like much fun to me. Try this instead... |
 |
 |
|
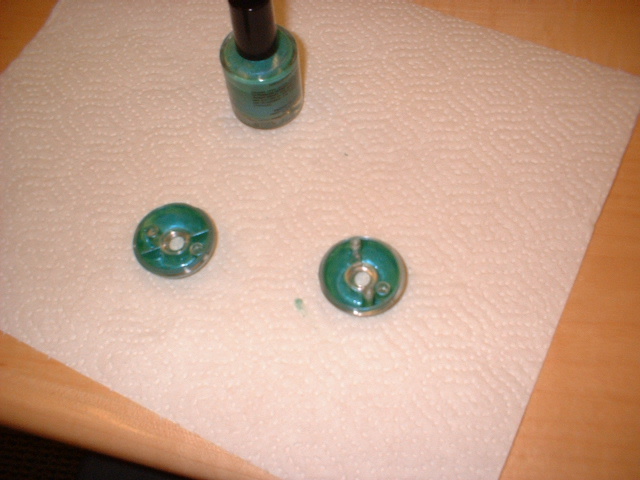
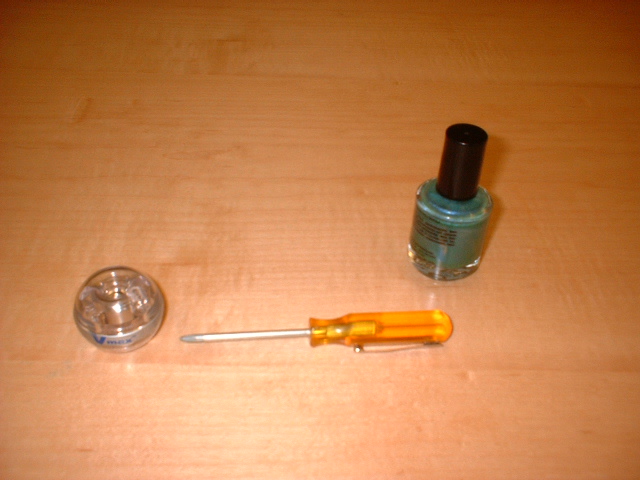
| What you'll need: 1 clear AJ ball screwdriver model paint (nail polish will work also) |
| Take apart your AJ ball and paint the inside. It may take a few coats. |
| Reassemble and now you have an AJX sphere that can be used to customize any AJX! |
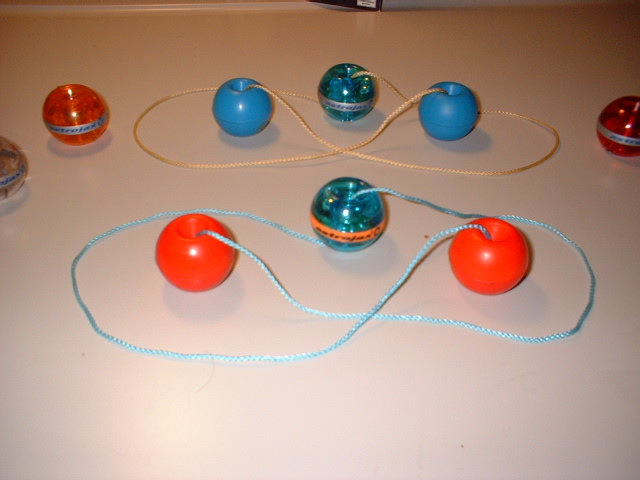 |
| Just a couple more examples of UFOjax I've made. ->> Top: 2 blue plus, 1 blue v-max w/yellow led on yellow string. Bottom: 2 red plus, 1 blue v-max w/red led on blue string. |
| Archive of Custom Tunings |
| Here will be the archive of all previous custom tunings of the month. So if you missed one you'll be able to find it here. That is until I run out of storage space and bandwidth again! Keep On Jaxing! |
 |