 |
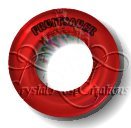 |
| Choose the image you want to tube. I picked this one out of my collection. |
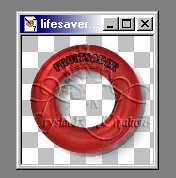 |
| If your image has a white background, you first need to make the background transparent. You can download the eliminate white filter here and find a tutorial on how to use it here. |
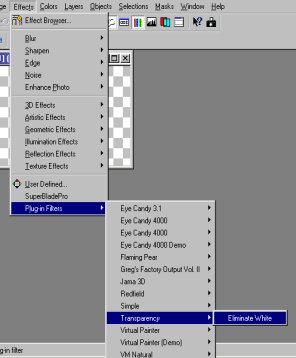
| Unzip the eliminate white zip file to your PSP 7 Plugins folder. This screen capture shows where to find the filter after it's installed. |
 |
 |
| If you're using a new image you've just created with a transparent background, you can skip the first step above. |
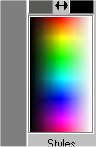
| Before PSP will save your image as a tube (.tub) file, it must be one layer and 16 million colors. The color palette will look like this at 16 million colors. |
| written for PSP 7 |
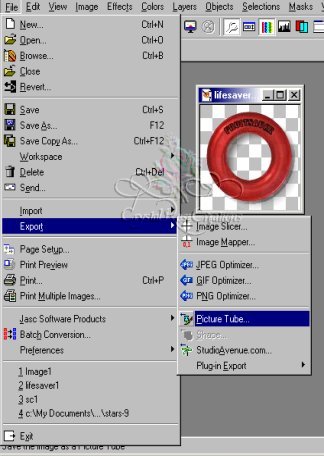
| click on File>Export>Picture Tube |
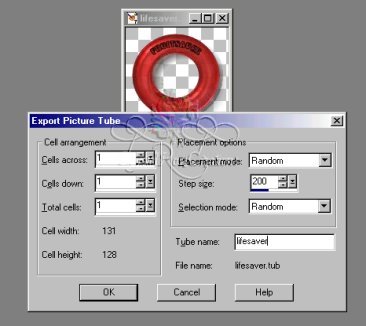 |
| The following dialog box will pop up: |
| It's not necessary to change the settings unless you have more than one image to put in your file. For purposes of this tutorial we'll assume you only have one image. |
| Name your file and click "OK". Your image is now a tube! |
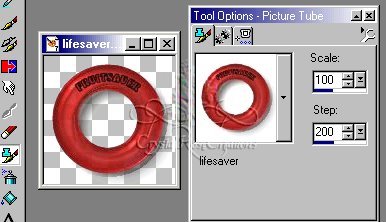 |
| Leave your image open or create a new image, click on the Picture Tube tool, and look for your image in the flyout. Try it out and see how it looks!!! |
| More tutorials to come - when I have time to write them :) !! |
 |
|
|
|
|
|
|