
 |
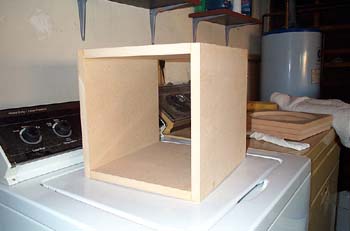
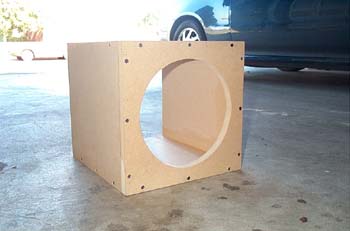
The next few pictures are of my subwoofer box my dad and I built. I was
cheap and didn't want to spend the 50-60 bucks at a shop. If you look closely
at the pictures on the left, you'll notice the wood glue I used. This stuff is
strong. Supposed to be the wood will break before the glue does. Screws are
just there for reinforcement, but most of the work is done by the glue. I learned much of the information for box building from They're good sites and offer good information. There was a MTX site, but they said basically the same thing. If you look in the background of some of these pictures, you'll see a cabinet my dad made for the garage. That just proves he's pretty good with his hands. |
 |
|
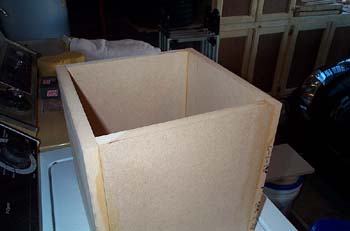
| These 2 pictures were just me messing around wanting to know what the basic box
would look like. I thought it was pretty cool. The measurements of the box come out to
I used 3/4" MDF(medium density fiberboard) because supposed to be that it doesn't flex like particle board does. Also, if you look at the face of the box, I used 2 slabs of MDF, so the first holds the sub in place, while the 2nd is like a protector. Internal volume comes out to about 0.80 cu ft. The recommended internel volume is 0.75 cu ft, I accounted for the .05 for the space taken up by the woofer. Works out perfect. |
 |
 |
|
 |
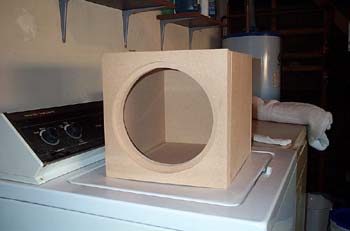
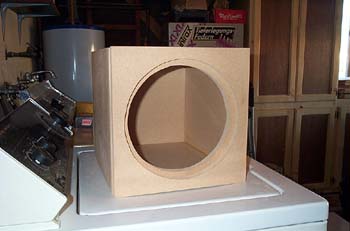
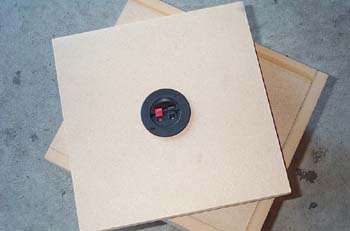
This is when the box was almost done. I just needed to attach the back panel in place with
glue and screws. Also, I sealed the box with some silicone from home depot. It's turning out
pretty good. I don't remember how I figured out the screw placements, but the look okay. I'm happy. |
| Here's the back panel with the terminal cup I picked up at Ronnie's Electronics. It costs
about 2 bucks. Same as Crutchfield. It's better than the ones that come with your standard
subwoofer box because there are 4 holes to screw it in. The normal is just a pop in. Also I filled the inside of this with a lot of silicone. A little overboard, but I didn't want any air to come in. |
 |
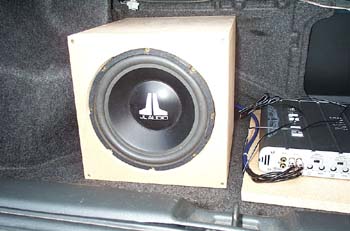 |
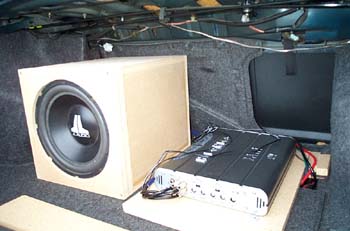
This is the first picture of the completed subwoofer box in my trunk. It took up more space than
anticipated, but I'm okay with it. I turned the amplifier to its side, so the sub could sit next to
it. It's a little messy, but I don't compete and rarely put anything in my trunk, so no matter. |
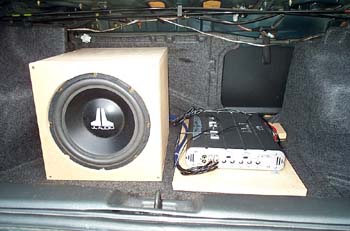
| This is the best picture I have of box the subwoofer and the amp. I think it looks pretty good for a first
audio install by myself. When I first started, I didn't even know how to hook anything up besides your normal
pos/neg speakers. I put a piece of particle board toward the ground in front of the sub and amp, to keep them from moving around while I drive. It works out pretty good, but I'm thinking of something semi custom to make it look better. Do it yourself of course. |
 |
 |
One more thing I have to do is to carpet the box. I'm not positive on how to do it, so until I learn how to do that,
I'm leaving the box as is. It may look ghetto, but it sounds okay. No leaks that I can find, so the sound is good. I
honestly thought it'd be louder, but I'm happy. It shakes enough that I had to adjust the trunk latch and do something
about my license plate. Oh yeah, the amp is facing me, so I can adjust the gains, crossover point, and bass boost whenever I want with no hassle. |