|
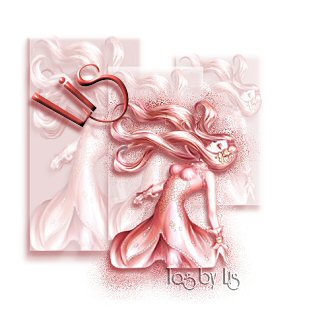
Mural Tag by Lis
This tag was created by me, Lis, from the
results of playing in PSP 8. Any similarities to other tags is purely
coincidental. Please do not script this tutorial or place it on any
website for download. What you make from this tutorial is yours to use
and enjoy. This is my first tutorial I have written, so I hope it is
easy enough to understand. If you have any problems please email me.
For this tutorial you will need;
- Jasc PaintShop Pro (you can download a free trial here)
- a tube of your choice
- Toadies Blast'n Blur filter (you can download them here)
If you would like to use the tube I used, you may download it here.
If you know who the artist is please let me know,I would love to credit for him or her for this
beautiful artwork. I did not tube this but recieved it from a group.
Lets get started!
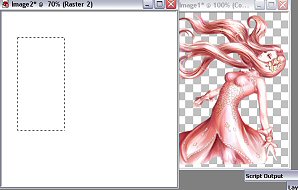
Open a new image 500x500 on a transparent background. Save as mural tag and
don't forget to save often! Add a new layer and flood fill with white. Open your tube you
are going to use and shift_D to copy it, close the original and minimize the copy.
Go to your selection tool and select rectangle, feather 0 and anti-alias checked. Draw out a
rectangle to the left side and go to your layers palette, right click on your layer and
promote selection to layer.
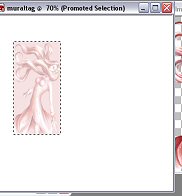
Pick a medium to light colour from your tube, I chose #EABAB9 and
flood fill your promoted selection. Then click on your tube to activate it, and copy
click on back on your tag, and go to edit/paste/into selection. Go to your layers palette
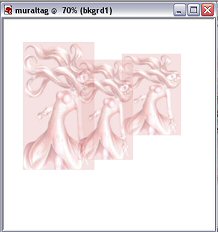
and turn the opacity of this layer down to aroung 42. Save. You should have this so far...
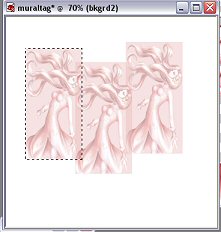
In your layer palette rename this layer to bkgrd1 and duplicate this
layer two times. Click on your mover tool and move your other two layers so they are
beside each other but slightly overlapping. Rename them bkgrd2 and bkgrd3. Select none. Save.
You should have this now....
Activate your bkgrd2 layer and click on the deformation tool. Using the deformation
tool, shrink this layer down a little so it is about 3/4 of the size of bkgrd1. Then activate bkgrd3
and repeat making this layer even smaller. Save. You should have this now...
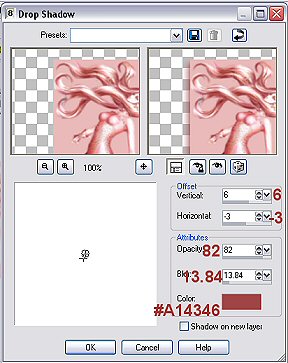
Go to Effects/3DEffects/DropShadow and apply a drop shadow to each of the bkgrd
layers using this setting.
Add a your watermark now and then go to layers/merge all (flatten). Save. Activate
your tube, copy and paste as a new layer. Rename tube1. Go to layer palette and duplicate your tube.
Rename the duplicate layer tube2. Hide the duplicate tube by clicking on the eye beside the layer.
Activate tube1 and go to Effects/plugins/Toadies/Blast'nBlur and use these settings;
X-Effect 18 Y-Effect 16
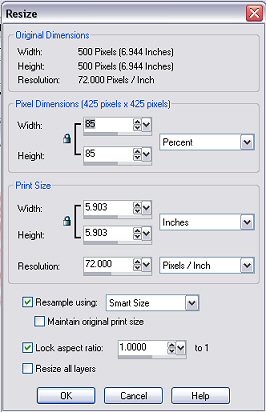
Now activate tube2, unclick the eye in the layer palette and go to Image/Resize and use these settings...
Apply a dropshadow...Effects/3DEffects/DropShadow and use the same settings
as last time. Go to Layers/Merge/Merge All(Flatten} Save. This is what your tag should now look like...

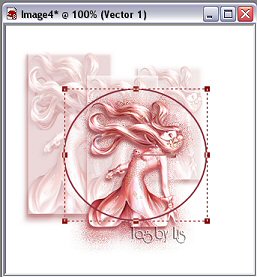
Now all you have to do is add your text. Click on the shape tool and turn off
your bakground fill. Select the ellipse shape, check the vector and anti-alias boxes, and draw
your ellipse. You should have this...
Now click on your text tool, unlock background fill box, and chose a dark colour
from your tube for your text. I used #8F3544 for both the foreground and background fill. Pick a
font and use these settings...Create as Vector checked, Size 72, Stroke Width 1.00 and have
the center alignment highlighted. Now hold your mouse over the left top corner of your
elipse until you see an A with a semi-circle under it. Then click and type your name or
desired text. Go to your layer palette and click on the plus sign beide the vector layer,
now click on the eye beside the layer called ellipse to hide it. Now activate the layer with
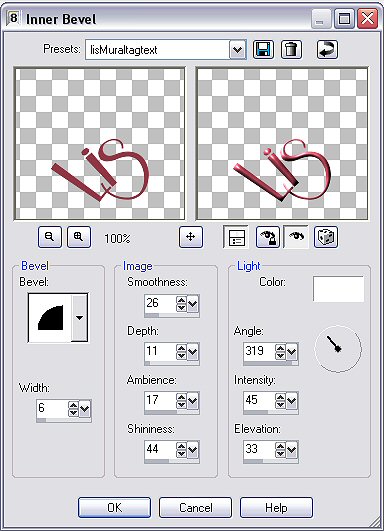
your name or text on it and go to Effects/3DEffects/InnerBevel. You will see a warning window
pop up and ask you if you want to convert this to a raster layer in order to continue, click
ok. Use these settings...
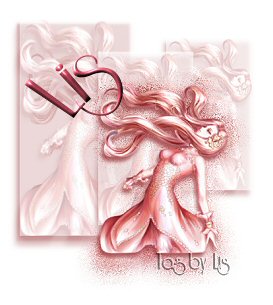
Now apply the same drop shadow as before, and merge all layers. Crop your
image and resize if desired. Save. This is what you should have when you are finished...
I hope you have enjoyed this tutorial and have fun experimenting with
this tag. Different tubes create different effects.

 
© Creations by Lis 2004
|